How to Caulk Stained Wood Trim
To caulk stained wood trim, first apply caulk before staining, allowing at least an hour for drying. Caulk helps fill imperfections and gives the surface a perfect finish.
When done correctly, caulking wood trim can enhance the appearance of your home and provide a clean, professional look. By following the right steps, you can seamlessly blend the caulk with the stained wood trim to achieve a polished result.
In this guide, we will explore the process of caulking stained wood trim in a few simple steps, ensuring a smooth and flawless finish that enhances the overall aesthetic of your space. Properly caulking stained wood trim is an essential part of any home improvement project, and with the right tools and techniques, you can achieve professional results that elevate the look of your space.

What You’ll Need
- Paintable, stainable caulk (siliconized acrylic latex, not pure silicone)
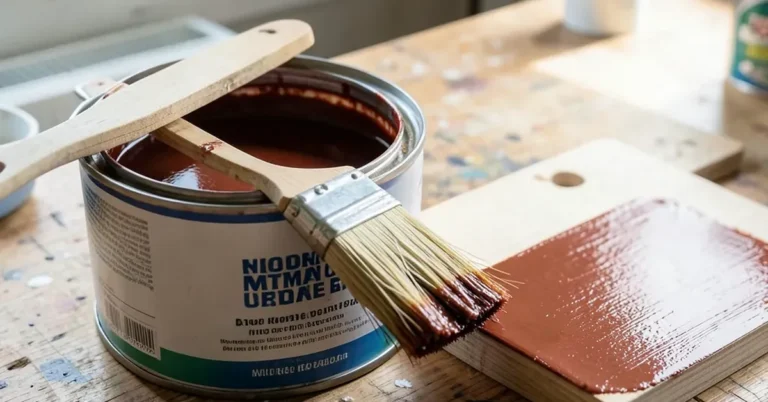
- Caulking gun
- Caulk smoothing tool or a wet finger/rag
- Painter’s tape
- Damp cloth for cleanup
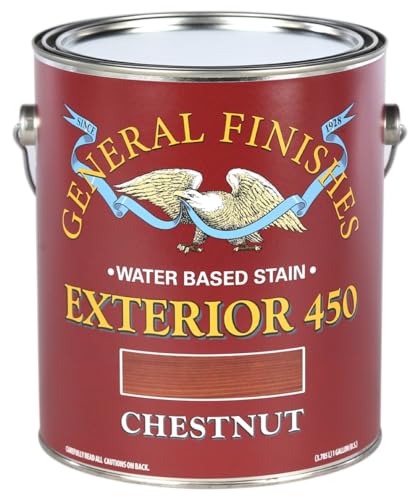
- Wood stain and finish matching the trim
Step-by-Step: Caulking Trim Before Staining
- Choose the right caulk. Use a paintable/stainable acrylic latex caulk — pure silicone caulk will not accept stain and leaves a visibly different sheen once finished.
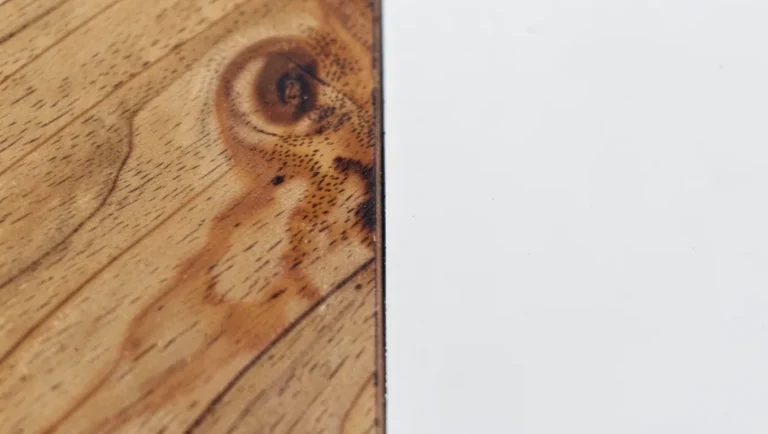
- Tape both sides of the seam. Running painter’s tape along each edge of the gap keeps the caulk line crisp and protects the surrounding wood from smearing.
- Cut the caulk tube tip small. A small opening at a 45-degree angle gives you a thin, controllable bead — it’s much easier to add more caulk than to remove excess.
- Apply a steady, even bead. Run the gun along the seam in one continuous motion rather than stopping and starting, which causes uneven blobs.
- Smooth immediately. Use a caulk tool or a damp finger to press the bead into the gap and wipe away excess before it skins over, typically within 5–10 minutes.
- Remove the tape while the caulk is still wet. Pulling tape after the caulk cures risks tearing the caulk line; pull it while it’s fresh for a clean edge.
- Let it cure fully before staining. Most paintable caulks need at least an hour to skin over, but check the product label — some formulations need up to 24 hours to fully cure before accepting stain evenly.
Caulk Types Compared for Stained Trim
| Caulk Type | Accepts Stain? | Flexibility | Best For |
|---|---|---|---|
| Siliconized acrylic latex | Yes | Good | Interior trim, baseboards, crown molding |
| Pure acrylic latex | Yes (best) | Moderate | Fine trim work, tight seams |
| Pure silicone | No | Excellent | Bathrooms, kitchens, wet areas (unstained) |
| Polyurethane | Yes, but limited color match | Excellent | Exterior trim, high-movement joints |
Common Mistakes When Caulking Stained Trim
- Using pure silicone caulk. It repels stain entirely, leaving an obvious gray or clear line that never matches the surrounding wood.
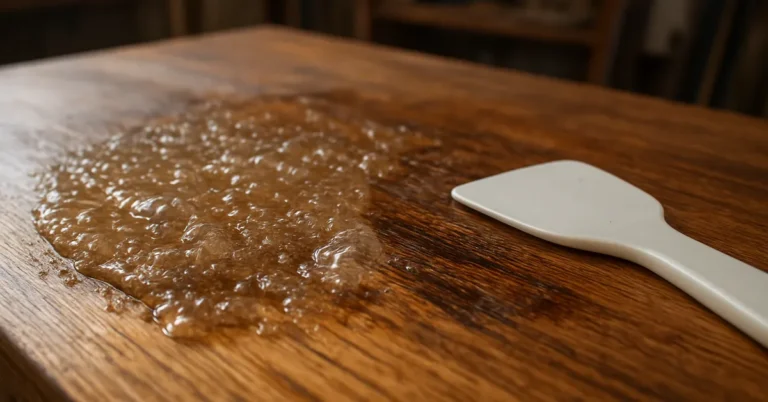
- Staining before the caulk fully cures. Stain applied over uncured caulk can smear, discolor unevenly, or prevent the caulk from curing properly underneath.
- Applying too much caulk. Overfilled seams create a raised ridge that catches light differently than the flat wood surface, making the repair more visible rather than less.
- Skipping a test spot. Different caulk brands absorb stain slightly differently than wood does — testing on scrap material first avoids an unpleasant surprise on visible trim.
- Not cleaning tools between colors. Dried caulk residue on your smoothing tool can transfer into a fresh bead and create visible streaks.
Caulking After Staining Instead
Sometimes trim gets stained first and gaps show up afterward, or new caulk is needed for a repair on already-finished trim. In that case, use a stain-matched or clear caulk, since standard white caulk will show through even after staining is complete. Apply carefully with tape in place, and once cured, a light top coat of matching finish (water-based polyurethane or shellac) over just the caulk line helps blend the sheen so the repair doesn’t stand out against the surrounding finished wood.
How Long Does Caulk Take to Dry Before Staining?
Drying time depends on the product, humidity, and bead thickness, but as a general guide: most paintable acrylic latex caulks skin over in 30–60 minutes and are safe to stain lightly after about an hour. For a thicker bead or a humid workspace, waiting 2–4 hours is safer, and the manufacturer’s label always takes priority over general rules of thumb. Rushing this step is the single most common reason DIYers end up with a caulk line that looks noticeably different from the surrounding stained wood — the extra hour of patience is cheap insurance against redoing the whole seam.
Matching Caulk Color to Stained Wood
Since paintable caulk is typically stained after application, color usually isn’t a concern — the wood stain unifies the caulk line with the surrounding trim. But for touch-up work on already-finished trim, look for a caulk labeled in a wood-tone shade (oak, cherry, walnut, etc.) or a clear/paintable caulk you can tint slightly with a small amount of matching stain mixed in before application, testing on scrap first to confirm the color holds once dry.
Frequently Asked Questions Of How To Caulk Stained Wood Trim
Should You Caulk Before Or After Staining Wood?
For best results, caulk before staining wood. Let the caulk dry for at least an hour before staining.
Can You Caulk Wood Trim?
Yes, you can caulk wood trim. It’s best to caulk before painting to fill imperfections, ensuring a perfect finish. If caulking after painting, use caution to avoid damaging the paint. Apply the caulk, allow to dry for at least an hour, then proceed with staining.
For sealing stained trim, consider using water-based polyurethane or clear shellac.
How Do You Seal Stained Trim?
To seal stained trim, apply caulk before staining and let it dry for at least an hour. After staining, use water-based polyurethane for an easy finish, or shellac for a faster application. For repairs, clean the trim, sand and fill holes, then apply new stain and finish.
How Do You Fix Stained Wood Trim?
To fix stained wood trim, start by cleaning it thoroughly. Then, sand and fill any small holes, apply new stain, and finish it off.
Conclusion
Caulking stained wood trim is a crucial step for a clean finish. Applying caulk before staining helps fill imperfections and ensures a flawless look. Remember to allow the caulk to dry before proceeding with staining. Properly sealed trim contributes to a polished and professional appearance.
Sponsored / affiliate links. As an Amazon Associate I earn from qualifying purchases. I may earn additional commission from eligible campaigns.