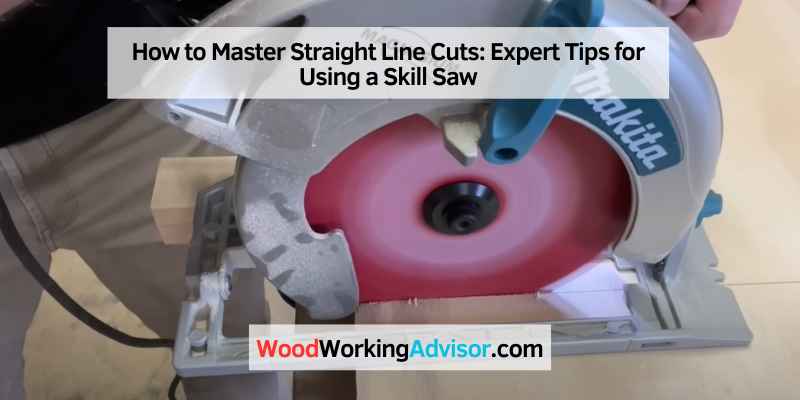
How to Master Straight Line Cuts: Expert Tips for Using a Skill Saw
To cut a straight line with a skill saw, first, measure and mark the desired cut line. Then, use a straight edge or guide to guide the skill saw along the marked line while cutting.
When using a skill saw, being able to cut a straight line is essential for accurate and professional-looking results. Whether you are a DIY enthusiast or a professional carpenter, mastering this skill will ensure your cuts are precise and clean.
Cutting a straight line with a skill saw can seem daunting, but with the right technique and tools, it can be easily achieved. We will provide step-by-step instructions on how to cut a straight line with a skill saw. By following these tips, you can confidently achieve straight cuts for your woodworking projects.
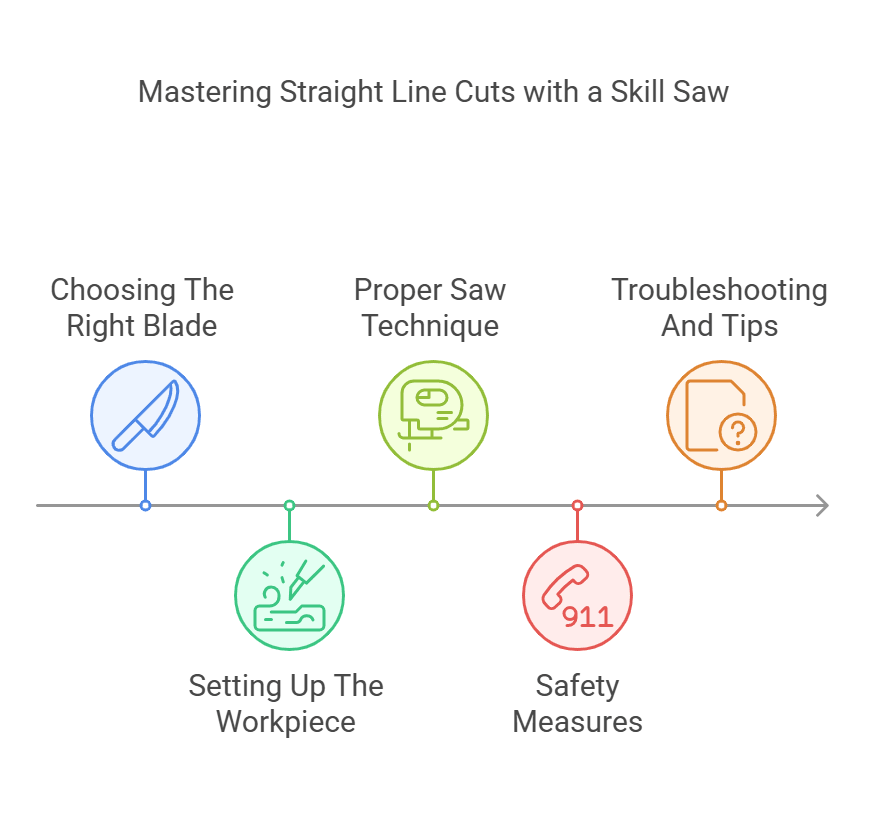
Choosing The Right Blade
A crucial step in achieving a straight cut with a skill saw is choosing the right blade. The type of blade you use will significantly impact the quality of your cut and the ease of the cutting process. Understanding the different factors that make up a suitable blade can help you make an informed decision, leading to a precise and clean cut. Let’s take a closer look at each of these important considerations when selecting a blade for your skill saw.
Tooth Count And Type
When selecting a blade for your skill saw, the tooth count and type play a key role in determining the type of cut you will achieve. A higher tooth count is ideal for achieving smoother cuts on materials like plywood and MDF, while a lower tooth count is more suitable for rough cuts on materials like framing lumber. The type of teeth, such as alternate top bevel (ATB), triple chip grind (TCG), or combination teeth, also affects the blade’s performance on different materials.
Blade Thickness And Material
The thickness and material of the blade are essential factors to consider when choosing a blade for your skill saw. Thicker blades offer more stability, reducing the risk of bending or flexing during the cutting process, leading to straighter cuts. Additionally, considering the material the blade is made of is crucial, as it determines its suitability for specific materials. Carbide-tipped blades are ideal for cutting through tough materials like hardwood, while high-speed steel (HSS) blades are better suited for softer materials.
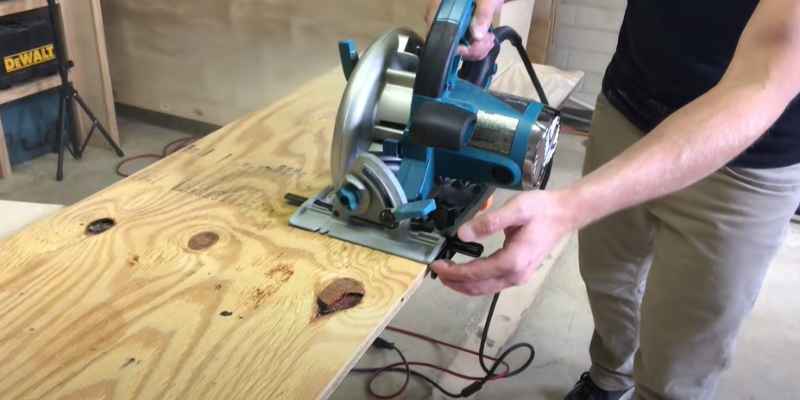
Setting Up The Workpiece
In order to cut a straight line with a skill saw, it is essential to properly set up your workpiece. This involves two important steps: measuring and marking, as well as clamping and securing the material. By following these guidelines, you can ensure that your cuts are accurate and precise, resulting in clean and professional-looking projects.
Measuring And Marking
Before making any cuts, it is crucial to measure and mark your workpiece. This helps you establish a clear guide for your skill saw, ensuring that your cut will be straight and precise.
Here’s how you can measure and mark your workpiece effectively:
- Start by determining the desired length of your cut. Use a tape measure to measure the distance accurately.
- Once you have the measurement, mark the starting and ending points of the cut on the material using a pencil or a marker. Make sure the marks are easily visible and aligned properly.
- If you need to make repetitive cuts at the same length, consider using a straight edge or a ruler as a guide to ensure consistent markings.
Clamping And Securing
After measuring and marking your workpiece, the next step is to properly clamp and secure it. This step is crucial as it prevents the material from shifting or moving during the cutting process.
Here are some important tips for clamping and securing your workpiece:
- Choose appropriate clamps for your material. Make sure they provide enough pressure to hold the material firmly in place without damaging it.
- Position the clamps strategically, ensuring that they are placed in areas that won’t interfere with the path of the skill saw.
- Check that the material is securely clamped and doesn’t wobble or move when pressure is applied.
- If necessary, use additional securing methods such as double-sided tape or woodworking clamps to further stabilize the material.
By following these guidelines for setting up your workpiece, you can ensure that your skill saw cuts are accurate and straight. Taking the time to measure, mark, clamp, and secure your material will result in professional-looking projects and save you from the frustration of crooked cuts.
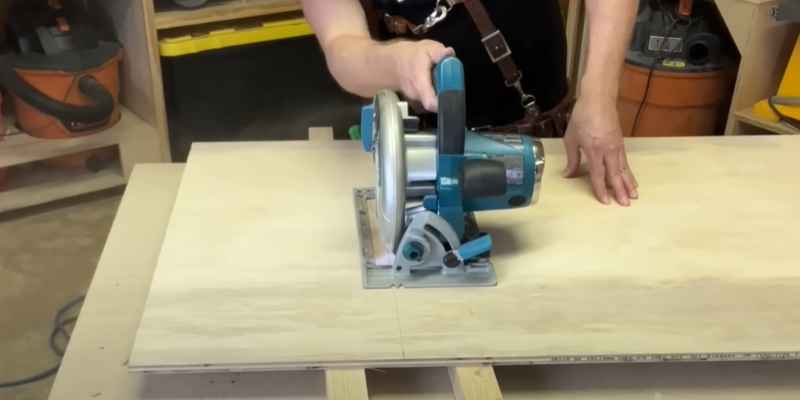
Proper Saw Technique
Proper Saw Technique is crucial when it comes to cutting a straight line with a skill saw. Mastering the correct technique will not only help you achieve precise and accurate cuts, but it will also ensure your safety. In this section, we will explore three essential aspects of using a skill saw: maintaining a steady hand, starting and finishing the cut. By following these guidelines, you can confidently tackle any project that requires a straight-line cut.
Maintaining A Steady Hand
Keeping a steady hand while using a skill saw is vital to achieving a straight-line cut. Here are some tips to help you maintain control:
- Stand with your feet shoulder-width apart to provide a stable base.
- Grip the handle firmly, ensuring your hand is positioned away from the blade.
- Keep your weight evenly distributed and slightly forward to provide balance.
- Breathe steadily and relax your body to minimize any unintentional movements.
- Always use both hands to control the saw, placing your non-dominant hand on the auxiliary handle for added stability.
Starting And Finishing The Cut
When it comes to starting and finishing the cut, precision and control are key. Follow these steps:
- Before starting, adjust the depth of the saw to the desired depth of the cut.
- Position the saw blade against the material, ensuring it is aligned with the intended cutting line.
- Begin the cut by gently engaging the blade into the material, using steady pressure.
- As you progress, maintain a moderate speed and let the saw do the work, avoiding excessive force.
- When approaching the end of the cut, focus on maintaining a steady hand and controlled motion to ensure a smooth finish.
- Once the cut is complete, release the trigger and wait for the blade to come to a complete stop before removing it from the material.
Safety Measures
Safety is the top priority when using a skill saw to cut a straight line. Implementing the appropriate safety measures not only ensures a smooth and precise cut but also minimizes the risk of accidents. It’s crucial to prioritize safety throughout the entire cutting process to safeguard both the user and those in the vicinity. Let’s delve into the safety measures for cutting a straight line with a skill saw.
Wearing Protective Gear
Before operating a skill saw, make sure to put on the necessary protective gear to shield yourself from potential hazards. This includes safety goggles to protect your eyes from flying debris, ear protection to safeguard against the saw’s loud noise, work gloves to enhance grip and avoid splinters, and a dust mask if working in a dusty environment.
Clearing The Workspace
Prior to making a cut with a skill saw, it’s essential to clear the workspace of any obstructions, clutter, or distractions. Ensure there are no loose objects that could interfere with the cutting process, and establish a clear path for the saw to follow. Remove any potential tripping hazards from the area to create a safe and unobstructed environment for operating the saw.
Troubleshooting And Tips
Looking to cut a straight line with your skill saw? Troubleshooting and tips are here to help. From proper positioning to steady movement, this guide provides expert advice for achieving clean, precise cuts with your tool.
When it comes to using a skill saw to cut a straight line, there are a few common issues that can arise. This section will cover troubleshooting tips to help you avoid burn marks and prevent tear-out. By following these simple guidelines, you can achieve clean and precise cuts with your skill saw.
Avoiding Burn Marks
Burn marks can occur when the saw blade generates excessive heat, resulting in discoloration and potential damage to the wood. To avoid burn marks, follow these tips:
- Select the appropriate blade: Choosing the right blade with the correct number of teeth and suitable for the type of wood you are cutting is essential. A blade with too few teeth can cause friction and burn marks, while a blade with too many teeth can cause the wood to splinter.
- Use a slow and steady speed: Applying too much pressure or cutting too quickly can cause the blade to heat up and leave burn marks. Maintain a consistent and controlled speed throughout the cut, allowing the blade to slice smoothly through the wood without generating excessive heat.
- Keep the blade clean: Resin build-up on the blade can increase friction and heat, leading to burn marks. Regularly clean the blade using a blade cleaning solution or a simple mixture of warm water and dish soap. Ensure the blade is completely dry before use.
Preventing Tear-out
Tear-out occurs when the wood fibers on the top surface of the cut splinter or break, resulting in a rough and uneven edge. To prevent tear-out, consider these recommendations:
- Score the cut line: Before making the full cut, use a utility knife or scoring tool to create a shallow groove along the desired cut line. This helps to weaken the wood fibers, reducing the likelihood of tear-out.
- Support the workpiece: Using a stable work surface and ensuring proper support for the wood can minimize vibrations and movement during the cut. This promotes cleaner and more precise cuts, reducing the risk of tear-out.
- Invest in a quality sawhorse or clamps: Holding the workpiece securely in place can prevent it from shifting or vibrating during the cut. This stability helps maintain the integrity of the wood fibers and results in cleaner cuts with minimal tear-out.
Conclusion
Mastering the skill saw is essential for precise cuts. With the right techniques, you can easily achieve straight lines. By following these tips, you can elevate your woodworking projects and ensure professional results every time. Practice and patience are key, so keep honing your skills!