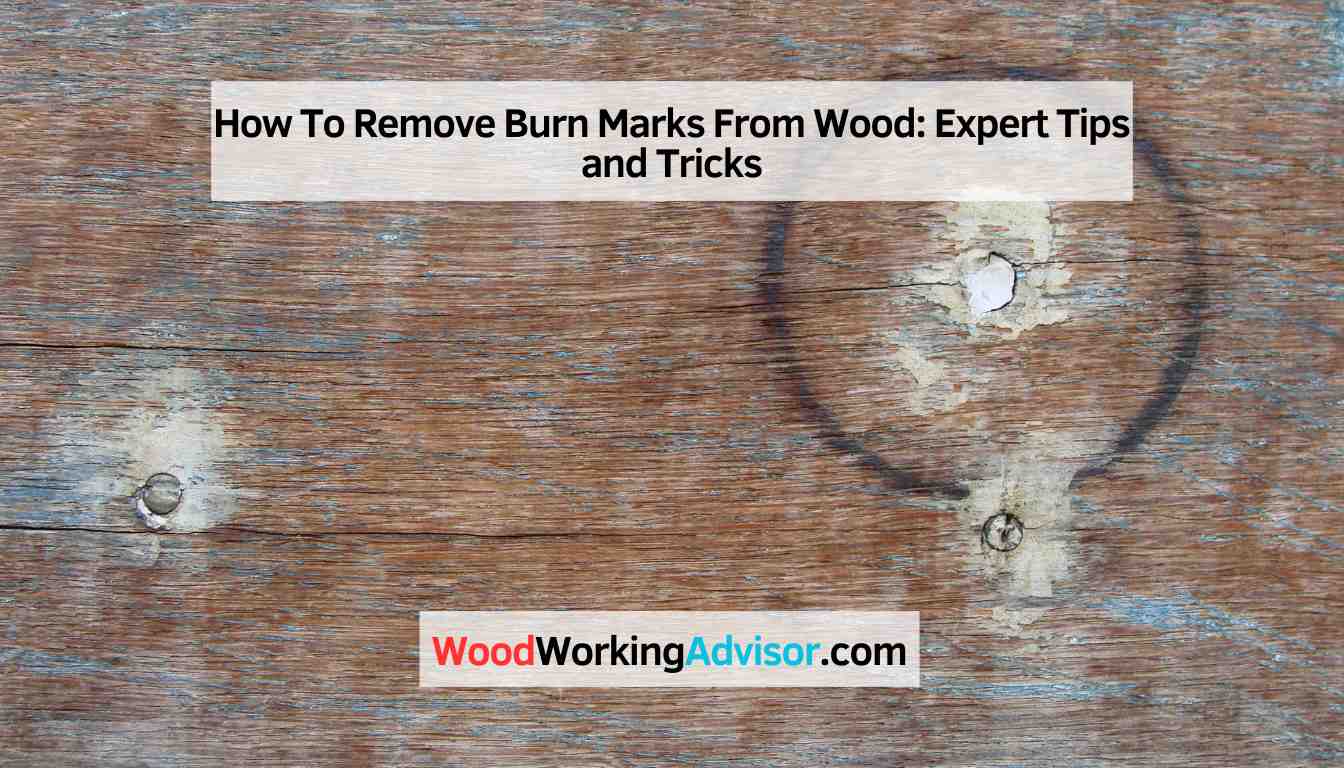
How To Remove Burn Marks From Wood: Expert Tips and Tricks
To remove burn marks from wood, gently sand the affected area until the mark is no longer visible.
Identifying Burn Marks On Wood
Remove burn marks from wood by first identifying the extent of the damage. Use fine sandpaper to gently remove the charred wood, then apply a wood filler and sand it smooth. Finally, finish with a wood stain or varnish for a seamless repair.
Burn marks on wood can be a frustrating sight, especially if you have invested time and effort into maintaining its beauty. Identifying these burn marks is the crucial first step towards effectively removing them. In this section, we will explore the characteristics of burn marks and the different types you might come across.
Characteristics Of Burn Marks
Understanding the characteristics of burn marks can help you determine the best approach for removal. Here are some key features to look out for:
1. Color: Burn marks on wood can vary in color, ranging from black or dark brown to charred or discolored areas.
2. Texture: Burn marks can leave behind rough or uneven surfaces on the wood, making it feel irregular to the touch.
3. Odor: In some cases, you might detect a distinct smell of burnt wood near the affected area.
Different Types Of Burn Marks
Burn marks on wood can occur due to various factors. By identifying the type of burn mark, you can choose the appropriate method for removal. Let’s take a look at different types:
1. Surface Burns: These burn marks are superficial and typically occur when a hot object like a matchstick or cigarette comes into contact with the wood surface. Surface burns may appear as small, circular marks with minimal impact on the wood’s integrity.
2. Deep Burns: Deeper burn marks penetrate into the wood, causing more significant damage. These are often the result of prolonged heat exposure, such as a hot skillet or a burning ember. Deep burns can result in larger discolored or charred areas and can weaken the structural integrity of the wood.
3. Heat Stains: Heat stains are another common type of burn marks that occur when hot objects or containers directly touch the wood surface. These stains are characterized by discoloration and can appear as white or light-colored marks on the wood.
4. Chemical Burns: Chemical burns can occur when harsh or corrosive substances come into contact with wood. These burns can cause discoloration, erosion, or even disintegration of the wood surface.
By identifying the specific characteristics and types of burn marks on wood, you can approach their removal with greater confidence. Next, we will explore various techniques and methods to effectively remove these unsightly marks, restoring the natural beauty of your wooden surfaces.

Preparation For Removing Burn Marks
To successfully remove burn marks from wood, it’s important to gather the necessary tools and supplies beforehand. This will ensure that you have everything you need to complete the task efficiently. Below are the essential items you will need:
| Supplies | Tools |
|---|---|
| – Fine-grit sandpaper | – Heat-resistant gloves |
| – Clean cloth | – Safety goggles |
| – Hydrogen peroxide | – Fine-tipped artist brush |
| – Baking soda | – Plastic scraper |
| – Lemon juice | – Heat gun |
While removing burn marks, it’s essential to prioritize your safety. By taking proper precautions, you can minimize the risk of accidents or injuries. Consider these safety tips:
- Wear heat-resistant gloves to protect your hands from potential burns during the removal process.
- Put on safety goggles to shield your eyes from any loose debris or chemical splashes.
- Ensure you are working in a well-ventilated area to avoid inhaling noxious fumes.
- Do not expose the burn mark to an open flame as it may cause further damage or pose a fire hazard.
By following these safety precautions, you can ensure your well-being while effectively removing burn marks from wood.
Methods For Removing Minor Burn Marks
Looking to remove minor burn marks from wood? Try these effective methods that can help restore your wooden surfaces.
Minor burn marks on wood can be quite unsightly, especially if they appear on a visible part of a piece of furniture or a wooden floor. Fortunately, there are several effective methods for removing these burn marks and restoring the beauty of your wood. In this article, we will explore two popular methods: sanding the burned area and using wood bleach. These techniques are suitable for minor burn marks that have not deeply penetrated the wood. Let’s dive into the details:
Sanding The Burned Area
One of the most common and straightforward methods for removing minor burn marks from wood is sanding the affected area. Sanding not only helps to remove the burn mark but also smoothens the surface, ensuring a seamless finish once the repairs are complete. If you choose this method, follow these steps:
- Start by assessing the depth of the burn mark. If it is a shallow burn, you can proceed with sanding. However, if the burn has deeply penetrated the wood, a more intensive repair may be necessary.
- Equip yourself with the appropriate sanding tools, such as sandpaper or an electric sander. For minor burn marks, a fine-grit sandpaper should suffice. Remember to wear safety goggles and a mask to protect yourself from dust.
- Gently sand the burned area, moving in the direction of the wood grain. Apply light pressure and work gradually, checking the progress frequently.
- Continue sanding until the burn mark is completely removed and the wood surface is smooth. Take care not to over-sand, as this can lead to unevenness or damage the wood.
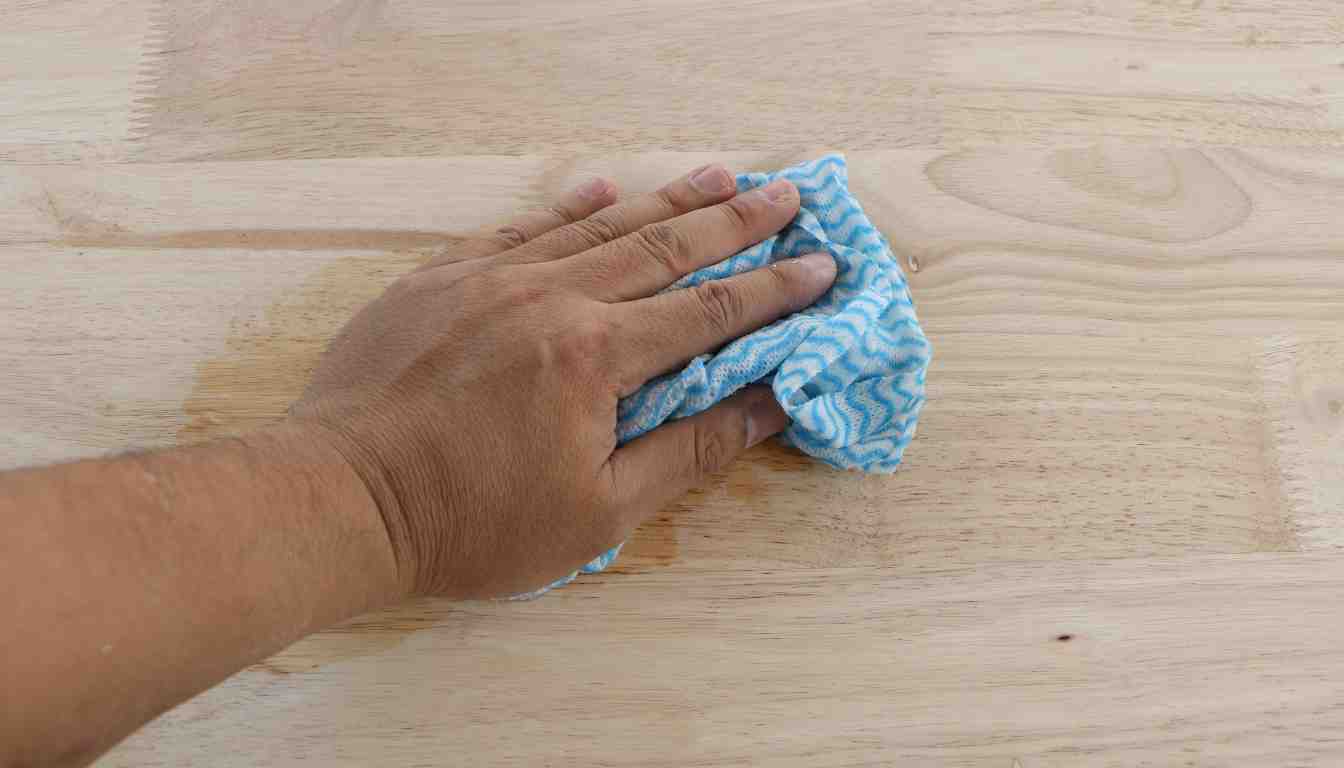
- Once you are satisfied with the results, wipe away the dust with a clean cloth. You can then apply a finish or stain to match the surrounding wood and restore the original appearance.
Using Wood Bleach
Another effective method for removing minor burn marks from wood is to use wood bleach. This method is particularly useful if you don’t want to alter the color of the wood or if the burn mark is challenging to sand down. Follow these steps to use wood bleach:
- Start by preparing the wood bleach according to the manufacturer’s instructions. Different wood bleach products may have varying requirements.
- Apply the wood bleach to the burn mark using a brush or cloth. Ensure that the bleach is evenly distributed over the affected area.
- Allow the bleach to sit on the burn mark for the recommended amount of time. This period may vary depending on the product you are using.
- Gently scrub the area with a soft brush, working in circular motions. This helps to loosen the burned material and promote better absorption of the bleach.
- After scrubbing, wipe away the bleach and residue with a clean cloth or sponge. Ensure that all traces of the burn mark are removed.
- Repeat the process if necessary, following the instructions provided by the wood bleach manufacturer.
- Once the burn mark is completely removed, rinse the area with water and allow it to dry thoroughly before applying a finish or sealer.
By employing these methods, you can effectively remove minor burn marks from your wood surfaces and restore their original beauty. Whether you choose to sand the burn mark or utilize wood bleach, always exercise caution and test any products or techniques on a small, inconspicuous area before applying them to the entire affected surface. With patience and the right approach, your wood can regain its natural elegance.
Techniques For Removing Deep Burn Marks
Learn effective techniques to remove deep burn marks from wood surfaces. Discover simple solutions that will help restore the natural beauty of your wooden furniture and make it look brand new again.
When it comes to removing deep burn marks from wood, there are several effective techniques you can use. Two commonly used methods are using heat and moisture, and applying wood filler. Let’s take a closer look at each method:
Using Heat And Moisture
To remove deep burn marks from wood using heat and moisture, follow these simple steps:
- Wet a clean cloth with water and thoroughly dampen the burn mark area.
- Place the damp cloth directly over the burn mark.
- Using a hot iron, press it gently against the cloth for a few seconds.
- Check the mark’s progress by carefully lifting the cloth.
- If the burn mark is still visible, repeat the process until the mark fades.
- Once the burn mark has disappeared, wipe the area with a clean, dry cloth.
- Apply a wood polish or wax to restore the wood’s shine and protection.
This technique works by using heat and moisture to gradually lift the burn mark from the wood’s surface. It’s important to be cautious when applying heat to avoid further damaging the wood. Always test the method on a small, inconspicuous area before attempting it on the burn mark itself.
Applying Wood Filler
If the burn mark remains even after attempting the heat and moisture method, using wood filler can be an effective solution. Follow these steps:
- Clean the burn mark area with a soft cloth to remove any dirt or debris.
- Using a putty knife, carefully apply a small amount of wood filler over the burn mark.
- Gently smooth out the filler, ensuring it fills the entire area evenly.
- Allow the wood filler to dry completely, following the manufacturer’s instructions.
- Once dry, lightly sand the filler until it is level with the surrounding wood.
- Remove any dust from sanding with a clean cloth.
- Apply a wood stain or matching paint to blend the filled area with the rest of the wood.
- Finish by applying a protective sealant or varnish to the entire surface for a consistent look.
Wood filler is a versatile option that can effectively cover deep burn marks, providing a smooth and seamless finish. Be sure to choose a filler that matches the color and type of wood you are repairing.
Tips For Preventing Burn Marks On Wood
Wood furniture and surfaces can easily get burned if not handled properly. Burn marks on wood can be unsightly and homeowners often struggle to remove them. However, taking preventative measures can help avoid burn marks altogether. Here are some important tips to follow to prevent burn marks on wood:
Proper Handling Of Heat Sources
- Place heat emitting appliances, such as hair straighteners and curling irons, on heat-resistant mats or pads.
- Avoid putting hot pots, pans, or dishes directly on wooden surfaces; use trivets or hot pads as a protective barrier.
- When using candles or incense, ensure they are securely placed in non-flammable holders or containers.
- Do not leave lit candles unattended, especially near wooden objects or furniture.
- Always extinguish cigarettes or cigars in designated ashtrays and avoid smoking near wooden surfaces.
Using Protective Measures
Adding an extra layer of protection to wood surfaces can significantly reduce the chances of burn marks. Consider the following protective measures:
- Apply a heat-resistant finish or coating to wooden furniture and surfaces to provide a shield against heat.
- Use coasters or placemats to prevent direct contact between hot cups and mugs and wooden tables or countertops.
- Place felt pads or rubber bumpers on the bottom of objects to prevent scratches and scorch marks.
By following these simple yet effective tips, you can protect your wooden furniture and surfaces from burn marks. Prevention is key when it comes to maintaining the pristine condition of your beloved wood pieces.
Conclusion
To sum up, removing burn marks from wood can be a simple and effective process if done correctly. By using household items and following the step-by-step methods discussed in this blog post, you can restore the beauty of your wooden surfaces without the need for professional assistance.
Remember to take necessary precautions and test any cleaning solution on a small area before applying it to the entire surface. With these tips in mind, you’ll be able to say goodbye to those unsightly burn marks and enjoy the natural beauty of your wood furniture once again.