How to Cut a Taper on a Table Saw (Without Tilting the Blade)
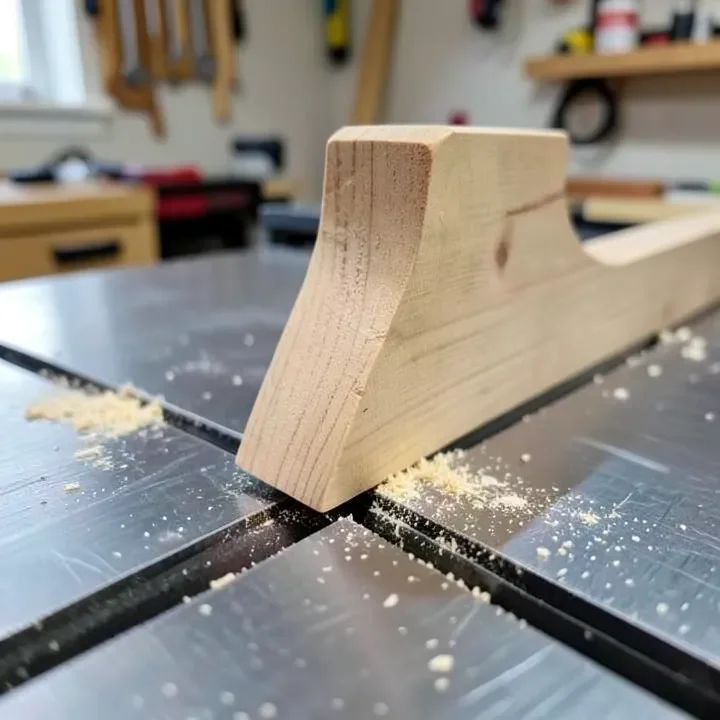
Cutting a taper on a table saw means angling the workpiece against a straight, untilted blade using a tapering jig — tilting the blade instead produces a bevel, a different cut entirely. Most table and chair legs taper about 1/4 inch narrower for every 12 inches of length, on two adjacent faces, so the foot ends up roughly half the width of the top. This guide covers the real jig-based technique, safe setup, and the mistakes that cause kickback.
Insert your Affiliate Disclosure reusable block here.
What Cutting a Taper Actually Means
Best Table Saw Push Block Pick
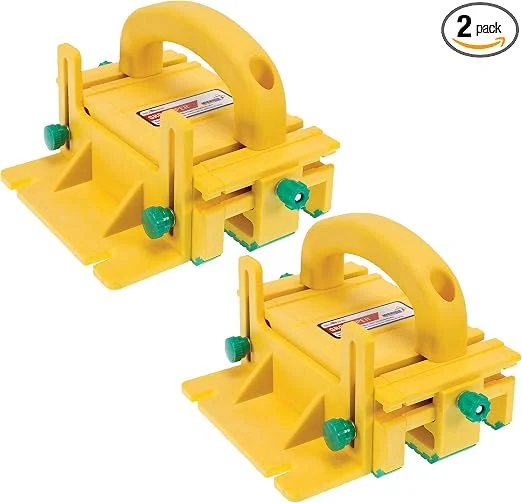 |
MICROJIG GRR-RIPPER GR-100 3D Pushblock (2-Pack) – $88.20 A 3D-adjustable push block for exactly the moment this guide flags as riskiest — once the tapered offcut narrows enough that a bare hand would pass close to the blade, this keeps fingers well clear while still applying even downward and forward pressure.
|
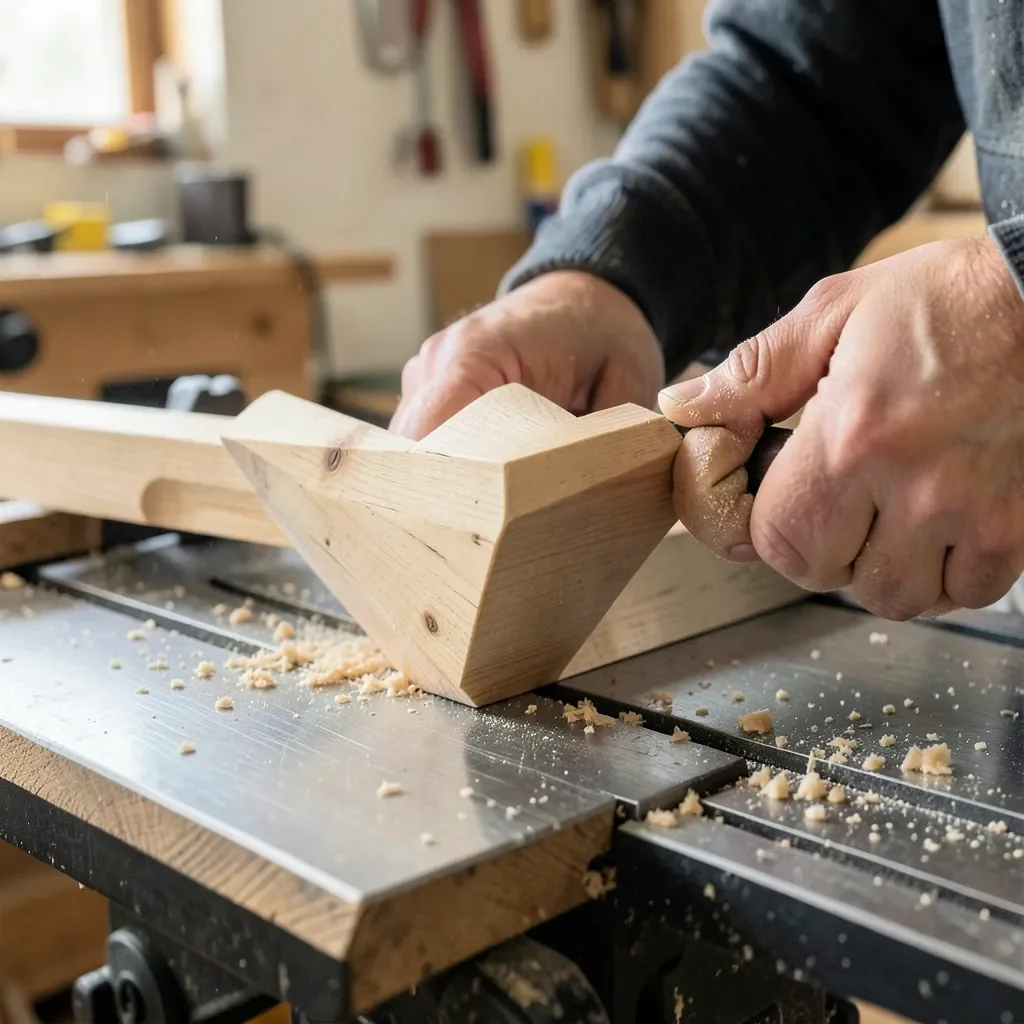
A taper cut, one of the seven core table saw jigs covers, makes a workpiece progressively narrower from one end to the other — the classic example is a table or chair leg that’s wider at the top than at the foot. That’s a different cut from a bevel, where the blade tilts to cut an angled edge that stays the same width along its whole length. Confusing the two is a common mistake: tilting the blade to “cut a taper” produces a beveled edge, not a tapered workpiece.
Tapering Jig vs. Tilting the Blade
| Method | What It Produces | Use For |
|---|---|---|
| Tapering jig, blade straight up | A true taper — width changes along the length | Table/chair legs, tapered panels |
| Blade tilted, workpiece straight | A bevel — angled edge, constant width | Mitered trim, angled edge joints |
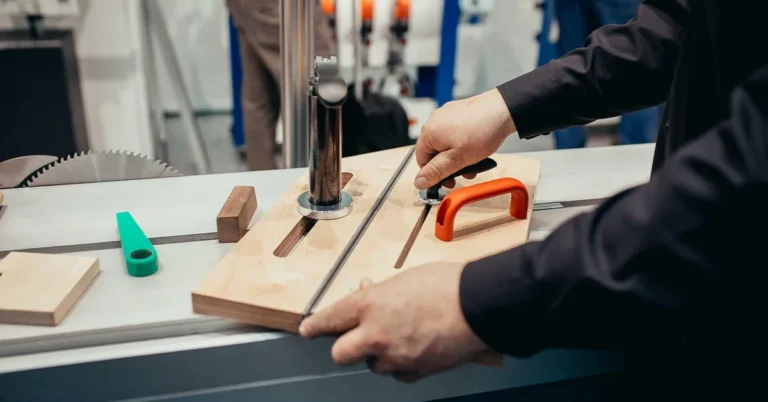
If you want to build or buy a dedicated jig rather than clamp a shop-made fixture together, our tapering jig guide covers choosing, building, and dialing one in. This guide focuses on the cutting process itself — safe setup, technique, and the mistakes that cause kickback.
How Much Taper Is Normal? (Real Numbers)
There’s no strict rule, but a widely used guideline for table and chair legs is roughly 1/4 inch of taper for every 12 inches of length, cut on the two inside faces so the foot ends up close to half the width of the top. A leg tapered on all four faces looks steeper than the same ratio cut on just two, since the width changes from both directions at once.
📊 A 1/4-inch-per-12-inch taper works out to roughly a 1.2-degree jig angle — well under the steeper angles some guides recommend, which is why tapers this shallow read as elegant rather than structurally thin. Source: Fine Woodworking, Cutting Tapers on the Table Saw
Step-by-Step: Cutting a Taper With a Jig
- Mark the taper on the workpiece: mark the start point (where the taper begins) and the finished width at the foot, using a straightedge to draw the cut line.
- Set the blade straight up: confirm the blade is at 90 degrees to the table — a taper cut uses a straight blade, not a tilted one.
- Set the jig to your marked line: place the workpiece in the jig and adjust the angle until the jig’s edge aligns exactly with your marked cut line, not a preset angle number.
- Set the fence to the jig’s outer edge: position the rip fence so the jig rides against it at a consistent distance for the full length of the cut.
- Feed at a steady pace: push the jig and workpiece through together at a consistent speed, keeping hands well clear of the blade path.
- Repeat for additional faces: reset the jig angle and repeat for the second tapered face if the design calls for two- or four-sided tapering.
Cutting a Taper Without a Jig (Why You Shouldn’t)
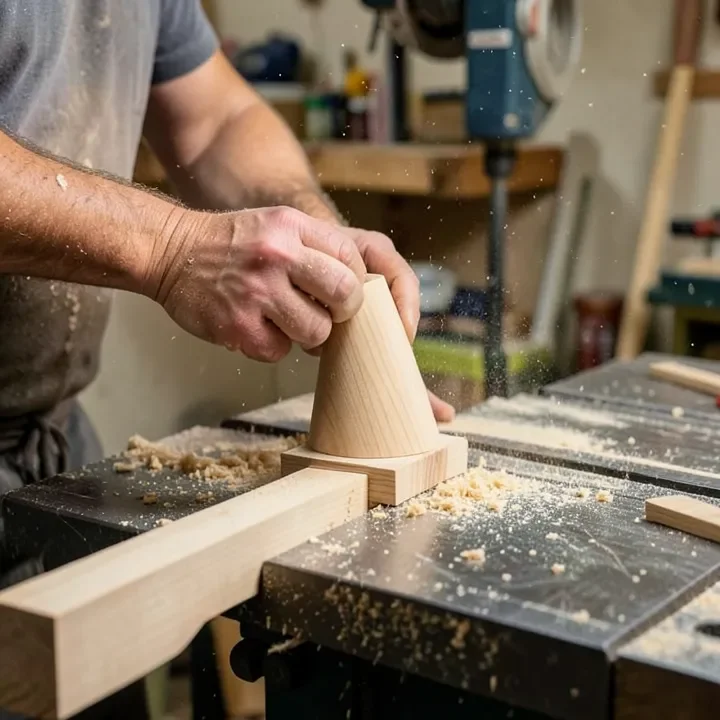
It’s possible to guide a marked taper line freehand past the fence without a jig, but the workpiece is no longer square to the blade or fence for the whole cut — which is exactly the condition that causes binding and kickback. A tapering jig keeps the workpiece supported and square to the miter slot throughout the cut, which is why it’s the standard method rather than an optional convenience.
Safety: Avoiding Kickback and Blade Burning
Keep the blade sharp and feed at a steady, unhurried pace — hesitating mid-cut is what causes burning, and forcing the feed rate is what causes tear-out and kickback. Use push blocks to keep your hands off the workpiece near the blade, especially once the tapered offcut gets narrow enough that your hand would otherwise pass close to the bl See our table saw safety accessories guide for the full list of what to add to your setup.
Common Mistakes When Cutting Tapers
- Tilting the blade instead of using a jig: this produces a bevel, not a taper — the two are not interchangeable techniques.
- Setting the jig to a round-number angle: match the jig to your actual marked cut line instead of guessing a preset angle, since even a small error compounds over the length of the workpiece.
- Freehanding the cut: an unsupported taper cut isn’t square to the blade for the full pass, which is a real kickback risk.
- Forcing the feed rate: pushing too fast causes tear-out and burning; too slow causes scorching on the cut face.
Frequently Asked Questions
Do you tilt the blade to cut a taper on a table saw?
No. Tilting the blade produces a bevel — an angled edge with a constant cross-section — not a taper. A true taper (narrower at one end than the other) is cut with the blade straight up and down, using a tapering jig to hold the workpiece at an angle as it passes through.
How much taper is normal for a table or chair leg?
A common guideline is about 1/4 inch of taper for every 12 inches of length, cut on two adjacent faces of the leg so the foot ends up roughly half the width of the top. Tapers steeper than that start to look structurally weak even when they aren’t.
Can you cut a taper without a jig?
You can guide a marked line freehand along the fence, but it’s genuinely dangerous — the workpiece isn’t square to the blade, so it can bind and kick back. A tapering jig holds the workpiece securely at the correct angle and is the standard, safer method.
What angle do you set a tapering jig to?
The jig angle depends on the taper ratio, not a fixed number — a 1/4-inch-per-12-inch taper works out to roughly a 1.2-degree angle. Set the jig using the actual start and end widths marked on your workpiece rather than guessing a round-number angle.
Why did my taper cut burn or splinter?
Burning usually means the feed rate was too slow or the blade is dull; splintering usually means the blade has too few teeth or too coarse a grind for the cut. Feed at a steady pace, keep the blade sharp, and use a zero-clearance throat plate to reduce tear-out.
Conclusion
A real taper cut uses a straight, untilted blade and a tapering jig to hold the workpiece at the correct angle — tilting the blade cuts a bevel instead. Mark your actual cut line, set the jig to match it rather than a round-number angle, and feed at a steady pace to avoid burning and kickback.
Sponsored / affiliate links. As an Amazon Associate I earn from qualifying purchases. I may earn additional commission from eligible campaigns.