Best Finish for Cornhole Boards: Paint, Clear Coat & Dry Times
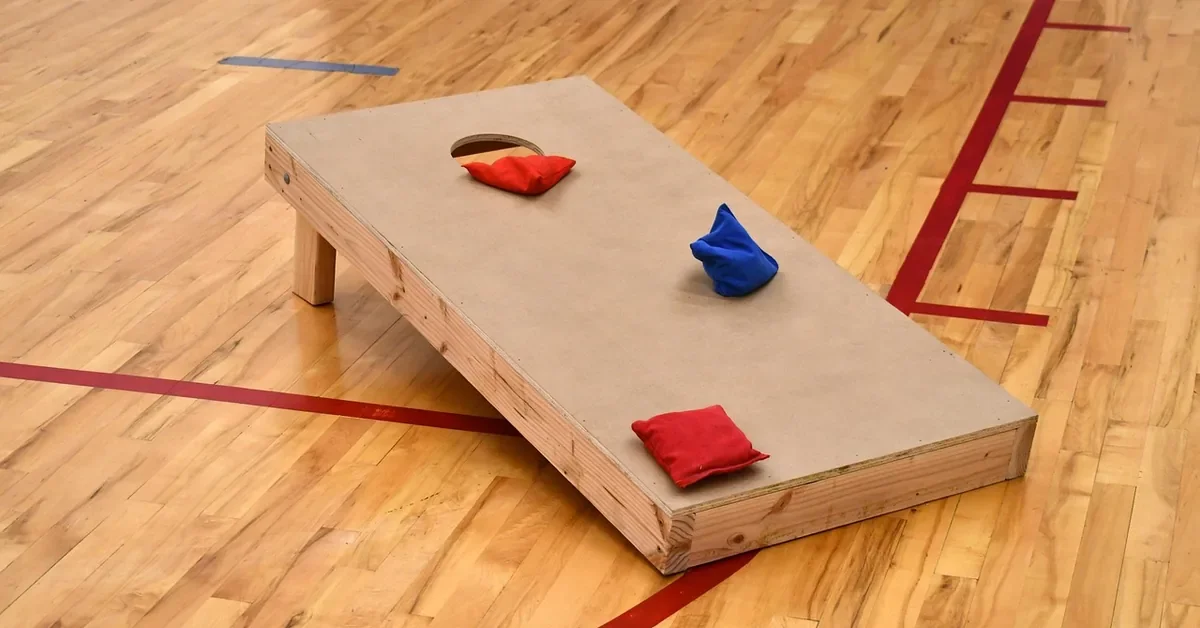
The best finish for cornhole boards is a gloss clear spar urethane over primed, painted wood if the boards will be used outdoors, and the American Cornhole Organization allows a high gloss latex paint or varnish on the playing surface. Minwax rates its Polycrylic for interior use only, which catches many builders out. This guide covers the rules, a maker-sheet comparison of clear coats, and the recoat and cure times.
Best Finish for Cornhole Boards: The Short Answer
Best Outdoor Clear Coat Pick
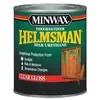 |
Minwax Helmsman Indoor/Outdoor Spar Urethane, Clear Gloss, Quart ($23.61) Minwax rates this one for interior and exterior wood, which is the line the maker sheets below draw between it and Polycrylic, so it suits a board that spends time on a patio or in a garage.
|
As an Amazon Associate we earn from qualifying purchases.
Three layers do the work: primer, paint, then a clear coat. Paint gives the color, and the clear coat gives the smooth surface a bag slides across. The part builders most often get wrong is the clear coat, because several popular clear finishes are not rated for outdoor use, as the comparison table below shows.
For the paint layer, see our guide to what paint to use on cornhole boards. This page covers the finishing system as a whole and the clear-coat decision, and our guide to sealing cornhole boards goes deeper on the sealing step alone.
What the ACO and ACL Rules Say About the Playing Surface
The two big organizations write different specs, which matters if you build to a rulebook. The ACO rules page and the ACL rules page agree on a board about 2 by 4 feet with a 6 inch hole, but they differ on heights and on finish wording.
| Spec | ACO | ACL |
|---|---|---|
| Board size | 47.5 to 48 in by 23.5 to 24 in | 2 ft by 4 ft, plus or minus 1/4 in |
| Hole | 6 in diameter, centered 9 in from the top of the board | 6 in (plus or minus 1/8 in), center 9 in (plus or minus 1/8 in) from the back edge |
| Front edge height | 3 to 4 in above the ground | 2.5 to 3.5 in above the ground |
| Back height | 12 in to the top of the playing surface | Top of the board 12 in (plus or minus 1/2 in) above the ground |
| Finish wording | Finished and sanded to a smooth texture; high gloss latex paint or varnish allowed; bags should slide but not slide back down | A finished coat with a smooth texture |
| Banned on the surface | Foreign substances such as Pledge, talc powder, baby powder, silicone sprays | Foreign substances added after purchase, such as baby powder, cleaning spray, silicone sprays |
Neither rulebook names a product, so any smooth, hard coating that meets the wording is fair game. For the full measurements see our page on official cornhole board dimensions, and for what a tournament board actually ships with see what ACL boards are finished with.
Clear Coat Options Compared, From the Maker Sheets
This is the comparison most finishing guides skip: the use rating and the timing numbers printed by the makers, side by side. Every figure comes from the linked Minwax or Rust-Oleum page.
| Clear coat | Rated for | Recoat | Ready for normal use | Coats listed |
|---|---|---|---|---|
| Minwax Polycrylic (brush) | Interior only | 2 hours | 24 hours | Three recommended |
| Minwax Polycrylic Max | Interior use only | 2 hours, if a second coat is wanted | 24 hours (light use after 1 hour) | One coat, second optional |
| Minwax Helmsman Spar Urethane | Interior and exterior | 4 hours | 24 hours | Two, or three for exterior surfaces and unfinished wood |
| Rust-Oleum Painter’s Touch 2X Clear Spray | Sheet gives no use rating for outdoor durability | New finish: within 30 minutes or after 48 hours | Fully dry in 24 hours | Two or more light coats |
Minwax lists its dry times at 77 degrees F and 50 percent relative humidity, and Rust-Oleum lists its at 70 degrees F and 50 percent relative humidity, so cooler or damper days run longer.
Polycrylic Max is for interior use only. Source: Minwax Polycrylic Max product data sheet
That row is the correction to a common tip. Polycrylic is popular because it cleans up with water and dries fast, and many guides recommend it for any board. Our reading of the sheets, which is judgment and not a Minwax statement, is that it suits a set that lives indoors, while a board that sits on a deck or in a garage should get a finish rated for exterior wood.
How to Finish Cornhole Boards, Step by Step
This order combines the ACO surface wording with the instructions on the Minwax and Rust-Oleum sheets above.
- Sand the playing surface smooth: The ACO calls for a finished, sanded-smooth surface with little to no blemishes that could disrupt or distort play.
- Remove all dust: Wipe or vacuum the dust off before any primer or paint goes on, since Minwax calls for a surface free of wax, grease and foreign matter.
- Prime the bare wood: Spray primers can be recoated within 1 hour or after 48 hours per Rust-Oleum, so plan the next coat inside or outside that window.
- Paint the color coats: Apply thin, even coats of paint and let each one dry before taping off any design.
- Seal with a clear coat: Brush a thin coat of clear finish, following the maker’s recoat time for the product you chose.
- Sand lightly between clear coats: Use very fine 220 grit sandpaper between coats, as Minwax directs, and wipe off the dust.
- Wait before playing: Minwax lists 24 hours before normal use after the final coat.
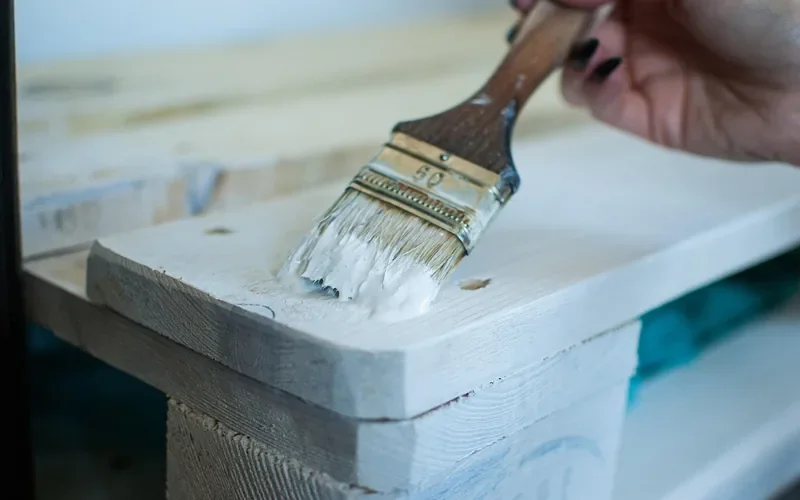
For help with timing between coats of paint, see our guides on sanding between coats of paint and painting wood furniture. If you still need a board to finish, our DIY cornhole board plans cover the build.
The Recoat Window Trap With Spray Paint and Clear Coat
Brush finishes forgive a long wait, but Rust-Oleum’s spray products do not. Its Painter’s Touch 2X clear spray sheet says that on a new finish you should recoat within 30 minutes or after 48 hours, and its primer sheet says within 1 hour or after 48 hours. The sheet gives no reason, so treat the gap in between as a no-go zone and wait for the 48 hour mark.
The same sheets say previously coated surfaces must be sound and in good condition, and that smooth or glossy finishes should be sanded to create a surface profile. That is the rule to follow if you miss a window: wait it out, then sand lightly before the next coat.
Refinishing or Restoring an Old Cornhole Board
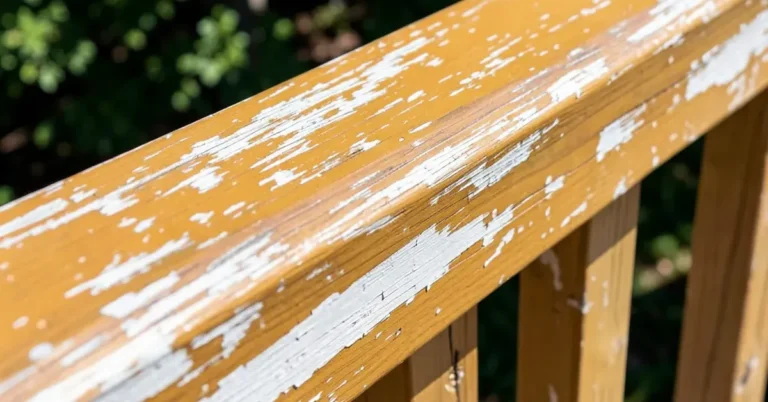
Start by judging the old finish. Rust-Oleum’s sheets say a previously coated surface must be sound, so peeling or flaking areas need to be scraped back to a firm edge before anything new goes on. Glossy areas that are still sound should be sanded so the new coat has something to grip.
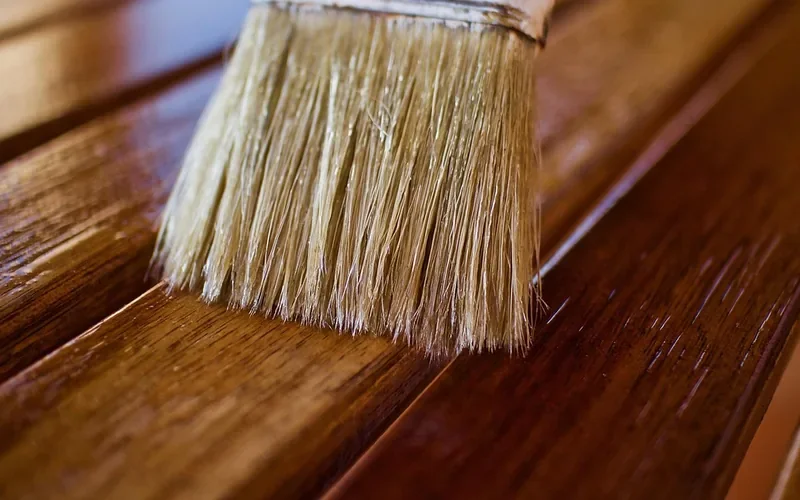
Old paint carries a safety issue. Both Rust-Oleum sheets and the Minwax sheet warn that scraping, sanding or removing old paint may release lead paint dust, which is toxic, and tell you to wear a NIOSH approved respirator and clean up with a HEPA vacuum and a wet mop. A board painted decades ago is worth treating that way, especially if children play on or around it.
Once the old finish is prepped, follow the same primer, paint and clear coat order as above. If the real complaint is that bags have started to stick, our guide to making cornhole boards slippery covers the options and which ones are legal for sanctioned play.
What Not to Put on the Playing Surface
Wax, furniture polish and powders are tempting fixes for slow boards, but both organizations ban them. The ACO rules list Pledge, talc powder, baby powder and silicone sprays as foreign substances that may not be applied to the playing surface or the bags. The ACL rules ban baby powder, cleaning spray and silicone sprays on a board after it is purchased, and allow a dry cloth for wiping only.
If you play only in the backyard, the rules do not bind you, but those products wear off unevenly and leave a slick patch. A cured clear coat is the lasting fix. Once the boards are done, our tips on storing cornhole boards help the finish last through the off-season.
Frequently Asked Questions About Finishing Cornhole Boards
What is the best finish for cornhole boards?
For boards that will be used outdoors, a gloss clear spar urethane over exterior paint is our pick. Minwax rates Helmsman Spar Urethane for interior and exterior wood and lists UV blockers, while its Polycrylic is rated interior only. The ACO allows a high gloss latex paint or varnish on the playing surface.
Can you use Polycrylic on outdoor cornhole boards?
Minwax says no. Its Polycrylic product page lists the location as interior, and the Polycrylic Max data sheet says for interior use only. If a board will ever sit on a patio or in a garage, use a clear finish the maker rates for exterior wood, such as a spar urethane.
How long before you can play on cornhole boards after the last coat?
It depends on the product. Minwax lists 24 hours before normal use for both Polycrylic and Helmsman Spar Urethane, and Rust-Oleum lists a spray clear coat as fully dry in 24 hours. Those times assume about 70 to 77 degrees F, so cold or humid days need longer.
What sandpaper do you use between coats of clear finish on cornhole boards?
Minwax says to sand lightly with very fine 220 grit sandpaper between coats of Polycrylic or Helmsman Spar Urethane to get an even finish and proper adhesion of the next coat. Wipe the dust off before the next coat goes on.
Can you put wax or powder on cornhole boards to make bags slide?
Not for sanctioned play. The ACO bans foreign substances such as Pledge, talc, baby powder and silicone sprays on the playing surface, and the ACL bans baby powder, cleaning spray and silicone sprays on a board after purchase. For a backyard game it is your call, but a cured clear coat is the lasting fix.
Conclusion
Prime, paint in thin coats, then seal with a gloss clear coat rated for where the board will live, and give it 24 hours before the first game. Use the table above to match the clear coat to the setting, and check the can for its own recoat time, since the maker’s number always overrides ours.
Sponsored / affiliate links. As an Amazon Associate I earn from qualifying purchases. I may earn additional commission from eligible campaigns.