How to Fix Cedar Shingles on a Roof: Expert Tips and Tricks
Fixing cedar shingles on a roof can seem daunting. But with the right guidance, it’s doable.
Cedar shingles add charm and durability to your roof. Over time, they can wear out or get damaged. Fixing them is essential to maintain your roof’s integrity and appearance. This guide will walk you through the steps to repair or replace cedar shingles.
Whether you are a seasoned DIY enthusiast or a beginner, you’ll find this information useful. With some basic tools and patience, you can restore your roof. Let’s dive in and ensure your roof looks great and performs well.
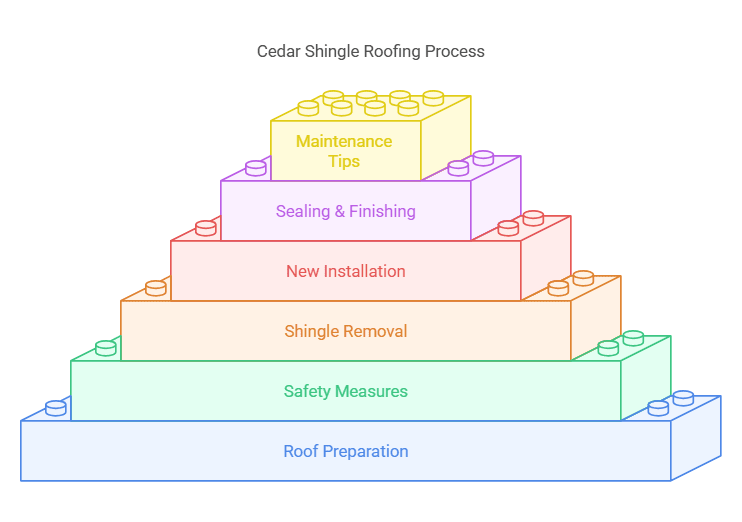
Preparing The Roof
Preparing the roof involves fixing cedar shingles to ensure durability. First, align the shingles correctly. Then, nail them firmly in place.
Inspecting For Damage
Check the roof for broken or missing shingles. Look for signs of rot or mold. Ensure the roof is dry before you start. Safety is important, so use a sturdy ladder. Wear non-slip shoes for better grip.
Gathering Necessary Tools
Gather all tools before starting. You will need a hammer, nails, and a utility knife. Also, get a pry bar and a tape measure. Keep a chisel handy for tough spots. Don’t forget new cedar shingles.
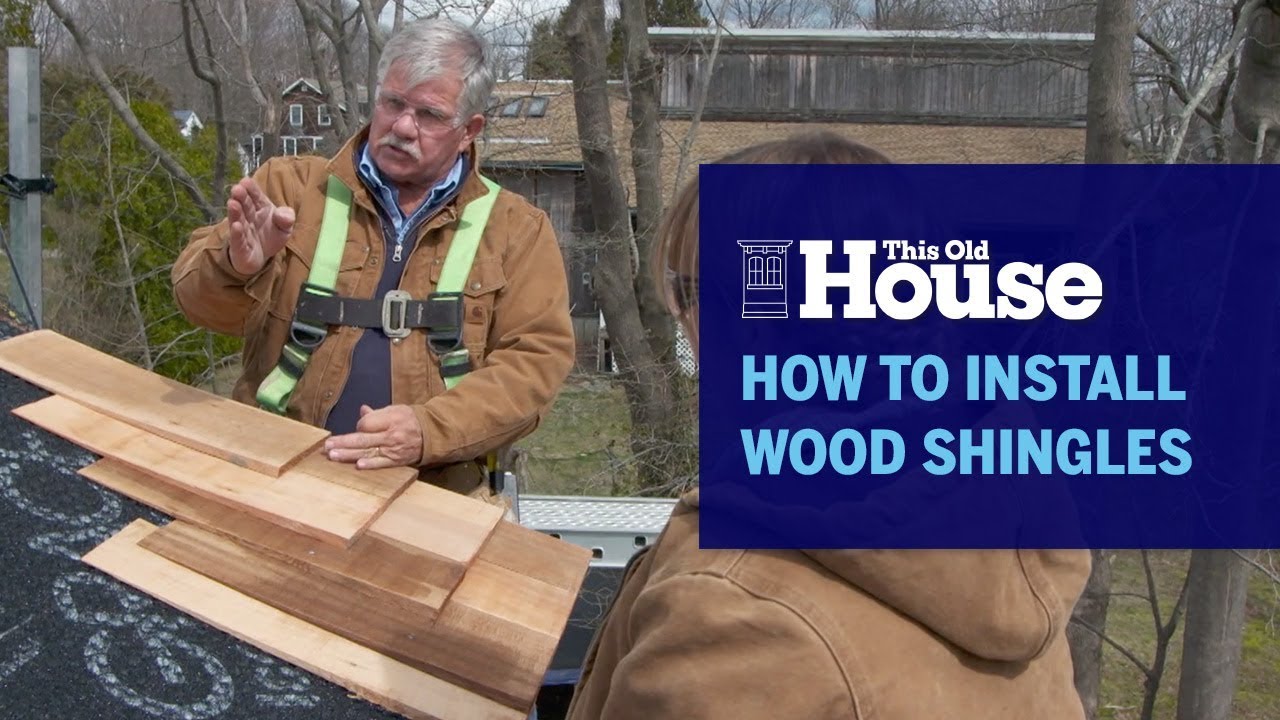
Credit: www.youtube.com
Safety Precautions
Wear sturdy gloves and non-slip shoes to prevent accidents. Use a harness when working on steep roofs for extra safety.
Wearing Protective Gear
Before starting, wear all necessary protective gear. A hard hat protects your head from falling objects. Safety glasses keep dust and debris out of your eyes. Wear gloves to protect your hands from sharp edges. Non-slip shoes help you stay balanced on the roof. These items are crucial for your safety.
Setting Up Ladders Securely
Ensure your ladder is on a flat, stable surface. Use a ladder stabilizer for extra safety. Check that the ladder rungs are clean and dry. Always maintain three points of contact when climbing. Have someone hold the ladder base if possible. Secure the top of the ladder to the roof edge. This prevents it from slipping or moving. These steps are essential for safe ladder use.

Removing Old Shingles
Removing old shingles involves prying them off carefully to avoid damaging the roof. Use a flat bar to lift the shingles and remove any nails. This process prepares the roof for new cedar shingles, ensuring a clean surface for installation.
Lifting Shingles Carefully
Start by sliding a pry bar under the shingle. Lift it gently to avoid breaking it. Use a hammer to help lift stubborn shingles. Pull out any nails you find. Be patient and take your time. Avoid damaging the roof beneath the shingles.
Disposing Of Debris
Collect all the old shingles in a large trash bin. Make sure to remove any loose nails too. Wear gloves to protect your hands from sharp edges. Dispose of the debris responsibly. Your local waste center may have specific rules. Check before disposing.
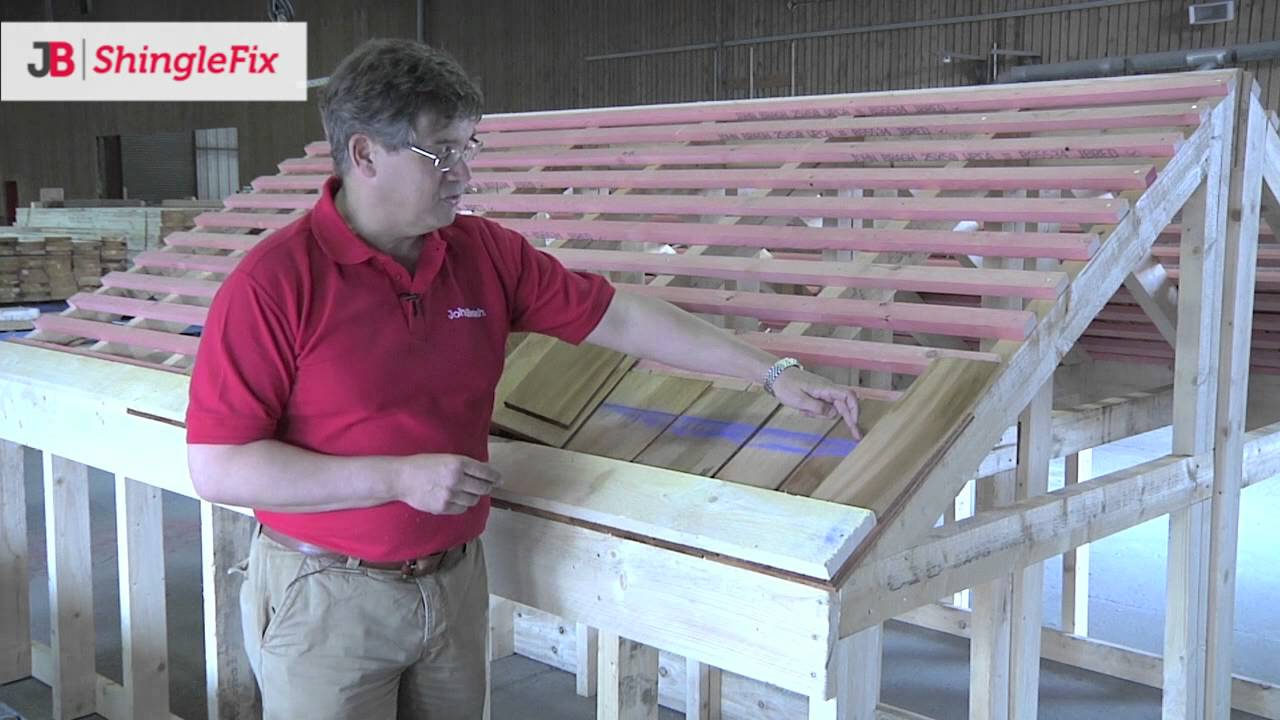
Credit: www.youtube.com
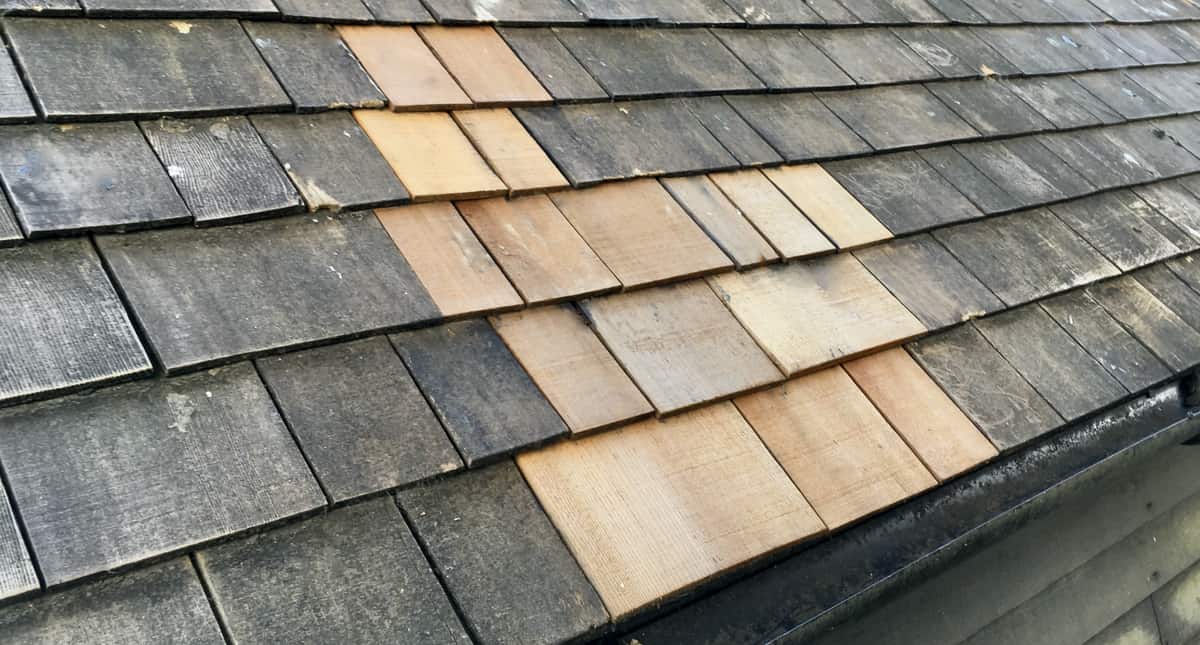
Installing New Cedar Shingles
Pick high-quality cedar shingles. These will last longer and look better. Check for cracks or splits. Avoid those. Thicker shingles are stronger. They hold up better in bad weather. Select evenly cut shingles for a neat finish. Check the wood grain. Straight grain is best. It resists warping and cracking. Always buy a few extra. They can replace damaged ones later.
Start at the bottom edge of the roof. Lay the first row of shingles. Make sure they overlap slightly. This prevents water from seeping in. Use a level tool. Check that each shingle is straight. Align them carefully. Secure each shingle with two nails. Place nails about an inch from the edges. This keeps them in place. Move to the next row. Stagger the shingles. This means they don’t line up exactly. It helps with water drainage.
Nailing Techniques
Use galvanized nails. They do not rust. Nails should be 1 ¼ inches long. They must have a wide head. Wide heads hold shingles well. This keeps shingles from falling off.
Place nails 1 inch from the edge. Do not nail too close. This can split the shingle. Two nails per shingle. Place nails evenly. This gives strong support. Nails must go through the thick part of the shingle. Proper placement keeps the roof secure.
Sealing And Finishing
First, clean the shingles. Remove any dirt or debris. Use a brush for this. Next, choose a good sealant. Make sure it’s for cedar. Apply the sealant evenly. Cover all parts of the shingle. Let it dry completely. This may take a few hours. Repeat if needed. Two coats are often best.
Look for any gaps between shingles. These can cause leaks. Use a flashlight if needed. Fill gaps with sealant. Be sure to fill them well. Check for loose shingles too. Tighten or replace them. A good inspection can save time later.
Weatherproofing
Start by installing a waterproof barrier under the shingles. This barrier stops water from seeping in. Next, add a felt underlayment. It provides extra protection. Secure it with staples or nails. Make sure it is flat and smooth. Overlap each layer by a few inches. This keeps water out. Finally, install a drip edge at the roof’s edge. It directs water away from the roof.
Check that gutters are clear of debris. Blocked gutters cause water to back up. This can damage the shingles. Also, make sure the roof has a slight slope. A flat roof holds water. Water should run off the roof easily. Install ridge vents if needed. These help air flow under the shingles. Proper ventilation keeps the roof dry.
Maintenance Tips
Check your cedar shingles at least twice a year. Look for cracks, splits, or missing shingles. Early detection of issues can prevent bigger problems. Inspect after heavy storms. Wind and rain can damage shingles. Replace any damaged shingles quickly. This keeps your roof strong.
Clean your cedar shingles once a year. Use a soft brush to remove dirt and debris. Avoid using pressure washers. They can damage the wood. Mild soap and water work best. Rinse well to remove all soap. Moss and algae can grow on shingles. Use a mild bleach solution to clean them. Rinse thoroughly after cleaning.
Frequently Asked Questions
How Do You Prepare Cedar Shingles For Repair?
Before repairing, clean the area and remove debris. Inspect for damaged shingles. Gather necessary tools and materials for the repair.
What Tools Are Needed To Fix Cedar Shingles?
You will need a hammer, nails, pry bar, utility knife, and replacement shingles. Safety gear is also recommended.
How Do You Remove Damaged Cedar Shingles?
Use a pry bar to lift and remove the damaged shingles. Carefully remove nails and clear the area.
What Is The Process For Installing New Cedar Shingles?
Align the new shingle with existing ones. Nail it into place, ensuring proper overlap. Trim any excess.
Conclusion
Fixing cedar shingles on a roof can be simple. Follow the steps mentioned. Ensure safety first. Use proper tools. Check for damage regularly. Replace broken shingles promptly. This keeps your roof strong. Protects your home from leaks. With these tips, your roof will last longer.
Keep an eye on it. Happy fixing!