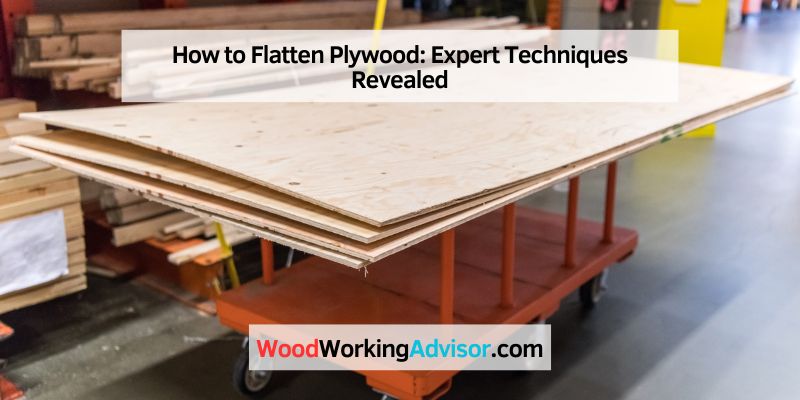
How to Flatten Plywood: Expert Techniques Revealed
To flatten plywood, follow these steps: Moisturize the board’s concave side, place weights on top, and let it sit until flat. For a comprehensive guide, read on.
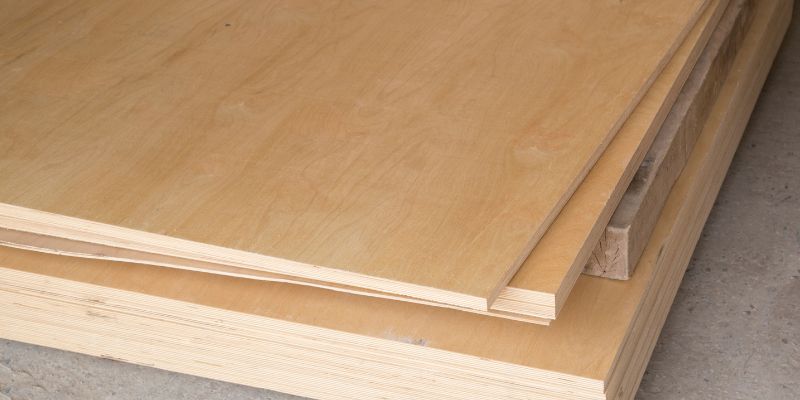
Plywood is a versatile material widely used in construction and woodworking projects. However, sometimes plywood sheets may have a slight bend or curve, which can be problematic. Fortunately, there are simple techniques you can use to flatten plywood and ensure a smooth and level surface.
By carefully moisturizing and applying pressure, you can restore the plywood to its original flatness. We will explore the step-by-step process of how to flatten plywood effectively, allowing you to tackle your projects with confidence. So, let’s dive in and learn the tricks of the trade to achieve perfectly flattened plywood.
Choosing The Right Plywood
When it comes to flattening plywood, choosing the right plywood is important. Using the wrong type of plywood can result in a less-than-satisfactory outcome. In this section, we will discuss how to select the correct plywood for flattening, considering factors such as plywood grades and quality.
Understanding Plywood Grades
Plywood is available in different grades, which indicates the quality and appearance of the plywood. The grading systems may vary depending on the country, but generally, plywood is classified into several grades, including A, B, C, D, and lower grades. Each grade has its own specific characteristics and recommended uses.
Here is a summary of the commonly used plywood grades:
| Grade | Description |
|---|---|
| Grade A | High-quality plywood with minimal imperfections and a smooth, consistent appearance. |
| Grade B | May have slight imperfections and patches but is generally suitable for visible applications. |
| Grade C | More noticeable imperfections and patches are often used for structural purposes. |
| Grade D | Intended for applications where the appearance is less important, primarily used for construction. |
It’s important to note that the grading system may vary slightly between manufacturers, so it’s essential to closely examine the plywood before making a purchase.

Selecting The Correct Plywood For Flattening
When selecting plywood for flattening, there are a few key factors to consider. Here are some important things to keep in mind:
- Grade: Choose a grade that suits your specific needs. If you require a smooth and flawless surface, opt for higher-grade plywood. If appearance is less important, you can consider lower-grade options.
- Size and Thickness: Determine the size and thickness requirements for your project. Ensure that the plywood you select meets these specifications.
- Quality: Inspect the plywood for any warping, delamination, or visible defects. Choose plywood with good structural integrity and minimal flaws.
- Intended Use: Consider the purpose of the plywood. If you intend to use it for framing or structural purposes, plywood with a lower grade may be suitable. However, if you need a smooth and even surface, opt for a higher-grade plywood.
- Cost: Determine your budget and balance it with the quality and grade of plywood that best meets your requirements.
By considering these factors and selecting the correct plywood, you can ensure that your plywood flattening project is successful and achieves the desired results.
Preparation And Tools
In order to properly flatten plywood, you need to make sure you have the right tools and prepare your work area properly. This will ensure that you achieve the best results and minimize any potential mistakes. Below, we will go through the necessary tools you will need and how to prepare your work area for the flattening process.
Gathering Necessary Tools
Before you start flattening your plywood, gather the following tools to ensure a smooth and efficient process:
- A circular saw
- A sander or sandpaper
- A measuring tape
- A workbench or sawhorse
- Clamps or weights
- Safety goggles
- Ear protection
Having these tools handy will make the flattening process much easier and safer.
Preparing The Work Area
Now that you have your tools ready, it’s time to prepare your work area. Follow these steps to ensure a suitable work environment:
- Find a spacious and well-ventilated area, preferably outdoors or in a well-lit garage.
- Clean the workspace to remove any debris or objects that could interfere with the flattening process.
- Set up your workbench or sawhorses, making sure they are stable and provide a solid surface for working.
- Measure the size of the plywood you will be flattening and ensure you have enough space to accommodate it.
- Secure the plywood to the workbench or sawhorses using clamps or weights to prevent it from moving during the flattening process.
- Put on your safety goggles and ear protection to protect yourself from potential hazards.
By following these steps, you will create a safe and organized work environment, allowing you to flatten plywood effectively and efficiently.
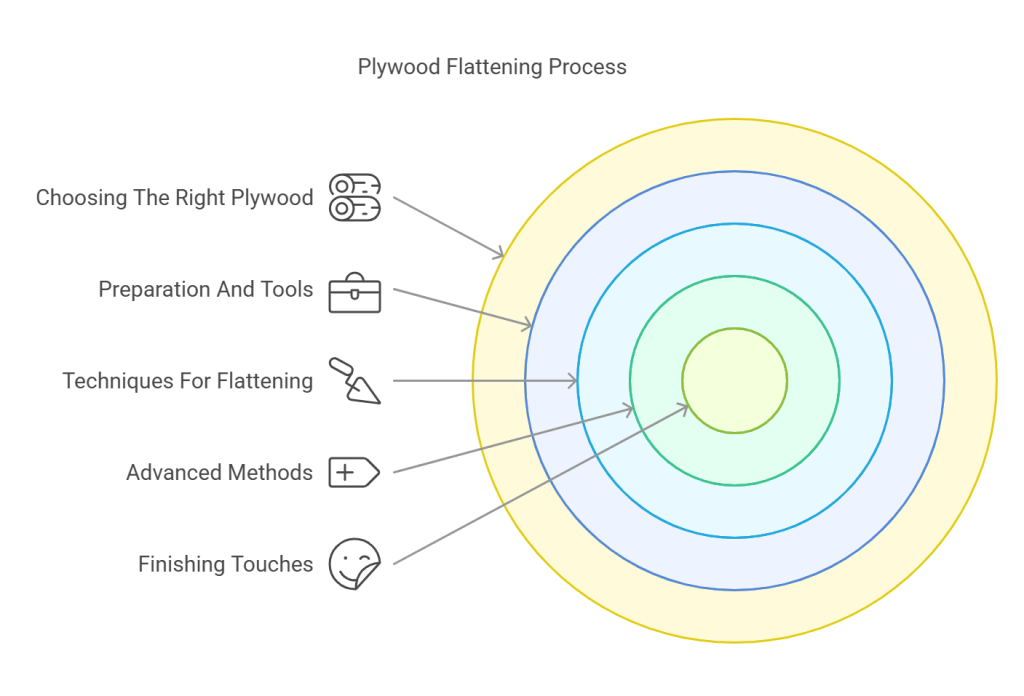
Techniques For Flattening
Using Moisture To Flatten Plywood
One effective technique for flattening plywood is to use moisture to correct warping. It involves applying moisture to the concave side of the plywood. This causes the wood fibers to expand, which can help to straighten the plywood. Below we will discuss how to use moisture to correct warping.
Applying Pressure To Correct Warping
Another effective technique for flattening plywood is to apply pressure to correct warping. By applying pressure to the convex side of the plywood, it may be possible to force the plywood back into a flat shape. This method is particularly useful for smaller pieces of plywood that can be easily manipulated. Let’s discuss how to apply pressure to correct warping for plywood effectively.
Advanced Methods
In addition to the basic methods of flattening plywood, there are advanced techniques that can yield even better results. These methods involve creating a plywood press and utilizing heat and weight to flatten the plywood effectively.
Creating A Plywood Press
One advanced method for flattening plywood is by creating a plywood press. This involves building a press that applies pressure evenly across the surface of the plywood, effectively flattening it out.
To create a plywood press, you will need the following materials:
- Plywood sheets
- Wooden beams
- Bolts and nuts
- Clamps
Here is a step-by-step process for building a plywood press:
- Start by cutting the plywood sheets to the desired size for your press.
- Next, assemble the wooden beams into a rectangular frame that matches the dimensions of your plywood sheets.
- Secure the wooden beams together using bolts and nuts, making sure the frame is sturdy.
- Place the plywood sheets between the wooden frame, ensuring they are flat and even.
- Tighten the clamps around the frame to apply pressure evenly across the plywood.
- Leave the plywood in the press for at least 24 hours to allow it to flatten.
Utilizing Heat And Weight
Another advanced method for flattening plywood is by utilizing heat and weight. This technique involves applying heat to the plywood and placing weight on top of it to encourage flattening.
Here is a step-by-step process for utilizing heat and weight to flatten plywood:
- Start by placing the plywood on a flat surface.
- Using a heat gun or blowtorch, apply heat evenly across the surface of the plywood.
- Be careful not to overheat the plywood, as it can cause damage.
- Once the plywood has been heated, place weights on top of it to apply pressure.
- Ensure the weights are evenly distributed to prevent warping or bowing.
- Leave the weights on the plywood for at least 24 hours to allow it to flatten.
By employing these advanced methods, you can achieve a perfectly flat plywood surface for your projects. Whether you choose to build a plywood press or utilize heat and weight, these techniques can help you achieve professional results.
Finishing Touches
After successfully flattening plywood, it’s time to move on to the final steps to ensure the best possible result. These finishing touches will not only enhance the appearance of your plywood but also protect it from wear and tear in the long run. In this section, we will explore two essential steps: sanding and smoothing the flattened plywood, and applying a protective finish.
Sanding And Smoothing The Flattened Plywood
Sanding is a crucial step in achieving a smooth surface on your plywood. It helps to remove any imperfections or rough edges left behind during the flattening process. Start by using coarse-grit sandpaper (around 80 or 100 grit) to tackle any noticeable bumps or high spots.
Once you have eliminated the major irregularities, switch to a finer-grit sandpaper (around 120 to 150 grit). This will provide a smoother finish and prepare the surface for the final touches. Use smooth, even strokes in the direction of the wood grain to avoid causing any scratches or damage.
Remember to wipe away the dust between sanding sessions to ensure a clean working surface. This will help you to achieve a flawless finish.
Applying A Protective Finish
Now that your plywood is smooth and ready, it’s time to protect it from moisture, scratches, and general wear. Applying a protective finish will not only prolong the lifespan of your plywood but also give it a more polished look.
There are various options for protective finishes, such as polyurethane varnish or epoxy resin. Before applying any finish, make sure to read the product instructions carefully and follow the recommended application methods.
Using a brush or roller, apply a thin and even coat of the protective finish to the plywood. Ensure that you cover every surface, including the edges, for comprehensive protection. Allow the first coat to dry completely before applying additional coats, if necessary.
If desired, sand lightly between coats to create an even smoother finish. Finally, let the last coat dry according to the manufacturer’s instructions. Your plywood is now ready to be used for your desired project!
Frequently Asked Questions For How To Flatten Plywood
Can You Flatten Out Warped Plywood?
Yes, you can flatten warped plywood. Place it on a flat surface with weight on top. Moisture and heat can also help.
How Do You Flatten Warped Wood?
To flatten warped wood, follow these steps:
1. Identify the warp and determine if it’s minor or major.
2. Apply moisture to the concave side of the wood.
3. Use heavy objects to weigh down the warped area.
4. Wait for the wood to dry and check if it’s flat.
5. Repeat the process if necessary.
How Do You Flatten A Plywood Floor?
To flatten a plywood floor, follow these steps:
1. Inspect the floor for any uneven areas or bumps.
2. Use a leveling compound to fill the low spots and create a smooth surface.
3. Sand down any high spots until the floor is even.
4. Clean the floor thoroughly before proceeding with any further flooring installation.
5. Consider adding an underlayment for additional stability if needed.
Does Plywood Warp With Heat?
Yes, plywood can warp with heat due to its natural tendency to expand and contract. To prevent this, store plywood in a cool, dry area and avoid exposing it to direct sunlight or extreme temperatures. Regular maintenance and protective coatings can also help minimize warping.
Conclusion
Flattening plywood requires patience and the right tools. By following the steps outlined in this guide, you can achieve a smooth and even surface for your woodworking projects. Remember to take your time and use the proper techniques to ensure the best results.
With practice and dedication, you can master the art of flattening plywood for all your DIY endeavors.