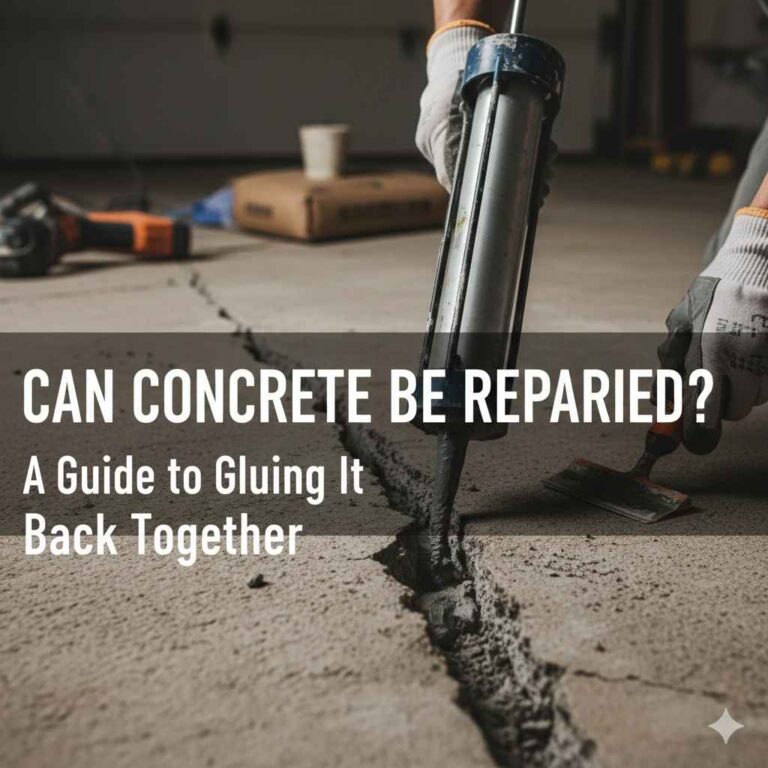
How to Glue Pebbles Together: Easy Techniques for Lasting Adhesion
To glue pebbles together, use a strong adhesive like epoxy or a waterproof construction adhesive. These adhesives will bond the pebbles together securely.
Now, let’s explore some tips and techniques for gluing pebbles together. When you want to create a unique craft project or enhance the appearance of your garden, gluing pebbles together can be a great solution. The process is simple and requires just a few materials.
By following a few easy steps, you can create stunning pebble art or even make functional items like coasters or paperweights. We will guide you on how to glue pebbles together effectively using the right adhesive and techniques. So, let’s dive into the details and get started on your pebble-gluing journey.
Choosing The Right Adhesive
When it comes to gluing pebbles together, selecting the right adhesive is crucial. With various options available, it’s important to consider a few factors before settling on the perfect adhesive for your pebble project. Taking into account the nature of the pebbles and the desired outcome will help you make an informed decision. Let’s explore some considerations for selecting adhesives and the types of adhesives suitable for pebbles.
Considerations For Selecting Adhesive
Before diving into the world of adhesives, there are a few important considerations to keep in mind:
- Surface compatibility: It’s essential to choose an adhesive that adheres well to the surface of the pebbles. This will ensure a strong bond that withstands wear and tear.
- Indoor or outdoor use: If your pebble project is intended for outdoor display, select an adhesive that is weather-resistant and able to withstand changes in temperature and humidity.
- Clear or colored adhesive: Depending on the desired aesthetic, you can select a clear adhesive that seamlessly blends with the pebbles or a colored adhesive that adds a unique touch to your project.
Types Of Adhesives Suitable For Pebbles
Now that we’ve covered the considerations, let’s take a look at some common types of adhesives that work well for bonding pebbles:
| Adhesive Type | Description |
|---|---|
| Epoxy resin | A strong adhesive that provides excellent adhesion and durability. It is resistant to water and temperature changes, making it ideal for both indoor and outdoor projects. |
| Silicone adhesive | A flexible and waterproof adhesive that is well-suited for outdoor use. It offers good adhesion and flexibility, allowing for natural movement of the pebbles. |
| Construction adhesive | This adhesive provides a strong bond and is suitable for permanent installations. It is ideal for large-scale pebble projects that require a durable and long-lasting bond. |
| Hot glue | A quick and easy adhesive option that works well for small pebble crafts. It is not recommended for outdoor use or projects that involve continuous exposure to water. |
Remember, always follow the manufacturer’s instructions when using any adhesive, and allow sufficient curing time before handling your glued pebbles. With the right adhesive and proper execution, you can create stunning pebble art and crafts that will impress everyone.
Surface Preparation
Surface preparation is an essential step when it comes to gluing pebbles together. In order to ensure a strong and long-lasting bond between the pebbles, it is important to clean them thoroughly and create a suitable surface for the adhesive to adhere to. Let’s explore the steps involved in surface preparation.
Cleaning The Pebbles
Cleaning the pebbles is the first step in surface preparation. Before applying any adhesive, it is crucial to remove any dirt, dust, or debris from the pebbles to achieve a clean and smooth surface. Here’s how you can clean the pebbles:
- Gather all the pebbles you intend to glue together.
- Rinse the pebbles under running water to remove any loose dirt or particles.
- Use a brush or toothbrush to gently scrub the pebbles, ensuring you reach all the crevices.
- Rinse the pebbles again to remove any remaining dirt or cleaning solution.
- Allow the pebbles to air dry completely before moving on to the next step.
Creating A Suitable Surface
Once the pebbles are clean, the next step is to create a suitable surface that allows for proper adhesion. This involves roughening the surface of the pebbles to provide more contact points for the adhesive. Here are a few methods you can use to create a suitable surface:
- Use sandpaper to gently roughen the surface of each pebble.
- Alternatively, you can place the pebbles in a bag and lightly tap them with a hammer to create a textured surface.
- If you prefer a more natural look, you can skip the roughening step and proceed to the adhesive application directly.
By cleaning the pebbles and creating a suitable surface, you are setting the groundwork for a strong and durable bond between the pebbles. Now that surface preparation is complete, you can move on to the next step of gluing the pebbles together.
Techniques For Gluing Pebbles Together
When it comes to creating beautiful pebble art or designing eye-catching crafts, knowing the right techniques for gluing pebbles together is essential. Whether you’re working on a DIY project or an art piece, it’s important to understand the best methods for creating a sturdy bond between the pebbles. By mastering the following techniques for gluing pebbles together, you can ensure a long-lasting and visually appealing result.
Applying Adhesive
When gluing pebbles together, selecting the right adhesive is crucial. Epoxy adhesive is often the best choice for bonding pebbles, as it provides a strong and durable hold. Before applying the adhesive, ensure that the pebbles are clean and free from any debris. Apply a small amount of epoxy to each pebble’s contact point, avoiding excessive amounts that may create a messy appearance. Allow the adhesive to cure and bond the pebbles according to the manufacturer’s instructions.
Arranging Pebbles And Applying Pressure
Before applying adhesive, it’s important to arrange the pebbles in the desired pattern or design. You can use a small brush or tweezers to carefully position the pebbles, ensuring they are spaced evenly and aligned as per the design. Once the pebbles are in place, apply gentle pressure to encourage a strong bond between them. You can use your fingers or a small tool to press the pebbles firmly together, ensuring that the adhesive creates a solid connection.
Tips For Ensuring Lasting Adhesion
When it comes to gluing pebbles together, one of the biggest concerns is ensuring lasting adhesion. After all, you don’t want all your hard work to go to waste by having the pebbles come loose. Luckily, there are a few tips you can follow to ensure a strong and lasting bond between your pebbles.
Curing Time
Curing time plays a crucial role in the strength of the bond between your pebbles. It may be tempting to rush the process, but patience is key. Allow the adhesive to cure fully before subjecting the bonded pebbles to any stress or pressure. The exact curing time can vary depending on the adhesive you are using, so be sure to read the manufacturer’s instructions carefully. In general, most adhesives will require at least 24 hours to cure completely.
Protecting The Bonded Pebbles
Once your pebbles are glued together, it’s important to take steps to protect the bond and prevent any accidental damage. Avoid placing heavy objects on top of the bonded pebbles, as this can weaken the adhesive over time. Additionally, avoid exposing the bonded pebbles to extreme temperatures or moisture, as these factors can also compromise the bond. If your project is located outdoors, you may want to consider applying a sealant to provide an extra layer of protection.
To protect the bond, you should also handle the bonded pebbles with care. Avoid dropping or banging them, as this can cause the adhesive to crack or weaken. It’s also a good idea to avoid placing the bonded pebbles in high-traffic areas where they may be bumped or jostled regularly.
In conclusion, by following these tips for ensuring lasting adhesion, you can glue your pebbles together with confidence. Take your time with the curing process and protect the bonded pebbles from potential damage. With proper care, your glued pebbles will stay securely in place, adding a beautiful and unique touch to your décor or craft project.
Innovative Ideas For Gluing Pebbles
Gluing pebbles together opens up a world of creative possibilities. Whether you want to create stunning pebble artwork or add a touch of natural beauty to your home decor, the combination of pebbles and glue can help bring your ideas to life. In this section, we will explore some innovative ideas for gluing pebbles and explore the wonderful ways you can use them.
Creating Pebble Art
Pebble art is a unique and captivating form of creativity that allows you to transform ordinary pebbles into beautiful works of art. By using different shapes, sizes, and colors of pebbles, you can create stunning pictures or sculptures that will add a touch of nature to your living space. To get started with pebble art, follow these simple steps:
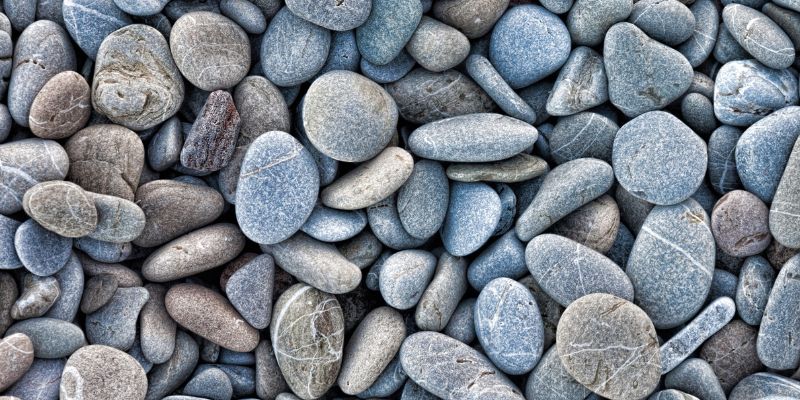
- Collect a variety of pebbles in different sizes and colors.
- Plan out your design by sketching it on a piece of paper.
- Prepare a strong adhesive suitable for outdoor use.
- Carefully glue the pebbles together, following your design.
- Allow the glue to dry completely before displaying your pebble art.
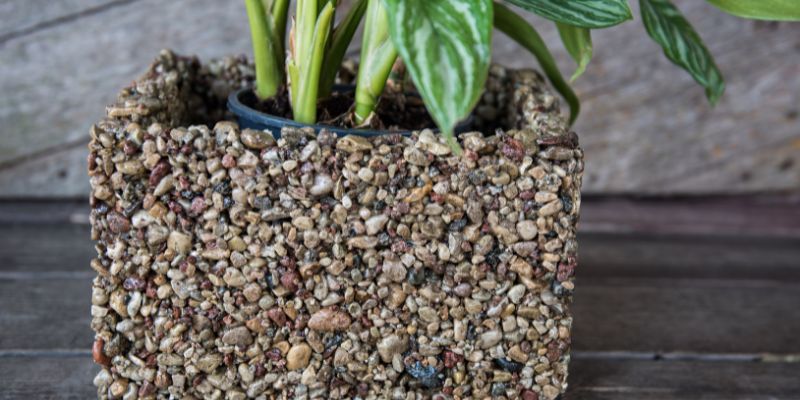
Decorative Uses For Glued Pebbles
Glued pebbles can be a versatile and eye-catching addition to your home decor. They effortlessly add a touch of natural beauty and texture to any space. Here are some decorative ideas to inspire you:
Garden Pathway:
Create a charming garden pathway by gluing pebbles together in a straight line or a pattern. The natural texture and earthy tones of the pebbles will enhance the overall ambiance of your garden.
Vase Fillers:
Add an organic touch to your floral arrangements by placing glued pebbles at the bottom of a vase. This not only provides stability to your flowers but also adds visual interest to your centerpiece.
Candle Holders:
Transform plain glass candle holders into elegant and rustic decor pieces by gluing pebbles around the sides. When the candles are lit, the pebbles will create a warm and inviting ambiance.
Key Holder:
Create a functional and decorative key holder by gluing pebbles onto a small wooden plank. Attach hooks to hold your keys, and you’ll have an attractive and practical addition to your home’s entryway.
By exploring these innovative ideas for gluing pebbles, you can unleash your creativity and bring the beauty of nature into your home. Whether through pebble art or decorative uses, this simple yet impactful craft provides endless possibilities for adding a unique touch to your surroundings.
Frequently Asked Questions Of How To Glue Pebbles Together
What Kind Of Glue To Use On Pebbles?
You can use clear outdoor adhesive or epoxy glue for pebbles. These types of glue are waterproof and provide a strong bond. Make sure to follow the instructions on the glue for best results.
What Is The Best Way To Glue Pebbles Together?
The best way to glue pebbles together is by using a strong adhesive like epoxy or silicone adhesive. Apply the adhesive to the pebbles and press them firmly together. Allow the glue to dry completely before moving or handling the pebbles.
What Kind Of Glue Will Hold Rocks Together?
Epoxy resin is a strong adhesive that is effective for bonding rocks together. It provides a durable and long-lasting bond, making it ideal for various rock crafts and projects.
What Kind Of Glue To Use On Stone?
For stone, use epoxy or construction adhesive. Ensure it is specifically designed for bonding stone materials.
Conclusion
Gluing pebbles together can be a fun and creative way to make unique crafts and decorations. With the right adhesive and technique, you can create beautiful and long-lasting projects that showcase the natural beauty of pebbles. Whether it’s for home decor or a DIY project, gluing pebbles together is a simple and rewarding activity that anyone can enjoy.