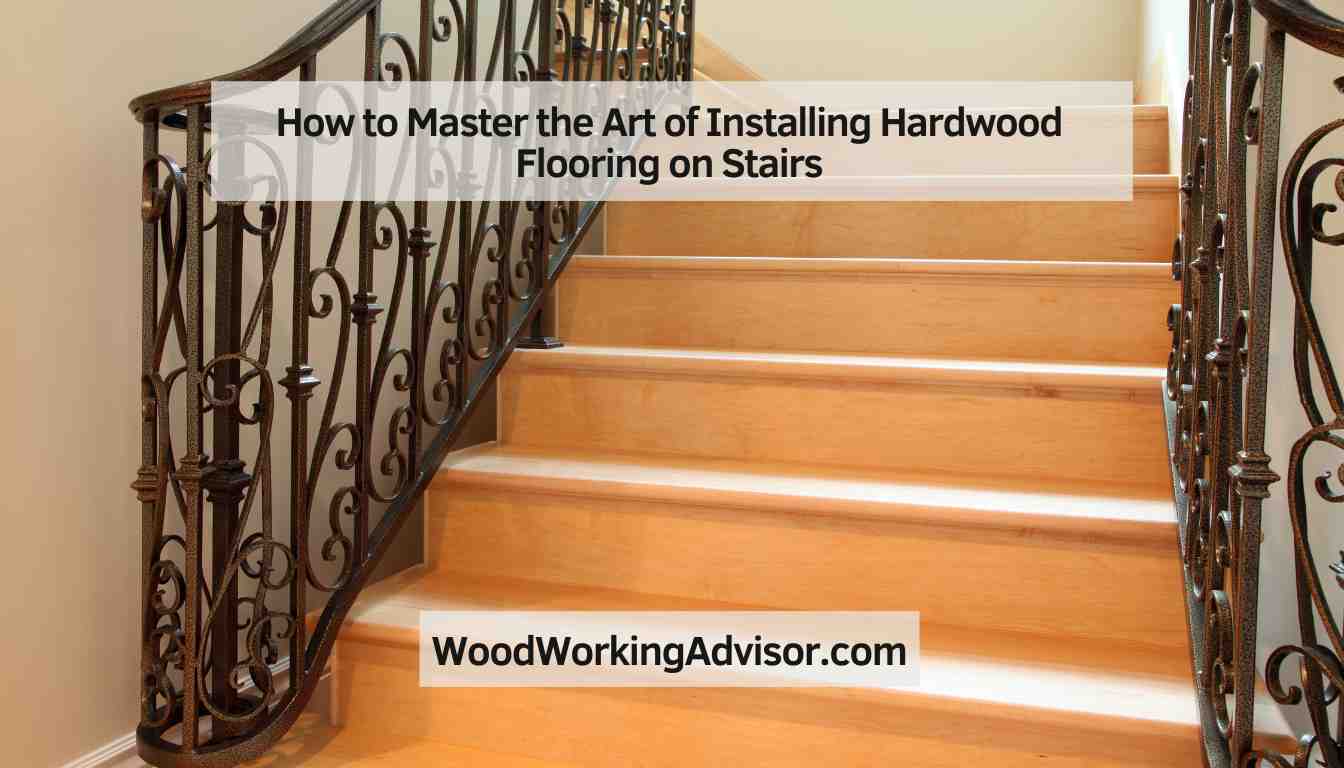
How to Master the Art of Installing Hardwood Flooring on Stairs
To install hardwood flooring on stairs, begin by measuring and cutting the treads and risers to fit securely. Then, use construction adhesive and nails to secure the hardwood in place.
Hardwood flooring on stairs can enhance the aesthetics of your home and increase its value. Whether you are looking to renovate your staircase or add a touch of elegance, installing hardwood flooring is a durable and stylish choice. By following a few simple steps and using the right tools and materials, you can achieve a professional-looking finish that will last for years to come.
In this guide, we will walk you through the process of installing hardwood flooring on stairs, from preparation to finishing touches. Let’s get started on transforming your staircase with beautiful hardwood flooring.
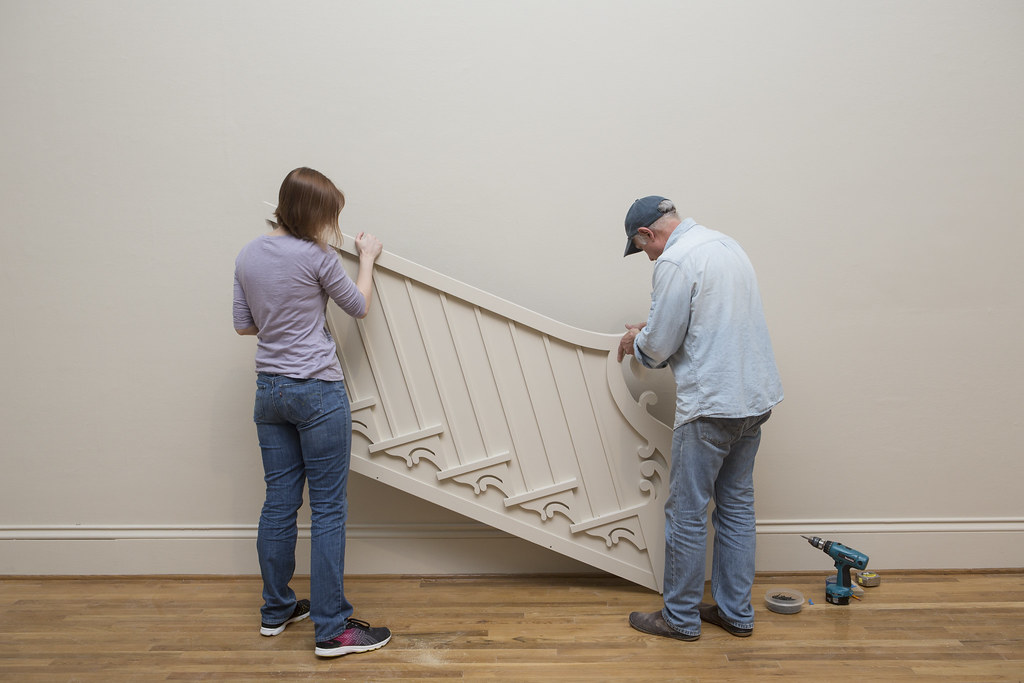
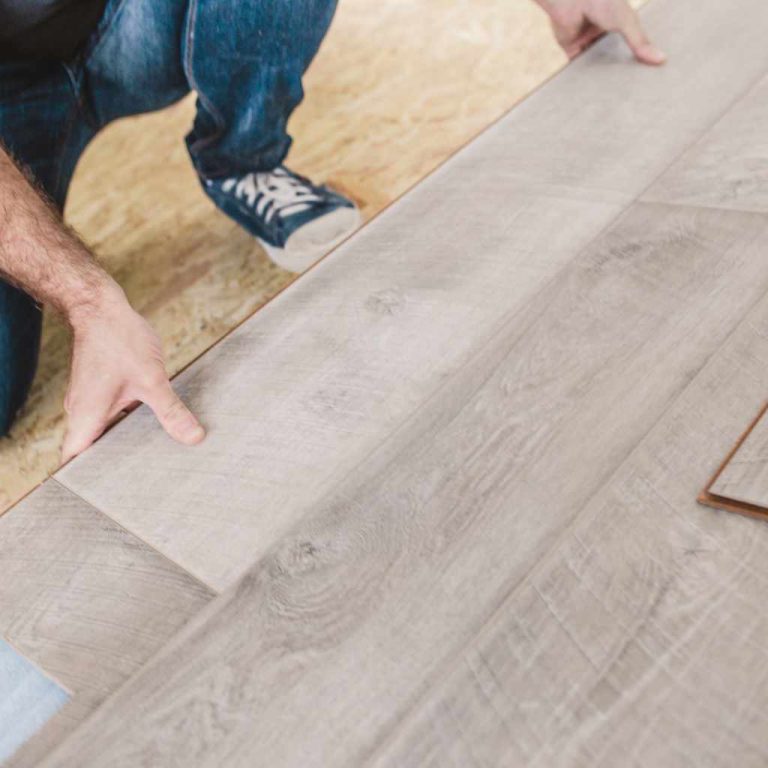
Credit: www.flickr.com
Selecting The Right Hardwood
When installing hardwood flooring on stairs, selecting the right hardwood is crucial for both aesthetics and durability.
Consider The Durability
Durability is key when choosing hardwood for stairs to withstand frequent foot traffic.
Choose The Right Wood Species
Each wood species varies in durability and appearance, so consider your desired look and maintenance level.
Preparing The Stairs
To install hardwood flooring on stairs, the first step is to prepare the stairs by removing any existing carpet, adhesive, and staples. Next, measure and cut the hardwood planks to fit each step, ensuring a snug fit. It’s essential to start from the top step and work downwards, securing each plank with adhesive and nails for a durable finish.
Measure And Plan
Begin by measuring the dimensions of your stairs accurately to determine how much hardwood flooring is needed.
Remove The Existing Finish
Carefully remove any existing finish on the stairs using a sander or chemical stripper. Make sure the surface is smooth and clean.
Acquiring The Necessary Tools
When it comes to installing hardwood flooring on stairs, acquiring the necessary tools is essential to ensure the job is done correctly and efficiently. Having the right tools at hand will make the process smoother and help achieve a professional-looking finish.
Essential Tools For The Job
Before getting started, it’s important to gather the essential tools for installing hardwood flooring on stairs. Here’s a list of the key tools required:
- Measuring tape
- Pencil
- Circular saw
- Table saw
- Chop saw
- Hammer
- Nail gun
- Screwdriver
- Adhesive and adhesive gun
- Level
- Claw bar
- Wood filler
Safety Equipment
Aside from the essential tools, investing in proper safety equipment is crucial for the installation process. It’s important to protect yourself during the installation. Here are the safety items you’ll need:
- Safety goggles
- Ear protection
- Dust mask
- Gloves
- Knee pads
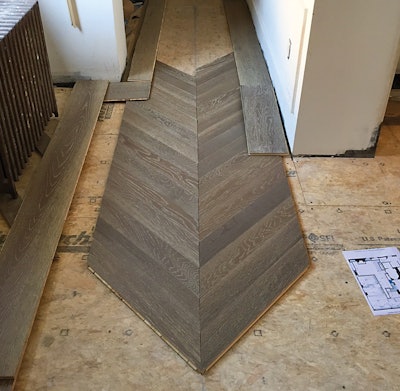
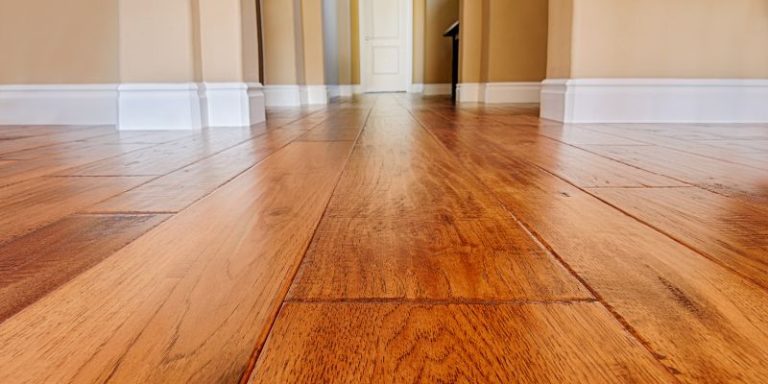
Credit: www.woodfloorbusiness.com
Installing The Hardwood Flooring
Discover the step-by-step process of installing hardwood flooring on stairs to upgrade your home’s aesthetic appeal and functionality. Begin by measuring accurately, removing the existing material, and securing the hardwood planks firmly in place. Transform your staircase with a touch of elegance and durability through proper installation techniques.
Now that you have prepared the stairs for the installation of hardwood flooring, it’s time to get to the main task – installing the hardwood flooring. This process involves two important steps: cutting and fitting the wood, and attaching the treads and risers. Let’s delve into each step and learn how to tackle them efficiently.
Cutting And Fitting The Wood
To ensure a precise fit and a professional finish, it is crucial to cut and fit the hardwood flooring properly for your stairs. Here’s how you can do it:
1. Begin by measuring the length and width of each tread and riser individually using a tape measure. Take accurate measurements to avoid any issues during installation.
2. Transfer these measurements onto the hardwood planks, marking them with a pencil or chalk for easy visibility.
3. Using a circular saw or a miter saw, carefully cut the marked hardwood planks following the measurements you made earlier. Make sure to wear protective goggles and gloves while cutting to prioritize safety.
4. After cutting the planks, place them on the stairs to check for a proper fit. If needed, make any necessary adjustments by trimming the edges with a hand saw or sanding the wood.
5. Once you are satisfied with the fit, lay the planks aside, ensuring they remain in the correct order for installation.
Attaching The Treads And Risers
Now that you have custom-cut hardwood planks for your stairs, it’s time to attach them. Follow these steps to securely attach the treads and risers:
1. Apply construction adhesive to the backside of each plank, ensuring to cover the entire surface.
2. Carefully place the adhesive-coated plank onto the corresponding stair, aligning it with the edges and ensuring a snug fit. Apply even pressure to bond the plank firmly to the stair.
3. Use a pneumatic nail gun or a hammer and finish nails to further secure the plank. Place the nails evenly along the edges of the plank, ensuring they penetrate the subfloor and provide a sturdy installation.
4. Repeat the process for each tread and riser until all the hardwood planks are installed.
5. Once the treads and risers are attached, wipe away any excess adhesive and clean up your work area.
Installing hardwood flooring on stairs requires precision and attention to detail. By cutting and fitting the wood accurately and securely attaching the treads and risers, you can achieve a beautiful and durable staircase that enhances the overall aesthetic of your home.
Finishing Touches
Elevate your staircase with the finishing touches by seamlessly installing hardwood flooring. Transform the look of your stairs with a stylish and durable solution that adds both beauty and functionality to your home. Ensure a professional finish by following these steps for a sleek and sophisticated upgrade.
Sanding And Staining
Once you have installed hardwood flooring on your stairs, it’s time to give them the perfect finishing touches. Sanding and staining not only enhance the appearance of your stairs but also protect them from wear and tear. Here’s how you can complete this step:
- Sand the stairs thoroughly using medium-grit sandpaper to smooth out any imperfections and create a proper surface for staining. Make sure to sand evenly along the grain of the wood.
- Clean the stairs using a vacuum or a damp cloth to remove any dust or debris. You want to start with a clean surface before applying the stain.
- Select a stain color that complements the overall theme of your home. You can choose from a wide range of colors, from light to dark, to achieve the desired look. Apply the stain using a brush or a rag, following the manufacturer’s instructions.
- Allow the stain to penetrate the wood for the recommended amount of time. This duration may vary depending on the specific stain you use, but typically it is around 10-15 minutes.
- After the stain has set, wipe off the excess stain with a clean cloth. Make sure to wipe along the grain of the wood to avoid streaking or uneven coloring.
- Let the stain dry completely before proceeding to the next step. This will usually take between 24 and 48 hours, depending on the humidity and temperature in your home.
Applying A Protective Finish
Once you are satisfied with the stain color, it’s time to apply a protective finish to your hardwood stairs. This step ensures the longevity of your flooring while adding an extra layer of sheen. Follow these steps to achieve a beautiful and durable finish:
- Choose a polyurethane finish that is specifically designed for hardwood floors. There are different types available, such as oil-based and water-based, so select the one that best suits your needs.
- Using a clean brush or roller, apply a thin and even coat of the polyurethane finish to the stairs. Start from the top and work your way down to ensure a smooth application.
- Allow the first coat to dry completely according to the manufacturer’s instructions. This may take anywhere from 4 to 8 hours.
- Once dry, lightly sand the stairs using fine-grit sandpaper to create a smooth surface. This step helps to remove any imperfections or bubbles that may appear during the drying process.
- Clean the stairs again to remove any dust or debris generated from sanding. A clean surface is essential for a flawless finish.
- Apply a second coat of the polyurethane finish, following the same technique as before. This second coat adds an extra layer of protection and provides a more polished look.
- Allow the stairs to dry completely before allowing any foot traffic. This typically takes 24 to 48 hours, depending on the specific product and temperature/humidity conditions.
By following these steps, you can achieve professional-looking and long-lasting hardwood flooring on your stairs. Remember to take your time during the finishing touches, as they play a crucial role in preserving the beauty and durability of your stairs for years to come.
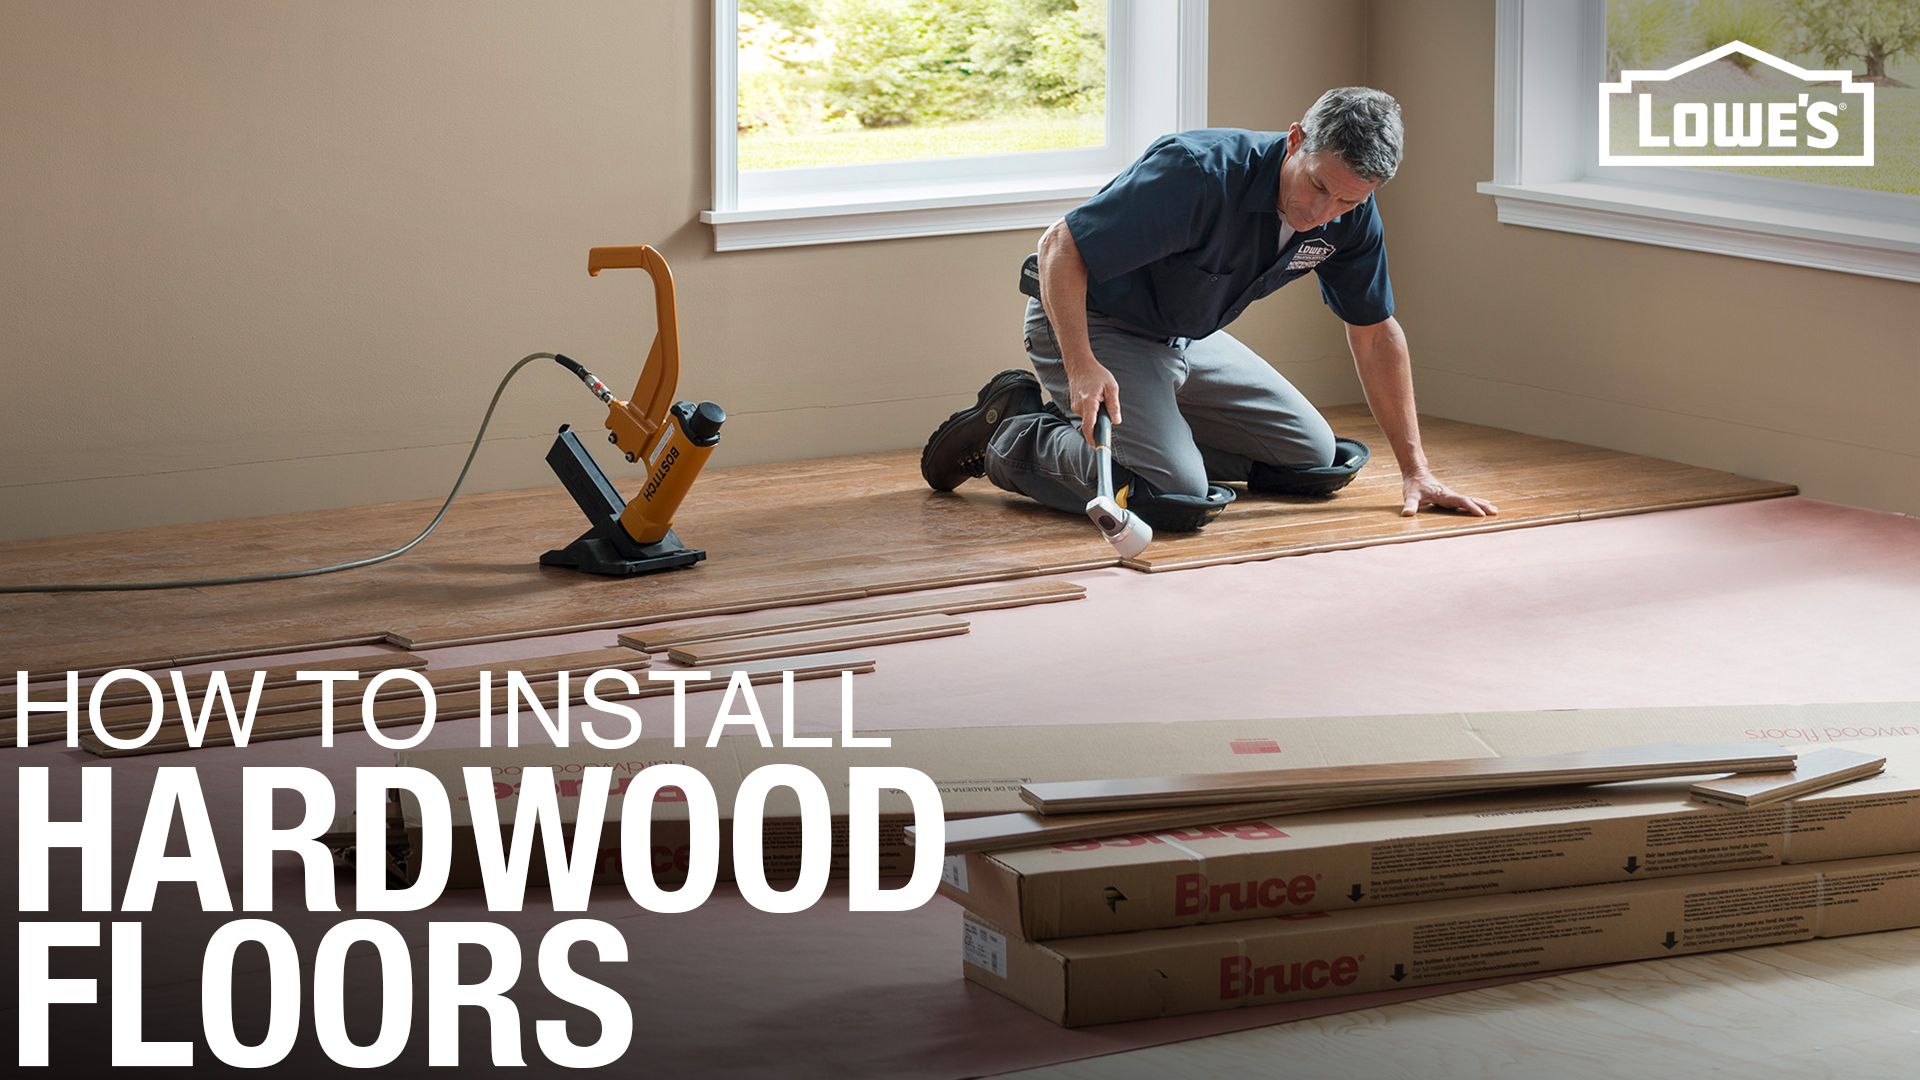
Credit: www.lowes.com
Frequently Asked Questions On How To Install Hardwood Flooring On Stairs
Can You Install Hardwood Flooring On Stairs?
Yes, you can install hardwood flooring on stairs. It adds elegance and durability to the stairs, enhancing the overall look of your home. This can be a professional job or a DIY project, but ensure that the stairs are structurally sound before installation.
How Do You Remove Carpet And Install Hardwood On Stairs?
To remove carpet and install hardwood on stairs, follow these steps:
1. Start by removing the carpeting and padding.
2. Inspect and repair any damage to the stairs.
3. Measure and cut the hardwood to fit each step precisely.
4. Install the hardwood using adhesive or nails.
5. Finish by sanding, staining, and sealing the hardwood for a beautiful final result.
How Do You Put Wood Down On Stairs?
To put wood down on stairs, follow these steps:
1. Measure stair dimensions accurately.
2. Cut wood pieces to fit stair measurements.
3. Use adhesive or nails to secure wood to each step.
4. Repeat the process for all steps.
5. Sand and finish the wood for a smooth, polished look.
Is It Expensive To Put Hardwood On Stairs?
Installing hardwood on stairs can be expensive, with costs varying based on the type of wood and labor involved. It’s important to budget for materials and professional installation to achieve an elegant, durable staircase. Prices can range from $1000 to $4000, depending on the specifics of the project.
Conclusion
To sum up, installing hardwood flooring on stairs is a challenging yet rewarding project that can elevate the aesthetic appeal of your home. By following the step-by-step process and utilizing the right tools and materials, you can achieve a professional and durable finish.
With proper care and maintenance, your hardwood stairs will continue to impress for years to come.