How to Join Two Boards Lengthwise: Edge and End-to-End Joints
“Lengthwise” can mean two different joints, and picking the wrong one wastes a day. If you want a wider panel, you glue boards edge to edge, and a plain glued edge joint is already stronger than the wood around it. If you want a longer board, you splice two ends together, and only a long scarf cut or a finger joint will hold. Here is how to do each one, with the numbers that matter.
Which Lengthwise Joint Do You Need?
Best Glue-Up Clamp Pair
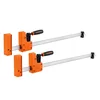 |
Jorgensen Cabinet Master 24-Inch Parallel Clamps, 2-Pack – $67.99 Edge joints only work if the clamps pull the glue line shut and keep the panel flat, and parallel-jaw bar clamps do both.
|
Match the joint to the goal. Wider panel (tabletop, shelf, workbench top): glue the long edges together. Longer board (molding run, stair stringer, long shelf): scarf joint or finger joint on the ends. Rough outdoor work such as deck steps: butt the ends over a support and fasten, covered near the end of this guide.
Edge Joints: Why Plain Glue Beats the Wood
Long grain bonds to long grain very well. Titebond’s own ASTM D-905 shear tests on hard maple list about 3,600 psi for Original and 4,000 psi for Titebond III, and in a well-made edge joint the wood usually fails before the glue line does. Our guide on how long PVA glue takes to dry has the full data sheet numbers, so we will not repeat that table here.
That leads to the most common misconception in panel glue-ups: that biscuits, dowels or splines make the joint stronger. In long-grain edges they do not add meaningful strength to the glue line. What they do is align the boards while you tighten the clamps. If you already have clamps and a flat jointed edge, a plain glued joint is enough, and the extra machining only adds chances for misalignment of its own.
Step by Step: Gluing Two Boards Edge to Edge
- Joint or plane both mating edges until the boards touch along the full length with no light showing through when held together. A hairline gap is acceptable only if the clamps can close it; a wide gap needs a re-cut.
- Dry-fit with the clamps set to the right opening. Mark the faces so you can reassemble in the same order, and pencil a triangle across the boards so the grain pattern lines up the same way every time.
- Spread an even coat of glue on one edge, or on both for dense hardwoods. Titebond Original gives you about 4 to 6 minutes of open time, so have everything ready first.
- Bring the boards together, line the faces up flush, and tighten the clamps until a thin, continuous bead of glue squeezes out along the full joint.
- Wipe squeeze-out with a damp cloth or scrape it once it gels, then leave the panel clamped for 30 to 60 minutes and untouched for about 24 hours before machining.
Clamp Spacing and Pressure
Titebond’s data sheets call for about 175 to 250 psi on hardwoods, 125 to 175 psi on medium woods and 100 to 150 psi on softwoods. You cannot measure that at the bench, so use the squeeze-out as your gauge: a thin, even bead means enough pressure, while glue squeezed out dry means you overtightened and starved the joint.
For spacing, a common rule of thumb is a clamp every 8 to 12 inches, with one about 2 inches from each end, alternating above and below the panel so the boards do not bow. Using a 10-inch spacing as the working number, here is the total clamp count by panel length.
| Panel length | Clamps at about 10 in spacing | Per side if alternating |
|---|---|---|
| 24 in | 3 | 1 above, 2 below |
| 36 in | 4 | 2 and 2 |
| 48 in | 5 | 2 above, 3 below |
| 60 in | 6 | 3 and 3 |
Also use cauls (straight scrap strips clamped across the panel) at the ends if the boards ride up. Gluing a lot of boards, such as a tabletop? Our guide on how much glue a tabletop glue-up takes covers the quantity side. Joining sheet goods instead of solid boards works the same way; see which glue works on MDF for edge-sizing, or our plywood box plans for joints on plywood.
What Biscuits, Dowels, Splines and Pocket Holes Actually Do
| Reinforcement | Adds strength to a long-grain edge joint? | What it is good for |
|---|---|---|
| Biscuit | No, alignment only | Keeping faces flush; see how to glue a biscuit joint |
| Dowel | No, alignment only | Registration on long panels; see gluing a dowel joint |
| Spline or tongue and groove | Little to none | Alignment, plus a mechanical key if the panel is stressed sideways |
| Pocket holes | Not for edge glue-ups | Right-angle joints; see whether a pocket-hole joint needs glue |
Grain Direction and Wood Movement in Glued Panels
Strength is not the usual reason an edge-glued panel fails. Cupping is. Boards cut from different parts of a log move differently with humidity, so alternating the end-grain growth-ring pattern from board to board helps flatten a panel over time. Remember that a wide panel still swells and shrinks across its width, so leave room for it in the frame; our wood movement calculator gives the clearance to plan for.
End-to-End Joints: Scarf and Finger Joints
Gluing square ends together mostly bonds end grain, which soaks up glue and holds poorly, and none of the edge methods above add length. Two joints do the job.
Scarf Joint: Slope Decides the Strength
A scarf cuts a long angled face on each end so you glue along the grain. In US Forest Products Laboratory tension tests, scarfs with a slope of 1 in 10 or 1 in 12 reached about 85 to 90 percent of the strength of clear wood, and a 1 in 20 slope reached roughly 95 percent. Steeper than about 1 in 8, strength drops off quickly. The cost of a flatter angle is length, shown here for 3/4-inch stock.
| Slope | Scarf length on 3/4 in stock | Tension strength vs clear wood |
|---|---|---|
| 1:8 | 6 in | Lower; strength falls fast when steeper than this |
| 1:10 | 7.5 in | About 85 to 90 percent |
| 1:12 | 9 in | About 85 to 90 percent |
| 1:20 | 15 in | About 95 percent |
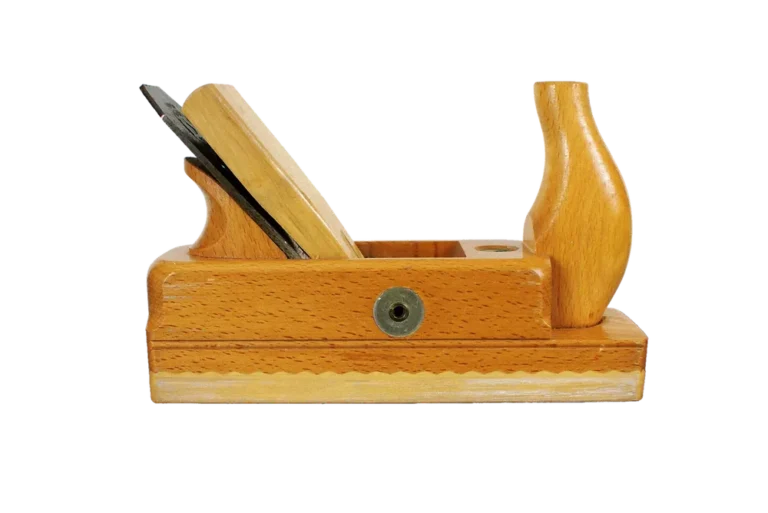
Cut both faces with a table saw taper jig, a router with a straightedge, or a hand plane, and dry-fit until the faces meet with no rocking. Glue both faces, then clamp with cauls so the angled faces do not slide apart under pressure. For outdoor or marine work, use epoxy or polyurethane glue, since standard PVA can creep under sustained load.
Finger Joint: Fast and Strong, but Visible
A finger joint cuts interlocking comb-like fingers into both ends, the same joint used in finger-jointed studs and paint-grade trim. A dado stack with a box-joint jig cuts it quickly. The glue lines stay visible after finishing, so use it for painted or hidden parts, and use a scarf where a clean stained surface matters.
Fastening Boards Together Without Glue
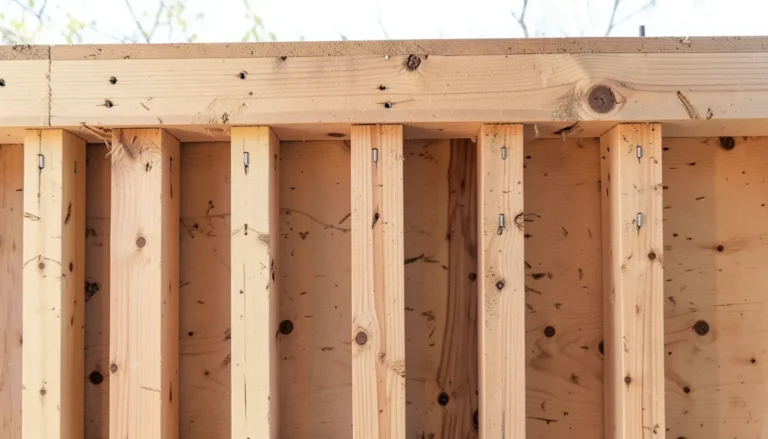
For framing, fence or deck steps, you can butt two boards end to end as long as the joint lands on a joist, block or backing piece that supports both ends. Stagger the end joints from row to row, drill pilot holes to prevent splitting (see pre-drilling holes for screws), and use at least two fasteners per board end. Screws driven into end grain alone hold poorly, so do not rely on them for a joint with no backing.
Common Mistakes
- Gluing boards whose edges are not straight. No amount of clamping closes a wide gap in a way that lasts.
- Skipping the dry-fit, which is the cheapest way to catch a bad edge before the glue starts setting.
- Overtightening clamps until the glue line runs dry.
- Cutting a scarf at too steep an angle to save time, which costs strength.
- Gluing end grain to end grain and expecting it to hold.
Frequently Asked Questions
What is the strongest way to join two boards lengthwise?
For boards glued edge to edge, a plain glued joint between two freshly jointed edges is the strongest practical option, because the glue line is typically stronger than the wood beside it. For boards spliced end to end, a scarf joint cut at 1:10 to 1:12 reaches roughly 85 to 90 percent of the strength of clear wood in tension, which a butt joint cannot match.
Do biscuits or dowels make an edge joint stronger?
Not in the glue line. In long-grain to long-grain joints they mainly keep the faces aligned while the glue sets. Use them if they make your glue-up easier, but do not count on them for extra strength.
How far apart should clamps be on an edge glue-up?
A common rule of thumb is one clamp every 8 to 12 inches, alternating above and below the panel so the boards do not bow. Add a clamp within a couple of inches of each end.
How long should I clamp a lengthwise glue joint?
With standard PVA wood glue, 30 to 60 minutes in the clamps for an unstressed panel, then roughly 24 hours before the joint carries real load or gets machined.
Can I join two boards end to end with screws or nails?
You can for rough work, such as framing or deck boards where the joint lands on a joist or block. For furniture or anything visible, use a glued scarf or finger joint instead, because screws in end grain hold poorly.
Sponsored / affiliate links. As an Amazon Associate I earn from qualifying purchases. I may earn additional commission from eligible campaigns.