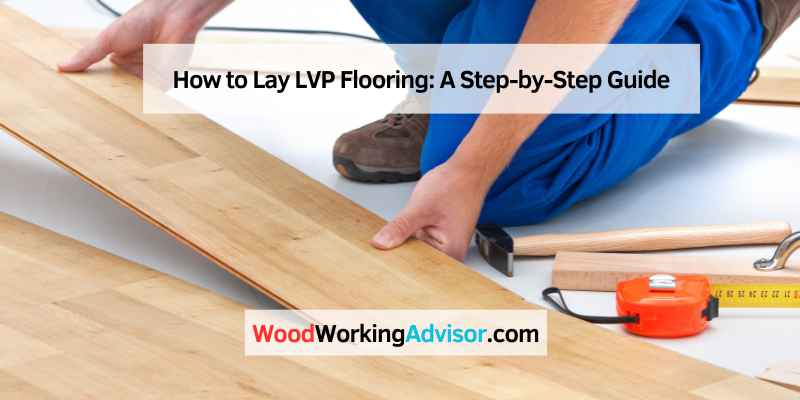
How to Lay LVP Flooring: A Step-by-Step Guide
To lay LVP flooring, start by preparing the subfloor and then snap planks together. Ensure a tight fit for each plank.
Laying Luxury Vinyl Plank (LVP) flooring can transform your space with its durability and aesthetic appeal. Before beginning, gather all necessary tools, including a utility knife, measuring tape, and a straight edge. Start by cleaning and leveling your subfloor to ensure a smooth installation.
Measure the room and plan the layout to minimize waste. Begin laying the planks from one corner, ensuring each plank snaps securely into place. Use spacers to maintain an expansion gap around the perimeter. Regularly check your progress to ensure the planks align properly. This methodical approach ensures a professional finish that enhances your home’s beauty.
Introduction To LVP Flooring
LVP flooring stands for luxury vinyl plank flooring. It is a popular choice for many homes. LVP looks like real wood but is more affordable. It is also easy to clean and maintain. Many people choose LVP because of its durability and water resistance.
LVP flooring is scratch-resistant. This makes it great for homes with pets. It also feels comfortable underfoot. LVP is easy to install. You can do it yourself. It comes in many styles and colors. You can find the perfect match for any room.
LVP works well in kitchens and bathrooms. It handles moisture better than wood. You can also use it in living rooms and bedrooms. It adds a warm touch to any space. LVP is perfect for basements too. It stays durable even in damp areas.
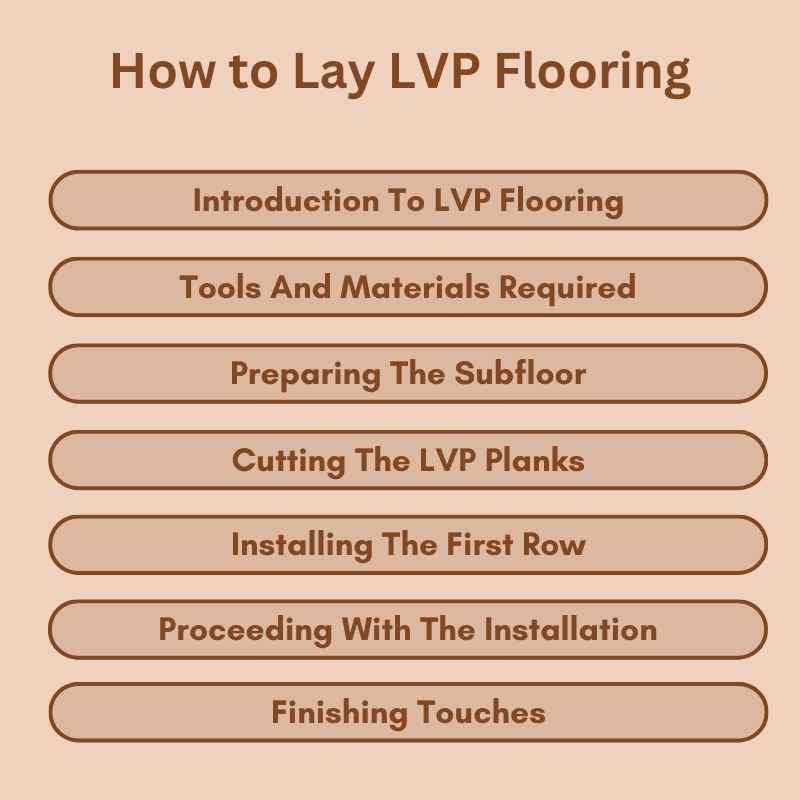
Tools And Materials Required
Gather essential tools like a utility knife, measuring tape, spacers, and a rubber mallet. Ensure you have materials including underlayment, adhesive, and the luxury vinyl planks (LVP).
Essential Tools List
You need a utility knife. It helps cut the LVP planks. Use a tape measure to measure the room. A rubber mallet is useful for tapping planks into place. Get a tapping block to protect the edges of the planks. You also need spacers to maintain expansion gaps. Lastly, have a pencil and straight edge for marking cuts.
Materials Needed For Lvp
Luxury Vinyl Plank (LVP) is the primary material. You need underlayment if the LVP does not have it attached. Keep adhesive handy if your planks require it. Transition strips are necessary for doorways. Finally, have quarter round molding to cover expansion gaps along the walls.
Preparing The Subfloor
Ensuring a clean, level subfloor is crucial for laying LVP flooring. Remove debris and repair any imperfections to create a smooth surface. Proper subfloor preparation prevents future issues and guarantees a flawless finish.
Cleaning The Base
Start by removing all furniture from the room. Use a broom or vacuum to clear away dust and debris. Check for any stains or sticky spots on the floor. Use a mop and a gentle cleaner to wipe away any grime. Make sure the floor is completely dry before moving on. A clean base ensures better adhesion for the LVP flooring.
Leveling The Surface
Inspect the floor for any bumps or dips. Use a leveling compound to fill in low areas. Sand down any high spots to make the floor even. A flat surface is crucial for easy installation. Check again with a level to ensure smoothness. This will help your LVP flooring last longer.
Planning Your Layout
Use a tape measure to get the room’s length and width. Write down the measurements on paper. Multiply the length by the width to get the total square footage. Add 10% extra to cover any mistakes or odd cuts. This ensures you have enough material. Check for any obstacles in the room, like vents or doorways. Measure these areas separately.
Choose a wall as your starting point. Make sure it is straight and clear of obstructions. Lay out a few planks to see how they will fit. Adjust the planks so you don’t end up with very narrow pieces at the edges. Snap a chalk line as a guide for the first row. This helps keep the planks straight and even.
Cutting The LVP Planks
Cutting LVP planks needs the right tools. Use a utility knife for straight cuts. A vinyl cutter makes quick, easy cuts. Miter saws help with angled cuts. Measuring tape and pencil are also important. Always wear safety glasses and gloves. Cutting mats protect surfaces while cutting.
Measure twice to ensure accuracy. Mark the plank with a pencil. Use a straight edge for a guide. Score the plank with a utility knife. Snap the plank along the score line. Use a miter saw for angled cuts. Practice cutting on scraps first.
Installing The First Row
Start by choosing a straight wall. Make sure it is clean. Place spacers along the wall. This will help with expansion. Lay the first plank with the tongue side facing the wall. Check the alignment carefully. Ensure the plank is straight. Adjust if necessary to make it perfect.
Connect the next plank to the first one. Use the click and lock method. Continue placing planks until the row is complete. Tap the planks gently with a rubber mallet. This will ensure they are secure. Double-check the spacing from the wall. Make sure the row is straight.
Proceeding With The Installation
Stagger the planks so the seams do not line up. This makes the floor look better. It also helps the floor stay strong. Start each row with a different length plank. This creates a random pattern. Use a saw to cut the planks to size. Always use safety gear when cutting. Leave a gap between the planks and the wall. This gap lets the floor expand. You can cover this gap with baseboards later.
Measure around obstacles like door frames or vents. Cut the planks to fit. Use a jig saw for detailed cuts. Make sure to leave a small gap around obstacles. This gap helps the floor to expand. You can use transition strips to cover these gaps. Lay the planks carefully around obstacles. Take your time to make sure everything fits well.
Finishing Touches
Properly installing LVP flooring requires attention to detail. Ensure each plank is snugly fitted and seams are seamless for a polished look.
Installing Baseboards
Baseboards add a clean look to your floors. Use a miter saw to cut the baseboards at the corners. Make sure the cuts are precise. Nail the baseboards into the wall, not the floor. This allows the floor to expand and contract. Fill the nail holes with wood filler. Paint the baseboards to match your room.
Sealing The Edges
Sealing the edges helps keep moisture out. Use a high-quality caulk. Apply the caulk along the edges of the room. Smooth the caulk with your finger or a caulk tool. Make sure the seal is even and smooth. This step protects your floor from water damage.
Maintenance And Care
Use a damp mop for cleaning LVP flooring. Avoid using harsh chemicals as they can damage the floor. Sweep or vacuum regularly to remove dust and dirt. Spills should be wiped immediately to prevent stains. Always use a soft cloth or mop to avoid scratches.
Place felt pads under furniture legs to prevent scratches. Use doormats at entrances to reduce dirt. Avoid dragging heavy items across the floor. Ensure pets’ nails are trimmed to prevent scratches. High heels can also cause damage, so be cautious.
Common Pitfalls To Avoid
Leaving gaps too small can cause issues. The floor needs room to expand. Without enough space, the boards can buckle. This looks bad and can cause damage. Always check the spacing guidelines. Follow them carefully to avoid problems.
Patterns should align correctly. Mismatched patterns look unprofessional. This can also make the floor weak. Lay out the pattern before you start. Double-check each piece as you go. This ensures a nice, even look. The floor will be strong and beautiful.
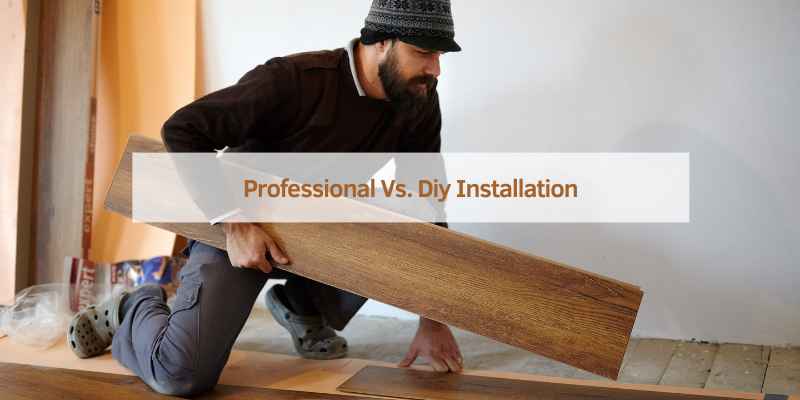
Professional Vs. DIY Installation
Laying LVP flooring can be a rewarding DIY project, but professional installation ensures flawless results. Professional installers bring expertise and tools, saving time and effort.
When To Call A Professional
Professional installers have the right tools and experience. They know how to handle tricky areas. If the floor is uneven, they can fix it. Professionals work faster and ensure a perfect finish. This saves you time and effort. For a large room, their help is valuable. If you feel unsure, it’s wise to call them.
Benefits Of DIY Installation
DIY installation can save you money. It’s fun and gives a sense of achievement. You work at your own pace. It lets you learn new skills. You can also take breaks when needed. This method is perfect for small rooms. Friends or family can help you. This makes the task enjoyable.
Frequently Asked Questions
What Is The Correct Way To Lay LVP Flooring?
To lay LVP flooring correctly, start with a clean, dry surface. Use a moisture barrier. Measure and cut planks accurately. Lay planks in a staggered pattern. Secure edges with spacers.
Where Do I Start When Installing LVP?
Start by preparing the subfloor, ensuring it’s clean, dry, and level. Measure and plan the layout. Begin installation from the left corner, aligning the planks properly. Use spacers to maintain expansion gaps. Follow the manufacturer’s instructions for best results.
How Do You Lay The First Row Of LVP?
Start with a clean, dry subfloor. Place spacers along the walls. Lay the first plank against the spacers, tongue side facing the wall. Connect subsequent planks end-to-end, ensuring tight seams. Use a rubber mallet to secure connections.
What Do You Lay Down Before Vinyl Plank Flooring?
Lay down a moisture barrier or underlayment before installing vinyl plank flooring. This ensures durability and comfort.
Conclusion
Laying LVP flooring can transform your space with its durability and style. Follow these steps for a professional finish. Remember to prepare the surface and measure accurately. Enjoy your new floor and the satisfaction of a job well done. Share your experience and tips with others to help them too.