
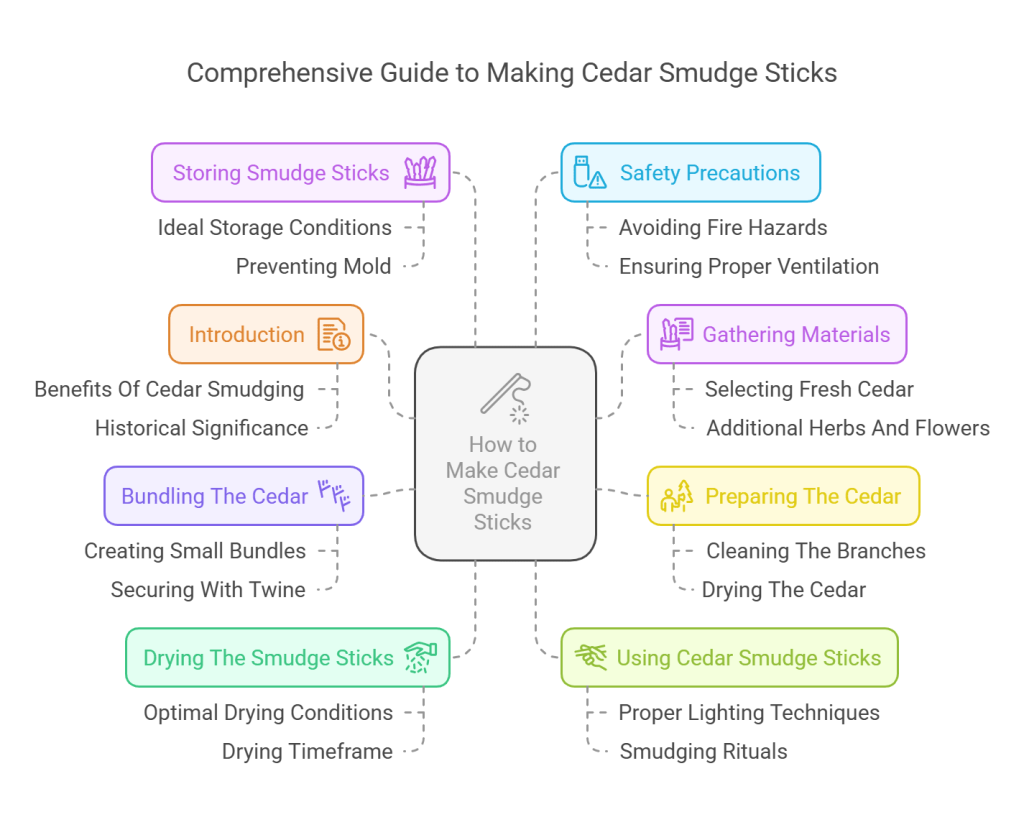
How to Make Cedar Smudge Sticks: A Step-by-Step Guide
Cedar smudge sticks are a popular tool for cleansing spaces and promoting positivity. They have been used for centuries in various cultures for their aromatic and purifying properties.
Learning how to make cedar smudge sticks is an enjoyable and rewarding process. Crafting your own smudge sticks allows you to connect with nature and create a personalized tool for your spiritual practices. Cedar, known for its calming and cleansing qualities, is an excellent choice for smudging.
By making your own smudge sticks, you ensure that the materials are fresh and sustainably sourced. Plus, it’s a fun and creative activity that can be done alone or with friends. In this guide, we will walk you through the steps to make your own cedar smudge sticks, so you can experience the benefits of this ancient practice.
Introduction To Cedar Smudge Sticks
Cedar smudge sticks are more than just bundles of pleasant-smelling branches. They are tools for cleansing spaces, bringing peace, and connecting with ancient traditions. If you have ever wondered how to make your own, you’re in the right place. It’s simpler than you might think, and the process is both rewarding and therapeutic. Let’s dive into the wonderful world of cedar smudge sticks.
Benefits Of Cedar Smudging
Using cedar smudge sticks offers a range of benefits. Here are a few:
- Purification: Cedar smoke is believed to cleanse and purify spaces, making them feel fresh and welcoming.
- Relaxation: The soothing aroma of cedar can help reduce stress and promote relaxation.
- Spiritual Connection: Many people use cedar smudge sticks to connect with their spiritual practices, finding peace and clarity in the process.
Historical Significance
Cedar has been used for smudging in various cultures for centuries. Let’s take a quick historical journey:
| Culture | Significance |
|---|---|
| Native American | Cedar is considered sacred and used in ceremonies to invite positive energy and spirits. |
| Ancient Egyptians | Cedar was used in mummification processes, symbolizing protection and preservation. |
| Celtic | Druids used cedar for its purifying qualities during rituals. |
As you can see, cedar smudge sticks are steeped in a rich tapestry of history and benefits. By making your own, you’re not only creating a tool for your well-being but also connecting with these age-old traditions. So, why not give it a try?
Gathering Materials
Before you can make cedar smudge sticks, you need to gather the right materials. Picking the best cedar and adding other herbs and flowers will make your smudge sticks special. Let’s dive into the details of what you need to get started.
Selecting Fresh Cedar
First, you need to find fresh cedar. Here’s how you can do that:
- Look for Healthy Trees: Check your local area for cedar trees. Choose trees that look healthy with green, vibrant leaves.
- Pick the Right Time: It’s best to gather cedar in the morning when the leaves are fresh. Avoid collecting after rain as the leaves will be too wet.
- Cut Carefully: Use sharp scissors or a knife to cut small branches. Be gentle to avoid harming the tree. Take only what you need.
Remember, the fresher the cedar, the better the aroma when you burn your smudge stick.
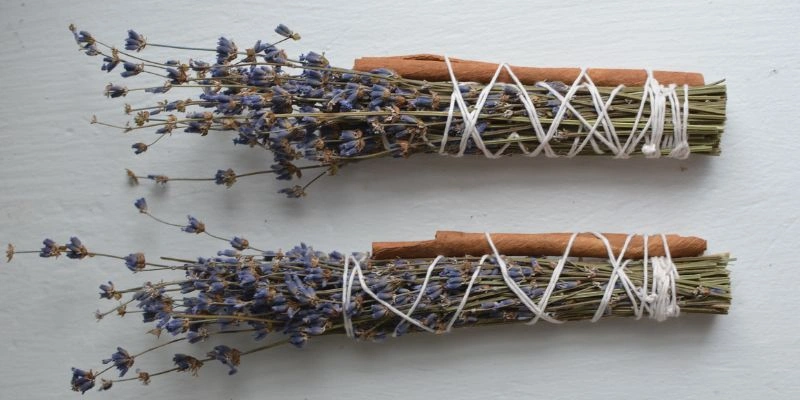
Additional Herbs And Flowers
Adding other herbs and flowers can enhance your smudge sticks. Here are some good choices:
- Rosemary: Known for its strong, earthy scent, rosemary can be a great addition.
- Lavender: Lavender adds a calming, sweet aroma that many people love.
- Sage: A traditional choice for smudging, sage has a powerful, cleansing scent.
- Flowers: You can add flowers like roses or marigolds for color and a delicate fragrance.
Mixing different herbs and flowers can create a unique scent profile. Experiment to find what you like best.
So, gather your cedar, herbs, and flowers, and get ready to craft your smudge sticks. In the next section, we’ll talk about assembling your materials into beautiful, aromatic bundles. Stay tuned!
Preparing The Cedar
Before making cedar smudge sticks, you must prepare the cedar. This step ensures your smudge sticks work well. Properly prepared cedar burns evenly and releases a pleasant aroma.
Cleaning The Branches
Begin by cleaning the cedar branches. Remove any dirt or debris. Use a damp cloth to wipe each branch. Ensure no insects or mold are present. Clean branches ensure a pure and fragrant smudge stick.
Drying The Cedar
After cleaning, it’s time to dry the cedar. Spread the branches out in a single layer. Place them in a well-ventilated area. Avoid direct sunlight to prevent discoloration. Let the cedar dry for a few days.
Check the branches daily. They are ready when they snap easily. Properly dried cedar burns better and lasts longer. Now, you are ready to make your smudge sticks.
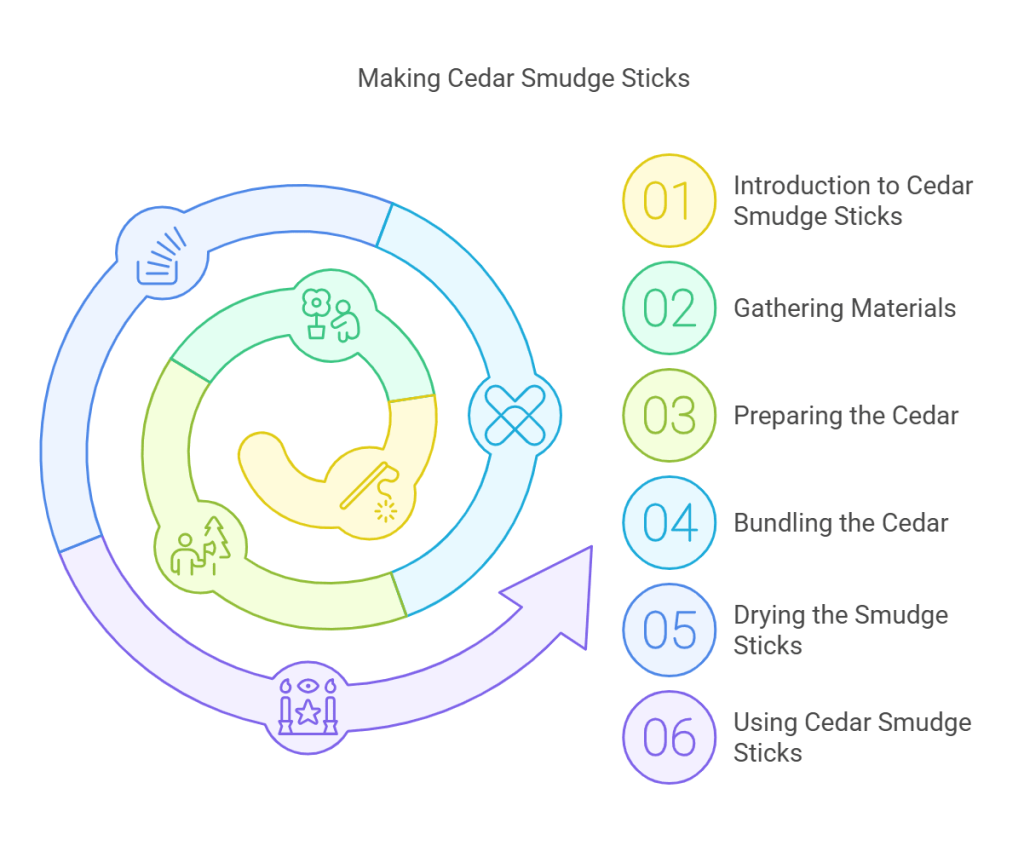
Bundling The Cedar
Creating cedar smudge sticks is a wonderful way to bring nature into your home. The process is straightforward and can be a fun activity for both beginners and seasoned crafters. One of the key steps is bundling the cedar. In this section, we’ll walk you through how to do it properly. Let’s get started!
Creating Small Bundles
First, gather your cedar branches. It’s best to use fresh cedar as it is more flexible and easier to handle. Now, let’s create small bundles:
- Take a few sprigs of cedar and place them together.
- Ensure the sprigs are aligned at the bottom.
- Make sure the bundle is not too thick or too thin. Aim for a diameter of about 1 inch.
Too thick, and it may not burn well; too thin, and it might fall apart. Think of it as Goldilocks—just right!
Securing With Twine
Once you’ve created a bundle, it’s time to secure it with twine. Here’s how:
- Start by tying the twine at the base of the bundle. Make a tight knot to keep the stems together.
- Wrap the twine around the bundle, moving upwards. Keep the wraps tight but not so tight that you crush the leaves.
- Once you reach the top, tie off the twine securely. You can leave a small loop if you want to hang the smudge stick for drying.
And that’s it! You’ve successfully bundled your cedar. This process not only prepares your smudge stick for drying but also ensures it burns evenly when used. Remember, practice makes perfect. Don’t worry if your first few attempts aren’t perfect. You’ll get the hang of it in no time!
By following these simple steps, you’ll have beautifully bundled cedar smudge sticks ready for use. Whether you’re making them for yourself or as gifts, this natural craft is sure to be a hit. Happy bundling!
Drying The Smudge Sticks
Drying your cedar smudge sticks is a crucial step. It ensures they burn evenly and release their aromatic properties. Proper drying prevents mold and keeps the sticks fresh. Follow these steps to dry your smudge sticks effectively.
Optimal Drying Conditions
Choose a well-ventilated area with low humidity. Good airflow is essential. You can hang the smudge sticks upside down. Use a string or place them on a drying rack. Avoid direct sunlight as it can cause the sticks to lose their potency.
Drying Timeframe
The drying process takes about two to three weeks. Check the sticks regularly. They should feel dry and slightly brittle to the touch. If they are still soft, allow more time to dry. Proper drying ensures the smudge sticks light up quickly and produce a steady stream of smoke.
Using Cedar Smudge Sticks
Cedar smudge sticks hold a special place in many traditions. They are used for cleansing spaces, objects, and people. Knowing how to use them correctly can enhance their benefits. Here, we will discuss proper lighting techniques and smudging rituals.
Proper Lighting Techniques
Lighting a cedar smudge stick requires a calm environment. First, find a safe, fireproof dish to catch the ashes. Hold the stick at a 45-degree angle. Use a match or lighter to light the tip. Let it burn for a few seconds. Then gently blow out the flame. The stick should produce a steady stream of smoke.
Smudging Rituals
Smudging rituals vary, but the basics are simple. Start at the entrance of your space. Move the smudge stick in a clockwise direction. Walk slowly and let the smoke reach every corner. If you are smudging a person or object, focus on the areas that need cleansing. Keep your thoughts and intentions clear. Visualize the smoke removing negative energies.
Storing Smudge Sticks
Storing smudge sticks properly keeps them potent and fresh. Proper storage extends their shelf life. Improper storage can lead to mold and loss of fragrance. Let’s explore the best ways to store your cedar smudge sticks.
Ideal Storage Conditions
Store smudge sticks in a cool, dry place. Keep them away from direct sunlight. Sunlight can cause the sticks to fade and lose their scent. Use an airtight container to protect them from moisture. Moisture can weaken the sticks and promote mold growth.
Place the container in a dark cupboard or drawer. This protects the sticks from light and maintains their potency. Avoid areas with fluctuating temperatures. Stable conditions are key for preserving their quality.
Preventing Mold
Mold can ruin your smudge sticks. To prevent mold, ensure they are fully dry before storing. Wet or damp sticks are prone to mold. Dry them in a well-ventilated area after use. Avoid storing them in plastic bags. Plastic can trap moisture and promote mold.
If you notice any signs of mold, discard the affected sticks. Mold can spread quickly to other sticks. Regularly check your stored smudge sticks. This ensures they remain fresh and mold-free.
Safety Precautions
Making cedar smudge sticks can be a delightful and rewarding activity. However, it’s essential to prioritize safety to ensure a pleasant experience. Here, we will discuss some crucial safety precautions to keep in mind while crafting and using your cedar smudge sticks.
Avoiding Fire Hazards
Fire safety is paramount when dealing with smudge sticks. Here are some simple steps to follow:
- Always keep a bowl of water nearby when burning your smudge stick. In case of an emergency, you can quickly extinguish the flames.
- Light the smudge stick carefully, using a long match or lighter to avoid burning your fingers.
- Never leave a burning smudge stick unattended. Ensure it is completely extinguished before leaving the room.
- Place a fireproof dish or bowl under the smudge stick to catch any falling ash or embers.
As a child, I once saw my grandmother use an old ceramic dish for her smudge stick. It was both practical and sentimental, a wise choice indeed!
Ensuring Proper Ventilation
Good ventilation is essential to avoid inhaling too much smoke, which can be overwhelming, especially in small spaces. Here are a few tips:
- Open windows and doors to allow fresh air to circulate. This helps disperse the smoke and keeps the air breathable.
- If possible, use a fan to help move the air around and clear the smoke faster.
- Avoid smudging in enclosed spaces like closets or small rooms. Opt for larger, open areas where smoke can dissipate easily.
I remember once trying to smudge in my tiny apartment bathroom—big mistake! The smoke was so thick I could barely see. Lesson learned: always ensure proper ventilation!
Frequently Asked Questions
Can You Smudge With Cedar?
Yes, you can smudge with cedar. It is commonly used for cleansing and protection in various rituals.
How To Dry Out Cedar For Smudging?
To dry out cedar for smudging, cut branches and remove leaves. Hang them in a cool, dry place for 1-2 weeks. Ensure proper air circulation for effective drying.
How To Make A Cedar Smudge Bundle?
To make a cedar smudge bundle, gather fresh cedar branches. Bind them tightly with natural twine. Let the bundle dry for a week. Trim the ends and store in a cool, dry place.
How To Burn Flat Cedar?
To burn flat cedar, use dry, seasoned wood. Light it in a fire pit or fireplace. Ensure proper ventilation.
Conclusion
Making cedar smudge sticks is simple and rewarding. Gather fresh cedar, dry it, and tie it tightly. Light it up, let the smoke flow, and enjoy the calming scent. It’s a peaceful ritual, connecting you with nature. Try it out and experience the benefits for yourself.
Smudging with cedar can cleanse your space and bring tranquility. Happy smudging!