How to Make Wood Swivel: Step-by-Step Guide – Woodworking Advisor
Wood swivel chairs are a great addition to any home. They are comfortable and stylish and can add a touch of class to any room. Here are some tips on how to make wood swivel chairs:
1. Choose the correct type of wood. Hardwood, such as oak or maple, is the best type of wood for swivel chairs. Softwoods, such as pine, will not last as long and may break more easily.
2. Cut the pieces to size. Cut the front and back legs slightly longer than the side legs so the chair will be stable when you sit in it. Cut the seat and backrest from plywood or MDF (medium-density fiberboard).
3. Assemble the chair frame. Drill pilot holes in the legs and screw them together with dowels or screws. Attach the seat and backrest to the frame using screws or nails.
4 . Install the swivel mechanism. Follow the manufacturer’s instructions for installing the swivel mechanism into the bottom of the seat.
Make sure that it is securely attached before proceeding.

Three swivel stools
- Find a piece of wood that you would like to use for your swivel
- Cut it to the desired size and shape
- Drill a hole through the center of the wood, making sure that it is wide enough to fit the dowel or rod that you will be using as the axle
- Insert the dowel or rod into the hole and secure it in place with glue or another bonding agent
- Attach the swivel base to one end of the wood piece, making sure that it can rotate freely
- Test out your new wood swivel by rotating it in place!
DIY Swivel Plate
If you’re looking for a quick and easy way to add some extra functionality to your furniture, consider adding a swivel plate! Swivel plates are great for chairs and stools that you want to move around quickly. They can also be used on oversized furniture like couches and beds.
Adding a swivel plate to your furniture is a relatively simple process that anyone can do. You’ll need a few tools and materials, including: – A drill.
– A screwdriver – A saw (if you’re cutting into the wood) – Swivel plates (you can find these at most hardware stores)
DIY Swivel Chair Base
A swivel chair base is a great way to add comfort and style to your home office. You can easily make your swivel chair base with simple tools and supplies. Here’s what you’ll need:
-1/2″ plywood
-1″ x 2″ lumber
-Circular saw
– Drill
– Jigsaw
– Screws
– Nuts and bolts
– Washers
– Upholstery foam
– Fabric First, cut the plywood and lumber to size according to the dimensions of your chair. Next, drill holes for the nuts and bolts to secure the two pieces together.
Be sure to countersink the holes so the heads of the screws are flush with the surface of the wood. Now it’s time to assemble everything! Place the upholstery foam on top of the plywood, then cover it with fabric.
Finally, attach the lumber piece to the underside of the seat using screws or nails. And that’s it – you’ve now made your swivel chair base!
Swivel Mechanism for Chair
Regarding chairs, all sorts of different mechanisms can be used to make them more comfortable and functional. One such mechanism is the swivel mechanism, which allows the chair to rotate on its base. This can be extremely helpful for those who need to move around while seated, giving them much more freedom of movement.
Additionally, it can help reduce the strain on the back and neck, as you won’t need to twist your body to reach something. Swivel mechanisms can be added to both office chairs and recliners, and they come in various styles. If you think that a swivel mechanism would be beneficial for you, then be sure to look for one when you are shopping for new furniture.
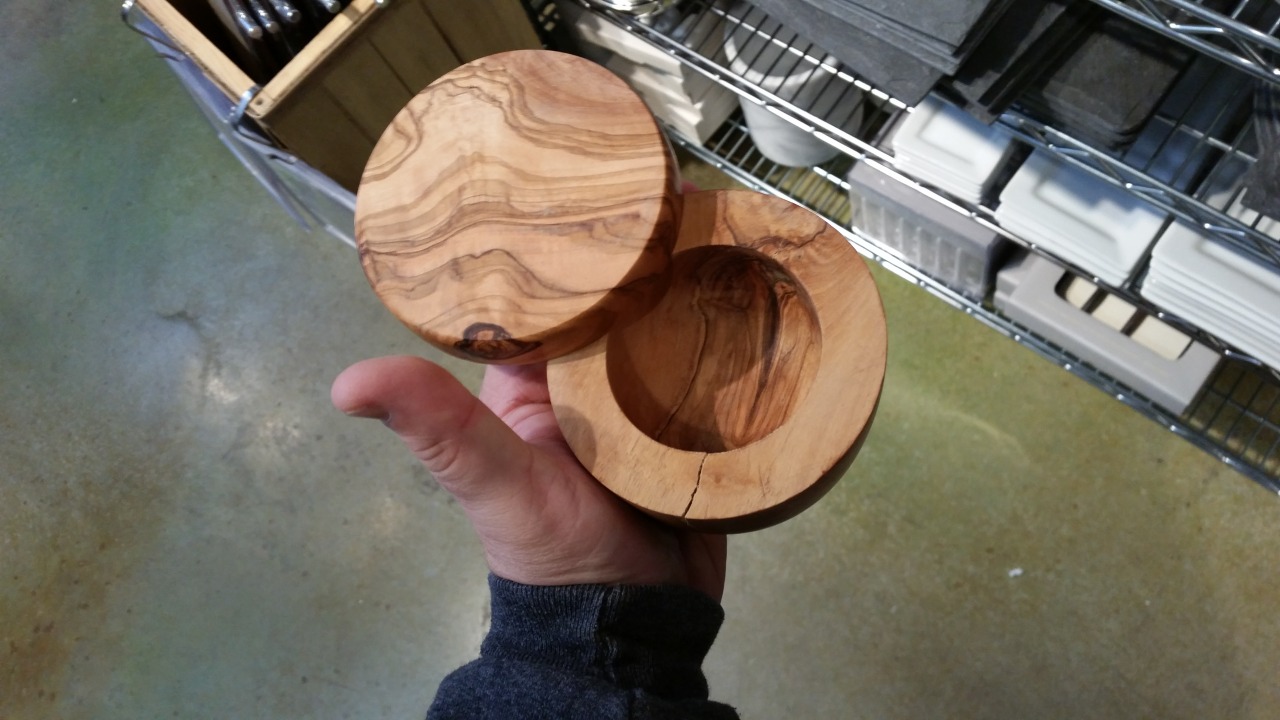
How to Make a Swivel Lid Box
If you’re looking for a creative way to package a small gift or present, try making your swivel lid box! This type of box is easy to make and only requires a few supplies. Plus, it’s a great way to add a personal touch to your gift.
Here’s how to make your swivel lid box:
- Start by cutting out two pieces of cardstock or paper that are the same size. Then, use a bone folder or ruler to score a line down the center of each piece.
This will be where you fold the paper to create the box shape.
2. Next, fold each piece of paper along the scored line and then use double-sided tape or glue to attach the two pieces at the edges. Make sure that the inside edges are flush with each other so that there’s no gap in between when you close up the box.
3. Once your box is assembled, cut out a small circle from one side to serve as the opening for your swivel lid. Then, cut out two smaller circles on the other side of the box that will act as hinges for your cover. Be careful not to make these too big, or they won’t stay put!
4. To finish up, decorate your box however you like and insert your chosen gift through the hole on one side. Finally, attach the lid by lining up the hinge circles and taping them in place (or using glue). And that’s it – you’ve now made your swivel lid box!
Convert Chair to Swivel Base
If you have a chair that isn’t already on a swivel base, you can easily convert it! This is an excellent project for anyone who wants to add functionality and style to their furniture. With just a few supplies and some simple steps, you can turn your chair into a stylish and practical piece that will make your life easier.
Here’s what you’ll need:
– A swivel base (you can find these at most hardware stores)
– Screws (the size will depend on the base)
– A drill – An upholstery screwdriver (optional)
– A hammer (optional)
Follow these steps to convert your chair:
- Remove the legs from the chair. If they are attached to screws, use an upholstery screwdriver or drill to remove them.
If they are nailed in place, use a hammer to loosen them until they can be pulled out gently.
2. Attach the swivel base to the underside of the seat using screws. Be sure to drill holes if needed so the wood doesn’t split.
3. Reattach the legs to the swivel base using screws or nails. Ensure they are secure so the chair doesn’t wobble when you sit in it.
4. Enjoy your new swivel chair!
Credit: sultanofsawdust.tumblr.com
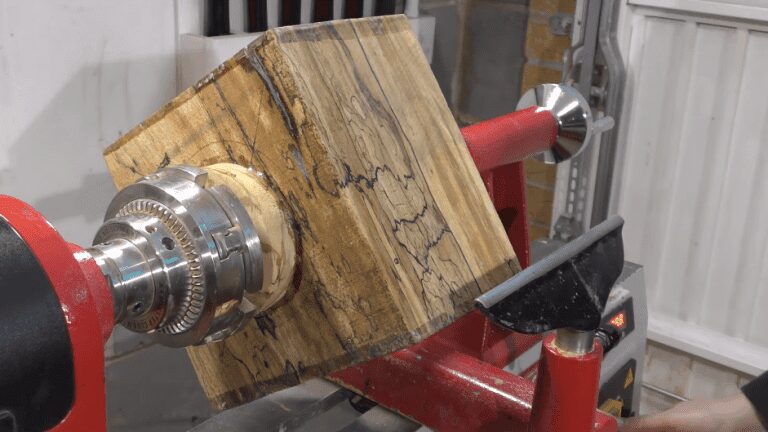
How Do You Make a Homemade Swivel?
A swivel is a device that allows an object to rotate freely on its axis. A homemade swivel can be made using various materials, including wood, metal, or plastic. The most important part of the swivel is the bearing, which must support the object’s weight and allow it to rotate smoothly.
There are several ways to make a wooden swivel. One method is to drill two holes in a block of wood, insert bearings into the holes, and then secure the bearings with washers and nuts. Another way is to create a slot in the center of the wood block using a router.
The slot should be wide enough to accommodate the bearings. Once the router work is complete, insert the paths into the space and secure them with washers and nuts. Making a metal swivel is similar to making a wooden one, except that you will need to use metallic materials instead of wood.
Again, you must drill two holes or create a slot wide enough for your bearings. You may also need to file down any sharp edges on your metallic components so that they do not damage your bearings over time. Finally, assemble your metal swivel by inserting your bearings into their respective holes or slots and securing them with washers and nuts.
You can also make a plastic swivel using similar methods as those described above for wood and metal versions. However, it is essential to note that not all plastics are suitable for this purpose – only those designed specifically for machining (such as acetal) should be used. Also, drilling or routing plastic components can easily crack or shatter if too much force is applied.
How Do You Make a Chair Swivel?
Assuming you want to know how to make a chair swivel: A chair swivel comprises two main parts – the base and the mechanism. The floor attaches the chair to the ground and provides stability, while the tool allows the chair to rotate on its axis.
To make a chair swivel, attach the base to the bottom using screws or nails. Then, attach the mechanism to the top of the ground using screws or bolts. Finally, test out your new chair swivel by sitting in it and spinning around!
How Do You Make a Swivel Chair Stationer?
A swivel chair has a single central leg that allows the seat to rotate freely. The term “swivel chair” can refer to either an office chair or an armchair mounted on a swivel base. Swivel chairs are often used in front of a desk or workstation, allowing the user to quickly move from one task to another.
To make your swivel chair stationery, you will need the following supplies:
-1 sheet of 12″ x 18″ white construction paper
-1 sheet of 9″ x 12″ black construction paper
-Scissors -Tape -Glue
-Pencil First, trace the outline of a large dinner plate onto the center of the white construction paper. Then, cut out this circle.
Next, trace the outline of a smaller dessert plate onto the black construction paper and cut out this circle. To create the base of your swivel chair stationery holder, take the large white ring and glue it to the center of the black circle. Allow this glue to dry completely before proceeding.
Once the glue has dried, scissors cut four evenly spaced slits around the edge of the sizeable white circle. These slits should be about 1/2″ wide and 3/4″ long. Next, take one end of each slit and fold it inward to meet its corresponding slit on the other side (see photo for reference).
Once all four slits have been folded inwards, tape these fold down securely. This will create four pockets around the edge of your swivel holder – perfect for holding pens, pencils, highlighters, etc.! To finish off your holder, place it on top of your desk or work surface with the opening facing upwards. Your very own swivel chair stationery holder is now complete!
How Do You Put Legs on a Swivel Chair?
If you’re looking to add legs to a swivel chair, there are a few things you’ll need to do. First, remove the old portions from the chair. Next, measure the width and length of the seat so you know how big the new legs will need to be.
Once you have your new legs, attach them to the seat using screws or bolts. Finally, swivel your chair to ensure everything is connected correctly and securely.
Conclusion
This post provides step-by-step instructions for creating a wood swivel. First, gather the necessary supplies, including wood glue, a drill, dowel rods, and a circular saw. Next, cut the wood into desired shape and size using the circular saw.
Then, drill holes into both ends of the piece of wood. Finally, insert dowel rods into the holes and add glue to secure them. Allow the glue to dry completely before using the swivel.