How to Make Your Own Hardwood Flooring: A Step-by-Step Guide
To make your own hardwood flooring, start by measuring the area, acquiring the necessary wood and tools, and preparing the subfloor. Then, carefully install the hardwood planks using adhesive or nails, ensuring a tight fit and straight pattern.
Are you tired of your worn-out carpet or dull flooring? Do you want to add warmth and elegance to your home? Making your own hardwood flooring might be the perfect solution. Hardwood floors are not only beautiful, but they also add value to your property.
Plus, with a little patience and effort, you can achieve professional-looking results without breaking the bank. We will guide you through the process of creating your own hardwood flooring, from preparing the subfloor to installing the planks, allowing you to transform your home into a luxurious haven. So, roll up your sleeves and let’s get started!
Preparing For The Project
When it comes to home improvement projects, making your own hardwood flooring can be a rewarding and cost-effective option. Not only does it add a touch of elegance to your space, but it also allows you to customize your floors according to your preferences. However, before you dive into this DIY endeavor, it is essential to prepare adequately for the project. This involves measuring the area, choosing the right hardwood, and gathering the necessary tools and materials.
Measuring The Area
Before you start making your own hardwood flooring, it is crucial to measure the area accurately. This will help you determine the amount of hardwood flooring required for the project. Measure the length and width of each room and multiply them together to calculate the square footage. Remember to add a 10% allowance for waste and cuts.
Choosing The Right Hardwood
Choosing the right hardwood is paramount to the success of your project. Consider the style and color palette of your space to ensure the hardwood complements the overall aesthetic. Oak, maple, and cherry are popular choices for their durability and timeless appeal. Additionally, select the appropriate grade of hardwood – from clear to rustic – based on your desired aesthetic and budget.
 Hardwood Flooring” width=”800″ height=”400″ />
Gathering The Necessary Tools And Materials
To make your own hardwood flooring, you’ll need a variety of tools and materials to ensure a seamless installation. Gather the following:
- Hardwood flooring planks
- Underlayment
- Moisture barrier
- Tape measure
- Pencil
- Miter saw or circular saw
- Table saw
- Nail gun or stapler
- Drill
- Chop saw
- Claw hammer
- Pry bar
- Chisel
- Level
- Safety glasses and gloves
- Knee pads
- Tapping block and mallet
Prepare your workspace by ensuring you have enough room to cut and install the hardwood planks. Safety glasses and gloves are essential to protect yourself during the process. Having knee pads will also provide added comfort and protect your knees.
Step-by-step Guide
If you’re looking to give your home a stunning floor upgrade, making your own hardwood flooring can be a fulfilling and cost-effective DIY project. With the right tools and techniques, you can achieve professional-looking results that will enhance the beauty and value of your space. In this step-by-step guide, we’ll walk you through the process of creating your own hardwood flooring, from removing the existing flooring to applying a protective sealant.
Removing The Existing Flooring
The first step in making your own hardwood flooring is removing the existing flooring. Whether you have carpet, vinyl, or laminate, it’s important to clear the space and ensure a clean and level subfloor for the installation of your hardwood planks. Here’s what you’ll need to do:
- Clear the room of any furniture, rugs, or obstacles that may impede your progress.
- If you have carpet, use a carpet knife to cut it into manageable sections and roll them up for disposal.
- In the case of vinyl or laminate flooring, start by removing the baseboards or quarter-round molding with a pry bar.
- Use a floor scraper or a similar tool to pry up the old flooring, working in small sections at a time.
- Dispose of the old flooring properly, following local regulations and guidelines.
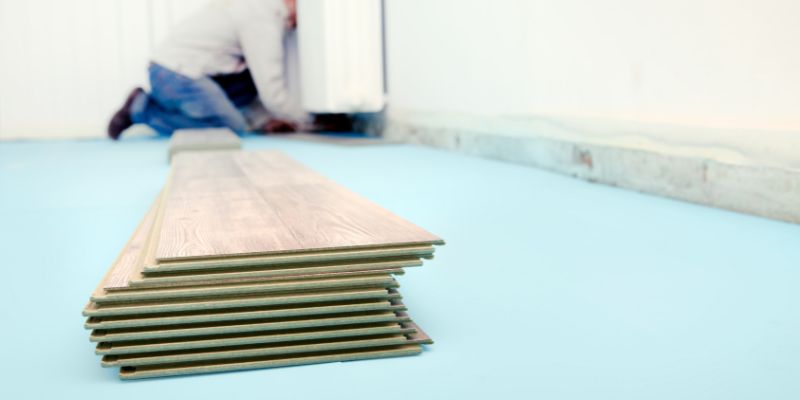
Preparing The Subfloor
After removing the existing flooring, it’s crucial to prepare the subfloor to ensure a stable foundation for your hardwood planks. Here are the steps to follow:
- Inspect the subfloor for any damage, such as rot or unevenness. Repair or replace any damaged areas.
- Clean the subfloor thoroughly, removing any debris, dust, or adhesive residue using a broom and a vacuum.
- Check the moisture level of the subfloor using a moisture meter. Ensure it is within the acceptable range for hardwood installation.
- If necessary, install a moisture barrier or a vapor retarder to protect your hardwood flooring from moisture-related issues.
- Make sure the subfloor is level. Use a leveling compound, if needed, to fill in any low spots and create a smooth surface.
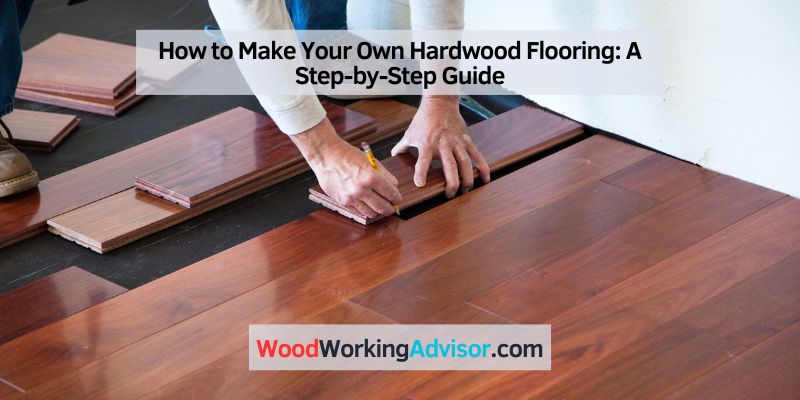
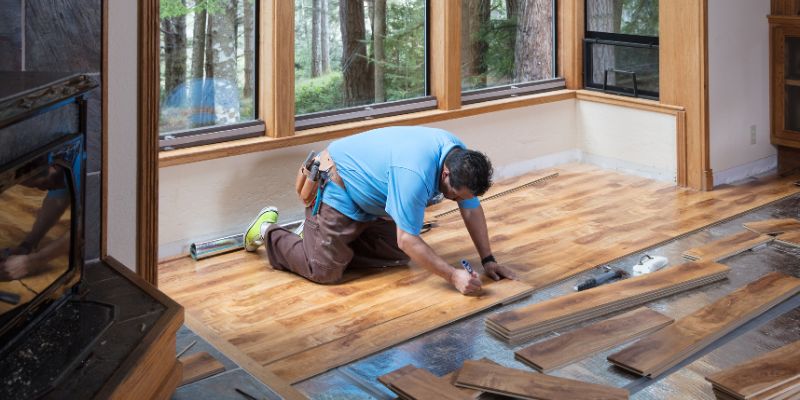
Installing The Hardwood Planks
With the subfloor properly prepared, it’s time to start installing your hardwood planks. This is where you’ll bring your vision to life. Follow these steps for successful installation:
- Measure the room to determine the square footage of hardwood planks needed, accounting for any cutouts or irregularities.
- Acclimate the hardwood planks in the room for a few days before installation to allow them to adjust to the temperature and humidity.
- Start the installation from one corner of the room, laying the first plank with the groove side facing the wall.
- Use a pneumatic flooring nailer or a flooring stapler to secure the planks to the subfloor, placing nails or staples at regular intervals.
- Continue to lay the planks, using a mallet to snugly fit them together. Stagger the joints for a more natural appearance.
- Trim the last plank to fit if necessary.
Sanding And Finishing The Hardwood
Once the hardwood planks are installed, it’s time to sand and finish the surface to achieve a smooth and polished look. Follow these steps:
- Begin the sanding process using a drum sander, starting with a coarse-grit sandpaper and gradually moving to finer grits for a smooth finish.
- Sand the entire floor, making sure to remove any imperfections, scratches, or unevenness.
- After sanding, vacuum and wipe the floor clean to remove any dust particles.
- Apply the chosen finish, such as oil-based or water-based polyurethane, using a brush or a roller. Follow manufacturer instructions for drying time and additional coats.
Applying A Protective Sealant
To ensure the longevity and durability of your hardwood flooring, it’s essential to apply a protective sealant. Here’s what you need to do:
- Allow the finish to dry completely, following the recommended drying time provided by the manufacturer.
- Apply the protective sealant using a brush or a lambswool applicator, ensuring even coverage.
- Allow the sealant to dry according to the manufacturer’s instructions before walking on the newly finished floor.
By following this step-by-step guide, you can create your own hardwood flooring and enjoy the satisfaction of a beautiful, long-lasting floor that you made yourself.
Maintenance And Care
Maintaining and caring for your hardwood flooring is essential not only to preserve its beauty, but also to prolong its lifespan. By following a few simple steps, you can keep your hardwood floors looking stunning for years to come. In this section, we will discuss the key aspects of maintenance and care for your hardwood flooring, including cleaning and sweeping, preventing scratches and damage, and refinishing over time. Let’s dive in!
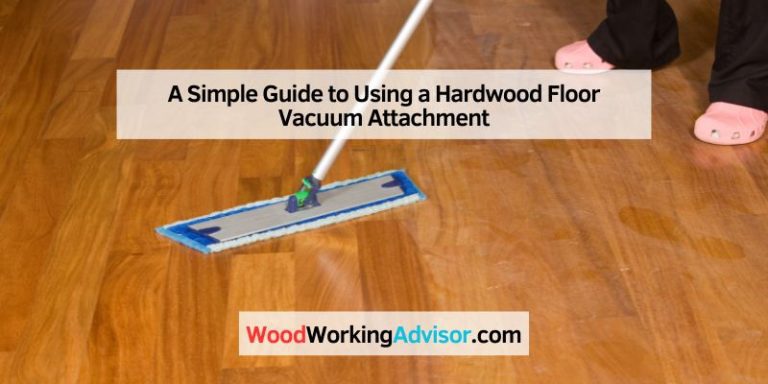
Cleaning And Sweeping
To keep your hardwood flooring in pristine condition, regular cleaning and sweeping are crucial. Here are some best practices:
- Sweep daily: Use a soft-bristle broom or a hardwood floor mop to remove dust, dirt, and debris. This will help prevent scratches and the accumulation of particles that could potentially damage your floors.
- Avoid excess moisture: Hardwood floors and water do not mix well. When cleaning, make sure to use a damp mop or a cleaning solution specifically designed for hardwood floors. Avoid excessive water as it can seep into the wood and cause swelling or warping.
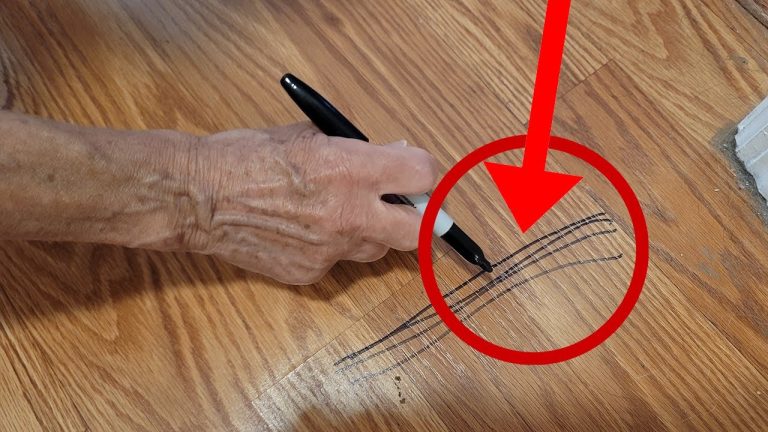
- Use felt protectors: Attach felt protectors to the legs of your furniture to prevent them from scratching or denting your hardwood floors when moved. Regularly check and replace these protectors as needed.
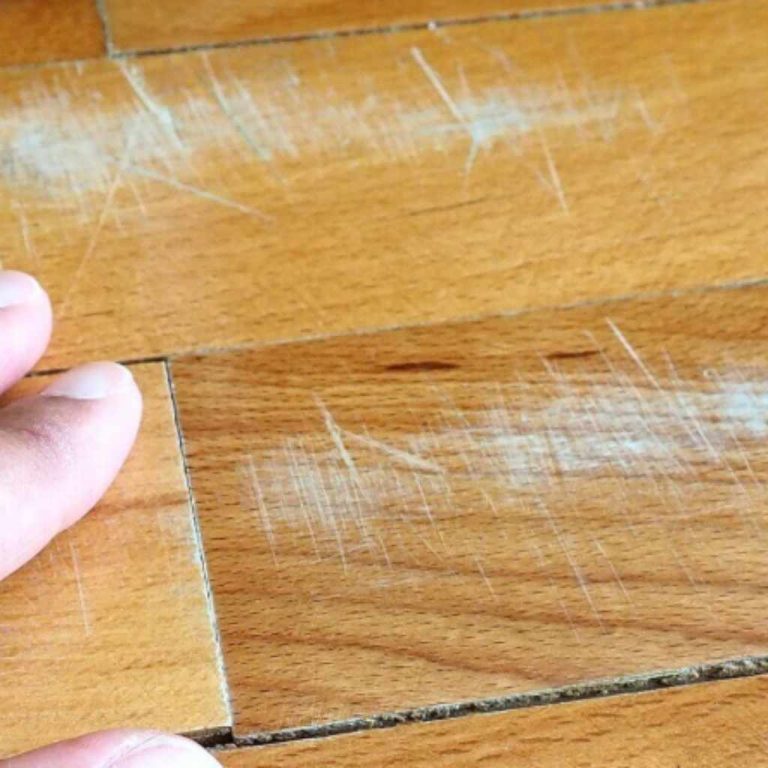
Preventing Scratches And Damage
Protecting your hardwood flooring from scratches and damage is essential for maintaining its longevity and appearance. Follow these tips to minimize the risk:
- Place rugs and mats strategically: Use rugs or mats in high-traffic areas, especially near entrances, to trap dirt and provide an extra layer of protection.
- Trim your pet’s nails: If you have pets, keeping their nails trimmed will reduce the chances of them scratching your hardwood floors while running or playing.
- Be cautious with high heels: Avoid walking on your hardwood floors with high heels or shoes with sharp edges, as they can leave marks or dents.
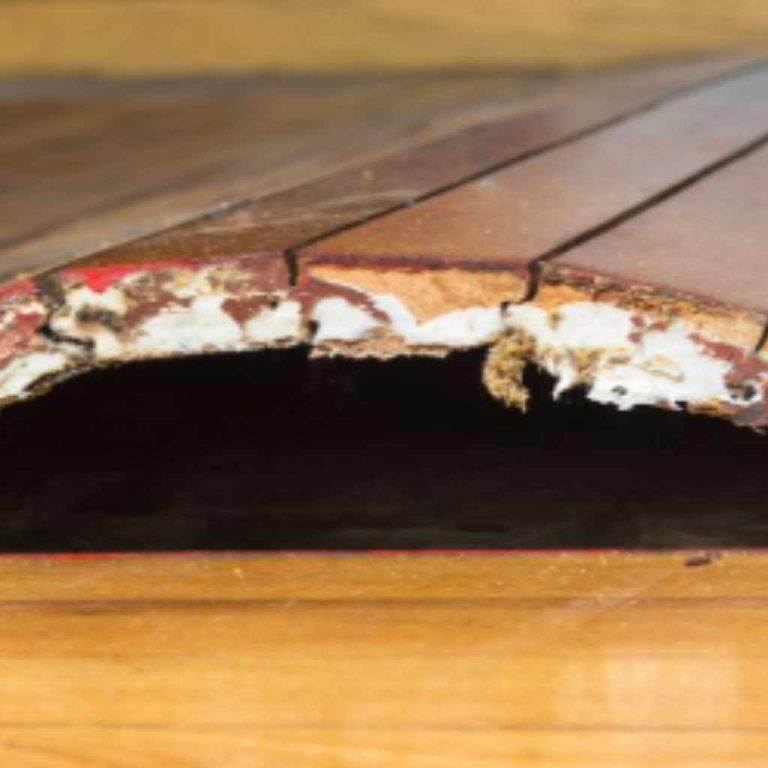
- Regularly inspect for damage: Periodically check your hardwood flooring for any signs of damage, such as cracks, gaps, or warping. Addressing these issues promptly can prevent further damage and costly repairs in the future.
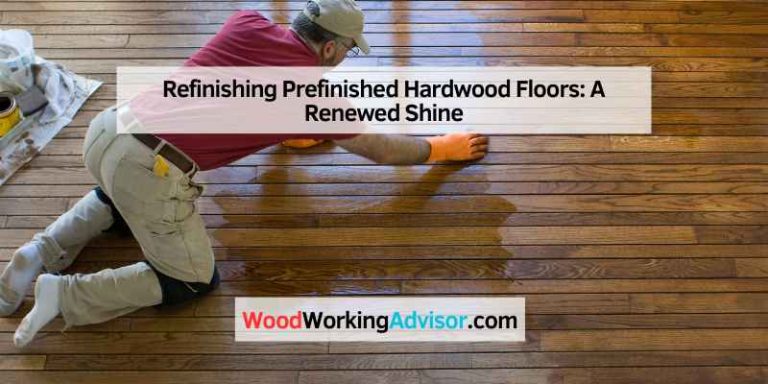
Refinishing Over Time
Over time, even with proper maintenance, your hardwood flooring may begin to show signs of wear and tear. Refinishing can breathe new life into your floors and restore their original beauty. Here’s what you need to know:
- Consider the finish type: Determine the type of finish your hardwood floors have, as this will impact the refinishing process. Whether it’s a surface finish or penetrating finish, consult with a professional to ensure you choose the appropriate refinishing method.
- Sand and refinish: If your hardwood floors have noticeable scratches, stains, or worn-out areas, sanding and refinishing can remove imperfections and provide a fresh, updated look. This process involves sanding down the top layer, applying a new finish, and sealing the floors for protection.
- Maintain with regular care: After refinishing, regular maintenance is key to preserving the newly refinished floors. Follow the cleaning and preventive measures mentioned earlier to keep your hardwood flooring looking flawless.
By implementing these maintenance and care practices, you can enjoy the timeless beauty of your hardwood flooring for years to come. Remember, a little effort goes a long way in maintaining the quality and durability of your floors. Stay mindful and proactive, and your hardwood flooring will continue to impress!
Frequently Asked Questions For How To Make Your Own Hardwood Flooring
How Much Does It Cost To Make Your Own Hardwood Flooring?
Making your own hardwood flooring can cost anywhere from $6 to $15 per square foot, depending on the type of wood and materials you choose. This cost includes the wood, adhesive, sanding and finishing materials, and any additional tools or equipment needed.
Ultimately, the cost will vary based on your specific project and the quality of materials you select.
What Tools Do I Need To Make My Own Hardwood Flooring?
To make your own hardwood flooring, you will need a selection of tools including a table saw, miter saw, jigsaw, nail gun, drum sander, and a buffer. Other essential tools include a tape measure, level, pry bar, and safety equipment such as goggles and ear protection.
Having the right tools will ensure you can complete the project effectively and efficiently.
How Long Does It Take To Make Your Own Hardwood Flooring?
The time it takes to make your own hardwood flooring will depend on the size of the project, your level of experience, and the complexity of the design. On average, it can take anywhere from a few days to several weeks to complete.
It’s important to factor in time for preparation, installation, sanding, and finishing to ensure a high-quality result.
Can I Install Hardwood Flooring Myself?
Yes, it is possible to install hardwood flooring yourself with the right tools and knowledge. While it may require some patience and effort, many homeowners have successfully completed their own hardwood flooring projects. It’s important to research and understand the installation process, follow proper techniques, and take necessary precautions to achieve professional-looking results.
Conclusion
To conclude, making your own hardwood flooring can be a fulfilling and cost-effective endeavor. By carefully following the steps outlined in this guide, you’ll be able to create a beautiful and long-lasting flooring solution for your space. Whether you’re a seasoned DIY enthusiast or a novice, the satisfaction of walking on the floor you created yourself is unmatched.
So go ahead, embrace the challenge, and enjoy the rewards of your hard work and creativity. Happy flooring!