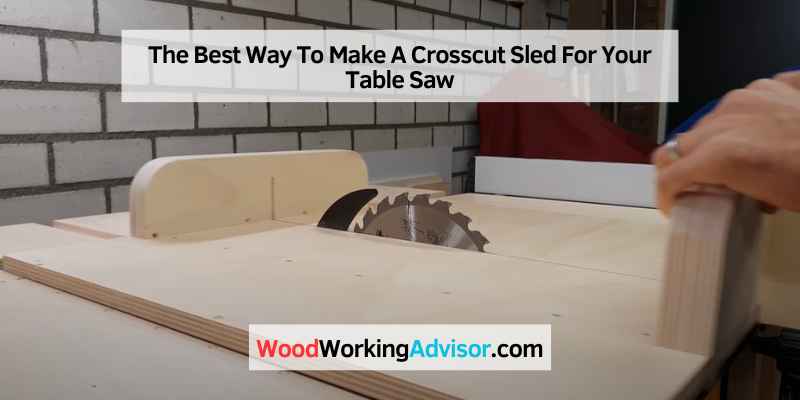
The Best Way To Make A Crosscut Sled For Your Table Saw
A crosscut sled is one of the most useful jigs for a table saw. It allows you to make precise, repeatable cuts and can be used for various projects. This article will show you how to build your crosscut sled.
You’ll need a few supplies and some basic woodworking skills, but the project is relatively simple and can be completed in a couple of hours.
- Attach a straightedge to your table saw’s miter gauge slot with screws or double-sided tape
- This will act as the fence for your sled.
- Cut a piece of plywood or MDF to size and attach it to the base of your sled with screws or glue.
- Cut another piece of plywood or MDF that will act as the runner for your sled.
- This should be slightly narrower than the width of your table saw’s throat opening.
- Attach the runner to the bottom of your sled with screws or glue, making sure it is centered side-to-side and flush with the back edge of your sled base
- To use your sled, align the blade with your desired cut line and clamp the workpiece to the sled base.
- Push the sled through the blade to make your cut
How Do You Make a Simple Table Saw Sled?
A sled for your table saw is essential for making precise, safe, and repeatable cuts on your woodworking projects. Whether cutting tenons, dadoes, or lap joints, a sled will help you get perfect results every time. Plus, making your sled with just a few pieces of plywood and some hardware is easy.
Here’s how to build a basic table saw sled:
1. Cut two pieces of 3/4″ plywood to 24″ x 48″. These will be the top and bottom panels of your sled.
2. Cut a piece of 1/4″ plywood or hardboard to 24″ x 48″. This will be the fence.
3. Attach the fence to one of the tops or bottom panels with screws or adhesive.
Be sure to leave enough room at the front and back of the fence so it can slide freely on the tabletop.
4. Drill three holes through both top and bottom panels, evenly spaced along one long edge (this will be the front edge of your sled). These holes should be large enough to accommodate T-nuts (or washers and wing nuts).
Install T-nuts in these holes from underneath the bottom panel. If desired, countersink these holes so that they are flush with the surface of the plywood – this will give you a smoother surface to work on when using your sled. However, using washers and wing nuts instead of T-nuts is not strictly necessary, as they’ll sit proud of the surface anyway.
It’s up to you! Note: if using wing nuts, only install them in 2 out 3 of these holes – we’ll explain why later…
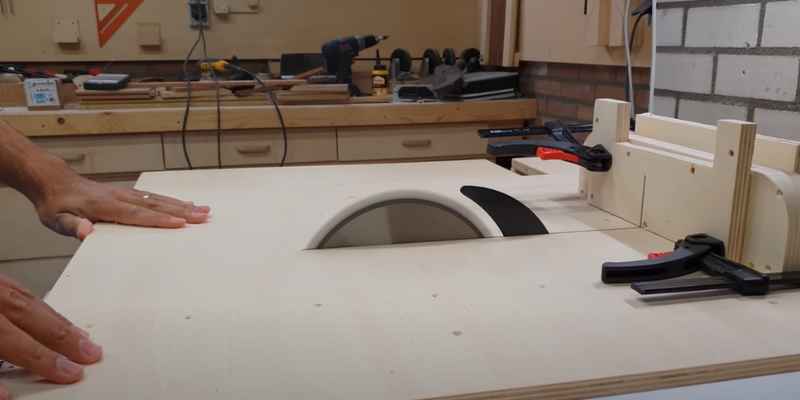
5. Place your runner (the metal guide that fits in the miter gauge slot on the table saw) into the slot cut into one end offense and trace around it onto the fence with a pencil(see photo below).
6. Carefully remove the runner and install the router with a flush trim bit to cut out the area inside the line just traced – this will ensure a snug-fit forerunner when reinserted into the hole in the fence (see photo below).
7. Repeat step 5 & 6 for other end offence and other side offence if desired(i..e.,if making double sided led).
8. Center, the remaining top panel over the bottom panel offenses, is aligned and attached with a screw or adhesive. (Note: it is not essential to have top and bottom panels aligned precisely, but they should be close.)
9. Test fit everything together before proceeding to the next step!
10. Now, make handless for our new table saw sled!
What is the Best Material for a Table Saw Sled?
A few different materials can be used for a table saw sled, but the best material is plywood. Plywood is strong and stiff yet still lightweight and easy to work with. It also doesn’t absorb moisture like other materials, so it won’t warp or swell over time.
Another good option is MDF (medium-density fiberboard), similar to plywood but even smoother and more consistent in density. However, MDF is more prone to absorbing moisture, so it’s not ideal for outdoor use or areas with high humidity. If you need a sled that’s going to be extra sturdy, you can opt for a metal platform instead.
Aluminum is a good choice because it’s lightweight yet strong and won’t rust if wet. However, metal platforms can be more challenging to create than ones made from wood. No matter what material you choose for your sled, ensure it’s large enough to support your workpiece without wobbling or tipping over.
And always use proper safety gear when operating your table saw!
How Thick Should a Crosscut Sled Be?
There’s no definitive answer to this question, as the thickness of your crosscut sled will depend on a few factors, including the size and weight of your saw, the type of wood you’re using, and the width of your cuts. However, as a general rule, you should aim for a sled at least 1″ thick. This will provide enough stability for most saws and allow you to make broad cuts without the sled becoming too unwieldy. If you’re planning on making very wide or deep scratches or using a particularly large or heavy saw, you may want to go with a thicker sled (2″ or more).
What Size Should I Make My Crosscut Sled?
When it comes to crosscut sleds, size matters; the wrong size sled can make your cuts less accurate and more dangerous. So how do you know what size to make your crosscut sled?
The answer depends on the type of wood you’ll be cutting and the thickness of the lumber. For example, if you’re cutting thicker lumber (2″ or more), you’ll want a broader sled to provide stability and prevent tipping. On the other hand, if you’re only cutting thin pieces of wood (1″ or less), a narrower sled will suffice. Another factor to consider is the length of your saw blade.
A longer blade will allow for longer cuts, so that you may need a longer sled. Conversely, a shorter blade will limit the length of your cuts, so a faster sled may be all you need. Ultimately, the best way to determine the ideal size for your crosscut sled is to experiment with different sizes and see what works best for you and your project requirements.
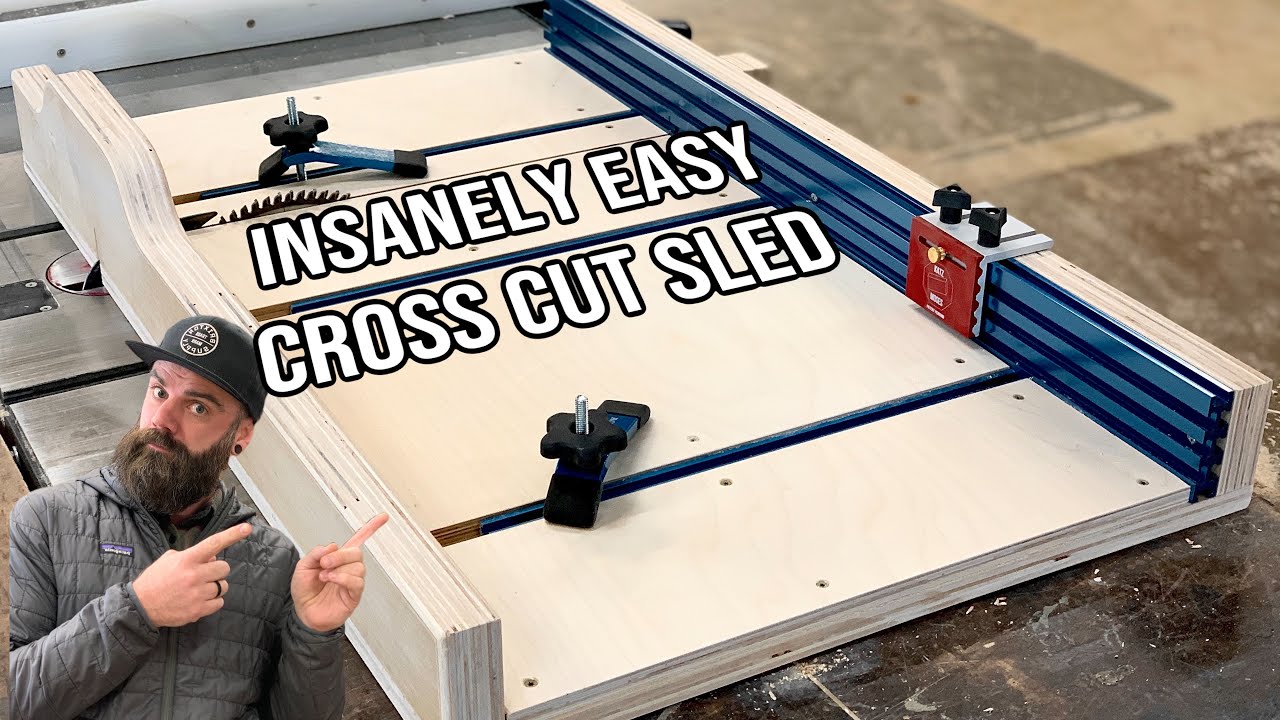
Credit: www.youtube.com
Crosscut Sled Plans Pdf
A crosscut sled is one of the essential tools for any woodworker. It allows you to make precise, repeatable cuts on your workpieces, and it’s also relatively quick and easy to build. There are a few different ways to create a crosscut sled, but we’ve found that the following design is both strong and accurate.
It can be built in just a few hours using essential woodworking tools. The first step is to cut your runners to size. We recommend hardwood for this part of the project, as it will minimize wear and tear on your saw blade.
Once the runners are cut, attach them to your base piece using screws or nails. Next, you’ll need to create a fence for your sled. This can be done by ripping a piece of plywood or MDF down to size and attaching it perpendicular to the runners.
For added stability, you can reinforce the fence with some strips of hardwood glued and nailed into place. Now it’s time to add a stop block to the end of your wall. This will prevent your workpiece from sliding off the back of the sled during use.
To do this, screw or nail a scrap piece of wood onto the fence at the desired location. Finally, you’ll need to drill a hole through your sled’s base to attach it to your table saw’s throat plate (or miter gauge). Be sure this hole is centered between the two runners so that it lines up with your saw blade when installed correctly.
Crosscut sleds are a handy tool for any woodworker – primarily if you frequently work with long boards or large sheets of material.
Crosscut Sled for Table Saw Plans
Most woodworkers will agree that a table saw is one of their shop’s most versatile and essential tools. But what do you do when you need to make long or wide cuts that are too big for your table saw? That’s where a crosscut sled comes in handy.
A crosscut sled is a simple jig that you can build with just a few pieces of scrap wood and basic hardware. Once built, you can use it to make perfect 90-degree cuts on boards up to 48″ long. There are many different ways to create a crosscut sled, but we’ll show you how to make it both strong and precise.
With this jig, you’ll be able to make perfectly square cuts on boards up to 4 feet long!
Table Saw Crosscut Sled
A crosscut sled is one of the essential jigs a woodworker can have in their shop. It allows for consistent, safe, and accurate crosscuts on your table saw. A well-made sled will also make it easier to cut miters and tenons on your saw.
There are a few things to remember when making or buying a crosscut sled. First, the sled needs to be as stable as possible. This means that it should be made out of heavy-duty materials like plywood or MDF and have a large base firmly attached to the saw’s table.
The sled’s fence must also be sturdy and parallel to the blade. You can buy a pre-made bar or make your own out of plywood or aluminum. Another important consideration is the blade guard.
Most crosscut sleds come with a built-in blade guard, but you may want to upgrade to a better aftermarket option if you plan on cutting with the sled. The best guards will cover both the top and bottom of the blade, providing maximum protection while still allowing you to see what you’re doing. Using a crosscut sled is pretty simple once you’ve got everything set up correctly.
Just align your workpiece with the fence, hold it down tight against the surface of the sled (you may want to use clamps), and then make your cut. Always use push sticks or other safety devices with power tools like table saws!
Conclusion
Building a crosscut sled is a great way to get more accurate and consistent cuts from your table saw. Plus, it’s a straightforward project that anyone can do in the afternoon. Here’s how to make your crosscut sled:
1. Start by cutting two pieces of plywood to size – one for the base and one for the fence. The floor should be about twice as wide as the fence.
2. Attach the fence to the base using screws or brackets.
Make sure it’s nice and level, so your cuts will be straight.
3. You need to add a stop block to the fence. This will help you make repetitive cuts without having to measure each time.
Just mark where you want the stop block, then drill a hole and screw it in place.
4. To use your new sled, clamp it down to your table saw and start cutting!