How to Crosscut Plywood on a Table Saw (Without Splintering)
Crosscut plywood on a table saw by riding the panel’s factory edge against the rip fence for wide panels, or a crosscut sled for narrower stock — never trap a cut-off piece between fence and blade, a known kickback cause. A 60- to 80-tooth crosscut blade with a zero-clearance insert stops the splintering a 24-tooth combination blade leaves on face veneer. This guide covers blade choice, the rough-to-final method for full sheets, and safe support setup. Ripping along the grain instead of crosscutting? See our guide to cutting plywood with a table saw for rip-fence setup and blade-height rules.
Tools and Materials You’ll Need
Best Value Plywood Crosscut Blade Pick
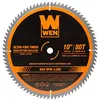
WEN BL1080 10″ 80-Tooth Carbide Blade
An 80-tooth carbide blade at a fraction of the price of premium brands — enough tooth count for clean plywood crosscuts on most home-shop projects.
- Best for: Cabinet-grade plywood crosscuts on a budget
- Why we picked it: Highest tooth count of the group at the lowest price
- Main drawback: Thinner plate than premium blades, more prone to flex in a poorly-tuned saw
Compare more plywood crosscut blade options
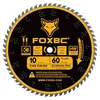 Option 1 FOXBC 10″ 60-Tooth Crosscut Blade
|
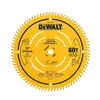 Option 2 DEWALT 10″ 80-Tooth Fine Finish Blade
|
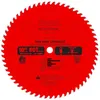 Option 3 Freud LU88R010 10″ 60T Crosscut Blade
|
As an Amazon Associate we earn from qualifying purchases.
- Table saw with a rip fence, plus a miter gauge or crosscut sled
- 60- to 80-tooth crosscut or triple-chip blade (see blade guide below)
- Zero-clearance throat plate insert
- Straightedge or combination square, plus a pencil or marking knife
- Blue painter’s tape, for the scoring method
- Sawhorses or a roller stand, level with the table saw surface
- Push stick or push block
- Safety glasses and hearing protection
How to Crosscut Plywood on a Table Saw
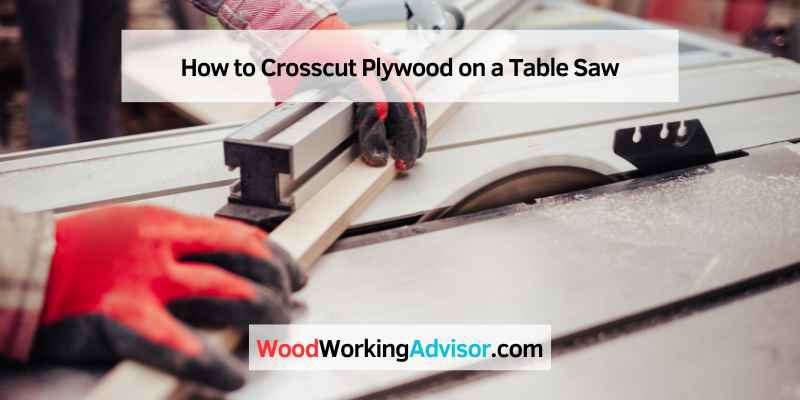
A crosscut runs across the short dimension of a sheet, against the face grain of the outer veneer — different from a rip cut, which runs the length of the panel. For the general mechanics of crosscutting on a table saw, the setup is the same regardless of material; plywood just adds veneer and splintering to plan around. The setup you use depends on the size of the piece:
- Support the sheet. Set sawhorses or a roller stand level with the table saw surface on the infeed and outfeed sides so the panel can’t tip or bind as it enters and exits the cut.
- Choose your guide. For a full-width panel, ride the panel’s straight factory edge against the rip fence. For narrower stock or repeated cuts to the same length, use a miter gauge or crosscut sled instead — and if you clamp a stop block to the fence for repeat cuts, position it so the offcut clears the fence before it reaches the blade, rather than staying trapped between them.
- Mark or score the line. Draw the cut line with a straightedge, then run a sharp utility knife along it to sever the face veneer before the full-depth pass. This single step removes most of the splintering a plain pencil line won’t prevent.
- Set the blade height. Raise the blade to roughly 1/4 inch above the panel’s top face — enough to clear the material cleanly without unnecessary blade exposure.
- Start the cut. Ease the panel onto the blade at a slow, steady pace once the saw is up to speed. Keep the guide edge under constant pressure against the fence or sled.
- Feed without stopping. Maintain a consistent feed rate the whole way through — pausing mid-cut leaves a visible witness mark in the veneer and increases the odds of the blade grabbing.
- Support the offcut and shut down. Keep the cut piece supported as it separates so it doesn’t drop or twist, then switch off the saw and let the blade come to a complete stop before reaching in to clear the cutoff.
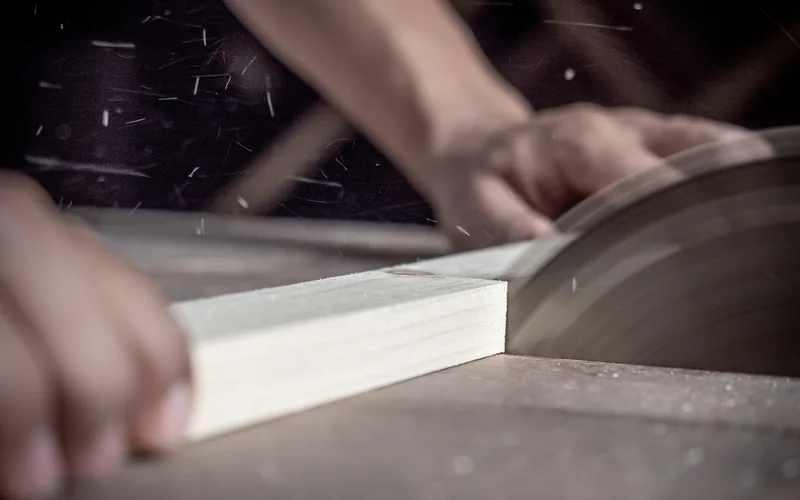
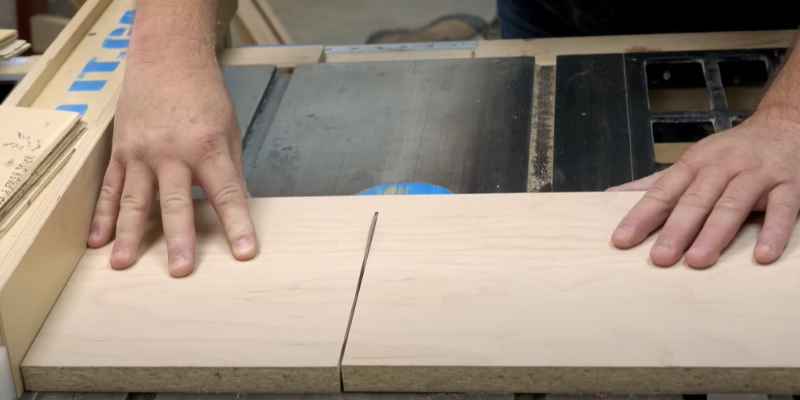
Whether the rip fence is safe to use for this cut depends on the panel’s size, not a blanket rule. For a wide panel, the end riding against the fence gives a stable, supported guide edge and is the standard method. The hazard shows up with narrower stock: if a stop block traps a cut-off piece between the fence and a spinning blade after the cut separates it, that offcut can bind and kick back. Use a crosscut sled or miter gauge instead whenever you’re making repeated cuts to length on narrower material.
Best Blade for Crosscutting Plywood
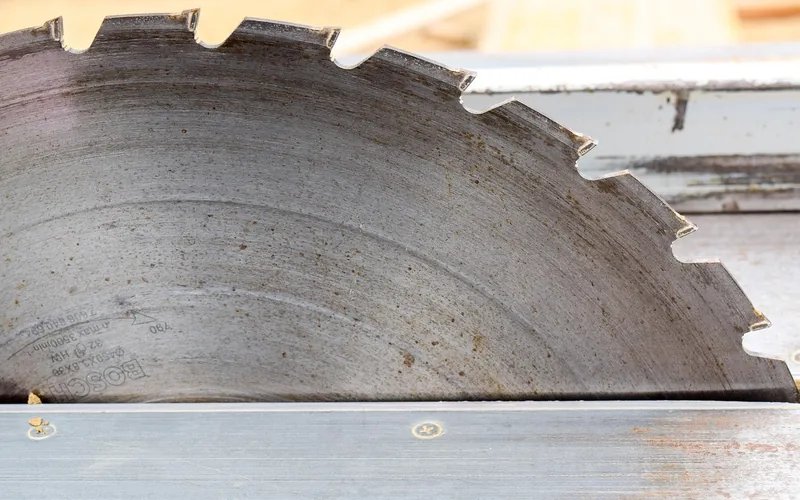
Tooth count matters more than brand for plywood. A standard 24- to 40-tooth combination or rip blade is built to clear waste fast, not to leave a clean edge on thin face veneer — it’s fine for cuts that won’t be seen, like subfloor or sheathing, but it will chip the show face on cabinet-grade plywood.
| Tooth Count | Blade Type | Best For | Trade-Off |
|---|---|---|---|
| 24–40T | General combination/rip blade | Rough breakdown cuts, hidden plywood (subfloor, sheathing) | Visible splintering on face veneer |
| 60T | Triple-chip or crosscut blade | Everyday plywood crosscuts, cabinet-grade work | Good balance of cut speed and clean edge |
| 80–90T | Specialty plywood/melamine blade (Hi-ATB grind) | Veneer-critical, glass-smooth show edges | Cuts slower; can burn the edge if fed too fast |
See our full saw blade and TPI chart for how tooth count and grind affect other materials, not just plywood.
📊 In independent testing on 3/4-inch Baltic birch plywood, a 40-tooth combination blade still left visible chip-out that only a scoring pass and slower feed rate reduced — a plain combination blade isn’t enough on its own for a clean edge. Source: TableSawExpert.com blade testing, 2023
Breaking Down a Full 4×8 Sheet
A full sheet is too large to square up in one pass, so shops that cut a lot of sheet goods work in two stages: rough size first, then true up to final dimensions.
- Rip roughly in half. Split the sheet lengthwise, riding the factory edge against the fence. Leave extra width — you’ll trim the factory edge again later, since it’s rarely perfectly straight.
- Crosscut to rough length. Cut the half-sheets down to an oversized length, using the rip fence as a guide for wide panels or a clamped straightedge cleat on the saw’s extension wing for pieces too big to support on the main table alone.
- Rip to final width. With one clean edge established, feed that edge against the fence and rip each piece to its finished width.
- Crosscut to final length in two passes. Trim and square one end first, then flip the piece and cut the final length measuring from that squared end.
A sheet’s factory edge is usually straight enough to guide that first rough rip cut, but it’s still worth truing it up again before cutting to final size — a technique also described in Woodsmith’s shop notes on breaking down plywood panels. If you’ll be cutting the panel to precise square corners rather than just to size, our guide to squaring plywood on a table saw covers the 5-cut method for checking a sled or fence setup.
Once you’ve broken a sheet down into manageable pieces, a table saw gripper or anti-kickback device makes the narrower rip and crosscut passes safer to control one-handed.
How to Prevent Splintering and Tear-Out
Tear-out happens when the saw’s teeth exit the wood faster than the surrounding fibers can be severed cleanly, tearing rather than cutting the last bit of veneer. A few habits stop most of it before it starts.
- Use the right blade. A 60- to 80-tooth crosscut or triple-chip blade clears far less material per tooth than a combination blade, which means less tearing on the way through.
- Score the line first. Set the blade about 1/16 inch above the table and make a shallow first pass, then raise it to full depth for the second pass — or score with a utility knife along a straightedge instead.
- Tape the cut line. A strip of blue painter’s tape over the line helps hold the surface fibers in place as the blade exits.
- Install a zero-clearance insert. A stock throat plate has a wide slot that lets wood fibers flex down into the gap before the blade severs them; a zero-clearance insert supports the fibers right up to the cut.
- Back the panel with a sacrificial board. Cutting on top of a scrap sheet or foam board supports the underside of the cut and reduces blow-out on the bottom face.
- Keep the feed rate steady. Feeding too fast tears fibers; feeding too slow can let the blade burn or heat-check the edge. A slow, constant pace beats either extreme.
Good Side Up or Down When Cutting Plywood
On a table saw, the blade rises up through the workpiece from below the table, so the teeth enter the top face first and exit through the bottom face. That means any splintering happens on the underside of the cut, not the top — so the good, visible face should always ride face up on a table saw. This is the opposite of a handheld circular saw or track saw, where the blade cuts from the top down and tear-out shows up on the top face instead, which is why those tools call for the good face down.
Common Mistakes to Avoid
- Trapping a narrow offcut against the fence. Setting a stop block on the fence for repeat crosscuts without a gap for the offcut to clear is a classic kickback setup — use a sled or miter gauge with a stop block mounted away from the blade path instead.
- Cutting unsupported long panels. A sheet with no infeed or outfeed support will sag, bind in the blade, and can kick back. Set sawhorses or roller stands level with the table before you start.
- Using a dull or low-tooth-count blade for show faces. A dull or 24-tooth blade tears veneer no matter how carefully you feed it — the fix is the blade, not the technique.
- Forcing the feed. Pushing faster than the blade can clear the cut causes binding and kickback. Let the blade do the work and slow down if you feel resistance.
- Skipping the push stick on narrow rips. Once a rip narrows to a few inches, hands get too close to the blade without one.
What blade should I use to crosscut plywood on a table saw?
Use a 60- to 80-tooth crosscut or triple-chip blade. A standard 24- to 40-tooth combination blade clears material faster but leaves visible chip-out on face veneer, so save it for cuts that won’t be seen.
Can I crosscut a full sheet of plywood on a table saw?
Yes, but not in one final-size pass. Rough-cut the sheet into halves and oversized lengths first, then rip and crosscut each piece to its final dimensions once it’s small enough to fully support on the saw table.
Should plywood be face up or face down when cutting on a table saw?
Face up. A table saw blade enters the top of the workpiece and exits the bottom, so tear-out shows up on the underside. Keeping the good face up keeps any splintering on the hidden side.
Why does my plywood splinter when I cut it on a table saw?
Usually a low tooth-count blade, a dull blade, a worn stock throat plate, or feeding too fast. Switching to a 60-plus tooth blade, scoring the line first, and adding a zero-clearance insert fixes most splintering.
Is it safe to use the rip fence to crosscut plywood?
Yes, for wide panels — the panel’s edge riding against the fence gives a stable guide. It becomes unsafe only when a narrow offcut gets trapped between the fence and a spinning blade, which is why narrower repeat cuts call for a sled or miter gauge instead.
Do I need a crosscut sled to cut plywood on a table saw?
Not for full-width panels, where the rip fence works fine. A crosscut sled earns its keep once you’re cutting narrower pieces to repeatable lengths, since it supports the stock and keeps offcuts clear of the fence.
Crosscutting plywood on a table saw comes down to matching your guide — rip fence, miter gauge, or sled — to the size of the piece, running a blade with enough teeth for the veneer, and keeping the panel supported the whole way through. Get the setup right once and every sheet after it goes faster.
Sponsored / affiliate links. As an Amazon Associate I earn from qualifying purchases. I may earn additional commission from eligible campaigns.