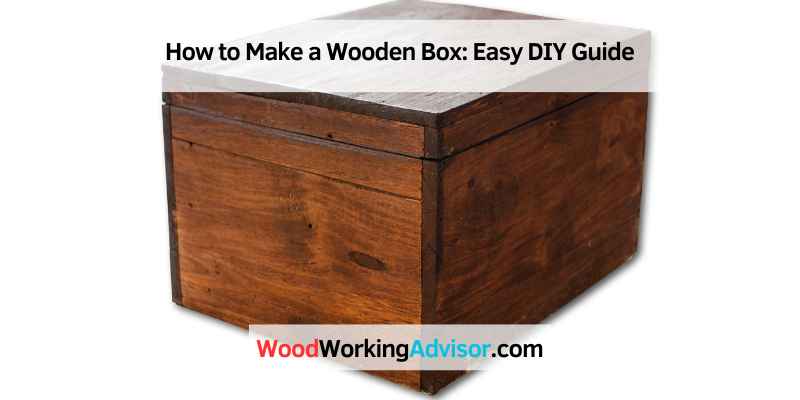
How to Make a Wooden Box: Easy DIY Guide
To make a wooden box, gather materials, measure, cut pieces, assemble, sand, and finish for a polished look. Crafting a wooden box requires precision and attention to detail.
From selecting the right wood to applying the final finish, each step contributes to the overall quality of the end product. By following a systematic approach and utilizing woodworking techniques, you can create a beautiful and functional wooden box. Whether it’s for storage or decoration, making a wooden box can be a rewarding DIY project that allows you to showcase your craftsmanship and creativity.
In this blog post, we will explore the step-by-step process of making a wooden box, including tips and tricks to achieve professional results.
Gathering Your Materials
Gathering your materials is the first step in making a wooden box. It’s important to choose the right wood and gather all the essential tools and supplies needed for the project.
Choosing The Right Wood
When selecting the wood for your box, consider the durability and appearance you desire. Common choices include pine, cedar, and oak. Look for wood that is free from knots and cracks, as these can weaken the structure.
Essential Tools And Supplies
Before starting the project, gather all the necessary tools and supplies. You will need a saw, sandpaper, wood glue, clamps, a measuring tape, and a pencil. Additionally, have safety equipment such as goggles and gloves on hand to protect yourself during the process.
Designing Your Box
Designing Your Box is a crucial step in the process of creating a wooden box that is both functional and visually appealing. Taking the time to carefully plan and design your box will ensure that it meets your specific needs and serves its intended purpose effectively.
Determining Size And Purpose
Consider the intended use of the box and the items it will hold. Measure the dimensions of the items to be stored to determine the size requirements. This will help in ensuring that the box is spacious enough to accommodate its contents without being excessively large.
Sketching Your Plan
Begin by sketching a rough plan for the box, including its dimensions and overall design. Visualize how the box will look and how it will function. This will serve as a guide during the construction process and help in identifying any potential design flaws early on.
Cutting The Wood
When it comes to making a wooden box, cutting the wood is a crucial step that requires precision and care.
Measuring And Marking
1. Start by measuring the dimensions of the wood pieces accurately.
2. Use a pencil to mark the cut lines on the wood surface.
Using A Saw Safely
1. Wear safety goggles and gloves before using the saw.
2. Position the wood securely on a sawhorse before cutting.
3. Hold the saw firmly and cut along the marked lines smoothly.
Assembling The Box
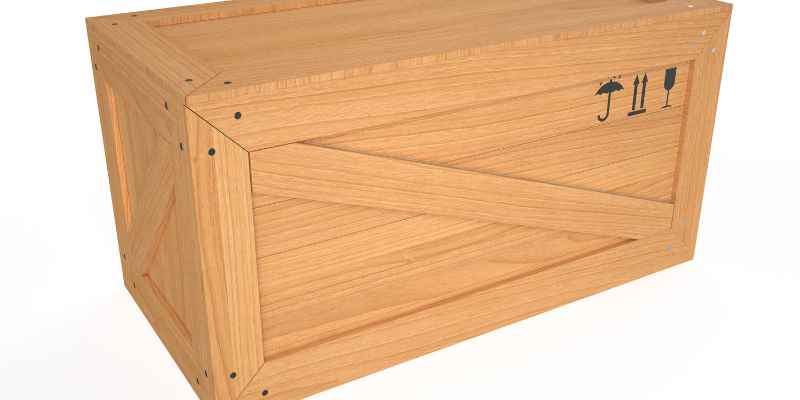
Learn how to assemble a wooden box with these simple steps. First, gather all the necessary materials and tools. Then, cut the wood pieces according to the desired dimensions and sand them for a smooth finish. Finally, glue the pieces together and allow it to dry before adding any additional features.
Now that you have cut all the pieces for your wooden box, it’s time to put them together. Assembling the box requires precision and patience to ensure that the final product is sturdy and looks great. Follow these simple steps to assemble your wooden box.
Joining The Sides
To join the sides of the box, you need to apply glue to the end grain of one of the sides. Then, attach it to the edge of the other side, making sure that the edges are flush. Use a clamp to hold the sides in place until the glue dries. Repeat this process for the other two sides of the box.
Attaching The Bottom
Once the sides are joined together, it’s time to attach the bottom. Apply glue to the edges of the sides and slide the bottom into place. Make sure that the bottom is flush with the sides and use a clamp to hold it in place until the glue dries.
If you want to add extra strength to the box, you can also nail or screw the bottom in place. Just make sure that the fasteners are not visible on the outside of the box.
Summary
Assembling a wooden box requires precision and patience, but with the right tools and techniques, you can create a beautiful and sturdy box. Join the sides by applying glue and clamping them until they dry. Attach the bottom by applying glue and clamping it until it dries or by using nails or screws for extra strength.
Finishing Touches
Discover the art of making a wooden box with impeccable finishing touches. This step-by-step guide will walk you through the process, providing valuable tips and techniques to ensure a professional and polished final product. Unleash your creativity and create a stunning wooden box that showcases your craftsmanship.
Sanding For Smoothness
To achieve a professional and smooth finish on your wooden box, sanding is an essential step. Start by using coarse-grit sandpaper to remove any rough edges, splinters, or imperfections on the surface of the wood. Gently sand in the direction of the wood grain, applying even pressure. Once the rough spots have been smoothed out, switch to finer-grit sandpaper to achieve a silky-smooth finish. Remember to wipe away any dust or debris before proceeding to the next step.
Applying Finish Or Paint
Now that your wooden box is smooth and ready, it’s time to apply the finishing touch. Whether you prefer a natural wood finish or want to add a pop of color with paint, there are various options to choose from. If you opt for a natural finish, consider using a clear wood stain or varnish to enhance the grain and protect the wood. Apply the chosen finish using a brush or cloth, following the manufacturer’s instructions for drying time and additional coats if necessary.
If you decide to paint your wooden box, make sure to choose a paint suitable for wood surfaces. Begin by applying a primer to ensure better adhesion and a more even finish. Once the primer has dried, apply thin coats of paint, allowing each coat to dry before applying the next. This will help prevent drips and achieve a smooth, professional-looking result. Consider adding multiple coats for a richer color and increased durability.
No matter which finish option you choose, allow the box to dry completely before handling or using it. This will ensure that the finish has cured properly and is resistant to damage.
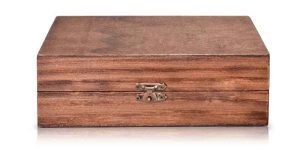
Adding A Lid
To make a wooden box, adding a lid is an essential step. First, measure the dimensions of the box and cut the lid accordingly. Next, attach hinges to the back of the lid and the box to allow for easy opening and closing.
Finally, add a handle or knob to the lid for easy lifting.
Adding a lid to your wooden box is the final step in completing your project. The lid not only adds a finishing touch to your box but also helps to protect the items inside. Let’s dive into the process of adding a lid to your wooden box.
Hinge Installation
To attach the lid to your box, you need to install hinges. Hinges come in different sizes and styles, so choose the one that suits your box’s size and design. Follow these steps to install the hinges:
- Place the lid on top of the box and mark the position for the hinges on both the box and the lid.
- Drill pilot holes for the screws.
- Attach the hinges to the box and the lid using screws.
- Test the lid to ensure it opens and closes smoothly.
Creating A Snug Fit
A well-fitted lid is essential for the box’s durability and functionality. A loose lid allows dust and dirt to get inside, while a tight one is hard to open. To create a snug fit, follow these tips:
- Measure the lid’s size accurately and cut it slightly smaller than the box’s opening.
- Sand the edges of the lid to ensure a smooth finish.
- Test the lid’s fit on the box and sand it further if needed.
- Apply a thin layer of wax or oil to the lid and box’s edges to reduce friction.
Now that you know how to add a lid to your wooden box, it’s time to put your skills to the test. With the right tools and materials, you can create a beautiful and functional wooden box with a perfect lid. Happy crafting!
Customizing Your Box
Crafting a wooden box allows for complete customization, from selecting the wood type to adding personal touches like engravings or paint. Delve into the world of woodworking to create a unique and personalized storage solution for your belongings. Let your creativity shine through in every detail of your handcrafted wooden box.
Decorative Elements
Add personal touch with paint, stain, or decoupage.
Functional Add-ons
Enhance usability by adding dividers or compartments.
Maintenance And Care
Proper maintenance and care are essential to ensure the longevity of your wooden box. By following these tips, you can keep your wooden box looking pristine for years to come.
Cleaning Tips
- Use a soft cloth to gently wipe off dust and debris regularly.
- Avoid using harsh chemicals that can damage the wood.
- For tough stains, use a mild soap and water solution to spot clean.
Long-term Preservation
- Apply a coat of wax or polish to protect the wood from moisture and scratches.
- Store the wooden box in a cool, dry place away from direct sunlight.
- Inspect the box periodically for any signs of wear and tear.
Frequently Asked Questions
How Do You Make A Wooden Box?
To make a wooden box, start by measuring and cutting the wood pieces according to your desired dimensions. Then, assemble the pieces using nails or screws. Sand the box to make it smooth and apply a finish or paint for a polished look.
Finally, attach hinges and a latch for the lid to complete your wooden box.
What Tools Do I Need To Make A Wooden Box?
To make a wooden box, you will need a few essential tools such as a saw, a drill, a measuring tape, sandpaper, a hammer or screwdriver, and clamps. These tools will help you accurately measure and cut the wood, assemble the pieces, and create a finished wooden box.
What Type Of Wood Is Best For Making A Wooden Box?
The type of wood you choose for your wooden box depends on your preferences and the purpose of the box. Hardwoods like oak, walnut, or cherry are popular choices for their durability and attractive grain patterns. Softwoods like pine or cedar are also commonly used and offer a more affordable option.
How Long Does It Take To Make A Wooden Box?
The time it takes to make a wooden box depends on the complexity of the design and your level of woodworking experience. Simple boxes can be completed in a few hours, while more intricate designs may take several days. It is important to allocate enough time for measuring, cutting, assembling, and finishing the box.
Conclusion
Incorporating these tips into your wooden box-making process will ensure a successful and enjoyable experience. By selecting the right wood, using precise measurements, and paying attention to detail, you can create a beautiful and functional wooden box. With practice and patience, you’ll soon master the art of crafting wooden boxes.