How To Prime Wood For Acrylic Painting (Gesso Coats + Real Dry Times)
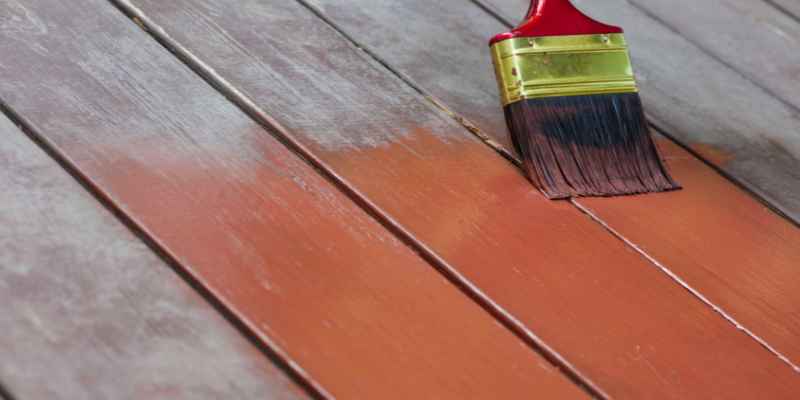
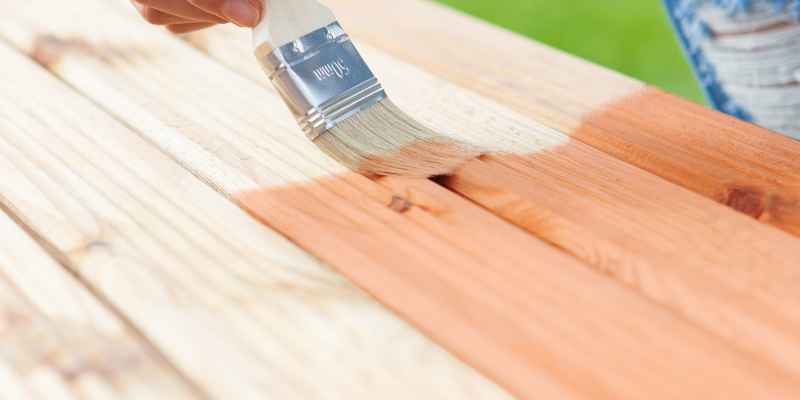
To prime wood for acrylic painting, start by applying a thin, even coat of acrylic gesso using a brush or roller.
Importance Of Priming Wood For Acrylic Painting
Learn how to properly prime wood for acrylic painting to ensure better adhesion and longevity. By following these steps, you can create a smooth surface that will enhance the vibrancy and durability of your acrylic artwork.
Importance Of Priming Wood For Acrylic Painting
Priming wood before starting your acrylic painting is an essential step that should not be overlooked. Not only does it enhance the adhesion of the paint, but it also helps prevent warping and cracking of your artwork. By applying a primer to the wood surface, you create a smooth and stable foundation for your acrylic paint that will ensure longevity and vibrant colors in your masterpiece.
Enhancing Paint Adhesion
One of the main benefits of priming wood for acrylic painting is its ability to enhance paint adhesion. Wood is a porous material, and without a primer, the acrylic paint may not adhere properly to the surface. Primer acts as a barrier between the wood and the paint, providing a stable and receptive surface for the paint to bond with. This not only improves the overall adhesion of the paint, but it also prevents the paint from peeling or flaking in the long run.
Preventing Warping And Cracking
Another crucial reason to prime wood for acrylic painting is to prevent warping and cracking. Wood is susceptible to changes in humidity and temperature, which can cause it to expand and contract over time. When acrylic paint is applied directly to unprimed wood, it can seep into the wood fibers, leading to warping and cracking. However, by applying a primer, you seal the wood and create a moisture-resistant barrier. This helps to maintain the stability of the wood surface, preventing any potential warping or cracking issues.
Furthermore, the primer provides a more uniform surface, minimizing the chances of the paint drying unevenly. This ensures that your artwork will have an even and professional-looking finish.
By taking the time to prime your wood surface before painting, you are setting yourself up for success. It not only enhances the adhesion of the paint but also prevents potential issues such as warping and cracking. So, don’t skip this important step and enjoy the benefits of a well-primed wood surface for your acrylic paintings.
Choosing The Right Wood For Painting
When it comes to acrylic painting, choosing the right wood as a painting surface is crucial. The type of wood you select can greatly influence the outcome of your artwork. There are two main considerations to keep in mind when choosing the right wood for painting: hardwood vs. softwood and smooth vs. textured surfaces.
Hardwood Vs. Softwood
Before you start your painting project, it’s important to understand the differences between hardwood and softwood. Hardwoods, such as oak, maple, and birch, are known for their durability and strength. They have a dense structure that allows them to withstand heavy usage and resist warping or bending.
On the other hand, softwoods, like pine, cedar, and fir, have a more porous and lightweight nature. While they are easier to work with and cut, softwoods may not provide the same level of stability as hardwoods.
Smooth Vs. Textured Surfaces
Another factor to consider when choosing wood for painting is whether you want a smooth or textured surface. Smooth surfaces, such as plywood or MDF (medium-density fiberboard), provide an even and consistent base for your acrylic paints. They allow the colors to glide smoothly across the surface, making it easier to achieve precise details in your artwork.
On the other hand, textured surfaces, like rough-cut boards or canvas boards, give your painting a unique and organic feel. They add depth and dimension to your artwork, allowing for interesting textures and brush strokes.
Preparing The Wood Surface
To prepare the wood surface for acrylic painting, it is important to prime the wood first. By applying a layer of primer, you create a smooth and even base for the paint to adhere to, resulting in better color vibrancy and durability of your artwork.
Sanding The Wood
Before you start painting on wood, it is crucial to sand the surface to ensure a smooth and even finish. Sanding helps to remove any rough patches or imperfections on the wood, allowing the paint to adhere better and create a professional-looking result.
Start by using fine-grit sandpaper to gently sand the entire surface of the wood. This will help to smooth out any rough areas, making it easier for the paint to adhere evenly. Be sure to sand in the direction of the wood grain to avoid creating scratches or marks that could show through the paint.
Once the initial sanding is complete, switch to an even finer-grit sandpaper to further refine the surface. This step will help to eliminate any remaining roughness and ensure a truly smooth and primed surface for your acrylic painting.
Cleaning And Removing Dust
Cleaning the wood surface is another essential step in preparing it for acrylic painting. Any dust, dirt, or grease on the surface can interfere with the paint’s ability to adhere properly, resulting in a less professional-looking finish.
To clean the wood, start by using a soft cloth or brush to remove any loose dust or debris. Be gentle to avoid scratching the surface. Next, dampen a clean cloth with a mild cleanser or soapy water and gently wipe the surface to remove any dirt or grease. Remember to rinse the cloth and wring it out thoroughly before wiping the wood.
After cleaning, allow the wood surface to dry completely before proceeding. This will ensure that the paint adheres properly and avoids any unwanted bubbling or peeling.
Selecting The Appropriate Wood Primer
When it comes to acrylic painting on wood, selecting the appropriate wood primer is essential. A good primer helps to create a smooth and even surface, allowing the acrylic paint to adhere properly and enhance the longevity of your artwork. There are two main types of wood primer to consider – water-based primers and oil-based primers.
Water-based Primers
Water-based primers are a popular choice for priming wood surfaces for acrylic painting. They are easy to use, dry quickly, and are environmentally friendly. These primers are typically made of acrylic or latex and provide a solid foundation for your acrylic paint to adhere to.
Here are a few benefits of using water-based primers:
- They are non-toxic and do not release harmful fumes.
- They have a low odor, making them suitable for indoor use.
- They clean up easily with soap and water.
- They dry quickly, allowing you to proceed with your painting without much delay.
Oil-based Primers
If you’re looking for a more durable and versatile option, oil-based primers are worth considering. These primers are typically formulated with alkyd resins and provide excellent adhesion and protection for your wood surface.
Here are a few advantages of using oil-based primers:
- They offer superior stain-blocking properties, ensuring that any wood knots or discolorations are concealed.
- They provide a smoother and more even surface for your acrylic paint.
- They provide excellent adhesion to a variety of wood types.
- They are highly durable and offer better protection against moisture and mold.
When selecting an oil-based primer, ensure that it is specifically designed for wood surfaces. It is important to note that oil-based primers emit strong fumes and require proper ventilation when using them. Clean-up will also require the use of solvents or paint thinners.
Application Techniques For Priming Wood
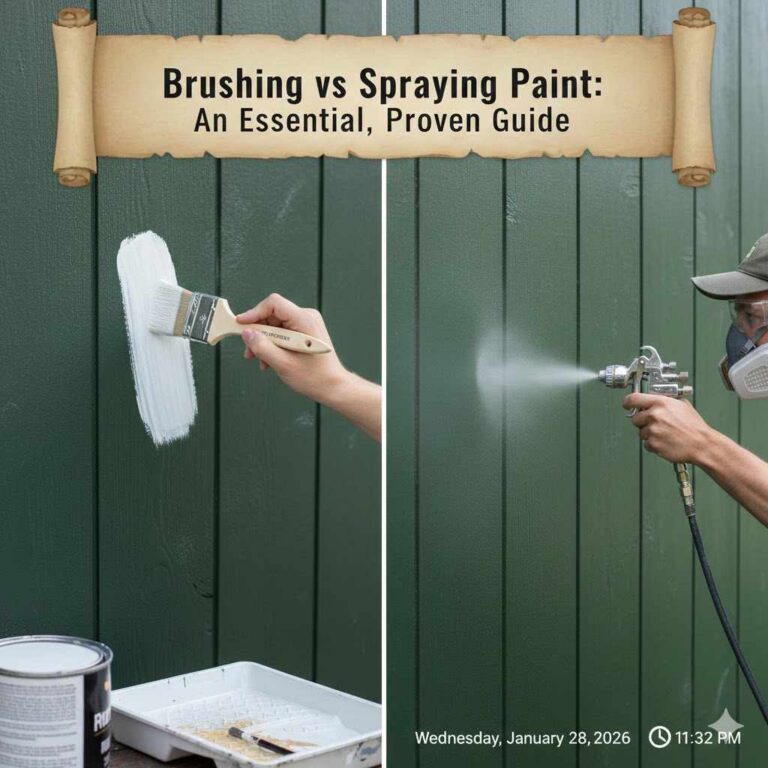
When it comes to priming wood for acrylic painting, there are various application techniques you can use. Each technique will provide different results, so it’s important to choose the one that suits your needs. Let’s take a look at two common application techniques for priming wood: using a brush and spray priming.
Using A Brush
If you prefer a more hands-on approach, using a brush to apply primer to your wood surface is a great option. Here’s how you can do it:
- Clean the wood: Start by ensuring that the wood surface is clean and free from any dirt or dust. This will ensure that the primer adheres properly.
- Choose the right brush: Select a brush that is suitable for the size of your project. For smaller surfaces, a narrow brush will work well, while larger surfaces may require a wider brush.
- Apply thin, even coats: Dip the brush into the primer, making sure to remove any excess. Apply thin, even coats of primer to the wood surface, moving the brush in the direction of the wood grain.
- Sand between coats: Once the first coat of primer is dry, lightly sand the surface using a fine-grit sandpaper. This will help create a smooth surface for the next coat. Repeat this process for additional coats of primer, if needed.
- Allow drying time: Make sure to follow the manufacturer’s instructions for drying time. It’s important to allow each coat of primer to fully dry before proceeding with the next step of your painting process.
Spray Priming
If you’re looking for a faster and more efficient way to prime your wood, spray priming is a great option. Here’s how you can do it:
- Prepare your work area: Set up a well-ventilated area, ideally outdoors or in a well-ventilated room, to avoid inhaling fumes. Protect nearby surfaces with drop cloths or newspaper.
- Choose the right spray primer: Select a spray primer that is suitable for wood surfaces. Shake the can well before use to ensure proper mixing.
- Apply thin, even coats: Hold the spray can about 8-12 inches away from the wood surface and apply thin, even coats of primer. Keep the can in constant motion to avoid drips or uneven coverage.
- Sand between coats: Once the first coat of primer is dry, lightly sand the surface using a fine-grit sandpaper. This will help create a smooth surface for the next coat. Repeat this process for additional coats of primer, if needed.
- Allow drying time: Make sure to follow the manufacturer’s instructions for drying time. It’s important to allow each coat of primer to fully dry before proceeding with the next step of your painting process.
Whether you choose to use a brush or spray priming technique, the key is to apply thin, even coats of primer and allow for proper drying time. This will ensure that your wood surface is properly prepared for acrylic painting, resulting in a professional and long-lasting finish.
Acrylic Gesso Vs. Plain Acrylic Paint As Primer: Real Coat Counts And Dry Times
Most guides tell you to “prime the wood” without saying how many coats or how long to actually wait, so here are the real numbers. For acrylic painting, two coats of acrylic gesso is the standard recommendation — one coat leaves enough wood grain and absorbency showing through that paint can still soak in unevenly. Wait at least one hour between coats so the first layer sets enough that it will not lift when you brush on the second. Once both coats are down, wait a full 24 hours before you start painting, even though gesso is often touch-dry within one to two hours — that early “dry” feel is just the surface, not the full cure.
Plain acrylic paint can technically work as a primer in a pinch (one or two thin coats), but it is not formulated for tooth and adhesion the way gesso is, so it will not grip as reliably on bare wood over time. If you plan to switch mediums later and paint with oils over an acrylic-gessoed panel, extend the dry time to 48-72 hours first — oil paint needs the acrylic layer fully cured or it can crack.

Editor’s Pick
Liquitex Basics Acrylic Gesso
A dedicated gesso formulated for tooth and adhesion — the safer default over using plain acrylic paint as a primer.
Check on Amazon
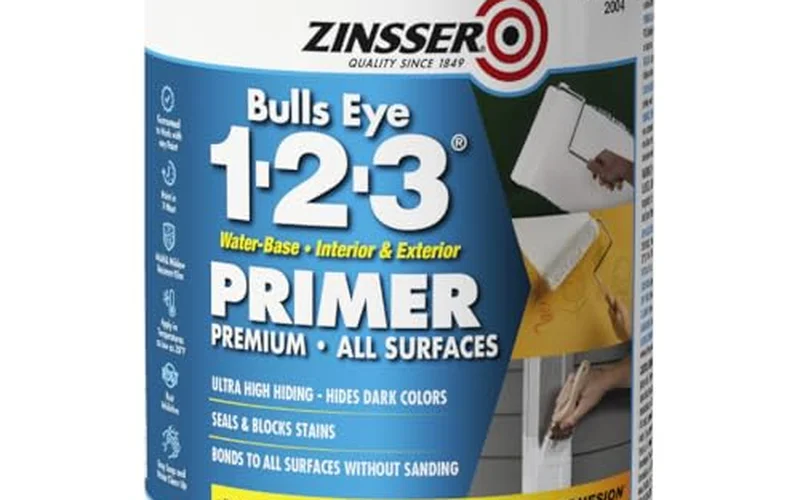
Option 1 Water-Based Primer Sealer
|
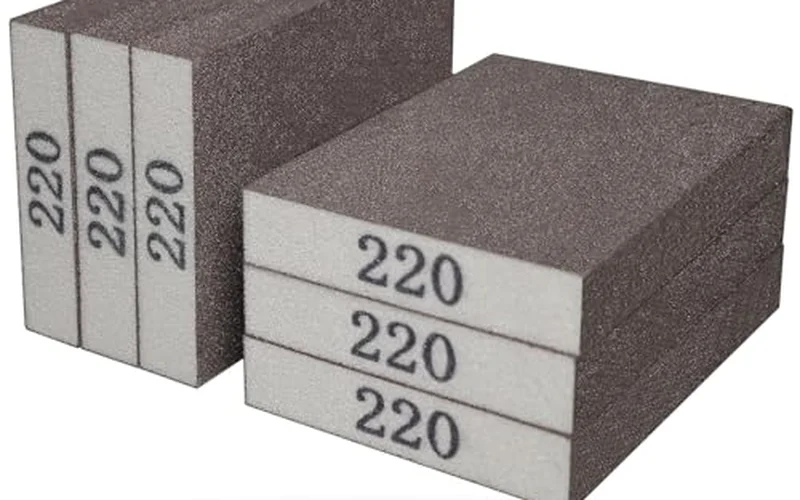
Option 2 220-Grit Fine Sanding Sponge
|
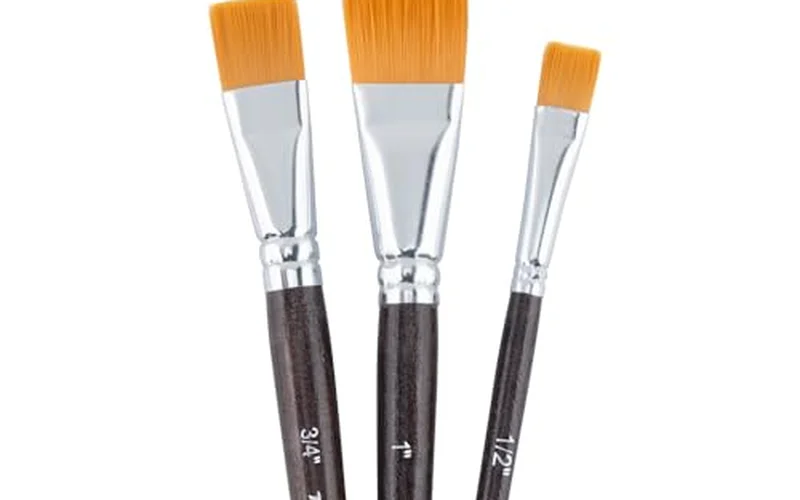
Option 3 Flat Brush Set
|
As an Amazon Associate we earn from qualifying purchases.
FAQs
Can You Use Regular Acrylic Paint Instead Of Gesso To Prime Wood?
Plain acrylic paint can work as a primer in a pinch, using one or two thin coats, but it isn’t formulated for the tooth and adhesion that dedicated acrylic gesso provides, so it won’t grip as reliably on bare wood over the long term.
How Many Coats Of Gesso Do You Need On Wood For Acrylic Painting?
Two coats of acrylic gesso is the standard recommendation for acrylic painting on wood. One coat often leaves enough grain and absorbency showing through that the final paint layer can soak in unevenly.
How Long Should Gesso Dry Before You Start Painting On Wood?
Wait at least 24 hours before painting on a gessoed wood panel, even though the surface can feel touch-dry within one to two hours. That early dry feel is only the surface, not a full cure.
Do You Need To Sand Between Coats Of Gesso On Wood?
Yes. Lightly sanding with a fine sanding sponge between coats, not just after the final coat, knocks down the raised wood grain so the finished surface feels smooth like canvas instead of raw wood.
Can You Paint With Oils Over Acrylic Gesso On A Wood Panel?
Yes, but extend the dry time to 48-72 hours before applying oil paint over an acrylic-gessoed wood panel. The acrylic layer needs to be fully cured, or the oil paint on top can crack.
Conclusion
Properly priming wood is crucial for achieving the best results in acrylic painting. By following the steps outlined in this blog post, you can ensure that your wood surface is ready to enhance the vibrancy and longevity of your acrylic artwork.
Remember to clean, sand, and apply a suitable primer before starting your painting process. With the right preparation, you’ll be on your way to creating stunning acrylic masterpieces on wood surfaces. Happy painting!