How to Easily Remove Glued Vinyl Flooring: Expert Tips!
To remove glued vinyl flooring, use a heat gun to soften the adhesive, then carefully peel it off. Removing glued vinyl flooring can be a challenging task, but with the right tools and techniques, it can be done efficiently.
By following a few simple steps, you can effectively remove the glued vinyl flooring from your space without causing damage to the subfloor or spending excessive time and effort on the task. Whether you are renovating a room or replacing the old flooring with new materials, knowing how to remove glued vinyl flooring properly is essential for a successful home improvement project.
In this guide, we will discuss the steps and tools needed to tackle this task effectively and efficiently.
Preparing For Removal
To remove glued vinyl flooring, start by heating the adhesive with a heat gun or hairdryer to loosen it. Then, use a putty knife to gently pry up the flooring, working in small sections. Lastly, clean up any leftover adhesive using a solvent or adhesive remover, ensuring a smooth surface for replacement flooring.
Today, we are going to delve into the process of removing glued vinyl flooring, with a focus on the crucial early step: Preparing for Removal.
Gather Materials
Protective Gear
Prioritize your safety by wearing protective gear, including:
– Gloves to protect your hands
– Safety goggles to shield your eyes
By gathering the necessary materials and donning protective gear, you lay a solid foundation for the successful removal of glued vinyl flooring.
Initial Surface Preparation
Clearing The Area
First, remove any furniture or obstacles from the space. Next, sweep the floor to clear any debris.
Softening The Adhesive
Begin by heating the adhesive with a heat gun to soften it. Then, scrape off the adhesive with a putty knife.
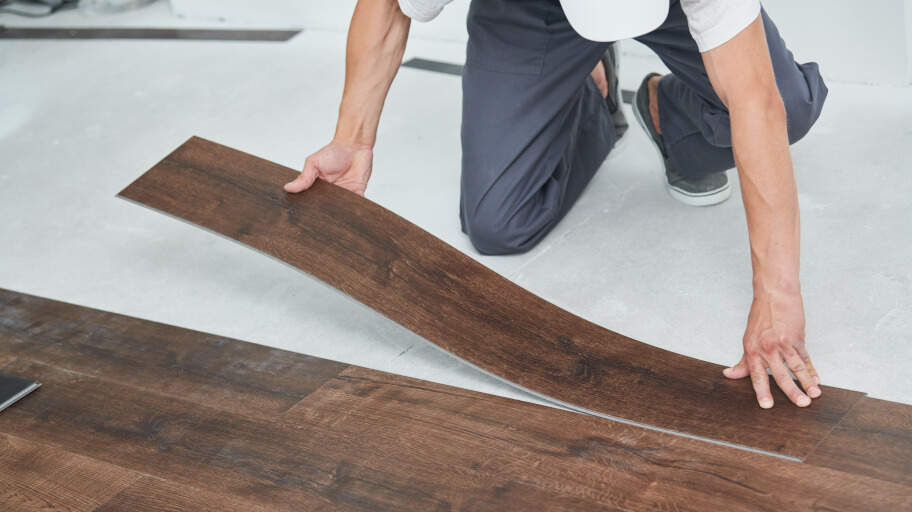
Removing The Vinyl Flooring
Removing vinyl flooring can be a challenging task, but with the right tools and techniques, it can be done effectively. Here are some steps to help you remove glued vinyl flooring from your space, starting with lifting the edges and using a floor scraper to effectively remove the flooring.
Lifting The Edges
To begin the process of removing the glued vinyl flooring, start by lifting the edges of the vinyl. Use a putty knife or a pry bar to carefully lift the edges of the vinyl from the subfloor. Work slowly and carefully to avoid damaging the subfloor underneath the vinyl. As you lift the edges, you may find that some sections of the vinyl are easier to lift than others. Continue to work around the entire perimeter of the vinyl, lifting the edges as you go.
Using A Floor Scraper
Once you have lifted the edges of the vinyl, it’s time to use a floor scraper to remove the rest of the flooring. A floor scraper is a tool specifically designed for removing flooring materials, and it can make the job much easier. Position the floor scraper at a low angle and begin to push it under the vinyl flooring. As you push the floor scraper, you will start to see the vinyl lifting from the subfloor. Continue to work in sections, scraping and lifting the vinyl until it is completely removed. Be sure to dispose of the old vinyl flooring properly, as it may contain adhesives that can be harmful if inhaled or ingested.
Credit: fantastichandyman.com.au
Cleaning Up
To remove glued vinyl flooring, start by heating the adhesive with a heat gun. Next, use a putty knife to gently pry up the flooring. Clean the subfloor with adhesive remover to ensure a smooth surface for new flooring installation.
Removing Residual Adhesive
After successfully removing the glued vinyl flooring, it’s important to address any remaining adhesive on the subfloor. This sticky residue can be a stubborn nuisance, but with the right methods, you can easily get rid of it.
One effective way to remove residual adhesive is by using a commercial adhesive remover. These products are specifically designed to break down and dissolve the stubborn residue left behind. Simply apply the remover directly to the adhesive and let it sit for the recommended amount of time. Then, using a scraper or putty knife, gently scrape away the softened adhesive.
If you prefer a more natural approach, you can try using ingredients you may already have at home. White vinegar is known for its adhesive-removing properties. Mix equal parts of white vinegar and warm water and apply this solution to the residue. Let it sit for a few minutes to allow the vinegar to break down the adhesive. Then, use a scraper or cloth to wipe away the softened residue. Repeat this process as necessary until all the adhesive is removed.
Cleaning the Subfloor
Once you have removed the residual adhesive, it’s essential to give the subfloor a thorough cleaning. This step ensures a clean and smooth surface for any future flooring installation. Luckily, cleaning the subfloor is a straightforward process.
Start by sweeping or vacuuming the subfloor to remove any dirt or debris. This step helps prevent any particles from interfering with the adhesive bond of the new flooring. Be sure to pay extra attention to crevices and corners where dirt can accumulate.
Next, dampen a mop or cloth with warm, soapy water and thoroughly clean the subfloor. Use a mild detergent or a specialized floor cleaner suitable for your subfloor material. Gently scrub the surface to remove any remaining residue or stains. Lastly, rinse the subfloor with clean water to remove any soapy residue.
As a final precaution, ensure the subfloor is completely dry before proceeding with any new flooring installation. Excess moisture can lead to mold or mildew growth, compromising the integrity of the new flooring.
By following these steps, you can effectively remove residual adhesive and clean the subfloor, giving you a fresh canvas for your new flooring.
Finalizing The Process
After successfully removing the glued vinyl flooring, there are a few essential steps you need to take to ensure a clean and ready-to-use subfloor. These final tasks are crucial for maintaining the durability and appearance of your new flooring. Let’s dive into it:
Inspecting The Subfloor
Once you have removed the glued vinyl flooring, it is essential to thoroughly inspect the subfloor for any remaining adhesive residue or damage. This step is crucial for ensuring the proper installation of your new flooring and preventing future problems.
Use a bright flashlight to carefully examine the entire subfloor surface. Look for any spots with leftover adhesive, bumps, or uneven areas. If you notice any damaged subfloor sections, such as cracks or rot, address them before proceeding further. Clean the subfloor by scraping off any adhesive residue, using a putty knife or a floor scraper.
Post-removal Maintenance
After inspecting and cleaning the subfloor, it’s time to perform post-removal maintenance to ensure a smooth and flawless installation of your new flooring. Follow these essential steps:
- Acclimate the new flooring: Before installing the new flooring, let it acclimate to the room’s temperature and humidity. This step helps prevent warping or buckling in the future.
- Level the subfloor: Use a leveling compound to fill in any low spots or uneven areas on the subfloor surface. A level and even subfloor is crucial for a seamless installation.
- Apply a primer: To enhance the adhesive bond and prevent moisture-related issues, consider applying a primer to the subfloor. This step is especially important if you are installing new vinyl flooring.
- Install the new flooring: Finally, you can start installing your new flooring according to the manufacturer’s instructions. Take your time and make sure each piece fits snugly together.
By following these post-removal maintenance steps, you can ensure that your newly installed flooring will be durable, long-lasting, and visually appealing. Taking the extra time to finalize the process will pay off in the long run, providing a beautiful and functional floor for years to come.
Credit: www.reddit.com
Frequently Asked Questions On How To Remove Glued Vinyl Flooring
How Do I Remove Glued Vinyl Flooring Easily?
To remove glued vinyl flooring easily, start by heating the adhesive with a heat gun or hairdryer. Then, use a putty knife or scraper to gently lift the vinyl off the floor. If the adhesive is stubborn, apply a adhesive remover and let it sit for a few minutes before scraping.
Conclusion
After following these step-by-step instructions, you can easily remove glued vinyl flooring in no time. With the right tools and techniques, this process can be efficient and stress-free. Remember to prioritize safety and take your time to avoid any damages.
By taking these precautions, you can achieve a smooth and successful vinyl flooring removal.