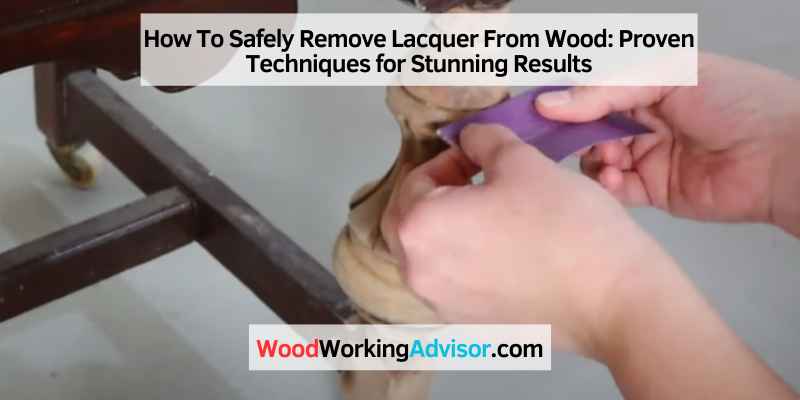
How To Safely Remove Lacquer From Wood: Proven Techniques for Stunning Results
To remove lacquer from wood, you can use sandpaper or a chemical stripper.
Preparing For Lacquer Removal
Interested in learning how to remove lacquer from wood? Discover the essential steps and tips for preparing your wood surface for effective lacquer removal.
Gather The Necessary Tools And Materials
Before you start removing lacquer from wood, it’s important to gather the right tools and materials to ensure a smooth and efficient process. These items will help you effectively remove the lacquer without damaging the wood surface. Here is a list of essentials:
- Protective gloves
- Safety goggles
- Dust mask
- Scraper or putty knife
- Fine-grit sandpaper
- Denatured alcohol
- Lint-free cloth
- Plastic drop cloth
- Painter’s tape
Having these tools and materials ready will make the lacquer removal process much easier and safer for you.
Protecting Yourself And The Surrounding Area
When removing lacquer from wood, it’s important to prioritize safety precautions. Not only should you protect yourself, but also the surrounding area to prevent any accidental damage. Follow these guidelines:
- Wear protective gloves to shield your hands from chemical exposure and potential injuries.
- Put on safety goggles to protect your eyes from any flying particles or splashes.
- Wear a dust mask to prevent inhaling any harmful dust particles during the sanding process.
In addition to protecting yourself, it’s crucial to safeguard the surrounding area. Cover the floor and any nearby furniture or objects with a plastic drop cloth to catch any drips or spills.
Use painter’s tape to secure the drop cloth in place and ensure it doesn’t shift during the lacquer removal process. This will help minimize the potential mess and make the cleanup easier afterwards.
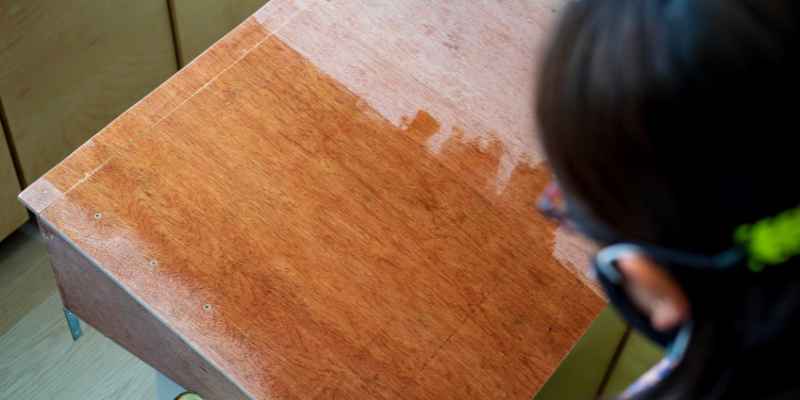
Methods For Removing Lacquer
Remove lacquer from wood using effective methods including sanding, using chemical strippers, heat guns, scraping, or using a lacquer thinner. These techniques allow for the removal of lacquer while preserving the natural beauty of the wood surface.
Using Chemical Strippers
One effective method for removing lacquer from wood is through the use of chemical strippers. These strippers are specially formulated to dissolve the lacquer, making it easier to remove.
To utilize this method, first, ensure you are working in a well-ventilated area. Chemical strippers can produce strong fumes, so using a respirator and wearing protective gloves is recommended. Apply the stripper to a small, inconspicuous area of the wood to test its effectiveness and ensure it doesn’t damage the surface.
Once you are ready to proceed, generously apply the stripper to the lacquered surface using a brush or sponge, ensuring complete coverage. Allow the stripper to sit on the wood as directed by the manufacturer, typically 15-30 minutes, or until the lacquer begins to bubble and lift.
Once the lacquer has softened, use a scraper or putty knife to gently scrape away the loosened layers. Work in small sections, applying additional stripper as needed. Be cautious not to apply excessive pressure or scrape too deeply, as this could damage the wood surface.
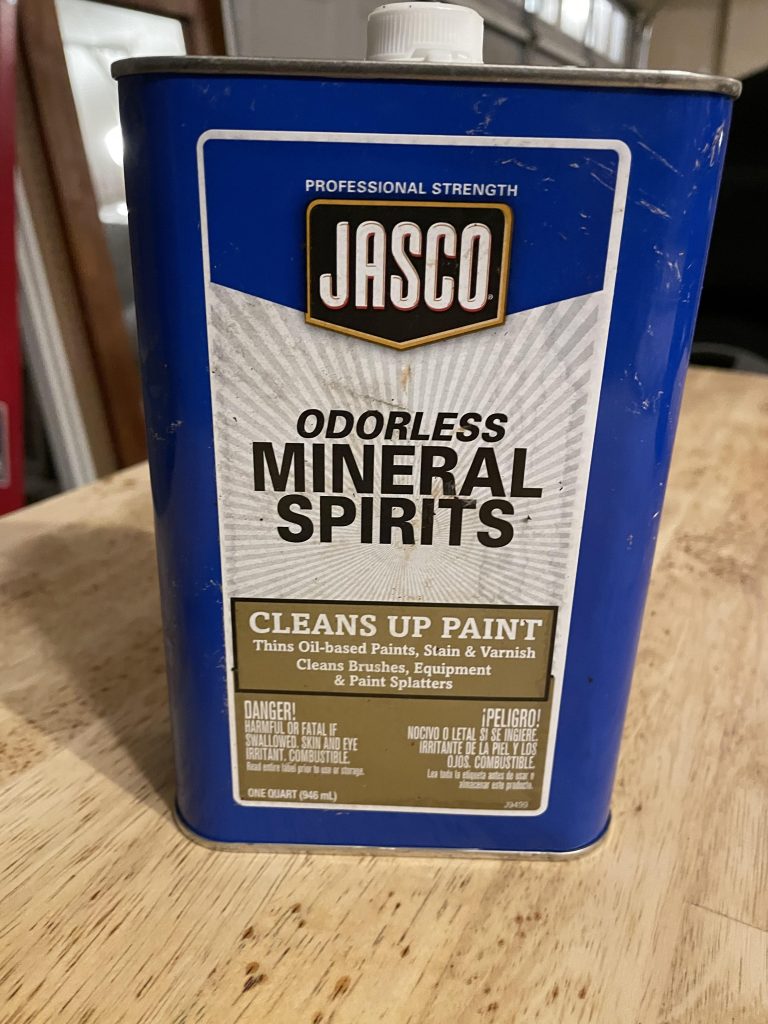
After removing the majority of the lacquer, wipe down the wood with a clean cloth dampened in mineral spirits or a recommended cleaner to remove any residue. Rinse the wood with clean water and allow it to dry completely before applying any new finishes or coatings.
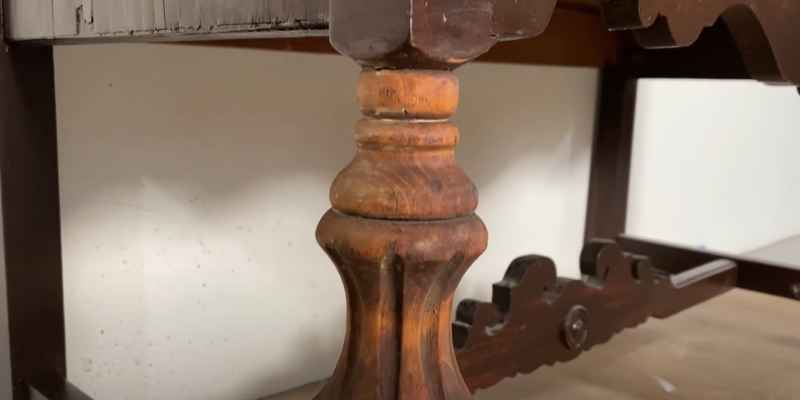
Sanding And Scraping
If you prefer a more manual approach to removing lacquer, sanding and scraping can be effective methods. This technique is best suited for smaller areas or intricate details where a chemical stripper may be more challenging to apply.
Start by sanding the lacquered surface using a medium-grit sandpaper. This initial sanding will help break through the lacquer and provide a smoother surface for further treatment. Once the lacquer is roughened, switch to a finer grit sandpaper to achieve a smoother finish.
Following the sanding process, use a scraper or putty knife to gently scrape off any remaining lacquer. Be sure to work carefully and avoid applying too much pressure, as this could cause damage to the wood.
After sanding and scraping, clean the wood surface thoroughly using a soft brush or cloth to remove any dust or debris. Once cleaned, you can choose to apply a fresh coat of lacquer or proceed further with staining or painting the wood, depending on your desired finish.
Steps To Safely Remove Lacquer
Removing lacquer from wood can be a meticulous process, but with the right steps and techniques, it can be done safely and effectively. Whether you want to refinish your furniture or restore an old wooden item, here are five easy steps to remove lacquer from wood.
Step 1: Testing On A Small Area
Before you begin the process of removing lacquer, it’s essential to test the chosen method on a small, inconspicuous area of the wood surface. This step allows you to determine how the wood will react to the specific product or technique you plan to use. It helps prevent any unwanted damage or discoloration to the wood.
Step 2: Applying The Chosen Method
Once the test area has been inspected and shows no adverse effects, you can proceed with applying the chosen method for lacquer removal. There are several methods you can use, such as sanding, chemical stripping, or using a heat gun. Make sure to select a technique that suits the type of wood and the amount of lacquer on the surface.
Step 3: Removing The Lacquer
After applying the chosen method, it’s time to remove the lacquer from the wood surface. If you’re using sanding, start with a coarse grit sandpaper and gradually move to a finer grit for a smooth finish. If you opted for chemical stripping, carefully follow the instructions provided by the product manufacturer. If using a heat gun, ensure you keep a safe distance between the wood and the heat source to avoid any scorching or burning.
Step 4: Cleaning And Preparing The Wood Surface
Once the lacquer has been successfully removed, it’s crucial to clean and prepare the wood surface for the next steps. Use a soft, damp cloth or sponge to remove any residue or debris left behind from the removal process. For stubborn residue, you can use a gentle wood cleaner or mineral spirits. Allow the wood to dry completely before proceeding to the next step.
Step 5: Applying A New Finish
Finally, after successfully removing the lacquer and preparing the wood surface, you can apply a new finish to protect and enhance the wood’s appearance. Choose a finish that suits your aesthetic preferences and the type of wood. Apply the finish evenly using a brush or cloth, following the manufacturer’s instructions. Allow the finish to dry completely before using or moving the wood item.
Conclusion
Removing lacquer from wood requires patience and the right tools. By following the step-by-step process outlined in this blog post, you can successfully restore your wood furniture or surfaces to their original beauty. Remember to prioritize safety by wearing protective gear, and always test any products or methods on a small, inconspicuous area first.
With a little effort and care, you can achieve stunning results and enjoy the natural appeal of your wood without any lacquer residue.