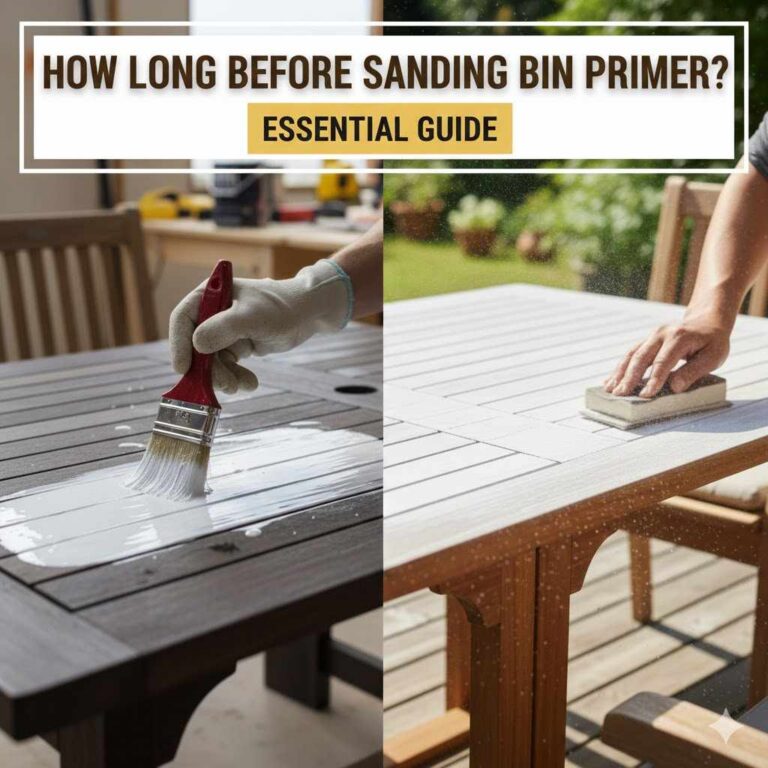
How to Remove Primer: Expert Tips for a Flawless Finish
Removing primer can seem tricky, but it’s quite manageable. With the right steps, you can do it easily.
Primer is essential for a smooth, long-lasting finish. But sometimes, you need to remove it. Maybe you made a mistake, or you want to change the color. Whatever the reason, removing primer doesn’t have to be a headache. In this guide, we’ll show you how to do it safely and effectively.
You’ll learn the tools you need and the steps to follow. This will help you get a clean surface ready for a fresh start. Let’s dive into the simple process of removing primer, making your next project a breeze.
Credit: www.reddit.com
Tools And Materials
Gather the necessary tools before starting. You will need sandpaper, a scraper, and protective gloves. Don’t forget clean rags and warm water. Soap can help clean the area after removing the primer. Painters tape can protect surrounding areas. Drop cloths will keep your workspace clean. Ventilation masks are important for safety.
Consider using a heat gun for tough spots. Chemical strippers can help but use with caution. Electric sanders may save time. Primer remover solutions are available in stores. Always read safety instructions before use. Protective eyewear is a good idea, too.

Credit: www.wikihow.com
Safety Precautions
Wear protective gear, including gloves and goggles, to avoid contact with chemicals. Ensure proper ventilation to prevent inhalation of fumes.
Protective Gear
Always wear gloves to protect your hands. Safety goggles are important to shield your eyes. Masks help to avoid breathing in harmful fumes. Aprons can protect your clothes from stains. Ensure all gear is worn properly.
Ventilation Tips
Open windows to allow fresh air in. Use fans to help circulate air. Work outside if possible for better ventilation. Avoid closed spaces to reduce fume buildup. Good airflow is key to staying safe.
Preparing The Surface
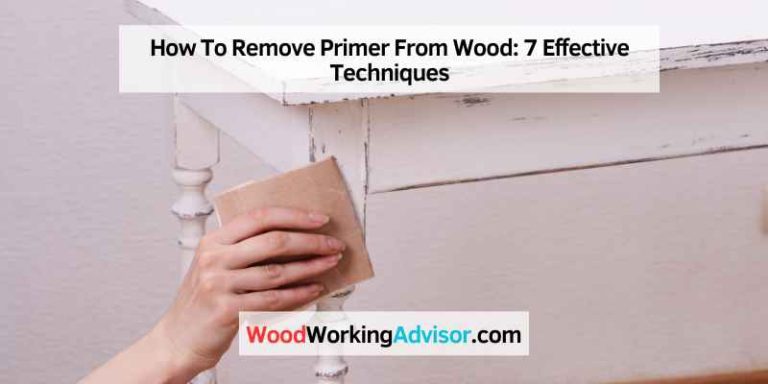
First, gather your cleaning tools. Use a damp cloth to wipe the surface. Remove dust and dirt. This helps the primer to come off easily. Make sure the area is clean. No debris should be left. This step is important. It prepares the surface for sanding.
Next, use fine-grit sandpaper. Gently sand the primer. Work in small circles. This will remove the primer slowly. Be patient. Avoid pressing too hard. This can damage the surface. Check your progress often. Stop when the primer is gone. Clean the area again. Use a damp cloth to remove dust. Let it dry completely.
Chemical Removers
There are many types of chemical removers. Some are strong and work fast. Others are gentle but take more time. Read the label to know what is best for your primer. Consider the surface you are working on. Some chemicals can damage certain materials. Always do a small test spot first. Safety is key. Use gloves and masks. Ventilate the area well. Follow instructions carefully to avoid mistakes. Store chemicals safely away from children.
Apply the remover with a brush or a cloth. Spread it evenly on the primer. Wait for the time stated on the label. Scrape off the primer gently. Use a plastic scraper. Rinse the surface with water. Dry it completely before repainting. Repeat if needed for stubborn primer. Patience is important. Do not rush the process. Work in small sections for better results.
Mechanical Methods
Use a scraper or putty knife to remove primer. Work slowly to avoid damage. Keep the blade at an angle for best results. Repeat until the surface is clean.
Power tools can speed up primer removal. A power sander or grinder works well. Always wear safety gear. Begin with low speed to control the tool. Check progress often to avoid over-sanding.
DIY Vs. Professional Help
DIY can be fun and save money. If the area is small, try it yourself. Simple tools like sandpaper and paint remover are enough. Safety is important. Wear gloves and a mask. Follow steps carefully. Patience helps to get good results. Clean up after work is done. DIY works best for simple tasks.
Professionals are best for big projects. They have special tools and experience. Work is done quickly and correctly. Costs more but worth the price. No stress for you. Quality is guaranteed. Complex tasks need experts.
Post-removal Care
Removing primer involves gentle scrubbing with a cloth and a suitable solvent. Ensure all residue is cleaned off thoroughly. Apply moisturizer to protect the skin afterward.
Surface Clean-up
After removing primer, the surface may have dust or small particles. Use a damp cloth to wipe down the area. This helps remove any leftover debris. Make sure the surface is completely dry before the next step. A dry surface ensures better adhesion for new coatings.
Preparing For New Coating
Before applying a new coating, check the surface for any imperfections. Sand any rough spots to make the surface smooth. This helps the new coating stick better. Use a primer if the surface is porous. This step creates a solid base for the new coating. Allow the primer to dry completely before applying the final coat. Proper preparation leads to a long-lasting finish.
Common Mistakes
Applying too much pressure can damage the surface. Skipping the test patch might lead to problems. Using the wrong removal product can ruin the finish. Not following instructions might cause issues. Leaving primer on too long makes it hard to remove.
Use a soft cloth for gentle cleaning. Try warm water to loosen the primer. Apply remover in small sections. Check your progress often. If stuck, seek advice from a pro.

Credit: www.reddit.com
Frequently Asked Questions
What Is The Best Way To Remove Primer Paint?
The best way to remove primer paint is to use a paint stripper or sanding method. Apply stripper, wait, and scrape. Sand for a smooth finish. Always wear protective gear.
What Is The Best Product To Remove Primer?
The best product to remove primer is acetone or a commercial paint stripper. Ensure good ventilation and follow safety instructions.
Is Primer Easy To Remove?
Yes, primer is easy to remove with the right tools and techniques. Use a gentle cleanser or makeup remover.
What Chemical Removes Primer?
Acetone or paint thinner effectively removes primer. Always use protective gloves and ensure proper ventilation.
Conclusion
Removing primer can be simple with the right tools and steps. Start by gathering the necessary materials. Use a gentle touch to avoid damaging surfaces. Follow the steps outlined in the guide for best results. Regular maintenance ensures a smooth, clean finish.
Practice makes perfect, so don’t be discouraged. Your surfaces will look clean and ready for the next project. Always wear proper safety gear. Remember, patience and care are key. Happy cleaning!