Sanding Between Primer Coats: Grit, Dry Times & Steps
Sanding between primer coats with 180-220 grit removes dust nibs and roller texture so the topcoat bonds evenly — skip it and every bump gets magnified under the gloss. On oil-based or shellac primer, wait a full 24 hours before sanding; water-based primer is usually ready in 4 to 6 hours. This guide covers grit selection, dry vs. wet sanding, the exact step-by-step process, and what to do if you sand through to bare wood.
Sanding between coats matters because primer rarely dries flat — a brush or roller leaves texture, dust settles into the wet film, and raised wood grain fibers stand up as the water in the primer soaks into them. Skipping the sanding step between primer coats leaves all of that trapped under your topcoat.
Do You Actually Need to Sand Between Every Primer Coat? (The Real Answer)
Best Inter-Coat Sanding Kit Pick
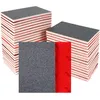
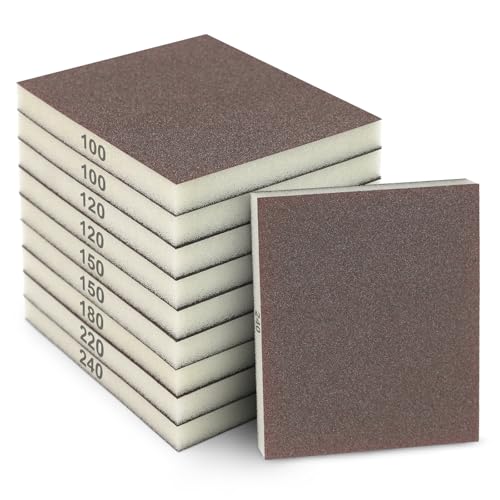
24-Piece Sanding Sponge Set (80–3000 Grit)
Washable foam sanding blocks covering everything from initial leveling to final 320–400 grit passes before a high-gloss topcoat.
- Best for: Working through the full grit progression on one project without buying separate sheets.
- Why we picked it: The 180–220 range this guide recommends for inter-coat sanding is included, plus finer grits for the final pass before lacquer or gloss.
- Main drawback: Foam pads wear faster than sheet sandpaper on large, flat surfaces.
Compare more inter-coat sanding options
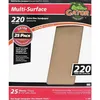 Option 1 220-Grit Sanding Sheets (25-Pack)
|
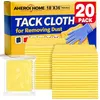 Option 2 Tack Cloth (20-Pack)
|
 Option 3 3M 8511 N95 Respirator (10-Pack)
|
As an Amazon Associate we earn from qualifying purchases.
Search this question and you’ll find two camps: painters who insist it’s mandatory, and forum posts claiming it’s “pointless extra work.” Both are half-right, and the difference comes down to what kind of finish you’re after.
If you’re priming a piece that will get a flat or satin paint finish and you applied thin, even coats with minimal texture, a light scuff-sand (or even just a tack-cloth wipe) between coats is often enough — the final coat will still look fine. But if you want a smooth, glass-like result under semi-gloss, gloss, or lacquer — the finish level most cabinet and furniture projects are aiming for — sanding between every coat is not optional. High-gloss sheens reflect light, and reflected light shows every roller mark, dust nib, and brush stroke that an unsanded coat leaves behind. The rule of thumb: the glossier your final coat, the more sanding between primer coats matters.
Primer Dry Time Before Sanding, by Type
| Primer Type | Minimum Dry Time Before Sanding | Full Cure (Recoat Safe) |
|---|---|---|
| Water-Based Latex Primer | 4 to 6 hours (70°F / 21°C) | 24 hours |
| Oil-Based Alkyd Primer | 16 to 24 hours | 24 to 48 hours |
| Shellac-Based Primer | 45 minutes to 1 hour | 2 to 3 hours |
| High-Build/Surfacer Primer | Up to 24 hours (thick film) | 48 hours |
Dry times assume a temperate, dry shop (around 70°F). Cool or humid conditions can double these numbers — always confirm against the specific can’s label, since formulas vary by brand.
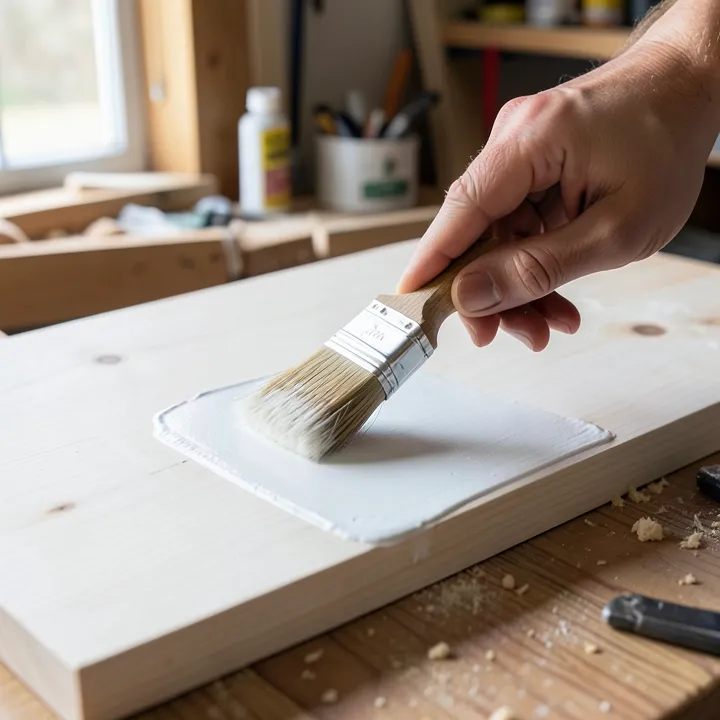
What Exactly Are You Sanding Away?
When you apply any coating — oil-based or water-based primer — a few common issues show up in the dried film:
- Raised grain: Water in the primer swells wood fibers so they stand up stiff, like tiny hairs. Sanding knocks these back down.
- Roller stipple or brush marks: Rollers leave a texture, and brushes leave tiny valleys. Sanding levels these high points.
- Dust and debris: Even in a clean shop, airborne dust settles into wet primer and becomes hard little pimples once it dries.
- Drips or thick spots: Minor runs or slightly heavier areas need to be carefully leveled before the next coat.
Sanding Supplies You Actually Need
You don’t need power tools for this job. Hand sanding is often safer and more controllable between coats, since it’s harder to accidentally burn through the primer into bare wood. Here’s the gear that matters:
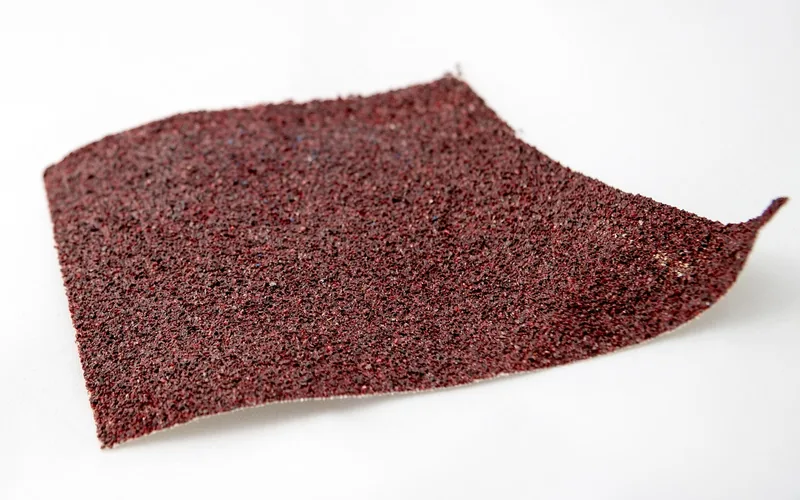
Required Sanding Gear
| Tool/Material | Why You Need It |
|---|---|
| Abrasive Grit (Sandpaper) | 180 to 220 grit for general leveling between coats. |
| Sanding Block or Sponge | Ensures even pressure across the surface; prevents fingers from digging in and burning through. |
| Tack Cloth or Microfiber Towel | Removes fine sanding dust without adding moisture. |
| N95 Respirator | Protects your lungs from fine sanding dust, even when wet-sanding primer. |
| Safety Glasses | Standard PPE for any sanding task. |
Grit selection: Paper finer than 150 grit won’t cut imperfections effectively. Paper coarser than 220 grit can scratch the primer too deeply, meaning you’ll need an extra coat to hide the scratches. 180 to 220 grit is the balance point for most primers.
Dry Sanding vs. Wet Sanding Primer
The choice between dry sanding (standard sandpaper) and wet sanding (fine waterproof paper plus water) depends on the primer type and how much leveling you need.
- Dry sanding: Best for general leveling, knocking down dust nibs, and smoothing minor roller texture on oil-based or older latex primers. Faster, but creates more airborne dust — wear your N95.
- Wet sanding: Best for ultra-smooth results on high-build automotive or epoxy primers, or modern water-based primers. Keeps dust down significantly. Use waterproof P-grade or silicon carbide paper with a spray bottle of water and a drop of dish soap.
For most beginners refinishing furniture or cabinets, dry sanding with 220 grit is the standard, proven method for sanding between primer coats.
Step-by-Step: How to Sand Between Primer Coats
Step 1: Confirm the Primer Is Fully Dry
The most common mistake beginners make is sanding primer that isn’t cured. Sanding a wet or gummy primer causes clumping, deep scratches, and peeling. Check the can’s label for the manufacturer’s recoat time, then use the dry-time table above as a starting point if the label is missing or unclear. Press lightly — if you feel any tackiness or sponginess, wait longer.
Step 2: Prep the Area
- Close nearby doors and turn off fans to keep dust from spreading.
- Put on your N95 respirator and safety glasses.
- Wipe the surface lightly with a barely damp cloth to remove loose debris, then let it dry completely before sanding.
Step 3: Sand With the Grain
Using a sanding block or sponge with 180 or 220 grit, lightly sand the entire surface. You’re feathering high spots, not stripping the primer.
- Use gentle, consistent pressure and let the grit do the work.
- Always sand in the direction of the wood grain — cross-grain scratches will show through the topcoat.
- On rounded edges or profiles, lightly roll the sanding block to keep pressure even.
How long do you sand? Until the surface feels uniform and every shiny high spot has turned a consistent dull, matte grey.
Step 4: Inspect and Stop
It’s easy to over-sand. You’re done when the surface feels silky smooth and the primer looks flat and matte overall. If you sand through to bare wood (a “burn-through”), it’s fixable — this happens to everyone.
For small burn-throughs on flat areas: wipe away the dust, apply a thin spot coat of primer just to that area, let it dry (an hour or two), lightly scuff with the same grit, then move to the cleaning step.
Step 5: The Critical Cleaning Step
Any sanding dust left on the surface when you apply the next coat is essentially glued in place under your finish. This is what a tack cloth is for — a lightly resin-treated rag that grabs fine dust.
- Wipe the entire surface first with a used, less-tacky section of the cloth.
- Finish with the tackiest center section, moving slowly and lifting dust as you go. Avoid pressing hard, or the resin can transfer.
- After using the tack cloth, put on a fresh pair of nitrile gloves before handling the piece — hand oils can prevent the next coat from bonding properly.
Once the piece is dust-free, it’s ready for the next coat of primer or your first topcoat. If a third primer coat is planned, repeat Steps 1–5 with finer sandpaper (around 320 or 400 grit) for that final smoothing pass.
Troubleshooting Common Primer Sanding Issues
Even experienced woodworkers run into these problems when sanding between primer coats.
The Primer Is Soft or Smears
This means the primer wasn’t fully cured (see Step 1). If it gathers into sticky balls or smears instead of turning to fine powder, stop immediately.
The fix: Wait longer for solvent evaporation — this is slower in cool or humid environments. Heavy-build primer can take up to 24 hours to harden completely.
You Sanded Through to Bare Wood
This happens most often on edges and corners, where primer tends to build up thin.
The fix: Spot-prime the bare area with a small artist’s brush, just enough to cover it. Let it dry completely, gently scuff with 220 grit, clean with a tack cloth, then apply your full next coat.
The Finish Looks Like Orange Peel
If the primer was applied too thick, it can dry with a bumpy, orange-peel texture. Sanding a thick layer requires extra care.
The fix: For minor orange peel, 180-grit sanding followed by a thinner primer coat usually fixes it. For severe texture, wipe the section with thinner (oil-based) or a detergent solution (water-based), clean, and re-prime thinly.
Dust Sticks to the Tack Cloth Instead of Lifting Off
If dust seems glued to the surface, your tack cloth may be too aggressive or too old.
The fix: Condition the cloth first by dabbing it on a scrap piece of wood a few times. This reduces the tackiness slightly so it lifts dust without pulling excess resin onto the surface.
Why Sanding Improves Adhesion, Not Just Smoothness
Sanding between coats serves two functions: smoothing the surface and improving adhesion. Adhesion is how strongly the new coat grips the layer underneath. Dry-sanding primer with 180 or 220 grit creates millions of microscopic anchor points — tiny scratches — that the next coat can mechanically grip. This bond matters most on pieces that see heavy use, like kitchen cabinets or high-traffic doors.
Cured primer is a fairly slick surface even before you consider texture issues. The sanding pass “de-glosses” it, turning slick into a slightly rough, tooth-ready surface the next coat can hold onto.
High-Build vs. Standard Primer: Sanding Differences
The primer you chose also affects your sanding routine. High-build primers fill minor surface defects — like scratches left by rough machine sanding on bare wood — much more aggressively than standard primers. Choosing the product itself is a separate question; we cover which wood primer costs least per square foot in a dedicated comparison of eight primers and undercoats.
Primer Comparison for Inter-Coat Sanding
| Primer Type | Sanding Goal | Recommended Grit (After Coat 1) |
|---|---|---|
| Standard Latex/Alkyd Primer | Level texture and remove dust nibs. | 220 Grit (Dry Sanding) |
| High-Build/Surfacer Primer | Flatten deep imperfections; aggressive filling. | 180 or 220 Grit (Dry Sanding) |
| Automotive Primer | Achieve glass-like flatness for show-quality sheen. | 320 to 400 Grit (Wet Sanding) |
With a heavy-build primer, be extra careful not to sand through the thick coating. Professionals preserving historic finishes — the kind of careful surface prep the National Park Service documents in its historic-preservation guidance — follow the same principle: protect the substrate below the finish layer.
Applying the Next Coat
After sanding and cleaning the first coat, your second coat of primer will lay down flatter and use less material overall. A well-executed two-coat prime job often looks better than a rushed three-coat job.
When applying the second coat, aim for it thinner than the first. This prevents buildup that makes edges look rounded or soft. Thin coats dry faster and sand easier.
Field Notes From the Shop
A few things Md Meraj has learned the hard way after refinishing plenty of cabinets and furniture:
- Work in small sections: On a large bookcase or several doors, sand, clean, and inspect one section completely before moving to the next. This stops dust from migrating across areas you’ve already finished.
- Use raking light to find flaws: Overhead shop lights hide imperfections. Get low, or angle a shop light so it rakes across the surface parallel to the grain — this immediately highlights scratches, bumps, and dull spots you missed.
- Never skip the tack cloth: A quick puff of air isn’t enough — fine dust hangs in the air longer than it looks like it does, and resettles right back on the surface.
- Step up the grit on the final pass: If the last primer coat will be followed by spray lacquer or a high-gloss topcoat, use 320 or even 400 grit on that final pass for a mirror-like result.
Sanding between primer coats is a small, repeatable step, but it’s the one that separates a “home-painted” look from a professionally finished one.
Frequently Asked Questions About Sanding Primer
What grit sandpaper should I use to sand the first coat of primer?
For most standard latex or oil-based primers, 180 or 220 grit sandpaper used with a sanding block is ideal. It’s coarse enough to level defects but fine enough to avoid noticeable scratches.
Can I sand the primer if it’s still slightly tacky?
No. Tacky primer isn’t fully cured. Sanding it will smear, clump on your sandpaper, and create deep gouges you can’t easily fix later.
Do I really need a tack cloth after sanding?
Yes. A brush removes large clumps, but the finest sanding dust stays airborne or settles back onto the surface. A tack cloth is specifically designed to attract and hold that fine dust for a clean, contamination-free surface.
What should I do if I sand through the primer to bare wood?
Stop sanding immediately. Clean the area, spot-prime the exposed wood only, let it dry, lightly scuff it with the same grit, and wipe clean before continuing with your next full coat.
Is wet sanding mandatory between primer coats?
No, wet sanding is optional. It works well for modern water-based primers or when aiming for an extremely flat, high-gloss coat with very fine paper (400 grit or higher). For general home projects, dry sanding with 220 grit is usually sufficient.
How much pressure should I use when sanding primer?
Use light, consistent pressure. You’re only flattening high spots, not removing the primer layer. Too much pressure causes burn-throughs, especially on edges.
Conclusion: The Path to a Professional, Lasting Finish
Sanding between primer coats is the step that holds a great finish together. With the right tools — 180 or 220 grit paper and a sanding block — and the right process (confirm the primer is dry, sand lightly with the grain, clean thoroughly with a tack cloth), you’ll get a flat, professional base every time.
The time you spend now sanding between primer coats saves you double the frustration later, trying to hide flaws under an expensive topcoat color. Respect the drying times, wear your respirator, and you’ll get a finish that’s smooth, durable, and worth the extra pass.
Sponsored / affiliate links. As an Amazon Associate I earn from qualifying purchases. I may earn additional commission from eligible campaigns.