Can You Use PVA Primer on Wood? Why It’s Not What You Think
Short answer: real “PVA primer” is a drywall product, not a wood primer. What most people actually mean when they ask this is whether diluted PVA wood glue – Titebond, Elmer’s, or similar – can work as a DIY sealer on bare wood. It can, in narrow situations, but treating it as a drop-in substitute for an actual wood primer is where a lot of paint jobs go wrong. Here’s the real distinction, plus exactly when diluted glue is a smart shortcut and when it isn’t.
PVA Primer Is Actually a Drywall Product, Not a Wood Primer
Look for a can actually labeled “PVA Primer” in a paint aisle and you’ll find products like KILZ PVA Drywall Primer or the Sherwin-Williams PVA Drywall Primer & Sealer. Both are latex-based sizing products formulated to seal new, uncoated gypsum drywall and plaster before painting – neither manufacturer lists bare wood as an intended surface. That’s the source of most of the confusion online: a lot of DIY articles use “PVA primer” as a casual stand-in for “diluted wood glue,” but on the shelf they’re two different products built for two different jobs.
Best Real Primer for Bare Wood
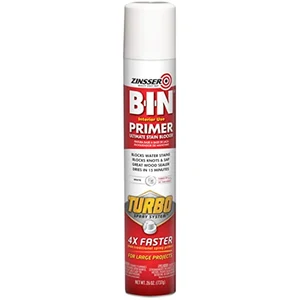 |
Zinsser B-I-N Shellac Primer-Sealer – $30.37 If you want a primer actually engineered to go on wood – not a drywall sizing product repurposed by accident – this is the closer match to what “PVA primer” promises on the label.
|
To be clear, none of this means diluted PVA glue is useless on wood – it just means it isn’t the same thing as buying a can of primer. It’s a long-standing shop trick, not a commercial primer formula, and it has real limits you should know before you rely on it.
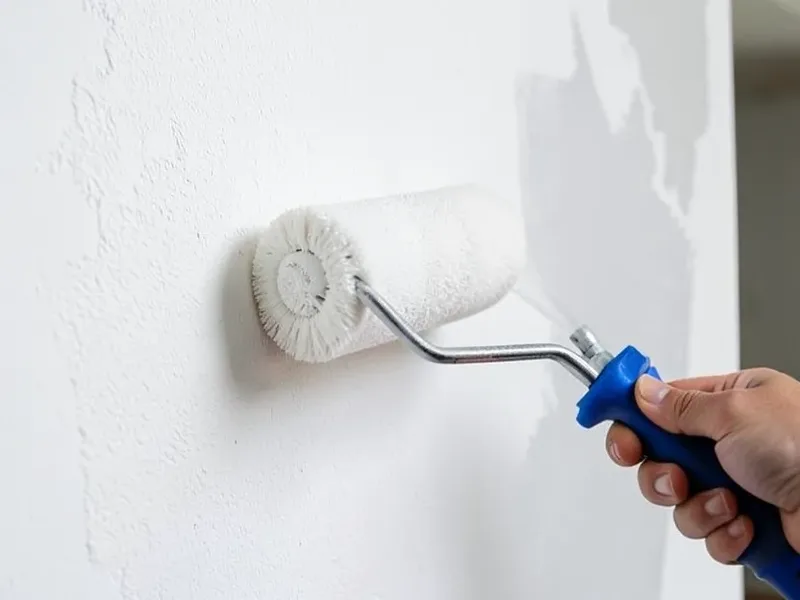
Why Raw Wood Needs Sealing Before You Paint
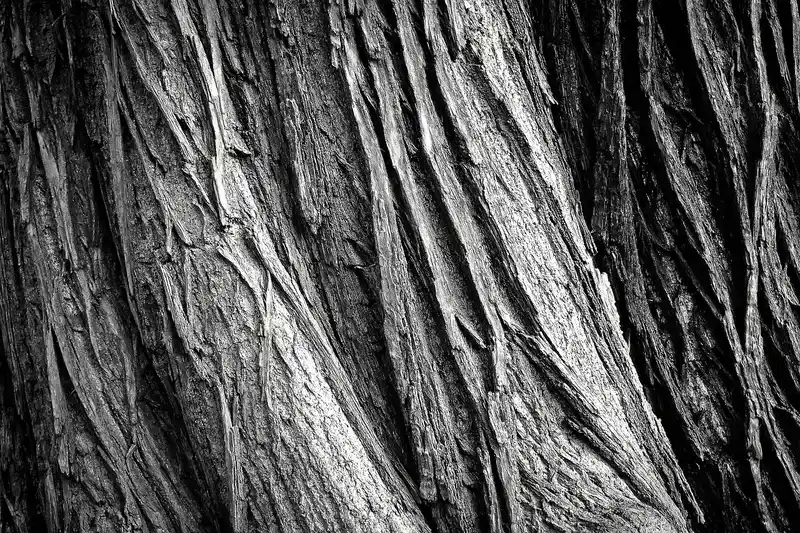
Before getting into what diluted glue can and can’t do, it helps to know what a sealer is actually solving for. Wood is porous – more like a sponge than a solid surface – and that causes three specific problems when you paint straight onto it:
- Uneven absorption. Bare wood soaks up the liquid binder in paint faster than the pigment, so some spots end up more saturated than others. The result is a blotchy, streaky finish that doesn’t fully even out even after two or three coats.
- Grain raising. Water-based paints and stains introduce moisture that swells the wood fibers at the surface, leaving a rough, fuzzy texture once it dries. Sanding after the fact only partly fixes it.
- Tannin and sap bleed-through. Woods with natural oils or tannins – cedar, redwood, and knotty pine among them – can let those compounds migrate through fresh paint over time, showing up as yellow or brown discoloration months later.
A sealer’s job is to even out that absorption, calm the grain, and lock down anything in the wood that could bleed through. That’s true whether you’re using a commercial primer or a DIY wash coat – the difference is how well each one actually does it, and under what conditions.
What Diluted PVA Wood Glue Actually Does (And Doesn’t Do)
PVA wood glue – Titebond, Elmer’s, and similar – is the same polyvinyl acetate chemistry found in some primers, but it’s formulated as an adhesive, not a sizing product. Thinned about 1:1 with water, it becomes what cabinetmakers usually call a wash coat or sanding sealer: a thin first coat that partially fills the pores of bare, porous wood so the topcoat goes on more evenly. It’s a genuinely old trick, not a modern DIY hack, and it works reasonably well for that narrow job.
Where it runs into trouble is anywhere a real primer is expected to do more. Painters and DIYers who’ve tried using a full PVA glue coat in place of primer report a specific failure mode: because the dried glue layer is still water-soluble, some water-based topcoats can partially reactivate it, leaving a tacky bond under the paint that shows up as peeling or soft spots months later – not on day one, which is exactly why it’s easy to assume the technique worked. It also isn’t rated for exterior exposure or standing moisture, and it doesn’t block heavy tannin bleed the way a shellac-based stain blocker does.
| Feature | Diluted PVA Glue (DIY Wash Coat) | Real Wood Primer (Shellac or Oil-Based) |
|---|---|---|
| What it’s made for | Wood adhesive, thinned for a different job | Formulated and sold specifically as a wood primer |
| Cost | Very low – uses glue you likely already own | Moderate, roughly $20–$35 per can or quart |
| Best use | Interior furniture, bare softwood, budget projects | Knots, sap, tannins, exterior spot priming |
| Moisture resistance | Fair – can soften or reactivate under some topcoats | Good to excellent once fully cured |
| Rated for exterior use | No | Yes, on most shellac and oil-based formulas |
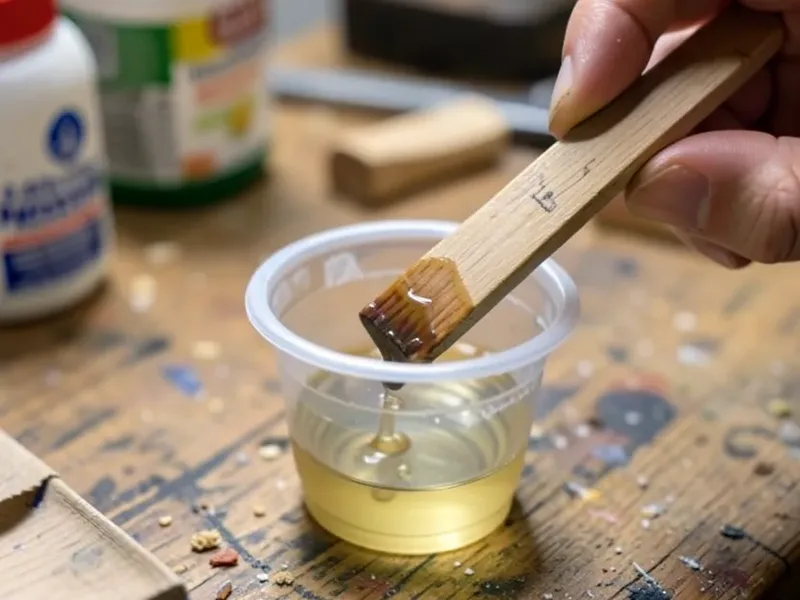
How to Mix and Apply a PVA Glue Wash Coat, Step by Step
If your project fits the narrow use case above – interior, bare wood, no exterior exposure – here’s how to do it correctly. Getting the ratio right matters: too much glue and it dries gummy and impossible to sand, too much water and it won’t seal the wood at all.
What You’ll Need
- PVA wood glue: Any standard interior PVA adhesive works – Titebond I or II, Elmer’s Wood Glue, etc.
- Clean water: Tap water is fine.
- Mixing container: A clean plastic cup or small bucket.
- Stirring stick and applicator: A craft stick, plus a cheap chip brush or foam brush you don’t mind dedicating to this.
- Fine-grit sandpaper: 180 or 220 grit for the follow-up sanding pass.
The Ratio: Start at 1 Part Glue to 1 Part Water
That 1:1 ratio is the standard starting point for bare, porous wood. Measure equal parts water and glue into your container, then stir slowly and completely until the mixture is smooth with no visible streaks – avoid whipping it fast enough to introduce bubbles. It should flow off a stir stick like thin syrup; if it drags like honey, add a small splash more water.
Mix only what you’ll use in the next hour or two. Once it starts curing, the leftover can’t be reused.
Applying It
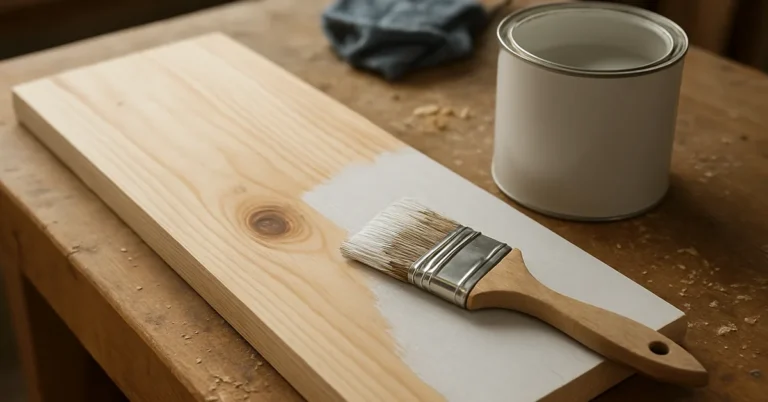
- Brush it on following the grain, working in manageable sections like one board at a time. Load the brush lightly – you want a steady flow, not a glob of liquid.
- Wipe off the excess after 15–30 seconds. This is the step most beginners skip, and skipping it is the number one cause of a sticky, gummy surface. Use a clean, lint-free rag to remove anything still sitting on top – you’re wiping the mixture in, not leaving a puddle on the surface.
- Let it dry completely. Usually 30 minutes to 2 hours depending on humidity. It should feel fully dry and not tacky before you move on.
- Sand lightly. Once dry, the surface will feel slightly rough from grain raising. Knock that down gently with 180 or 220 grit – you’re removing the fuzz, not the sealer itself.
- Wipe off dust and topcoat. A tack cloth or damp rag clears the sanding dust, and the surface is ready for paint.
On very blotchy softwoods like pine, a second thin coat – applied after the first sanding pass – can even things out further before you paint.
When to Use Diluted PVA Glue vs. When to Buy a Real Primer
Use the project itself, not the price tag, to decide which one you actually need.
A Diluted PVA Wash Coat Makes Sense For:
- Raw, unfinished interior furniture, shelving, or trim
- Controlling grain raising on soft or blotchy woods like pine, birch, or MDF
- Budget projects where you’re priming a lot of small pieces and cost matters
Buy a Real Wood Primer Instead For:
- Anything outdoors. PVA glue isn’t rated for continuous outdoor exposure. For exterior projects, use a proper exterior-grade, moisture-resistant primer – typically alkyd or a specialized acrylic. The This Old House experts team has solid guidance on durable exterior prep if you want a second opinion on product choice.
- Heavy tannin staining. Cedar and redwood in particular can bleed through a PVA wash coat after a few months. A dedicated stain-blocking, shellac-based primer holds up better.
- Standing water exposure, like a bathtub surround or a damp basement – PVA can soften over time in that environment.
- Priming over existing paint. A dedicated bonding primer is the right call there; PVA works best soaking into raw material, not sitting on top of a cured finish.
Common Mistakes When Using a PVA Glue Wash Coat
The Wood Still Feels Gummy Hours Later
Almost always means the excess wasn’t wiped off after application. If it’s only slightly sticky, increase ventilation and give it more time. If it’s genuinely gummy, gently scrape the thick spots with a plastic scraper, scrub lightly with a damp cloth, and be more aggressive about wiping off the excess next time.
The Wood Still Looks Blotchy After Painting
Usually means the coat was too thin, either from over-diluting the mix or wiping off too much material. Repeat the process with a slightly less diluted mix – closer to 1 part water to 1.5 parts glue – and wipe less aggressively before letting it dry, sand, and paint again.
Paint Adhesion Is Poor
Check for contaminants like wax or silicone residue first. If the surface is clean, make sure you sanded with at least 180-grit after the wash coat dried – paint needs a slightly toothy surface to grab onto. If adhesion is still weak, that’s usually a sign this particular job needed a real primer instead of diluted glue.
Frequently Asked Questions About PVA Primer on Wood
Is “PVA primer” the same thing as PVA wood glue?
No. Commercial “PVA primer,” like KILZ PVA Drywall Primer, is a latex sizing product made for new gypsum drywall and plaster. PVA wood glue is a completely different formula sold as an adhesive. Diluted with water, wood glue can act as a DIY sealer on bare wood, but it isn’t the same product as what’s sold under the “PVA primer” name.
Can I use a PVA glue wash coat over existing paint?
It’s not recommended. PVA is designed to soak into raw wood fibers. Applied over existing glossy paint, it tends to sit on the surface, cure slowly, and can peel off later along with the new paint layer. Use a dedicated bonding primer over existing finishes instead.
How long before I can paint over a PVA glue wash coat?
Wait until the surface is completely dry and no longer feels cool or tacky – usually 1 to 2 hours, though cool or humid conditions can push that to 4 hours. If you can still see any dampness, give it more time before sanding or painting.
Does a PVA glue wash coat work on MDF or particleboard?
Yes, and it’s a good match. Those materials are essentially wood fibers pressed together, and they absorb liquid aggressively. A diluted PVA coat helps prevent the severe swelling and pitting that’s common with engineered wood.
What’s the right ratio for dense hardwoods like oak?
Dense woods absorb more slowly, so a slightly more watery mix – around 1 part glue to 1.5 parts water – usually works better than the standard 1:1 ratio. It should still adhere and set up firmly once you wipe off the excess.
Should I use a PVA glue wash coat before staining wood?
No. A sealer is designed to reduce penetration, so if you apply PVA glue and then try to stain over it, the stain will mostly sit on top and can wipe right off. If you need to seal tannins before staining, use a clear shellac sanding sealer made for that purpose instead of diluted glue.
Bottom Line
“PVA primer” and “diluted PVA wood glue” get used interchangeably online, but they aren’t the same product – one is a drywall sizing formula, the other is thinned adhesive pressed into service as a shop-made sealer. The glue trick genuinely works for its narrow job: sealing bare, interior wood and controlling grain raising on a budget. Push it past that – onto exterior surfaces, over existing paint, or anywhere heavy tannins or moisture are involved – and a real wood primer is worth the extra few dollars. Match the product to the job and either option will get you a solid base for your topcoat.
Sponsored / affiliate links. As an Amazon Associate I earn from qualifying purchases. I may earn additional commission from eligible campaigns.