How to Remove Primer From Wood (7 Ways, No Damage)
Sanding with 40 to 60 grit sandpaper removes primer from wood fastest without gouging the surface underneath — a chemical stripper works better on carved trim or detailed furniture. Using the wrong method leaves a hazy film that keeps new paint from bonding, or damages the grain outright. This guide covers all 7 removal techniques, the EPA stripper rules that took effect in 2025, and the final sanding steps before you repaint.
Quick Answer
To remove primer from wood, sand with 40-60 grit sandpaper for small areas, or apply a biochemical paint stripper and let it sit 15-30 minutes before scraping with a putty knife. Always wear gloves and goggles and work in a ventilated space — stripper sold to consumers since May 2025 can no longer contain methylene chloride.
Why Remove Primer From Wood?
Removing primer is what lets a new coat of paint or finish actually bond to the wood instead of building up on top of old, uneven layers. It matters most when you’re switching colors, refinishing a piece for the first time in years, or repairing wooden furniture that’s picked up stains or damage under the primer. Strip it back to bare wood first and you get a smoother, longer-lasting result — and a chance to spot and fix any dents or cracks before they’re sealed under a new coat.
Protection Against Paint Buildup
Primer serves as a crucial barrier between the wood surface and the paint. It helps to prevent the wood from absorbing too much paint and reduces the risk of paint buildup. Over time, multiple layers of paint and primer can lead to an uneven and unattractive appearance. By removing the existing primer, you can ensure a clean and even base for your new coat of paint.
Preparation For Refinishing Or Repainting
When changing the color of your wooden furniture or giving it a facelift, it’s important to remove the primer to allow the new coat of paint to adhere properly. Removing the primer ensures that the new paint will bond securely to the wood surface, resulting in a professional-looking finish. It also allows you to assess the condition of the wood and address any imperfections, such as scratches or dents, before applying the new coat of paint.
7 Techniques For Removing Primer From Wood
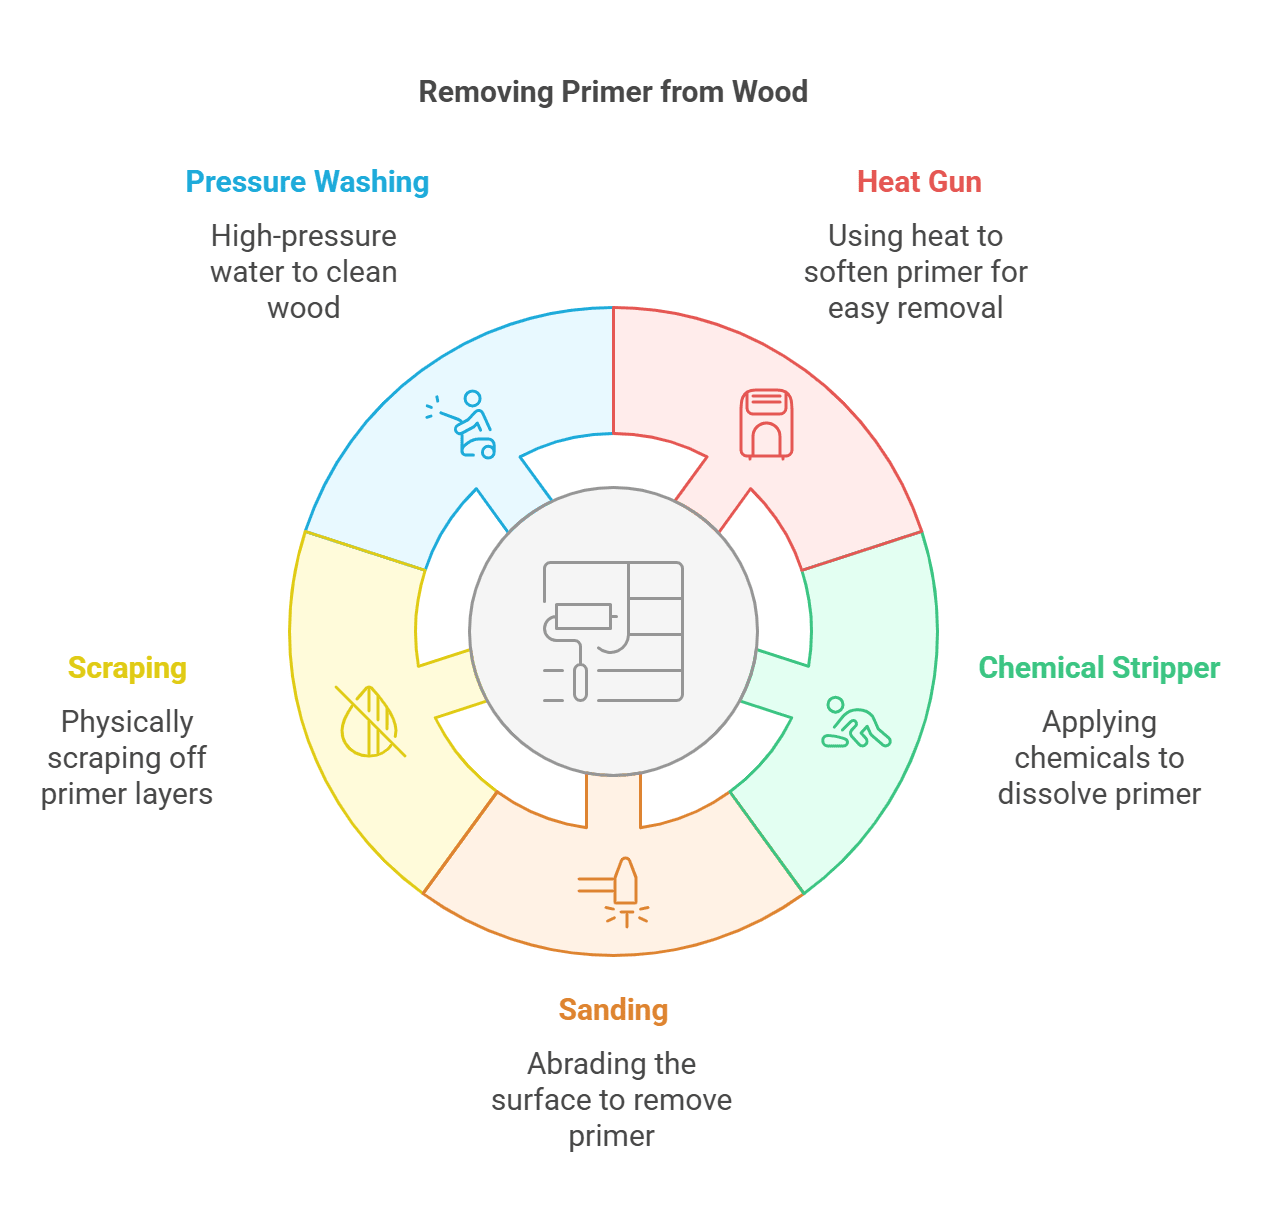
Whether you’re working on a small shelf or a whole dresser, these seven methods cover nearly every situation — from light, water-based coats to old, stubborn oil-based primer baked on for years. Pick based on the wood’s condition and how much detail work the piece has, not just whichever is fastest.
1. Sanding
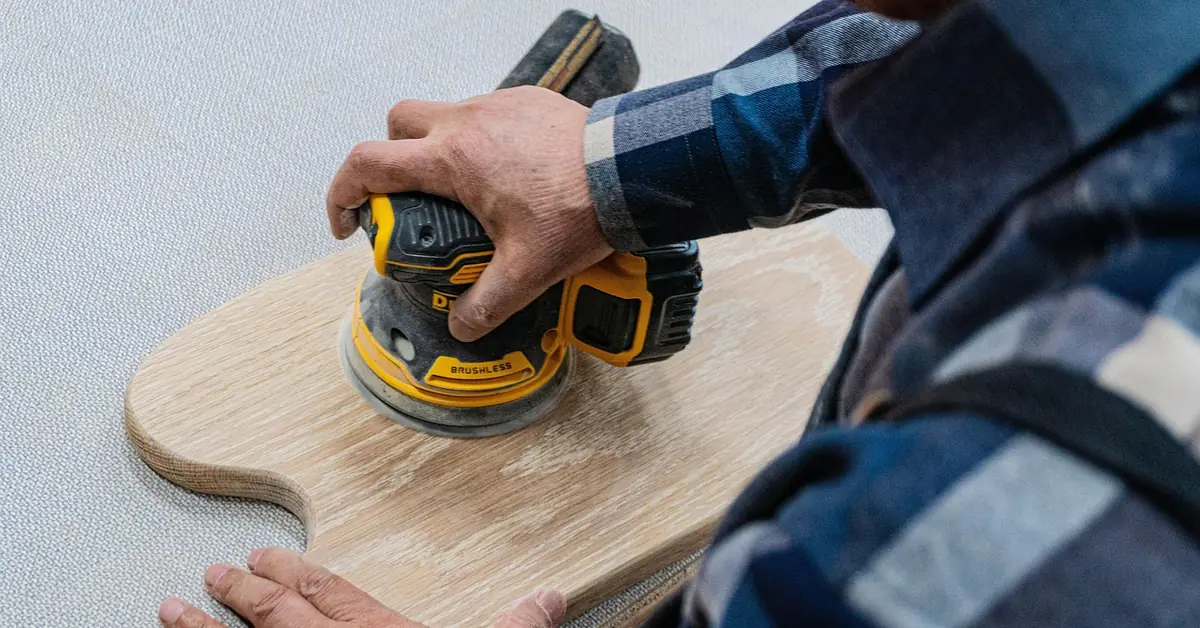
Sanding is the fastest method for flat surfaces and the one least likely to damage the wood underneath. Start with coarse 40 to 60 grit sandpaper on a sanding block or orbital sander to cut through the bulk of the primer, then switch to 120-150 grit to smooth the surface. Always sand with the grain, and wear a dust mask — primer dust is fine and gets everywhere.
2. Chemical Paint Stripper
A biochemical, plant-based stripper is the gentlest option on wood and the best choice for carved or detailed pieces sanding can’t easily reach. Brush or roll it on, let it sit 15 to 30 minutes for a thin coat (thicker or older primer can take several hours — check the product label), then lift the softened primer off with a scraper. Wear nitrile gloves and goggles, and work somewhere with real airflow — open windows and a fan, not just a cracked door.
📊 OSHA limits worker exposure to methylene chloride, a solvent once common in paint strippers, to 25 parts per million averaged over an 8-hour shift. The EPA has also banned methylene chloride from consumer paint and coating removers since May 2025, and from most commercial use starting April 2026 — Source: OSHA 1910.1052 Appendix C
3. Heat Gun
A heat gun softens thick, stubborn primer so it lifts off in sheets instead of dust. Set it to low or medium heat and hold it a few inches from the surface, moving it back and forth over one small section at a time. Once the primer bubbles or blisters, scrape it off with a putty knife. Keep the gun moving — holding it still in one spot for too long scorches the wood.
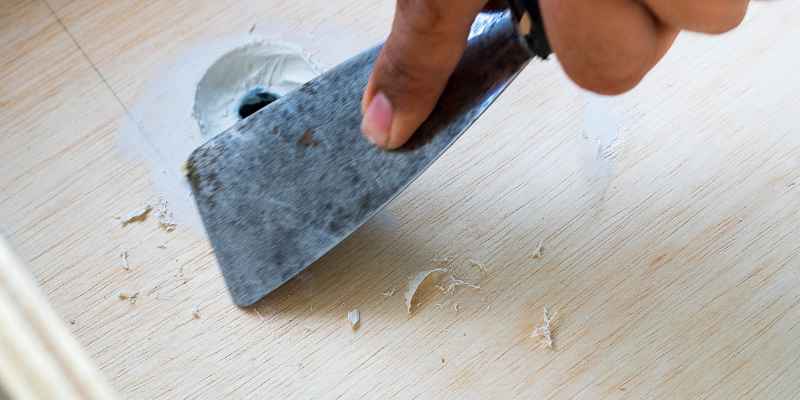
4. Scraping
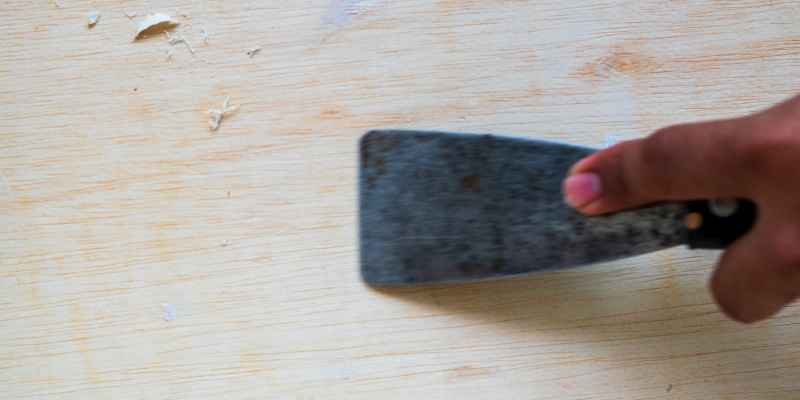
Scraping alone works on primer that’s already loose, cracked, or peeling. Use a putty knife or scraper held at a shallow angle and work in small sections, following up with a wire brush on stubborn spots. Go easy on the pressure — digging in at a steep angle is how you gouge the wood instead of just lifting the primer.
5. Pressure Washing
Pressure washing suits large outdoor surfaces like fences and decks better than furniture. Use a medium setting, hold the nozzle a few inches from the surface, and spray in a sweeping motion rather than lingering in one spot. Let the wood dry completely — at least 24 to 48 hours — before applying any new primer or paint.
6. Soapy Water (Water-Based Primer Only)
If the primer is water-based and hasn’t fully cured, warm water with a few drops of dish soap can soften it enough to wipe or scrub away with a rag or soft brush. This won’t touch oil-based primer at all — if soapy water isn’t loosening it within a few minutes, it’s oil-based and you’ll need a stripper or sandpaper instead.
7. Wire Brush Or Rotary Tool
For carved details, moldings, and tight corners that a sanding block can’t reach, a wire brush attachment on a rotary tool clears primer out of grooves without flattening the profile. Keep the tool moving at low-to-medium speed — lingering in one spot can chew into softwood surprisingly fast.
Which Method Should You Use? A Quick Comparison
| Method | Time Needed | Best For |
|---|---|---|
| Sanding (40-60 grit) | 10-20 min per sq. ft. | Flat surfaces, pieces you’ll repaint |
| Chemical stripper | 15-30 min dwell (up to several hours for thick coats) | Carved trim, detailed furniture |
| Heat gun | 5-10 min per section | Thick, stubborn primer coats |
| Soapy water | 5-10 min | Light, water-based primer only |
Safety Precautions
Protective Clothing And Gear
Before attempting to remove primer from wood, it is essential to prioritize your safety. Wearing the appropriate protective clothing and gear will help to minimize the risk of any potential hazards. Here are some items you should make sure to use:
- Eye protection: Safety goggles or glasses should be worn to shield your eyes from any accidental splashes or debris.
- Respiratory protection: A face mask or respirator can prevent you from inhaling any harmful particles or fumes released during the primer removal process. Make sure to choose a mask that is suitable for chemical protection.
- Gloves: It is crucial to protect your hands from both the primer and any solvents or chemicals you might use. Nitrile or latex gloves are recommended for this purpose.
- Long-sleeved clothing: Wearing long-sleeved shirts and pants can help protect your skin from direct contact with the primer and any solvents.
- Apron or smock: Consider wearing an apron or smock to protect your clothing from potential spills or stains.
Ventilation
Good ventilation is essential when removing primer from wood, as it helps to minimize the inhalation of potentially harmful fumes. Adequate airflow can be achieved by following these tips:
- Work in a well-ventilated area: Choose a location with open windows or doors to allow fresh air to circulate.
- Use fans or air purifiers: If the work area lacks natural ventilation, consider using fans or air purifiers to improve air circulation and remove fumes.
- Avoid confined spaces: Make sure to avoid working in enclosed areas without proper airflow, as this can lead to the accumulation of harmful fumes.
Keep a box fan blowing out an open window whenever using a chemical stripper; even ten minutes without airflow leaves the room smelling like solvent for the rest of the day.
Avoid Open Flames
Primer removal involves the use of solvents that are highly flammable. To prevent accidents, it is crucial to take precautions and avoid any open flames nearby. Follow these safety measures:
- Keep flammable materials away: Make sure there are no flammable materials or substances near your work area.
- Do not smoke: Avoid smoking or lighting any open flames in the vicinity of the primer removal process.
- Use spark-proof tools: When working with solvents or scraping off the primer, ensure that the tools you use are spark-proof to minimize the risk of igniting any flammable vapors.
By adhering to these safety precautions, you can protect yourself during the primer removal process while properly preparing your wood surface for a new finish.
Tips For Successful Primer Removal
A few habits separate a clean result from a damaged surface: choosing the right method for the primer type, working in small sections, testing first, and disposing of waste responsibly.
Choose The Appropriate Method
Before you begin, choose the method that suits the wood and the primer used. A few reminders:
- Chemical paint strippers: These solvents effectively dissolve the primer, making it easier to scrape it off. Read the instructions carefully and wear protective gloves and goggles.
- Sanding: If the primer is not too thick, sanding can be an effective method. Use medium-grit sandpaper and move in slow, circular motions to remove the primer layer by layer.
- Heat guns: Heat guns can be useful for removing stubborn primer. Apply heat evenly on the primer surface and scrape it off carefully using a putty knife.
Work In Small Sections
When removing primer from wood, it’s best to work in small sections instead of tackling the entire surface at once. This helps you concentrate on a specific area, ensuring thorough removal and preventing the primer from drying before you have a chance to remove it.
Test In Inconspicuous Areas First
Before you proceed on the entire piece, test the chosen method in an inconspicuous area. This lets you assess how the wood reacts to the removal method and confirm it doesn’t cause damage or discoloration.
Properly Dispose Of Removed Primer
Once you’ve removed the primer, dispose of it correctly — check with your local waste management authority, especially if you used a chemical stripper, since some are treated as household hazardous waste rather than regular trash.
Final Steps Before Refinishing Or Repainting
Before you can refinish or repaint your wood surface, a few final steps ensure the best possible result: cleaning the surface, applying a sealer or primer if needed, and a final round of sanding and prep.
Clean The Wood Surface
Start the final steps of your wood refinishing project by thoroughly cleaning the wood surface. Cleaning removes any dirt, dust, or debris that may have built up, ensuring a smooth and even finish. Here’s how:
- Use a soft cloth or brush to remove loose dirt and debris from the surface.
- Create a solution of mild detergent and warm water.
- Dip a clean cloth into the solution and gently scrub the wood surface in circular motions.
- Rinse the cloth with clean water and wipe away any soapy residue.
- Allow the wood surface to dry completely before moving to the next step.
Apply A Sealer Or Primer If Necessary
Depending on the wood’s condition and the finish you’re after, you may need a sealer or primer before proceeding. A sealer prevents the wood from absorbing paint or stain unevenly, while a primer provides a smooth, even base for the topcoat. Here’s how:
- Choose a high-quality sealer or primer suitable for your specific wood type and project.
- Pour the sealer or primer into a paint tray or container.
- Use a brush or roller to apply an even coat to the wood surface.
- Allow it to dry according to the manufacturer’s instructions.
- Repeat for a second coat if needed.
- Once dry, move on to sanding and prepping the wood.
Sand And Prep The Wood
The final step before refinishing is to sand and prep the wood, creating a smooth, even surface with better adhesion for the paint or stain. Here’s how:
- Select the appropriate grit sandpaper — coarser (80-100 grit) for initial sanding, finer (120-150 grit) for the final pass.
- Attach the sandpaper to a sanding block or orbital sander for consistent results.
- Sand in the direction of the grain, applying light pressure.
- Continue until the surface is smooth and all imperfections, old paint, or finishes are removed.
- Wipe away dust with a clean cloth or tack cloth.
- Fill any cracks, gaps, or nail holes with wood filler and sand once dry.
- Vacuum or wipe the surface with a damp cloth to ensure it’s clean and ready for refinishing.
Similar prep applies if you’re stripping a different finish entirely — see our guide on removing polyurethane from wood without wrecking it for that specific process.
Frequently Asked Questions
Does vinegar remove primer from wood?
No. Vinegar’s mild acid isn’t strong enough to break down cured primer resin. It can help loosen surface dirt before sanding, but for actual primer removal you still need sandpaper, a heat gun, or a purpose-made paint stripper.
Can you remove primer from wood without sanding?
Yes. A biochemical paint stripper dissolves primer without any abrasion. Apply it, let it sit 15 to 30 minutes, then lift the softened primer off with a plastic or metal scraper instead of sandpaper — useful on carved or delicate surfaces.
Does soapy water remove primer from wood?
Only on water-based primer that hasn’t fully cured. Oil-based primer isn’t water-soluble and needs a solvent-based stripper or sanding instead. If soapy water doesn’t loosen it within a few minutes of scrubbing, assume it’s oil-based.
Is it safe to use a heat gun on primed wood indoors?
Yes, with good ventilation and a heat-resistant surface underneath to catch debris. Keep the nozzle moving constantly and stay on a low or medium setting — holding it still too long can scorch the wood or ignite fumes from old paint layers.
How long does paint stripper need to sit before scraping?
Most biochemical strippers need 15 to 30 minutes on a thin primer coat, but thick or aged layers can take several hours. Always check the specific product label — dwell time varies by formulation and temperature, and strippers work best between 60 and 80°F.
Conclusion
Removing primer from wood is straightforward once you match the method to the job — sanding and scraping for flat surfaces, a chemical stripper for carved detail, a heat gun for stubborn coats. Test in an inconspicuous spot first, keep the area ventilated, and let the wood dry fully before the next coat goes on.
Sponsored / affiliate links. As an Amazon Associate I earn from qualifying purchases. I may earn additional commission from eligible campaigns.
 Wood Filler for Cracks and Holes, Wooden Furniture Quick Repair Kit, Portable Floor Scratch Repairs Paste, Create a Seamless Effect, For Furnitures and Flooring (60ml*2)
 Wood Filler for Cracks and Holes, Wooden Furniture Quick Repair Kit, Portable Floor Scratch Repairs Paste, Create a Seamless Effect, For Furnitures and Flooring (60ml*3)