How Thick Should Primer Be: Achieve Perfect Paint Finish
The ideal primer thickness is crucial for a smooth finish. Too thick or too thin, and your project might suffer.
Understanding the correct thickness ensures better adhesion and a flawless top coat. Primer is essential for preparing surfaces before painting. It seals the surface, hides imperfections, and provides a base for paint to adhere. But how thick should primer be?
This question often confuses DIY enthusiasts and professionals alike. The right thickness can make a difference in the final outcome of your project. Too thin, and it won’t cover adequately; too thick, and it may lead to cracking or peeling. In this blog post, we will explore the factors that determine the ideal primer thickness and how to achieve it for the best results.

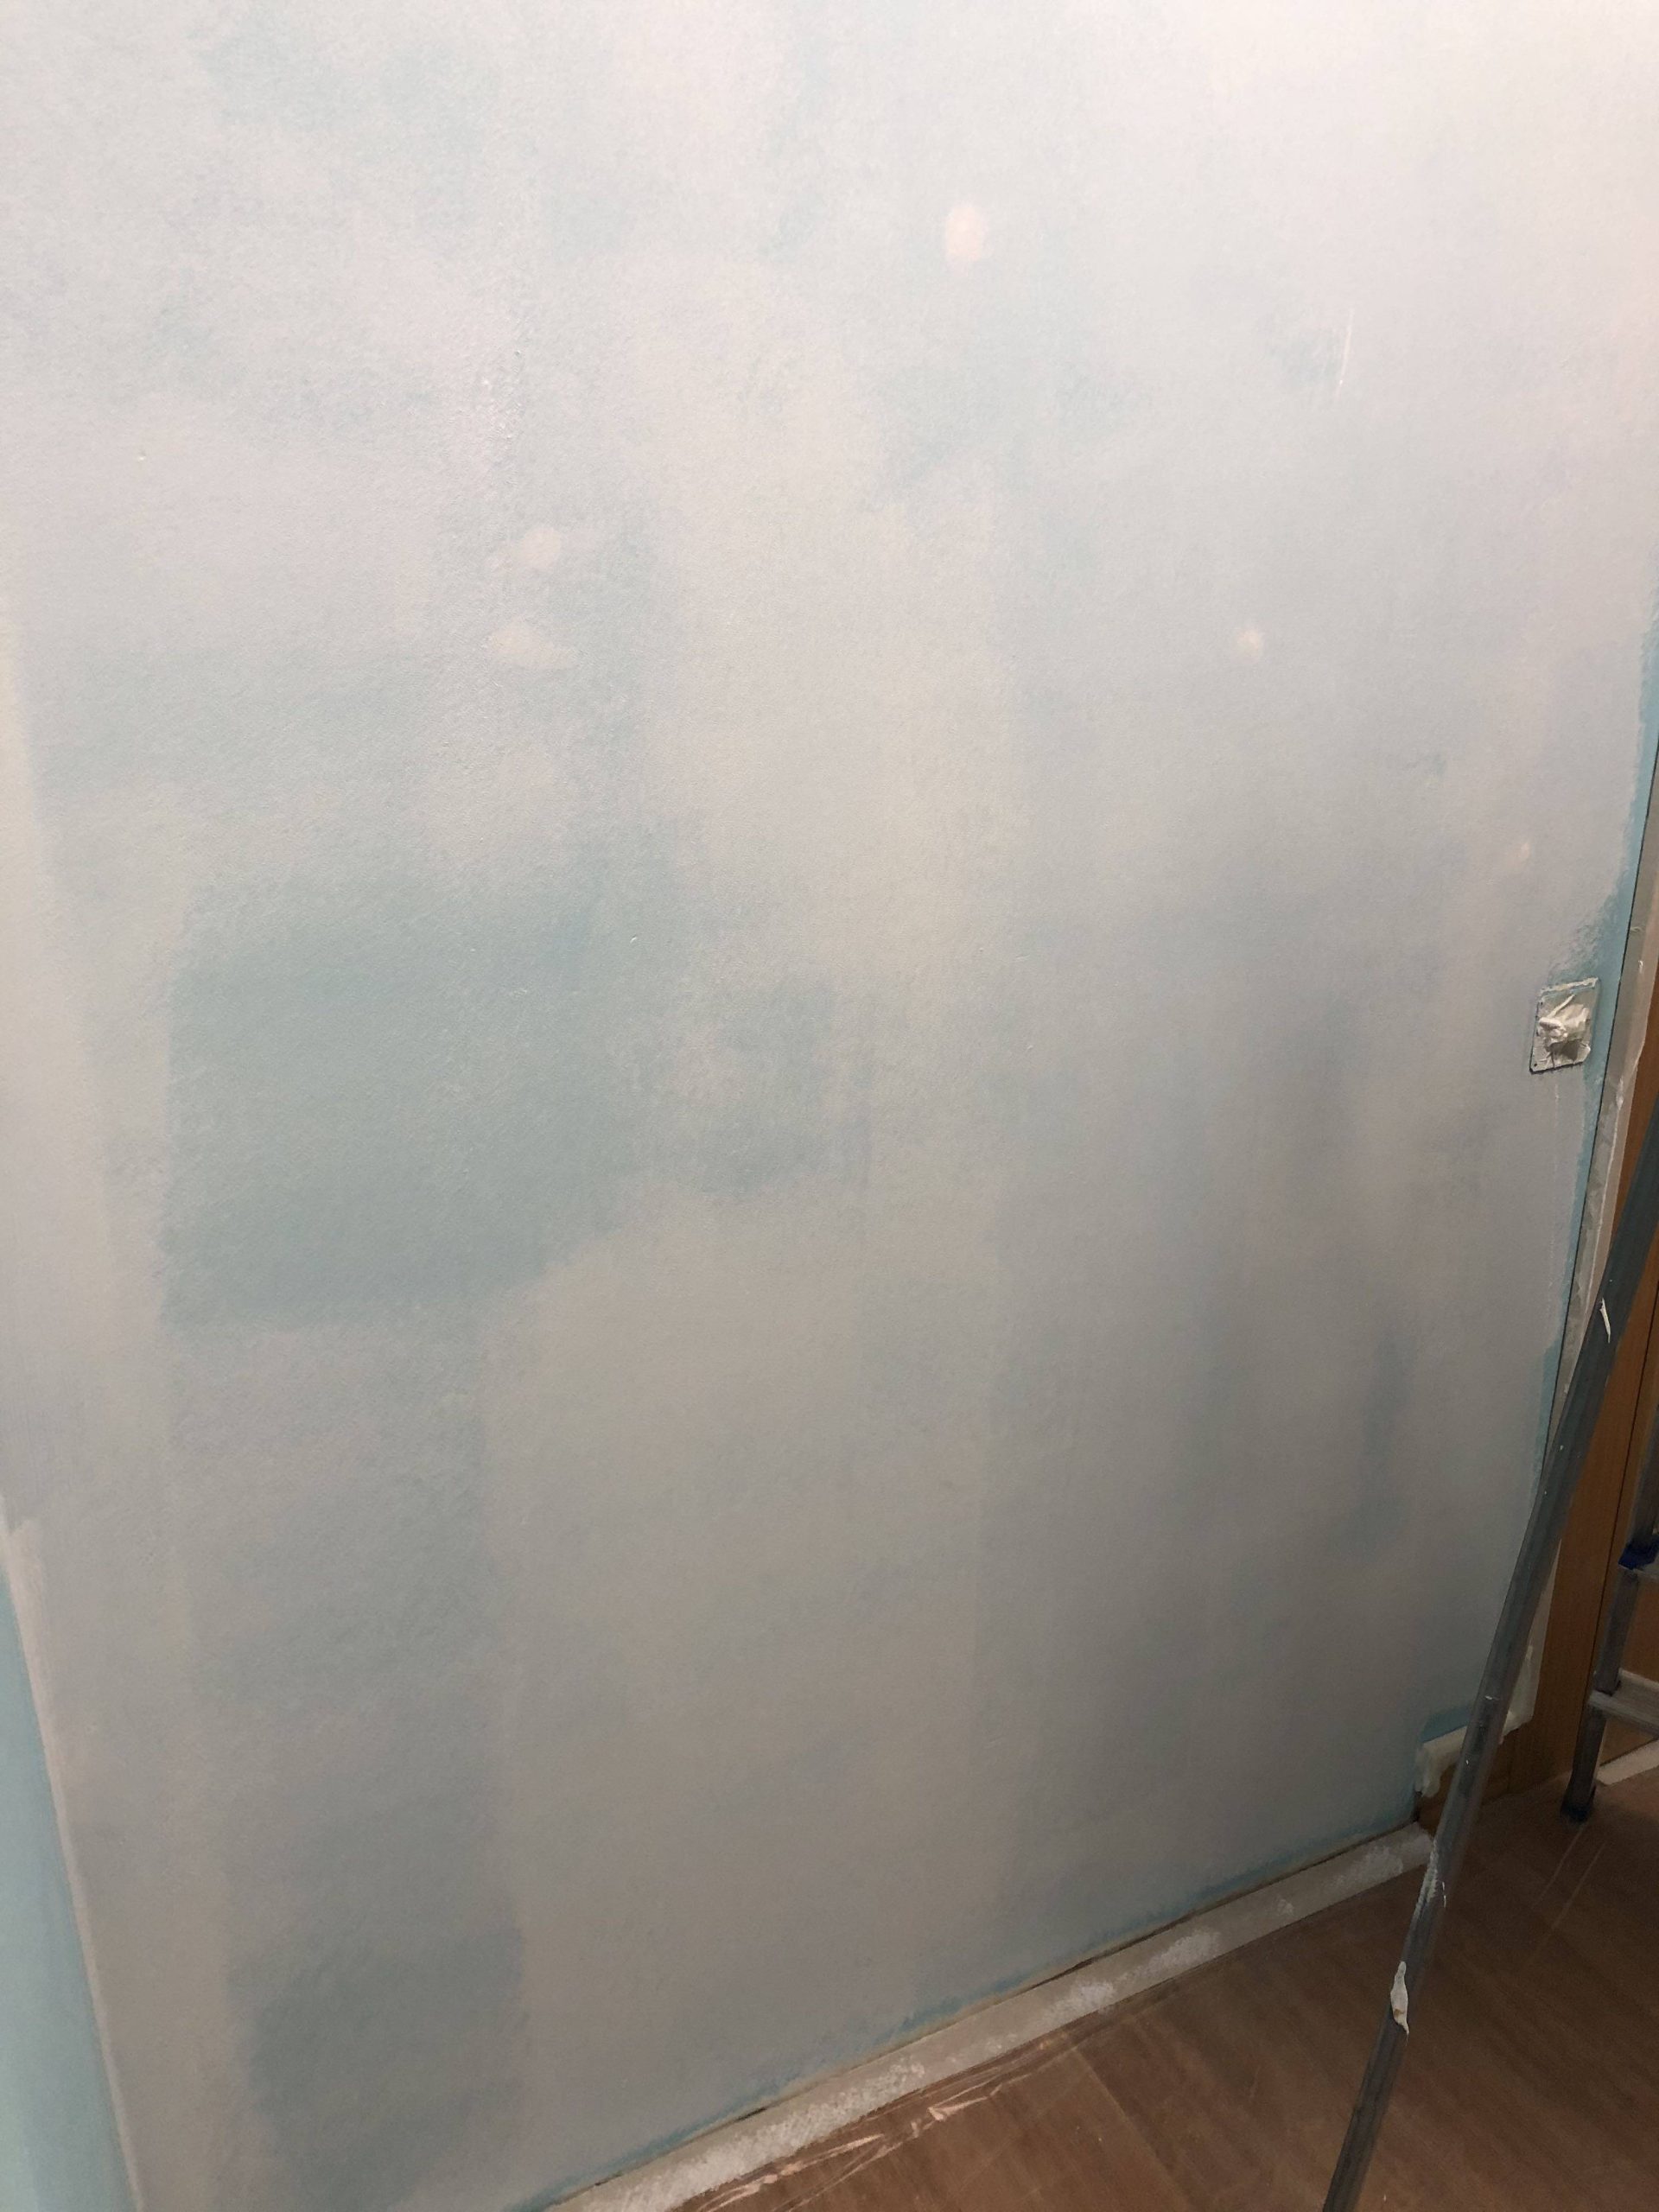
Credit: diy.stackexchange.com
Importance Of Primer Thickness
The thickness of primer affects the paint finish. A thin coat may not cover well. Uneven coverage can make the paint look bad. A thick coat can cover flaws and create a smooth base. This ensures the final paint looks great.
Primer thickness also impacts durability. Thin primer may wear out fast. Paint may chip or peel sooner. A good thick primer helps paint last longer. It protects surfaces from damage. This keeps walls looking fresh and new.
Factors Influencing Primer Thickness
Different surfaces need different primer thickness. Wood surfaces may need more primer. Metal surfaces need less primer. Porous surfaces like drywall soak up primer. This means you need more coats. Smooth surfaces need less primer. Always check the surface type before applying primer.
Primer formulas vary. Water-based primers are thin. They dry fast. Oil-based primers are thicker. They take longer to dry. Specialty primers have unique needs. Follow the instructions on the can. This ensures the best result.
Ideal Primer Thickness For Different Surfaces
Primer thickness varies by surface. For wood, 1-2 coats ensure smooth coverage. Metal surfaces need a thicker layer, around 2-3 coats, for protection. Drywall benefits from a single coat for even paint application.
Wood Surfaces
Wood needs a primer layer of about 2-3 mils thick. This thickness helps seal the pores. It also smooths the surface for paint. Thin layers may not cover well. Thick layers can crack. So, keep it even and smooth. Use a brush or roller to apply. Sand lightly between coats for best results.
Metal Surfaces
Metal needs a primer layer of about 1-2 mils thick. This thickness protects against rust. It also helps paint stick better. Clean the metal first. Remove any rust or oil. Thin coats work best. Thick coats may peel. Use a spray primer for an even coat. Let it dry fully before painting.
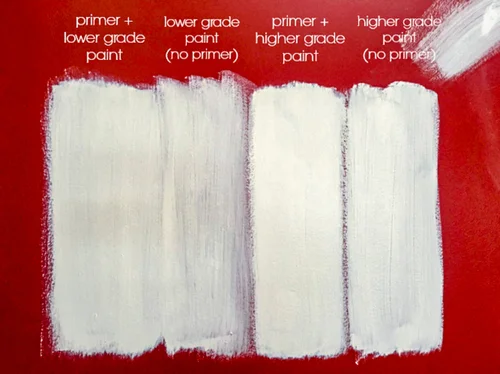
Credit: mccormickpaintingservices.com
Measuring Primer Thickness
Measuring the thickness of primer is crucial. Use a digital caliper for precise measurements. A wet film thickness gauge is another option. Apply the primer and measure immediately. Ensure the primer is even. Check multiple spots for accuracy. Keep the tools clean for best results.
Many make mistakes with primer thickness. Applying too much primer is common. This can cause bubbles and cracks. Using too little primer is also bad. It won’t cover the surface well. Always read the primer’s instructions. Follow the recommended thickness. Don’t rush the process. Take your time for even application.
Application Techniques For Consistent Thickness
Spraying creates a fine mist. This gives an even coat. It covers large areas fast. Brushing takes more time. It may leave brush marks. Each method has its pros and cons. Choose based on your project needs.
Apply thin layers of primer. Let each layer dry. This prevents drips. It gives a smooth finish. Applying thick layers can cause problems. The paint may bubble or crack. Thin, even layers work best.
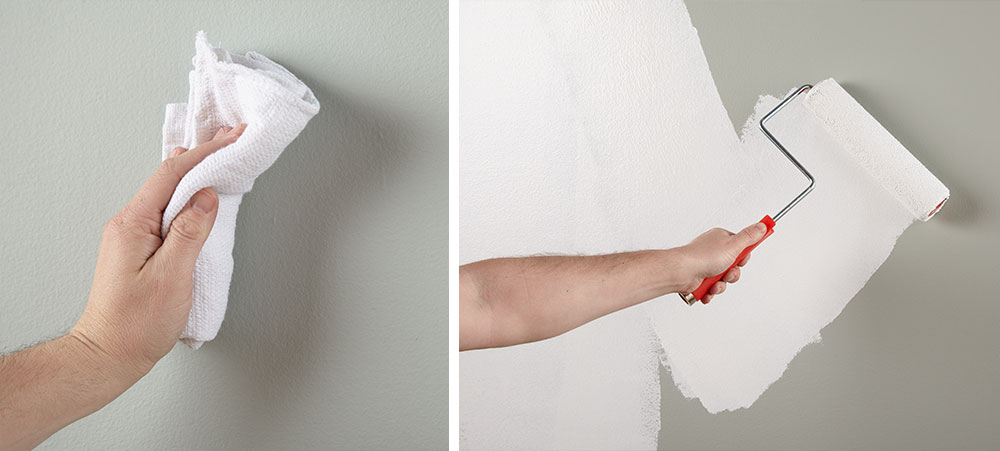
Credit: www.kilz.com
Primer Drying Time And Thickness
The thickness of the primer can change the final look. Thick primer may hide flaws well. But it may also take longer to dry. Thin primer dries faster but may not cover as well. Finding the right balance is key. Too thick and it can crack. Too thin and it may not protect.
Always read the label on the primer can. It will give the best advice. Use a brush or roller to apply the primer. Make sure to apply it evenly. Allow each coat to dry fully. This will help you get a smooth finish. Two thin coats are often better than one thick coat.
Troubleshooting Primer Thickness Issues
If your primer is too thick, it can lead to uneven surfaces. This makes the paint job look messy. Too thin primer might not cover well. You may need many coats.
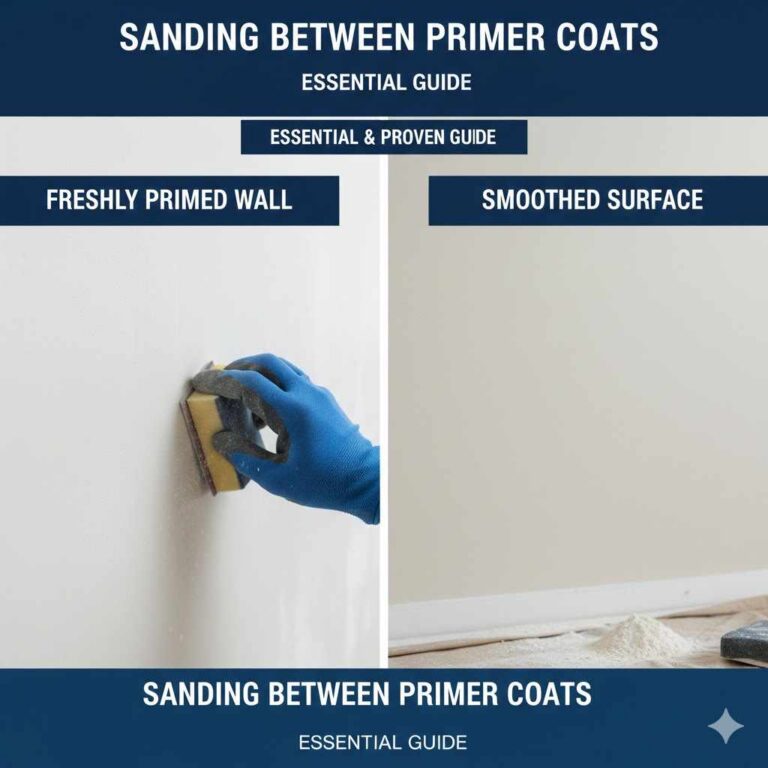
Stir primer well to get the right thickness. Check the can for instructions. Use a primer roller for even application. Test on a small area first. Adjust if needed. Sand between coats for smooth finish.
Expert Tips For Perfect Primer Application
Primer should be applied in a thin, even layer. Thick coats can lead to cracks. It’s best to use a primer brush. Brushes give better control. Rollers can be used for large areas. Always let the primer dry completely. Check the can for drying times. Sand lightly between coats for a smooth finish.
Choosing the right primer is key. Here are some recommended products:
| Product | Best For | Price |
|---|---|---|
| Primer A | Walls | $20 |
| Primer B | Wood | $25 |
| Primer C | Metal | $30 |
Frequently Asked Questions
How Thick Should Primer Be Applied?
Primer should be applied in a thin, even coat. A thin layer ensures proper adhesion and coverage. It should not exceed the thickness of the original paint layer.
How Many Coats Of Primer Are Needed?
Generally, one to two coats of primer are sufficient. However, the number of coats depends on the surface and paint color.
What Happens If Primer Is Too Thick?
If primer is too thick, it can cause uneven surfaces. Thick primer can lead to improper paint adhesion and peeling.
Can I Sand Primer If It’s Too Thick?
Yes, you can sand thick primer. Light sanding helps achieve a smooth, even surface before applying the topcoat.
Conclusion
The right primer thickness ensures a smooth, lasting finish. Aim for thin, even coats. This helps the paint adhere better and reduces imperfections. Avoid thick layers that can crack or peel. Following these tips will save time and money. Your project will look more professional.
Happy painting!