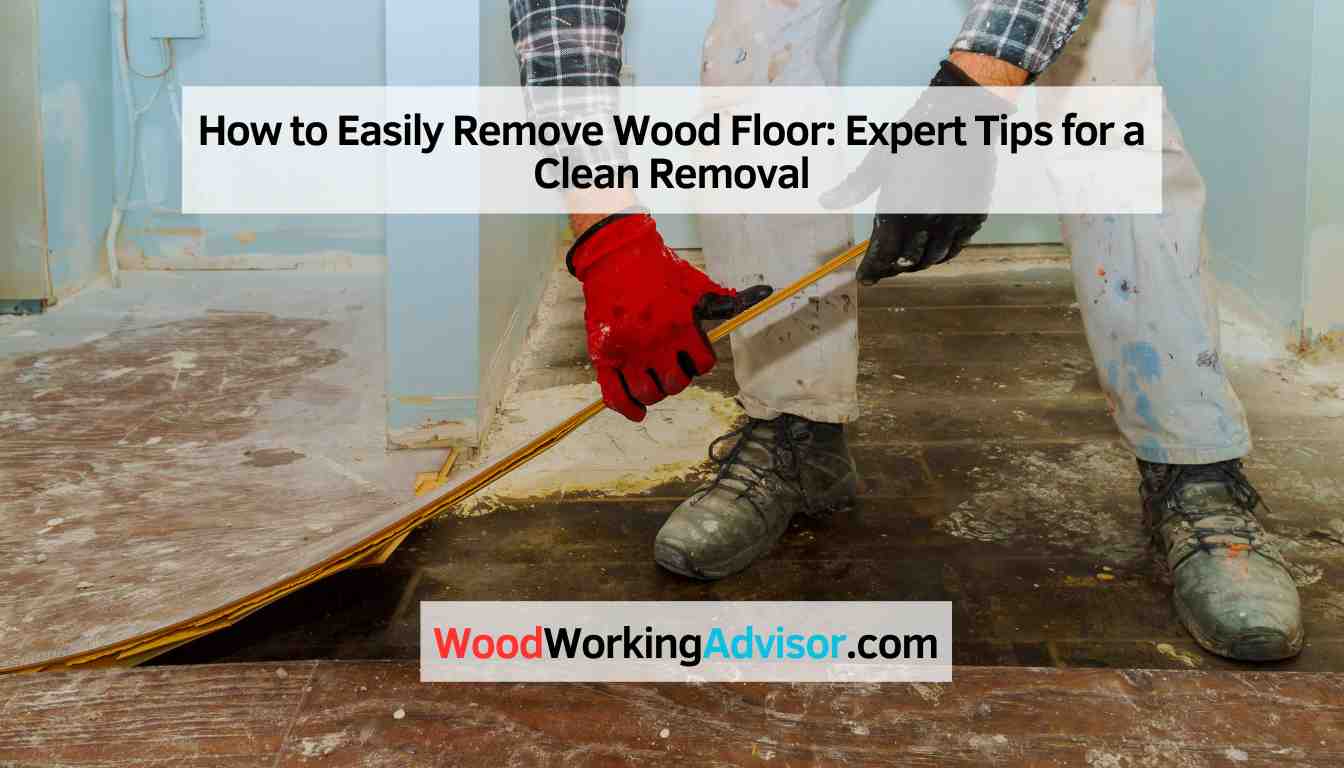
How to Easily Remove Wood Floor: Expert Tips for a Clean Removal
To remove wood floor, start by clearing the area and removing any furniture or objects on top of the floor. Then use a pry bar or crowbar to carefully lift and remove each plank, working from one end of the room to the other.
Dispose of the old wood properly or consider recycling it for other projects. Once the floor is completely removed, clean and prepare the subfloor for installing a new flooring option if desired. Removing wood floor can be a time-consuming and labor-intensive process, but with the right tools and techniques, it can be done effectively.
Preparing For Wood Floor Removal
Before you embark on the task of removing your wood floor, it is crucial to properly prepare the area to ensure a smooth and successful project. This involves clearing the area, gathering the necessary tools and materials, as well as protecting yourself and the surroundings.
Clearing The Area
Prior to removing your wood floor, it is important to clear the area of any furniture, rugs, or other items that may obstruct your work. This will not only provide you with a clean and open space to work in, but it will also help prevent any accidental damage to your belongings. Clearing the area will allow you to have better access to the floor and make the removal process easier.
Gathering The Necessary Tools And Materials
Having the right tools and materials at hand is essential for a successful wood floor removal. Here’s a list of the tools you will need:
| Tools | Materials |
|---|---|
| Hammer | Protective goggles |
| Pry bar or crowbar | Dust mask |
| Utility knife | Knee pads |
| Floor scraper | Plastic sheeting |
| Nail punch | Drop cloths |
| Vacuum cleaner | Heavy-duty trash bags |
Make sure you have all the necessary tools and materials before you begin the wood floor removal process. This will save you time and prevent any unnecessary interruptions during the project.
Protecting Yourself And The Surroundings
It is crucial to prioritize safety when removing a wood floor. Here are a few steps to take to protect yourself and your surroundings:
- Prior to starting the removal process, it is recommended to wear protective goggles and a dust mask. This will shield your eyes and respiratory system from any dust or debris that may be generated during the removal process.
- Wearing knee pads will provide extra comfort and protect your knees from strain or injury while working on your knees for an extended period of time.
- It is important to protect the surrounding areas of the room where the wood floor is being removed. Cover nearby furniture and objects with plastic sheeting to prevent any damage or dust accumulation.
- Place drop cloths on the floor surrounding the work area to collect any debris or dust that may fall during the removal process.
- Using a vacuum cleaner with a filter will help keep the air clean and reduce the amount of dust particles in the room.
- Dispose of the removed wood floor and any debris in heavy-duty trash bags to ensure safe and proper disposal.
By taking these precautionary measures, you can ensure a safer and more efficient wood floor removal process, protecting both yourself and your surroundings.
Step-by-step Process For Wood Floor Removal
Removing an old wood floor can be a laborious task, but with the right approach, it can be done efficiently. By following a step-by-step process, you can ensure a successful wood floor removal project. In this guide, we will walk you through each stage of the process, from removing baseboards and trim to dealing with stubborn nails and adhesive residue.
Removing Baseboards And Trim
First, start by removing the baseboards and trim that surround the wood floor. Take a putty knife or a pry bar and carefully insert it between the baseboard and the wall. Gently pry the baseboard away from the wall, taking care not to damage the wall or the baseboard itself. Repeat this process for all the baseboards and trim in the room.
Lifting The First Row Of Flooring
Once the baseboards and trim have been removed, it’s time to lift the first row of flooring. Start by finding a loose board near the edge of the room or along a wall. Insert a pry bar or a floor scraper under the board and gently lift it up. As you lift the board, be mindful of any nails or adhesive that may be holding it in place.
If the board is nailed down, use a claw hammer or a nail puller to carefully remove the nails. If the board is glued down, you may need to use a heat gun or a flooring adhesive remover to soften the adhesive before lifting the board. Work slowly and methodically, removing one board at a time.
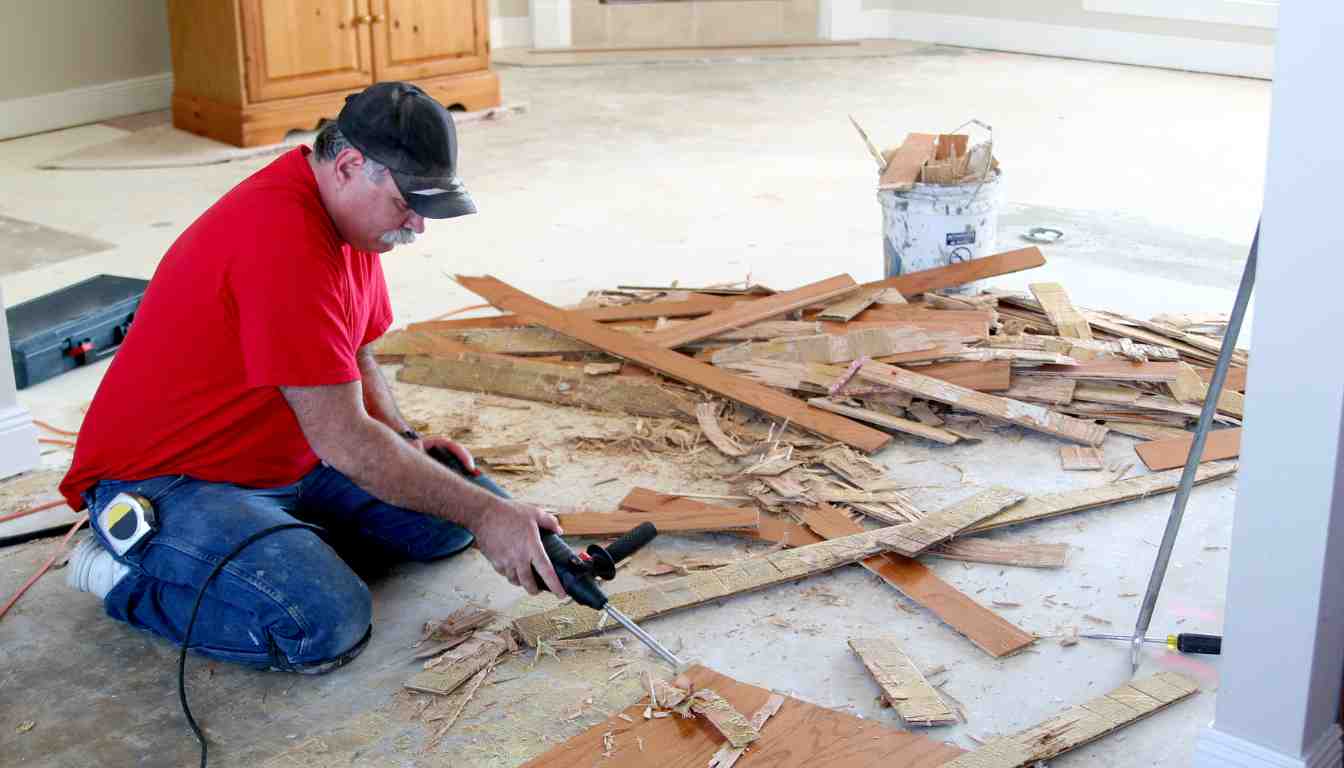
Continuing To Remove The Flooring Rows
After lifting the first row of flooring, continue the same process for the remaining rows. Insert the pry bar or floor scraper under each board, lift it up, and remove any nails or adhesive as needed. Be sure to stack the removed boards neatly and safely out of the way to prevent accidents.
Dealing With Stubborn Nails And Adhesive Residue
During the wood floor removal process, you may encounter stubborn nails or adhesive residue that are difficult to remove. In this case, there are a few techniques you can try. For stubborn nails, you can use pliers or a nail punch to grip and remove them. If the adhesive residue is particularly stubborn, you can try using a floor adhesive remover or a solvent specifically designed for wood floors.
Once you have successfully removed all the wood flooring, it’s important to clean up the area thoroughly. Sweep or vacuum any debris left behind, and inspect the subfloor for any damage or repairs that may be needed before installing a new floor.
Tips For A Clean Wood Floor Removal
When it’s time to remove your old wood floor, you’ll want to do it in the cleanest way possible to minimize any damage to the subfloor and ensure a smooth installation of your new flooring. In this article, we will share some useful tips that will help you achieve a clean wood floor removal process.
Minimizing Damage To The Subfloor
Proper techniques and precautions should be followed to minimize damage to the subfloor during the wood floor removal process:
- Start by removing the baseboard and trim to make it easier to lift the floorboards. Carefully pry them away from the wall using a crowbar or putty knife.
- Use a circular saw or jigsaw to cut the wood floor into manageable sections. Start at one edge and cut along the length of the boards to create strips. This will make it easier to remove the floor without causing excessive damage.
- Insert a pry bar between the wood floor and the subfloor, starting at the end of a strip. Gently lift the floorboards, using caution not to apply too much force that could damage the subfloor.
- If you encounter stubborn boards that won’t budge, use a rubber mallet to tap the pry bar gently. This will help loosen the boards without causing excessive damage to the subfloor.
- Remove any remaining nails or staples from the subfloor using pliers or a nail puller. This will ensure a smooth surface for the installation of the new flooring.
Properly Disposing Of Removed Flooring
Once you have successfully removed the wood floor, it’s essential to dispose of the old flooring properly:
- Check with your local waste management authorities to determine the correct disposal method for your removed wood flooring. Some areas may require you to take it to a designated recycling center.
- If your removed wood flooring is still in good condition, consider donating it to a local charity or organization that accepts used building materials. This way, it can be repurposed and used by someone else.
- For the portions of the wood floor that are damaged or no longer usable, you can dispose of them as regular construction waste. Bag them properly and dispose of them in accordance with local regulations.
Cleaning And Preparing The Subfloor For New Flooring Installation
After removing the wood flooring, it’s crucial to clean and prepare the subfloor before installing your new flooring:
- Thoroughly sweep or vacuum the subfloor to remove any dust, debris, or loose particles. This will ensure a clean and smooth surface for the new flooring.
- If there are any adhesive residues from the previous wood floor, use a suitable adhesive remover or mineral spirits to clean them off. Make sure to follow the manufacturer’s instructions and test the product in a small, inconspicuous area first.
- Inspect the subfloor for any signs of damage, such as cracks or unevenness. If necessary, repair or level the subfloor using suitable products and techniques to ensure a stable foundation for the new flooring.
By following these tips for a clean wood floor removal, you can minimize damage to the subfloor, properly dispose of the removed flooring, and ensure a clean and prepared surface for your new flooring installation.
Conclusion
Removing wood floors can be a challenging task, but with the right techniques and tools, it is definitely achievable. By following the step-by-step guide mentioned in this blog post, you can ensure a successful removal process without causing any damage to your home or yourself.
Remember to take the necessary precautions, establish a plan, and enlist the help of professionals if needed. With patience and persistence, you’ll be able to remove wood floors efficiently and effectively.