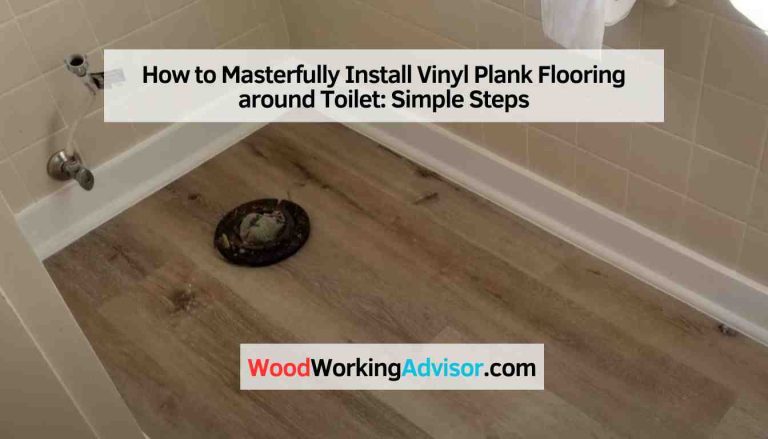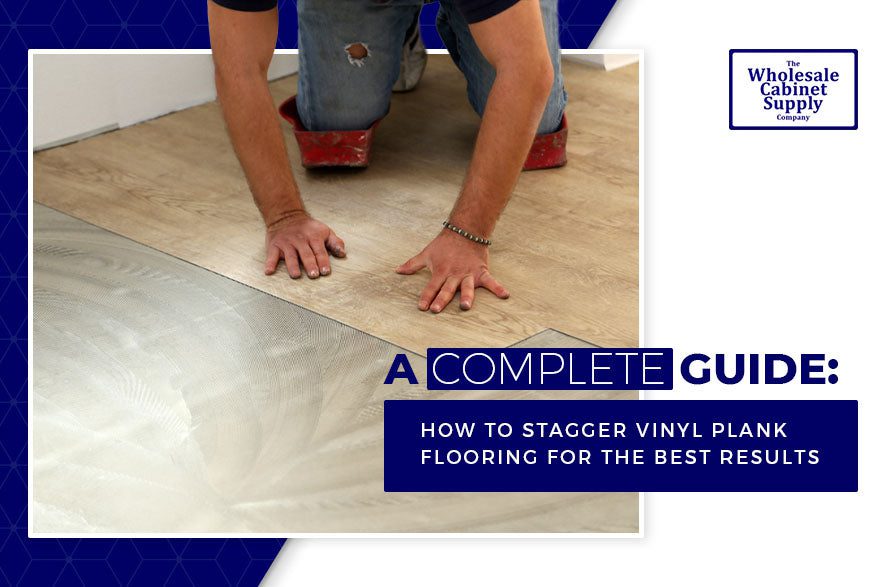
How to Install Vinyl Plank Flooring Without Removing Baseboards
To install vinyl plank flooring without removing baseboards, cut the planks to fit around the baseboards before installation. When done accurately, this method provides a seamless and professionally finished look to your flooring.
Vinyl plank flooring is a popular choice for homeowners due to its durability and aesthetic appeal. Installing vinyl plank flooring over existing baseboards can save time and effort while still achieving a polished look. With careful measurement and precision cutting, the planks can seamlessly fit around the baseboards, giving the appearance of a professional installation.
This cost-effective and efficient method allows you to upgrade your flooring without the hassle of removing and reinstalling baseboards. In this guide, we will explore the step-by-step process of installing vinyl plank flooring without removing baseboards, providing you with a practical solution for your home improvement project.

Credit: www.mannington.com
Choosing The Right Flooring
When it comes to installing vinyl plank flooring without removing baseboards, choosing the right flooring is crucial to ensure a seamless installation process. In this guide, we will delve into how to select the perfect vinyl plank flooring for your space.
Assessing Your Space
Before making a purchasing decision, measure your room accurately to determine the square footage required. Take note of any irregularities in the area that might affect installation.
Inspect the existing subfloor for any damage or unevenness that needs to be addressed before laying down the vinyl plank flooring.
Selecting The Vinyl Plank Flooring
- Opt for waterproof vinyl plank flooring to ensure durability and longevity in moisture-prone areas like kitchens or bathrooms.
- Consider the thickness and wear layer of the flooring to cater to the level of foot traffic in the space.
- Choose a color and texture that complements your existing decor and enhances the aesthetic appeal of the room.
- Look for easy-to-install click-lock vinyl planks for a DIY-friendly installation process.
Preparing The Space
Gathering The Necessary Tools
- Vinyl plank flooring
- Utility knife
- Measuring tape
- Screwdriver
- Adhesive
Clearing The Area
- Remove any furniture or obstacles from the room.
- Clean the floor to ensure a smooth installation surface.
Ensure you have all the necessary materials and tools at hand to make the installation process seamless.
Measuring And Cutting
When it comes to installing vinyl plank flooring without removing baseboards, the process involves various steps. One crucial stage in this process is measuring the space properly and cutting the vinyl planks to fit precisely. In this section, we’ll discuss how to ensure accurate measurements and achieve seamless cuts for a professional-looking installation.
Measuring The Space Properly
Before cutting the vinyl planks, it’s essential to measure the space accurately to determine the size of the planks needed. Here’s a simple guide to measure the area correctly:
- Start by measuring the length and width of the room using a tape measure.
- Calculate the total square footage by multiplying the length and width measurements.
- Add approximately 10% to the total square footage to account for wastage and potential mistakes.
Cutting The Vinyl Planks
Once you have the accurate measurements, it’s time to cut the vinyl planks to fit the space. Here are the steps to ensure precision while cutting the planks:
- Use a straight edge and a utility knife to score the vinyl plank along the measurement line.
- Bend the plank along the scored line to snap it cleanly.
- If necessary, use a handsaw or a jigsaw to cut the planks for intricate or curved areas.
Credit: www.mannington.com
Installing The Vinyl Plank Flooring
To install vinyl plank flooring without removing baseboards, first, measure the room and layout the planks. Then, start by laying the first plank in the corner, working your way across. Use a tapping block and mallet to secure the planks, ensuring a snug fit.
After completion, reinstall the baseboards for a finished look.
When it comes to installing vinyl plank flooring, you might assume that removing the baseboards is a necessary step. However, with the right approach, you can avoid this extra work and save yourself time and effort. In this section, we will guide you through the process of installing vinyl plank flooring without removing the baseboards.
Starting In The Right Place
To ensure a successful installation, it is crucial to start in the right place. Begin by thoroughly cleaning the existing floor surface, removing any dust, dirt, or debris that may hinder the adhesive’s effectiveness. This step is essential for the vinyl plank flooring to adhere correctly and prevent any future problems.
Next, examine the room for any irregularities or damaged sections that need repair. Address these issues before proceeding with the installation, as they can impact the final result. Once you have prepared the room, gather all the necessary tools and materials needed for the installation, including your vinyl plank flooring, adhesive, measuring tape, utility knife, and a straight edge.
Securing The Planks
Now that you have prepared the room, it’s time to secure the vinyl plank flooring in place. Follow these steps to ensure a smooth and successful installation:
1. Starting from one corner of the room, carefully measure the length and width to determine the center point. This mark will serve as your starting point for laying the first row of vinyl planks.
2. Apply a thin layer of adhesive directly onto the subfloor using a trowel or notched spreader. Be sure to spread the adhesive evenly, ensuring complete coverage on the subfloor surface.
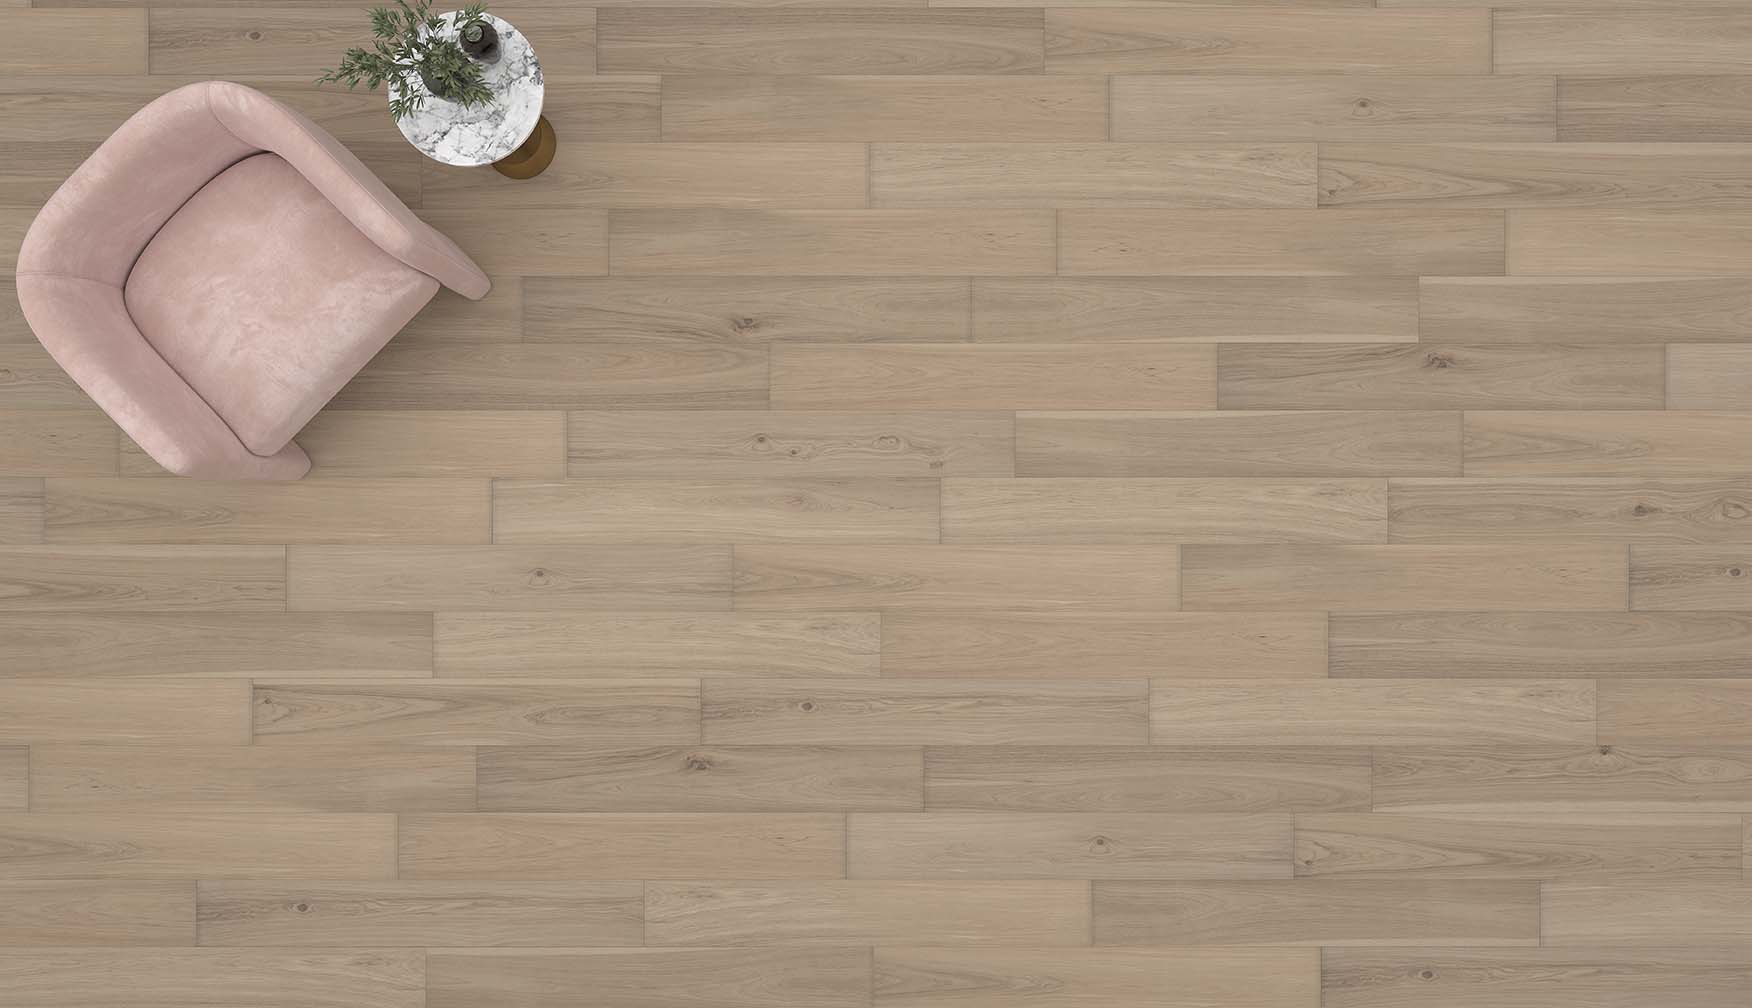
3. Place the first vinyl plank at the center mark, pressing it firmly into the adhesive. Continue laying the planks in a staggered pattern, connecting them tightly together to create a seamless look.
4. Trim the planks to fit around any obstacles such as doorways or vents. Measure the required size, taking into account a 1/8 inch gap for expansion, then use a utility knife and straight edge to cut the planks accordingly.
5. As you progress with the installation, periodically check that the planks are laying flat and level. Any unevenness can cause issues down the line and should be addressed immediately.
6. Repeat these steps until you have completed the entire floor area, working your way towards the opposite side of the room. Take care to maintain consistent spacing between the planks and around the edges, leaving room for expansion.
By following these steps, you can successfully install vinyl plank flooring without removing the baseboards. This method allows for a seamless and visually pleasing result, while saving you time and effort. With the right tools and techniques, you can transform your floors and enjoy the beauty and durability of vinyl plank flooring.
Finishing Touches
Discover how to seamlessly install vinyl plank flooring without removing baseboards. These finishing touches will elevate your space with minimal hassle. Effortlessly achieve a professional and stylish look in your home with this easy technique.
Installing Shoe Molding
Once you’ve successfully installed your vinyl plank flooring without removing the baseboards, you’re almost done! The next step is to add the finishing touch by installing shoe molding. This small piece of trim will not only provide a seamless transition between the flooring and the baseboards but also add a polished look to your newly installed vinyl plank flooring. Installing shoe molding is a simple process that can be done with a few basic tools and some patience.
Here’s a step-by-step guide to help you install shoe molding professionally:
1. Measure and cut the molding: Start by measuring the length of each wall and cut the shoe molding to the required size. Make sure to add a few inches to each measurement to account for any mistakes or miscalculations.
2. Prepare the molding: Using a miter saw or a coping saw, cut the ends of the molding at a 45-degree angle for a clean and professional finish. Take your time and ensure the cuts are precise.
3. Attach the molding: Apply a thin line of construction adhesive to the back of the shoe molding, then press it firmly against the flooring, aligning it with the baseboard. You can also use finishing nails for additional support. Make sure to countersink the nails and fill the holes with wood putty for a seamless look.
4. Fill in the gaps: After attaching the shoe molding along the perimeter of the room, you may notice small gaps between the molding and the baseboards or the flooring. Fill these gaps with caulk or wood filler, depending on the material of your baseboards and flooring.
5. Sand and paint: Once the shoe molding is installed and the gaps are filled, lightly sand the entire surface to smooth out any rough edges or imperfections. Then, paint or stain the molding to match the baseboards or the flooring. This step will give your shoe molding a finished and cohesive appearance.
Cleaning Up
With the shoe molding installed and painted, it’s time to clean up the space and put the finishing touches on your vinyl plank flooring installation. Here are a few tips to make sure your flooring looks spotless:
1. Remove any leftover debris: Use a broom or vacuum cleaner to remove any dust, dirt, or debris that may have accumulated during the installation process. Ensure the flooring is completely clean and free from any loose particles.
2. Clean the flooring: Fill a bucket with warm water and a mild, non-abrasive floor cleaner specifically formulated for vinyl plank flooring. Dip a mop or microfiber cloth into the solution and wring out any excess moisture. Gently mop the entire floor, being careful not to oversaturate the vinyl planks.
3. Dry the floor: After mopping, use a clean, dry mop or cloth to remove any excess moisture from the flooring. This step is crucial to prevent any potential damage to the vinyl planks.
4. Inspect and touch up: Take a few moments to inspect the flooring for any visible scratches or scuffs. If you notice any imperfections, you can use a vinyl plank touch-up kit or a matching vinyl plank to make necessary repairs.
By following these simple steps, you can successfully install shoe molding and ensure a clean and polished finish for your vinyl plank flooring without removing the baseboards. Remember to take your time and pay attention to detail, as the finishing touches can make a significant difference in the overall look and durability of your newly installed flooring.
Frequently Asked Questions For How To Install Vinyl Plank Flooring Without Removing Baseboards
Is It Better To Remove Baseboards When Installing Laminate Flooring?
It is not necessary but can make the installation process smoother and improve the overall look.
Do You Caulk Baseboards To Vinyl Flooring?
Yes, caulking baseboards to vinyl flooring is recommended to create a seamless and secure installation. This helps to prevent dirt and moisture from seeping between the baseboards and the vinyl, ensuring a longer lifespan for your flooring.
How Do You Cut Flooring Around Baseboards?
To cut flooring around baseboards, follow these steps:
1. Measure the space between the baseboard and flooring.
2. Use a coping saw or jigsaw to cut along the marked lines.
3. Make sure the cut is precise and fits snugly.
4. Install the cut flooring piece, ensuring it aligns with the surrounding flooring.
5. Finish by applying baseboard trim to cover any gaps.
Does Flooring Go Under Baseboards?
Flooring does not go under baseboards. Baseboards are installed after the flooring to cover the gap between the floor and the wall. This is important for a finished and aesthetically pleasing look.
Conclusion
It is entirely possible to install vinyl plank flooring without removing baseboards. This hassle-free method can save time and effort while achieving a professional-looking result. With the right tools and techniques, anyone can create a beautiful and durable floor. Follow these tips and enjoy your new flooring!