How to Sand Small Crevices Efficiently: Expert Techniques Revealed
To sand small crevices, use fine-grit sandpaper and fold it into a small, manageable size. Carefully insert the folded sandpaper into the crevices and gently move it back and forth to sand the surface.
When working on a project that involves small crevices, it is essential to have the right technique and tools for sanding. Whether you are refinishing furniture, repairing woodwork, or working on a DIY project, sanding small crevices can be a challenging task.
However, with the right approach, it can be done effectively. In this guide, we will discuss the steps to sand small crevices accurately, ensuring a smooth and professional finish. By following these techniques, you can achieve great results and achieve a flawless end product. So, let’s dive in and learn how to sand small crevices like a pro.
Choosing The Right Tools
When looking for the right tools to sand small crevices, consider using specialized detail sanders or sanding sponges. These tools are designed to reach tight areas and provide precise sanding, ensuring a smooth and even finish. Additionally, using fine-grit sandpaper can help to achieve optimal results without causing damage to delicate surfaces.
Small crevices can be tricky to sand, but with the right tools, the job becomes much easier. In this section, we will discuss two key aspects of choosing the right tools – selecting the appropriate sandpaper grit and utilizing specialty tools for tiny spaces.
Selecting The Appropriate Sandpaper Grit
When it comes to sanding small crevices, using the correct sandpaper grit is crucial. The grit determines the coarseness of the sandpaper and affects how much material will be removed. Here are some tips to help you select the right sandpaper grit:
1. Consider the Material: Different materials require different sandpaper grits. For delicate surfaces like wood or plastic, start with a finer grit, such as 180 or 220. For tougher materials like metal, you may need a coarser grit, starting around 80 or 100.
2. Assess the Depth: If the crevice is shallow, a finer grit may be sufficient. However, deeper crevices may require a coarser grit to effectively remove material.
3. Gradually Increase Grit: If the crevice has imperfections or rough edges, start with a coarser grit and gradually work your way to finer grits. This allows for a smoother and more even sanding result.
Remember, using the right sandpaper grit will help you achieve the desired finish without damaging the surrounding areas.
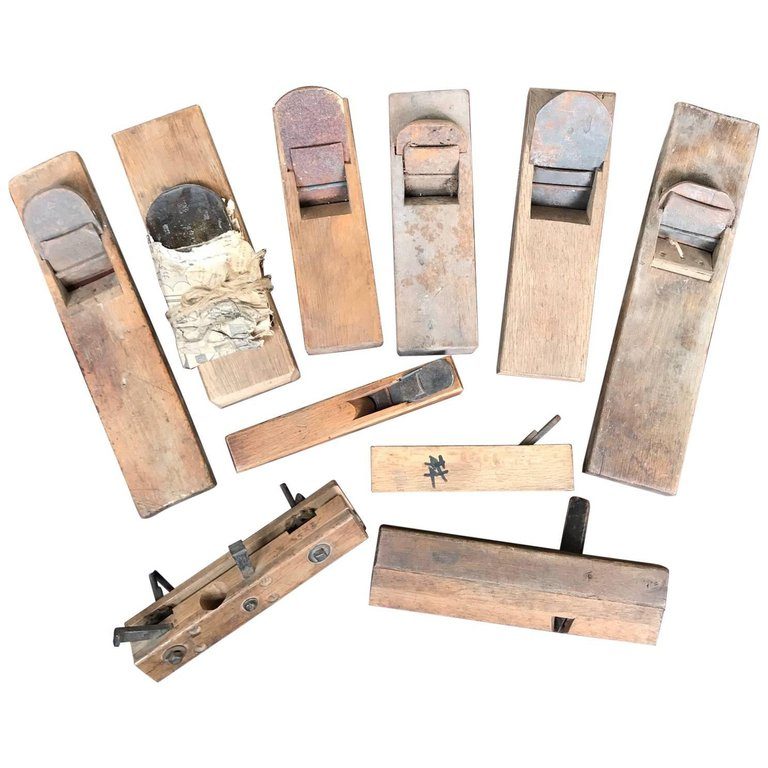
Utilizing Specialty Tools For Tiny Spaces
Sometimes, the small size of the crevices makes it challenging to sand effectively. In such cases, utilizing specialty tools specifically designed for tiny spaces can greatly simplify the process. Here are a few options to consider:
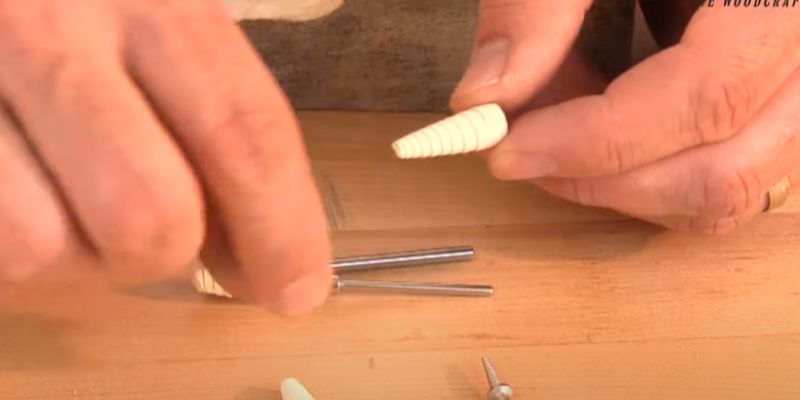
1. Sanding Twigs or Sticks: Sanding twigs or sticks are tiny tools that feature abrasive grit on one or both ends. These tools are perfect for reaching into narrow crevices, corners, or intricate details.
2. Foam Sanding Blocks: Foam sanding blocks are lightweight and can be easily shaped or cut to fit into small spaces. They provide a cushioned grip and allow for precise control, making them ideal for sanding tight spots.
3. Dental Picks: Dental picks, usually made of stainless steel, can be incredibly useful for reaching into extremely narrow crevices. The sharp, pointed tips allow for precise sanding even in the tightest spaces.
Remember to use these specialty tools with caution, applying gentle pressure and taking care to prevent any accidental damage to the surrounding surfaces.
In conclusion, choosing the right tools is essential when sanding small crevices. By selecting the appropriate sandpaper grit and utilizing specialty tools designed for tight spaces, you can effectively and efficiently achieve a smooth and professional finish.
Preparing The Surface
Sanding small crevices can be a challenging task, but with the right techniques, it doesn’t have to be. One of the first steps in preparing the surface is to clean the crevices thoroughly. By removing any debris or dust, you can ensure a smooth and even sanding process. Additionally, masking off surrounding areas is important to protect them from accidental sanding. These simple steps will pave the way for a successful sanding project.
Cleaning The Crevices Thoroughly
Cleaning the crevices thoroughly is essential to achieve the best sanding results. Begin by removing any loose dirt or particles using a small brush or vacuum cleaner with a brush attachment. This will prevent these particles from interfering with the sanding process. Next, dip a clean cloth or sponge into a mild detergent solution and gently scrub the crevices to remove any stubborn stains or grime. Rinse the area with clean water and allow it to dry completely before moving on to the next step.
Masking Off Surrounding Areas
To prevent unwanted damage or accidental sanding of surrounding areas, it is crucial to mask them off properly. Use painter’s tape or masking tape to cover any adjacent surfaces, such as edges, trims, or nearby walls. Be sure to press the tape firmly to create a tight seal and ensure that no sanding residue or particles can penetrate through. Taking the time to mask off the surrounding areas will save you from the hassle of touching up or repainting later on.
Techniques For Effective Sanding
Sanding small crevices can be a daunting task, but with the right techniques, it can be executed effectively. By utilizing small hand sanders and applying gentle pressure and proper angles, you can achieve a smooth and uniform finish even in the tightest spaces. Let’s delve into these effective sanding techniques for small crevices.
Utilizing Small Hand Sanders
When dealing with small crevices, small hand sanders become invaluable tools. These compact sanders, such as detail sanders or mouse sanders, are designed to access tight areas where larger sanders can’t reach. The pointed tips and maneuverability of these hand sanders allow for precise sanding in small, confined spaces.
Applying Gentle Pressure And Proper Angles
Applying gentle pressure is crucial to avoid damaging delicate surfaces within the crevices. Exerting excessive force may result in an uneven finish or damage to the surrounding areas. Additionally, angling the sander properly by adjusting it to fit the contours of the crevice ensures that the sanding is uniform and reaches every nook and cranny.

Dealing With Dust And Debris
Learn how to effectively sand small crevices to remove dust and debris. Discover techniques and tips for achieving a smooth finish in hard-to-reach areas.
Using Vacuum Attachments For Extraction
Dealing with dust and debris while sanding small crevices is essential to maintain a clean and safe working environment. One effective method to minimize dust and debris is by using vacuum attachments for extraction. By attaching a vacuum cleaner to your sanding equipment, you can capture dust particles at the source, preventing them from spreading and settling on nearby surfaces. This significantly reduces the amount of cleanup required afterwards.
Using a vacuum attachment is simple and convenient. Just attach the vacuum hose to the designated port on your sanding tool. Ensure a secure connection to prevent any leaks or loss of suction. Prior to starting the sanding process, turn on the vacuum cleaner so it can efficiently capture the expelled dust during operation.
Vacuum attachments come in various sizes and shapes to accommodate different types of sanding tools. There are attachments specifically designed for sanders with narrow crevice options, allowing you to reach tight spots without compromising on dust extraction. Make sure to choose a vacuum attachment that is compatible with your specific sanding tool for optimal performance.
Applying Dust Containment Methods
In addition to using vacuum attachments, there are several other dust containment methods that can further enhance the cleanliness of your sanding process. Here are some effective techniques to consider:
- 1. Taping off the area: Before you begin sanding, use painter’s tape to seal off the adjacent surfaces. This creates a barrier that prevents dust from settling on surrounding areas.
- 2. Using drop cloths: Place drop cloths or plastic sheets beneath the work area to catch any debris that falls during sanding. This makes cleanup easier and reduces the risk of dust spreading to other parts of the room.
- 3. Employing a dust collection system: If you have access to a dust collection system, connect the sanding equipment to it. These systems are designed to capture and contain dust particles effectively.
- 4. Wearing personal protective equipment: Always wear a dust mask, safety glasses, and gloves when sanding. This protects you from inhaling dust and prevents it from coming into contact with your skin.
By following these dust containment methods, you can maintain a clean work area and minimize the impact of dust and debris on both your health and the surrounding environment. Remember, prevention is key when it comes to dealing with dust and debris while sanding small crevices.
Finishing Touches
Once you have successfully sanded the small crevices, it’s time for the final touches to ensure a smooth and flawless finish. The following steps will help you achieve a professional result:
Inspecting For Consistency
Before applying any primer or paint, it’s crucial to inspect the sanded crevices for consistency. Use your fingers to feel for any remaining rough or uneven spots. Additionally, visually examine the surface under good lighting to identify any imperfections that might still be present. This step is essential to ensure a uniform and polished result.
Applying Prime And Paint As Needed
Once you have inspected and confirmed the consistency of the sanded crevices, it is time to proceed with priming and painting. If the crevices are in a visible area, applying primer will help to achieve an even base and ensure that the paint adheres properly. Fill any holes or cracks with an appropriate filler and allow it to dry completely. Once the filler is dry, lightly sand the area to smoothen it before moving on to priming.
When choosing a primer, opt for a high-quality product that is suitable for the surface you are working on. Apply the primer with a brush or roller, following the manufacturer’s instructions, and allow it to dry completely before applying the paint.
Next, select a paint color that matches the surrounding surface or your desired finish. Apply the paint with even and smooth strokes, ensuring complete coverage of the sanded crevices. Depending on the type of paint you are using, you may need to apply multiple coats, allowing each coat to dry before applying the next. This will help to achieve a vibrant and long-lasting finish.
Following these steps will ensure that your small crevices are sanded and finished to perfection, leaving you with a professional-looking result. Remember to always work in a well-ventilated area and use appropriate safety equipment when sanding and painting.
Frequently Asked Questions For How To Sand Small Crevices
How Do You Sand Small Grooves?
To sand small grooves, use a narrow sanding block or wrap sandpaper around a small object that fits in the groove. Gently sand in the direction of the grain, being careful not to apply too much pressure.
How Do You Sand A Small Tight Space?
To sand a small tight space, use sandpaper or a sanding block for precision. Work slowly and carefully, using light pressure to avoid damaging the surrounding area. Consider using a detail sander for hard-to-reach spots. Vacuum or wipe away dust to finish.
How Do You Sand Tight Cracks?
Sand tight cracks by following these steps:
1. Start by cleaning the crack to remove any debris or loose material.
2. Use fine-grit sandpaper to gently sand the edges of the crack, smoothing them down.
3. Apply a thin layer of wood filler or putty to fill the crack, allowing it to dry according to the product instructions.
4. Sand the filled area with fine-grit sandpaper to create a smooth finish.
5. Wipe away any dust and apply paint or stain to match the surrounding surface.
How Do You Sand Nooks And Crannies?
Sand nooks and crannies by using sandpaper or sanding sponges to reach tight areas. Apply light pressure and use circular or back-and-forth motions to ensure even sanding. Start with a coarse grit and gradually move to a finer grit for a smooth finish.
Clean off any dust afterward.
Conclusion
Mastering the art of sanding small crevices is crucial for achieving a flawless finish in woodworking and DIY projects. By following the tips and techniques outlined in this blog post, you can ensure that no nook or cranny goes untouched, resulting in a professional-looking end result.
Happy sanding!