How To Seal Charred Wood? [Step-by-step Guide]
Have you ever come across a piece of charred wood that caught your attention with its intriguing and distinct appearance? Charred wood, with its deepened color and textured surface, can possess a captivating beauty. However, to preserve its unique aesthetics and prevent further degradation, it is essential to know how to seal charred wood properly.
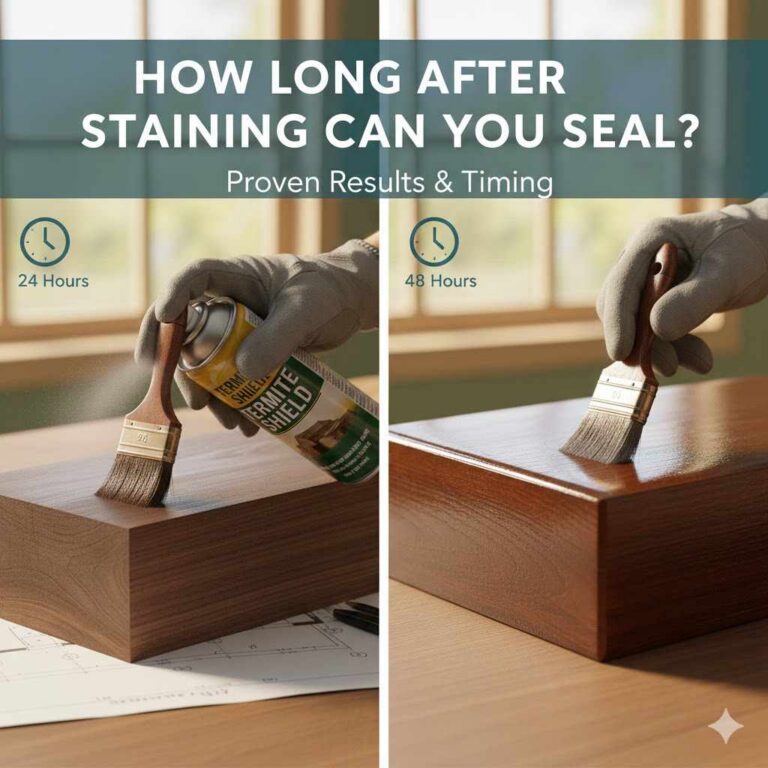
The process of sealing charred wood involves cleaning the surface, sanding for a smooth finish, selecting a suitable wood sealer, and applying it evenly. Allow for proper drying time between coats, and consider long-term maintenance for continued protection and aesthetics.
In this guide, I will explore the intricacies of sealing charred wood, breaking down each step in detail.
9 Steps To Seal Charred Wood In Just A Few Minutes:
Sealing charred wood can help preserve its appearance, prevent further damage, and enhance its durability. Below are the steps involved in sealing charred wood, along with a detailed explanation of each step:
Step 1: Clean The Wood Surface
Before sealing charred wood, it’s important to remove any loose debris, dirt, or dust that may be present on the surface. Use a soft brush or a vacuum cleaner with a brush attachment to gently clean the wood. Avoid using excessive force or abrasive materials that could further damage the charred surface.
Step 2: Sand The Surface
To ensure a smooth and even finish, lightly sand the charred wood surface. Start with a fine-grit sandpaper (around 120 to 180 grit) and gradually work your way to a finer grit (such as 220 or 320). Sanding helps remove any rough areas, loose fibers, or uneven charred sections.
Step 3: Remove Residual Ash
If there is residual ash on the charred wood, it’s crucial to remove it before sealing. Use a soft brush or a dry cloth to gently wipe away any loose ash. Avoid using water or any wet cleaning method, as it can further penetrate the wood and affect the sealing process.
Step 4: Apply Wood Stabilizer (Optional)
If the charred wood appears fragile or prone to further damage, you may consider applying a wood stabilizer. A wood stabilizer helps strengthen the wood fibers and prevents future deterioration. Follow the instructions provided by the manufacturer to apply the stabilizer evenly on the charred areas and allow it to dry thoroughly.
Step 5: Choose A Suitable Sealer
Select a sealer that is specifically designed for wood and provides protection against moisture, UV rays, and general wear and tear. There are various types of wood sealers available, including polyurethane, lacquer, shellac, and penetrating sealers. Consider the desired level of sheen and the application method when choosing the sealer.
Step 6: Apply The Sealer
Using a brush, roller, or spray gun, apply the wood sealer to the charred wood surface. Start from one end and work your way across the entire surface, ensuring even coverage. Pay extra attention to the charred areas, making sure the sealer penetrates the wood fibers. Follow the manufacturer’s instructions regarding the number of coats and drying time between applications.
Step 7: Sand And Repeat (Optional)
Depending on the desired finish and level of smoothness, you may choose to sand the sealed wood surface lightly between coats. This step helps remove any imperfections, such as dust particles or brush marks and allows subsequent coats of sealer to adhere better. Remember to clean the surface thoroughly after sanding to remove any sanding residue.
Step 8: Allow Sufficient Drying Time
After applying the final coat of sealer, allow the charred wood to dry completely. Follow the recommended drying time provided by the sealer manufacturer. This step is crucial to ensure the sealer forms a protective barrier and enhances the wood’s durability.
Step 9: Perform Regular Maintenance
To maintain the appearance and protective properties of the sealed charred wood, it’s important to perform regular maintenance. Keep the surface clean by dusting it regularly and avoiding abrasive cleaners. Depending on the type of sealer used, periodic reapplication may be necessary to maintain optimal protection.
Things To Consider When Sealing Charred Wood:
When sealing charred wood, there are several important factors to consider to ensure a successful and effective sealing process. Here are some key things to keep in mind:
- Safety Precautions:
Charred wood may contain harmful substances such as ash, soot, or chemicals from fire retardants. It’s important to wear appropriate protective gear, including gloves, safety goggles, and a dust mask, to prevent inhalation or skin contact with potentially hazardous materials.
- Type Of Wood:
Different types of wood have varying characteristics, such as porosity and grain pattern, which can affect the choice of sealer and application method. Consider the specific type of wood you are sealing to determine the most suitable sealer for optimal results.
- Severity Of Charred Surface:
The extent of charring and damage on the wood surface should be assessed before sealing. If the charred areas are extensive or the wood is severely compromised, it may require additional repair or restoration work before proceeding with sealing.
- Compatibility Of Sealer:
Ensure that the sealer you choose is compatible with charred wood. Some sealers may work better with porous or charred surfaces, while others may not adhere properly or provide adequate protection. Read the manufacturer’s instructions and product specifications to determine if the sealer is suitable for charred wood.
- Application Method:
Consider the most appropriate method for applying the sealer to charred wood. This can include brushing, rolling, or spraying, depending on the size of the project, the complexity of the wood surface, and the type of sealer being used. Choose a method that allows for even coverage and penetration into the charred areas.
- Number of Coats:
The number of sealer coats required can vary depending on the type of sealer and the condition of the charred wood. Some sealers may recommend multiple coats to achieve the desired level of protection and aesthetic finish. Follow the manufacturer’s instructions regarding the recommended number of coats for optimal results.
- Drying Time:
Allow sufficient drying time between coats and after the final application. Proper drying ensures that the sealer forms a durable and protective barrier. Avoid exposing the sealed wood to moisture or excessive humidity during the drying process, as it can affect the quality of the seal.
- Long-term Maintenance:
Consider the long-term maintenance requirements of the sealed charred wood. Some sealers may require periodic reapplication or touch-ups to maintain their protective properties. Take into account the level of maintenance you are willing to undertake to ensure the longevity of the sealed wood.
How Sealing Charred Wood Making Difference: Know At A Glance
Sealing charred wood makes a significant difference. Here are some common areas that tell you how sealing charred wood makes a difference.
- Preservation:
Charred wood is often susceptible to further degradation and deterioration. Sealing the charred wood creates a protective barrier that helps to preserve its current condition and prevent additional damage. It acts as a shield against environmental factors such as moisture, UV rays, and pests, which can accelerate the decay of the wood.
- Enhanced Durability:
Sealing charred wood improves its overall durability. The sealer penetrates the wood fibers, reinforcing them and providing added strength. This makes the wood more resistant to wear, impacts, and other forms of physical damage. By sealing the charred wood, you can extend its lifespan and ensure it withstands the test of time.
- Aesthetic Appeal:
Charred wood can have a unique and visually striking appearance. Sealing the charred wood enhances its aesthetic appeal by deepening the color and enhancing the natural grain patterns. It can also provide a subtle sheen or matte finish, depending on the type of sealer used, further accentuating the wood’s beauty.
- Ease Of Maintenance:
Sealed charred wood is typically easier to clean and maintain. The sealed surface prevents dirt, dust, and stains from penetrating the wood, making it easier to wipe off and keep clean. Regular maintenance, such as dusting or occasional light cleaning, can help preserve the wood’s appearance and prevent the buildup of debris.
- Health And Safety:
Charred wood can release harmful particles, such as ash or soot, which can pose health risks if inhaled or come into contact with the skin. Sealing the charred wood helps to minimize the release of these particles, reducing the potential health hazards associated with handling or being near charred wood surfaces.
- Reduced Odor:
Charred wood may have a distinct smoky or burnt odor. Sealing the wood can help minimize or eliminate this odor, making the space more pleasant and eliminating any lingering reminders of the fire or charring incident.
- Versatility:
Sealing charred wood opens up possibilities for its use in various applications. The sealed wood can be used for interior and exterior purposes, including furniture, decking, wall paneling, or decorative accents. It provides the opportunity to incorporate the unique aesthetics of charred wood while ensuring its longevity and practicality.
Related Questions:
Does Charring Wood Seal It?
Charring wood can provide a certain level of natural sealing. When wood is charred, the heat causes the surface to carbonize, creating a layer of charred material. This charred layer acts as a protective barrier by reducing the wood’s permeability and making it more resistant to moisture absorption and decay.
The carbonized layer that forms during charring creates a physical barrier that helps to repel water and inhibit the growth of fungi and bacteria that can cause wood rot. It also provides some level of insulation against heat and can act as a deterrent to pests and insects.
What Is The Best Way To Seal Charred Wood?
The best way to seal charred wood is by following a systematic approach. Start by cleaning the wood surface to remove any debris or loose particles. Then, sand the charred wood lightly to create a smooth and even surface, which will allow the sealer to adhere properly. After sanding, it’s important to remove any residual ash or dust from the surface.
Next, choose a suitable wood sealer specifically designed to protect against moisture, UV rays, and general wear and tear. Apply the sealer evenly using a brush, roller, or spray gun, ensuring that it penetrates the charred areas. Allow the wood to dry thoroughly between coats and after the final application.
Can You Seal Charred Wood Without Sanding It?
Some individuals may wonder if it’s necessary to sand the charred wood surface before applying a sealer. While sanding is recommended for optimal results, especially to create a smooth and even surface, it is possible to seal charred wood without sanding.
However, keep in mind that sanding helps remove rough areas, loose fibers, and uneven charring, which can affect the appearance and longevity of the sealed wood. Therefore, while not mandatory, sanding is generally beneficial to achieve the best sealing outcome.
How Often Do You Need To Reseal Charred Wood?
The frequency of resealing charred wood depends on various factors, including the type of sealer used, environmental conditions, and the level of wear and tear the wood is exposed to. In general, it’s advisable to reseal charred wood every couple of years as a preventive measure to maintain its protection and appearance.
However, it’s important to follow the manufacturer’s recommendations for the specific sealer used, as some products may have different durability and longevity. Regular inspections of the sealed wood surface can help determine if resealing is needed sooner, such as if signs of fading, moisture penetration, or wear become evident.
Conclusion
Sealing charred wood is a crucial step in preserving its appearance and enhancing its durability. By following a systematic approach of cleaning, sanding, and applying a suitable wood sealer, the charred wood can be protected against moisture, UV rays, and wear and tear.
Regular maintenance and reapplication of the sealer ensure long-term protection, allowing the charred wood to maintain its unique aesthetics and extend its lifespan. So explore how to seal charred wood and work accordingly.