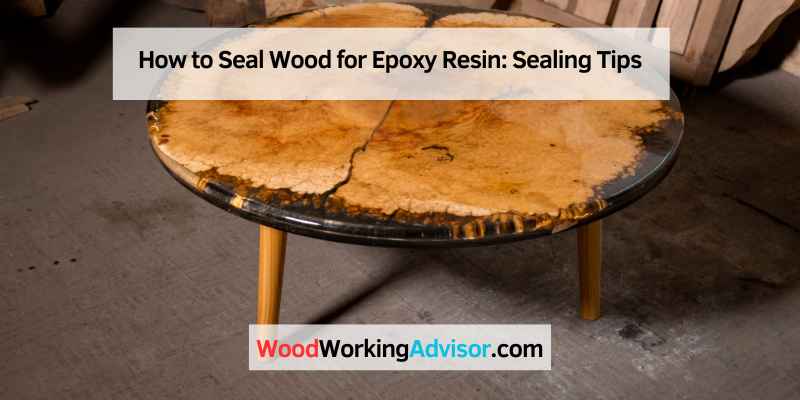
How to Seal Wood Before Epoxy Resin (12% Moisture Rule)
Seal wood with a thin coat of penetrating epoxy sealer or clear-drying wood sealant before pouring — but only if wood moisture tests below 12%, since damp wood bubbles no sealer can fix. Skipping the seal coat lets trapped air off-gas into your resin as it cures, pitting an otherwise clear pour. This guide covers which sealer type to use, how to prep plywood and live-edge slabs, and how long to let the seal coat cure before pouring.
What Wood Moisture Level Is Safe Before Pouring Epoxy?
Best Epoxy Wood Sealer Pick
TotalBoat Clear Penetrating Epoxy Wood Sealer Stabilizer
A two-part penetrating epoxy that soaks into punky or porous wood and cures into a hard, sealed base before your resin pour.
- Best for: punky, spalted, or rot-repaired wood before a resin pour
- Why we picked it: penetrates deeper than surface sealants, so it seals pores an epoxy pour would otherwise off-gas through
- Main drawback: longer working and cure time than a simple sealant spray
Compare more wood sealer & applicator options
 Option 1 WiseBond Quick Set Seal Kit
|
 Option 2 MAS Epoxies Penetrating Sealer
|
 Option 3 Pro Grade Foam Brush Set (48-Pack)
|
As an Amazon Associate we earn from qualifying purchases.
Wood should test at 12% moisture content or below before you seal or pour epoxy, with 8–10% considered ideal for a clean cure. Check dry, air-dried, or reclaimed slabs with a pin-type or pinless moisture meter — don’t guess by feel, since surface-dry wood can still be wet at the core.
📊 Wood above 12% moisture content is the leading cause of epoxy bubbling and bond failure on wood substrates. — Source: System Three Resins technical support
“Trapped moisture in wood will eventually expand under the epoxy’s curing heat, and the bond between wood and resin fails as a result. Testing moisture content before you seal is the single easiest way to prevent it.”
Types Of Wood Sealers
Before adding an epoxy resin coat, it is important to seal wood properly. Wood sealers come as sprays, brush-on liquids, and clear-drying penetrating sealants — choose one that dries clear and matches your project size, and seal any cracks, knots, or voids before moving on to epoxy.
Spray Sealant
Spray sealants work best on smaller projects or wood with tight nooks and crannies a brush can’t reach evenly. Spray a thin, even coat and let it dry fully before epoxy.
Brush-On Sealant
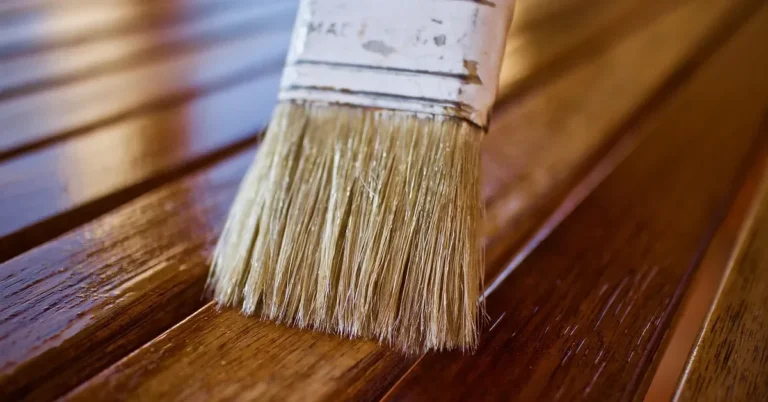
Brush-on sealants suit larger, flatter surfaces. Spread thin, even coats and let each one dry completely before starting the epoxy pour.
Clear-Drying Wood Sealant
A clear-drying wood sealant penetrates the grain and forms a protective barrier that stops discoloration and blocks off-gassing. Match the sealant to your wood species and apply it in thin, even coats with a brush or lint-free cloth, following the manufacturer’s dry time before pouring.
How To Prepare Wood For Sealing
To properly seal wood before applying epoxy resin, remove any old finish or leftover sealant first, sand the surface smooth, and clean the wood with a tack cloth. Then apply your sealer, making sure cracks, knots, and voids are fully covered.
Cleaning And Degreasing Before Sealing
Vacuum or brush off sanding dust, then wipe the surface with denatured alcohol or mineral spirits to lift oils, grease, and finish residue the sander left behind. This step is easy to skip because the wood already looks clean — but leftover oils are a common, invisible reason sealer or epoxy fails to bond evenly.
Removing Bark
Bark traps moisture, which causes problems once epoxy is applied. Use a sharp chisel or scraper to remove it, being careful not to damage the wood underneath. A wire brush or sandpaper helps with stubborn spots.
Sealing Gaps
Epoxy seeping into gaps creates bubbles, so fill cracks and voids with wood filler or epoxy putty before sealing. Sand the excess filler flush for a smooth surface.
Wood Stabilization
Wood that’s prone to warping, or already has, needs a wood stabilizer applied before sealing. This strengthens the fibers and helps prevent further warping or cracking once epoxy is poured.
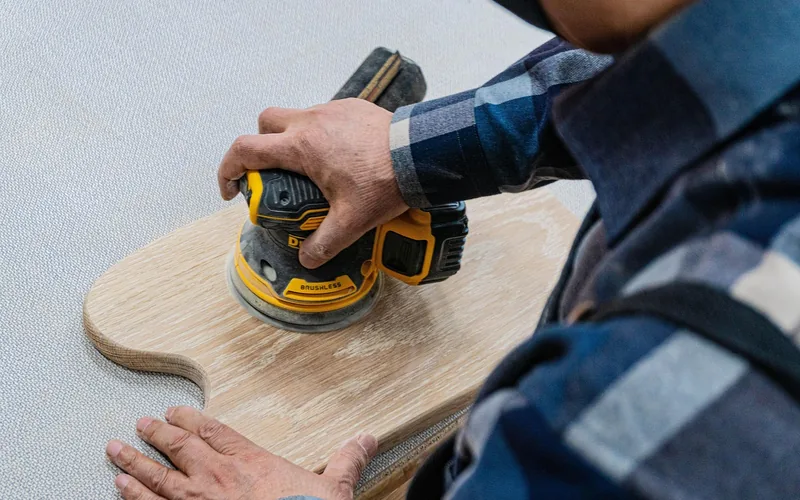
Sealing your wood properly before applying epoxy resin is what gives a bubble-free, long-lasting finish.
How To Apply Sealant On Wood
Apply the sealant in thin coats so it blocks air and moisture from moving in or out of the wood — this is what lets the epoxy adhere smoothly and cure without bubbling.
Applying First Coat Of Sealer
Apply a thin, even first coat of sanding sealer or clear-drying wood sealant across the entire surface, watching for missed spots. Let it dry completely before the second coat — this is the step that actually blocks off-gassing.
Applying A Second Coat Of Sealer
Once the first coat is fully dry, apply a second coat, covering the surface completely again. Let this coat dry fully too — mixing wet sealer with clear coat causes clumping or peeling.
Applying Clear Coat
The final step before epoxy is a clear coat compatible with your sealer, applied thin and flat. Let it dry fully, then pour the epoxy resin for a smooth, glossy result.
Best Wood Sealers For Epoxy Resin
Sealing wood before epoxy resin is what prevents cracks and delivers a smooth, high-gloss finish. Use a clear-drying wood sealant or a thin coat of penetrating epoxy sealer, paying close attention to cracks, knots, or voids.
Squid Seal
Squid Seal is a two-part sealer built specifically for use under epoxy resin. It penetrates deep into the wood fibers and seals them, preventing air pockets from forming during the epoxy cure.
Industrial Clear
Industrial Clear dries to a hard, protective surface resistant to scratches, dents, and moisture, and can be brushed or sprayed depending on project size.
Both options give strong adhesion and a smooth base for the epoxy. Whichever you choose, follow the manufacturer’s instructions and let it fully cure before pouring.
Sealer Type vs. Dwell Time vs. Wood Suitability
| Sealer Type | Dwell Time Before Pour | Best For |
|---|---|---|
| Thin epoxy seal coat | 4–12 hrs (check label) | Any wood; matches the final pour exactly |
| Clear-drying wood sealant | 2–4 hrs | Furniture-grade, closed-grain wood |
| Dewaxed shellac | 30–60 min per coat, 2 coats | Knots, sap streaks, fast turnaround |
| Thin polyurethane | 24 hrs | Dense hardwoods, non-porous surfaces |
Tips To Avoid Bleeding Of Epoxy Resin
To avoid resin bleeding, seal the wood completely before pouring. A clear-drying sealant or thin epoxy coat keeps resin from seeping into the wood’s pores, which is what causes an uneven, blotchy finish.
Choosing The Right Type Of Sealant
Porous woods like oak and maple need a more substantial sealant to block bleeding, while penetrating species like teak and cedar do better with a deeper-soaking sealer. Match the sealant to the wood before you start.
Sealing The Wood Completely
Cover every inch with a brush or roller — any missed spot is a place resin can bleed through. Spray sealant is riskier here since it’s easy to miss patches without noticing.
Allowing The Sealant To Dry Completely
Let the sealant dry fully before pouring — this keeps residual moisture out of the wood and prevents bleeding. Follow the manufacturer’s dry time rather than guessing by touch.
Does Plywood Or Live-Edge Wood Need Extra Sealing?
Live-edge slabs and plywood both need extra attention that a flat, milled board doesn’t. The bark line on a live edge absorbs sealer unevenly and can trap air pockets, and plywood’s layered core can off-gas at the exposed edge grain even after the face is sealed.
For a live edge river table, seal the bark-line edge as thoroughly as the face, and check moisture at multiple points along the slab — air-dried live-edge wood often reads drier at the surface than at the core. On plywood, run a thin bead of sealer along every cut edge, not just the top face, since that’s where trapped air most often escapes into the pour.

Frequently Asked Questions On How To Seal Wood Before Epoxy Resin
How Do You Prepare Wood For Epoxy Resin?
To prepare wood for epoxy resin, seal the wood with a clear-drying wood sealant or a thin coat of epoxy resin, paying extra attention to filling any cracks or voids, then allow the sealant to fully dry before pouring. This lets the epoxy form a chemical bond with the wood instead of soaking in unevenly.
Will Epoxy Stick To Sealed Wood?
Yes, epoxy sticks to sealed wood as long as the sealed surface is dry. Apply a seal coat with a clear-drying wood sealant or thin epoxy first, so the epoxy can seep into the microscopic pores and cure into a solid bond. Seal cracks, knots, and voids too.
How Do You Seal Before Resin?
Use a clear-drying wood sealant or a thin coat of epoxy resin, applied with a brush, foam brush, or gloved hands, then let it dry fully. Pay close attention to cracks, knots, or voids and pick a sealant that dries clear and suits your project before pouring the resin coat.
Do I Need To Prime Wood Before Epoxy Resin?
Yes — sealing wood before epoxy resin, using a clear-drying wood sealant or a thin epoxy seal coat, prevents air bubbles, cracks, and other imperfections from forming once the resin is poured.
What Moisture Content Is Safe For Wood Before Epoxy Resin?
Wood should test at 12% moisture content or below before you pour epoxy, with 8–10% considered ideal. Higher moisture gets trapped under the cured resin, then expands with heat and pushes up through the pour as bubbles or a cloudy patch. Check with a moisture meter before sealing, especially on air-dried slabs.
Do You Need To Clean Wood Before Sealing It For Epoxy?
Yes. Vacuum or brush off sanding dust, then wipe the surface with denatured alcohol or mineral spirits to remove oils, grease, and old finish residue. Skipping this is a common, invisible reason sealer or epoxy fails to bond evenly, even on wood that looks clean.
Does Plywood Or Live-Edge Wood Need Extra Sealing Steps?
Yes. Live-edge slabs need extra attention at the bark line and any voids, since that edge absorbs sealer unevenly and can trap air pockets that surface as bubbles. Plywood’s layered core can also off-gas at the cut edges, so seal edge grain as carefully as the face.
Conclusion
Sealing wood before epoxy resin comes down to three checks: moisture under 12%, a sealer matched to your wood type, and a full dry/dwell time before you pour. Get those right and the epoxy bonds clean, without bubbles, bleed-through, or cloudy patches. For more on choosing a sealer for other projects, see our guide to the best wood sealer options, or check how long wood sealer takes to dry if you’re working against a deadline. If you’re prepping for a full epoxy pour rather than just the sealing step, our epoxy-over-wood prep guide covers the mixing, pouring, and curing stages that come after sealing.
Sponsored / affiliate links. As an Amazon Associate I earn from qualifying purchases. I may earn additional commission from eligible campaigns.