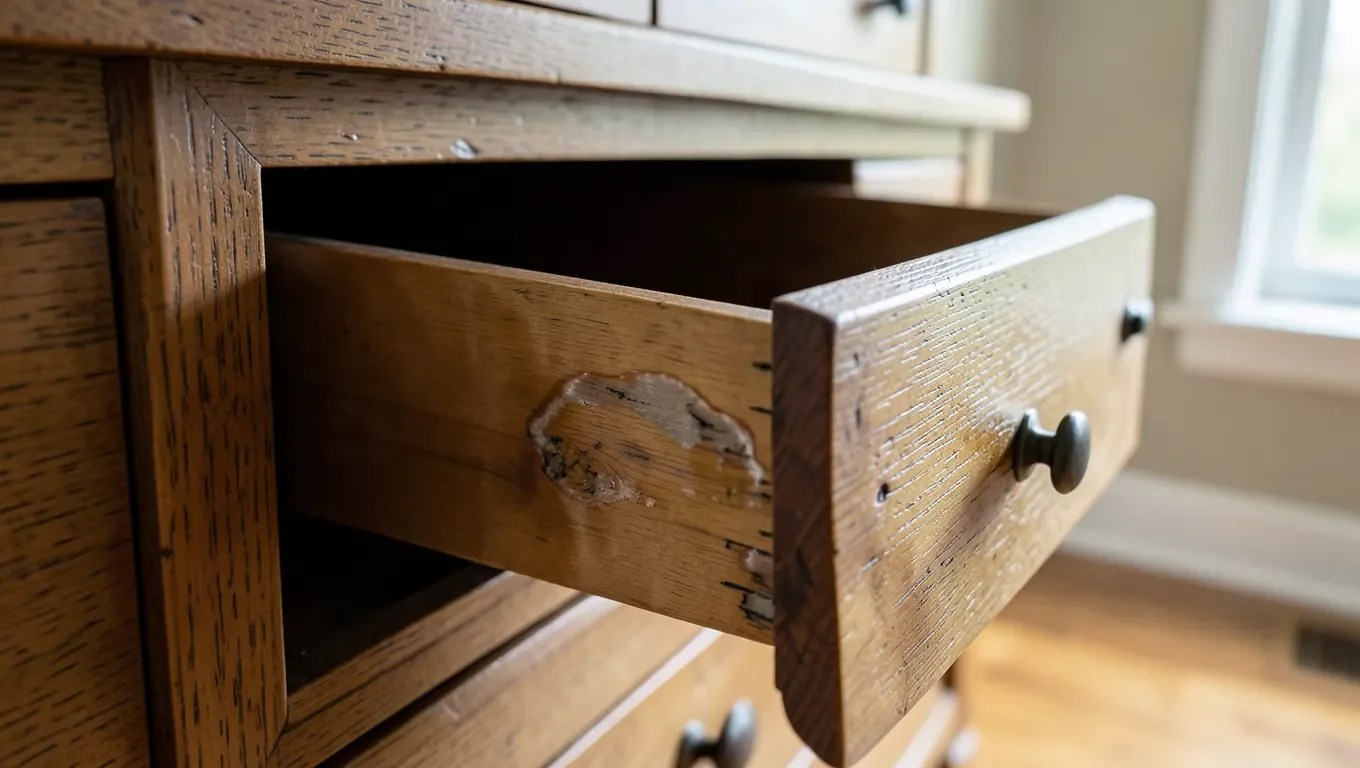
How to Shrink Swollen Wood Without Cracking It
Swollen wood shrinks back down on its own once the trapped moisture leaves — but only if you let it dry slowly. Running a hot iron over the wood, a fix repeated across most wood-care articles, actually causes the exact problem it’s supposed to solve.
Fast heat forces the outer wood fibers to dry and shrink well before the still-wet interior does. That mismatch in shrinkage rate is what causes cracking and checking — the same stress pattern you see in lumber that was kiln-dried too aggressively. The actual fix takes longer than an iron but it’s the only one that doesn’t risk permanently damaging the piece: steady airflow, a stable moderate temperature, and enough time for the moisture to leave at the same rate it soaked in.
The Right Way to Shrink Swollen Wood: Slow, Controlled Drying
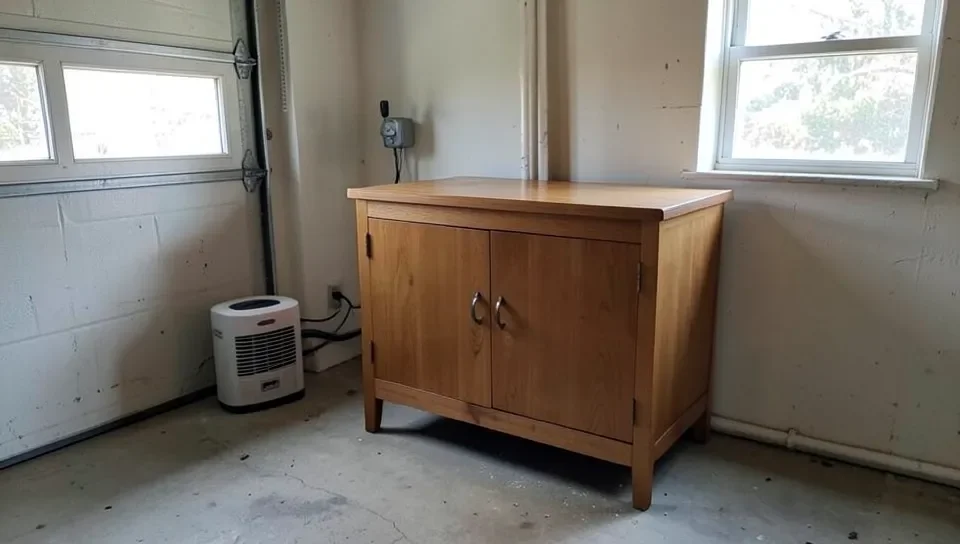
Set the piece somewhere with good airflow, moderate room temperature, and no direct sun or heat source nearby — a garage, a covered porch, or an interior room with a window cracked open all work. Direct sun and heaters both dry the surface faster than the moisture inside can migrate out, which is the same overheating problem in a different form.
If the piece is an enclosed cabinet, dresser, or anything with drawers, remove the back panel (or the drawers themselves) so air can actually reach the swollen wood instead of just the outside shell. For furniture in a closed room with high humidity, run a small dehumidifier nearby — it pulls ambient moisture down so the wood has somewhere for its own moisture to go, without adding any heat.
Best Tool For Tracking Wood Drying Progress
 |
General Tools MMD4E Digital Moisture Meter – $39.98 A pin-type moisture meter lets you actually measure when swollen wood has dried out instead of guessing and rushing the process.
|
How long this takes depends entirely on how deep the water penetrated. Surface swelling from a spilled drink might resolve in a day or two of good airflow. Wood that sat in standing water or soaked for days — a flooded basement cabinet, for example — can take one to two weeks or longer to fully stabilize. A moisture meter takes the guesswork out of this: check a reading every day or two, and don’t sand, finish, or force anything back into place until the number stops dropping and holds steady (most interior hardwood settles around 6–8% moisture content).
Why a Hot Iron (or Any Fast Heat) Makes It Worse
Wood dries from the outside in. Apply an iron, a heat gun, or a hair dryer, and the surface layer loses its moisture almost immediately — it shrinks fast while the core underneath is still saturated and hasn’t started shrinking at all. That difference in timing puts real internal stress on the wood: the shrinking outer layer is essentially trying to pull tight around a core that hasn’t moved yet. The result is checking (small surface cracks running with the grain), splitting, or a cupped, uneven surface that no amount of sanding fully corrects.
This is the same reason lumber mills dry green wood in climate-controlled kilns over days or weeks instead of blasting it with heat — wood simply can’t shed moisture unevenly without paying for it structurally. A damp cloth and a low iron setting might flatten a small bit of raised grain on the surface, but it does nothing for water that’s actually soaked into the wood, and on anything more than surface moisture it raises the odds of cracking rather than lowering them.
The Overcorrection Trap: Don’t Force a Wet Fit
A swollen drawer or door often gets sanded down or forced to fit while it’s still wet, because that’s the only way to make it close right now. The problem shows up later: once the wood finishes drying and shrinking back to its normal size, it can end up smaller than it was originally, since you removed material while it was still swollen beyond its true dimensions. The result is a drawer that now rattles, a door with a visible gap, or a panel that no longer sits flush — an overcorrection that’s harder to fix than the original swelling was.
If a drawer or door won’t close, resist sanding or forcing it until the moisture reading has leveled off. It’s slower, but it’s the only way to know you’re sanding the wood’s real, settled size instead of a temporarily swollen one.
Fixing Specific Swollen Wood Problems
Stuck drawers: Don’t yank on the handle. If it will move at all, work it gently side to side rather than straight out. If it’s fully jammed, pull the piece away from the wall, remove the back panel, and let the drawer dry in place before attempting to remove it — forcing a swollen drawer can split the drawer sides or the frame’s guide rails.
Sticking doors: Lift the door off its hinges if it’s swollen enough to bind, and let it dry standing on edge with air moving on both faces. Doors dry unevenly if only one side gets airflow, which is its own source of warping.
Tabletops and flat panels: These are the pieces most prone to visible warping because they’re wide and thin relative to their length. Dry them flat and fully supported (not leaning at an angle), check moisture at several spots across the surface rather than just one, and wait for all of them to even out before refinishing.
Plywood, particleboard, and laminated pieces: These respond less predictably because each glued layer can absorb and release moisture at a different rate than the layers next to it. Uneven drying here is more likely to cause the layers to separate (delamination) rather than crack cleanly. Dry these extra slowly, and if you see the surface veneer starting to lift or bubble at an edge, stop and let it stabilize before doing anything else — that’s a sign the layers are drying at different speeds.
When It Won’t Come Back: Repeated Swelling and Permanent Damage
A single swell-and-dry cycle, handled patiently, usually leaves wood close to its original condition. Repeated cycles are a different story. Every time wood swells and shrinks, the fibers flex slightly, and joints that were glued or fitted at one moisture level get stressed at another. Do this enough times — a chronically humid basement, a recurring leak that never gets fixed, furniture near an unvented bathroom — and you start seeing damage that slow drying alone won’t reverse: permanent warping, hairline cracks that don’t close back up, and joints that work themselves loose because the wood around the joinery has changed shape one too many times.
If a piece has been through multiple swelling episodes, it’s worth being realistic: drying it out is still step one, but re-gluing loose joints, re-finishing to seal out future moisture, or accepting some permanent surface texture may be part of the honest outcome rather than a full return to like-new condition.
Preventing It From Happening Again
Once the piece is dry and back in shape, a coat of finish (polyurethane, varnish, or a wax sealant depending on the piece — see our wood care and maintenance guide for picking the right one) gives future spills and humidity swings something to bead up on instead of soaking straight into bare wood. Keep furniture a few inches off concrete floors and away from unvented bathrooms or laundry areas where humidity spikes are routine, and fix leaks at the source rather than just drying the damage after the fact — the drying technique above works, but it’s not something you want to need often.
Frequently Asked Questions
Will swollen wood shrink back on its own?
Yes, in most cases. Once the source of moisture is gone, wood naturally releases the water it absorbed and returns close to its original size — the key word is slowly. Drying it quickly with heat is what causes the cracking and warping people associate with “wood that never came back right,” not the swelling itself.
How long does it take for swollen wood to dry and shrink?
Anywhere from a day or two for light surface swelling to two or more weeks for wood that soaked in standing water. Track it with a moisture meter instead of guessing by feel — stop working on the piece once the reading holds steady for a couple of days rather than picking an arbitrary deadline.
Can I use a hair dryer or heat gun to speed up drying swollen wood?
It’s not recommended. Any fast heat source dries the outer wood before the interior, and that mismatch is what causes checking and cracking. Airflow and time work faster in the long run because you’re not creating damage you then have to repair on top of the original swelling.
Why did my wood end up smaller than before after it dried?
This usually happens when a swollen drawer or door was sanded or forced to fit while it was still wet. Once it finishes drying and shrinking back down, it ends up smaller than its true original size because material was removed while it was temporarily swollen. Waiting until the wood’s moisture reading has fully stabilized before sanding or forcing a fit prevents this.
Does swollen wood eventually go back to its exact original shape?
After one swelling episode dried out patiently, usually yes, close to it. After repeated swelling and drying cycles, not always — the fibers and glued joints can take on permanent stress that shows up as slight warping, small cracks, or loose joinery that drying alone won’t undo. At that point, re-gluing or refinishing may be needed alongside the drying.
Sponsored / affiliate links. As an Amazon Associate I earn from qualifying purchases. I may earn additional commission from eligible campaigns.