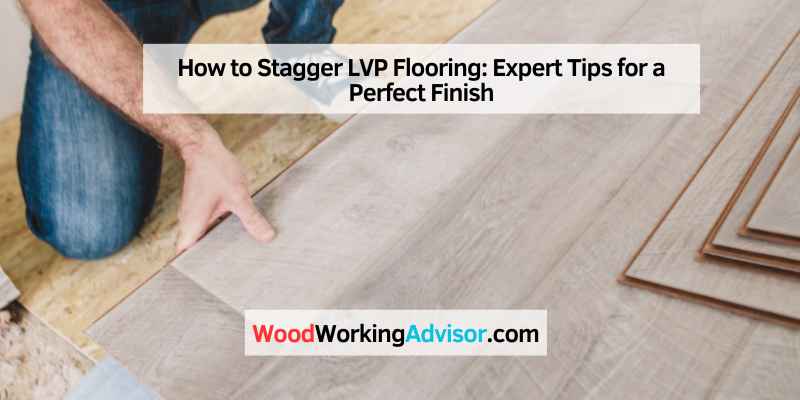
How to Stagger LVP Flooring: Expert Tips for a Perfect Finish
To stagger LVP flooring, start by cutting the first plank of the second row to a third of its length. Continue this pattern with each row for a natural look.
Staggering LVP (Luxury Vinyl Plank) flooring is essential for both aesthetic appeal and structural stability. Ensuring that seams do not align from one row to the next prevents weaknesses and enhances visual interest. By cutting planks to various lengths and starting each row with a different size, you create a more natural, wood-like appearance.
This technique helps to distribute the load evenly across the floor, minimizing the risk of damage. Properly staggering planks not only improves the floor’s durability but also adds to the overall charm and elegance of your space.
Introduction To LVP Flooring
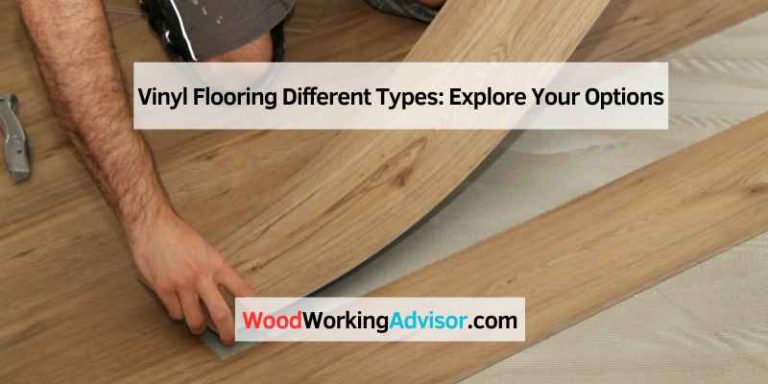
Luxury Vinyl Plank (LVP) is popular for its durability. It is water-resistant and easy to clean. LVP also mimics the look of real wood. This makes it a favorite choice for many homes. Installation is simple with click-lock systems. LVP is also affordable compared to hardwood floors. It can be installed in any room, including bathrooms and kitchens.
Staggering LVP flooring is important. It helps to prevent gaps and uneven surfaces. Staggering also adds to the floor’s visual appeal. It makes the floor look more natural and professional. Without staggering, the floor may look repetitive and dull. Staggering also improves the floor’s stability.

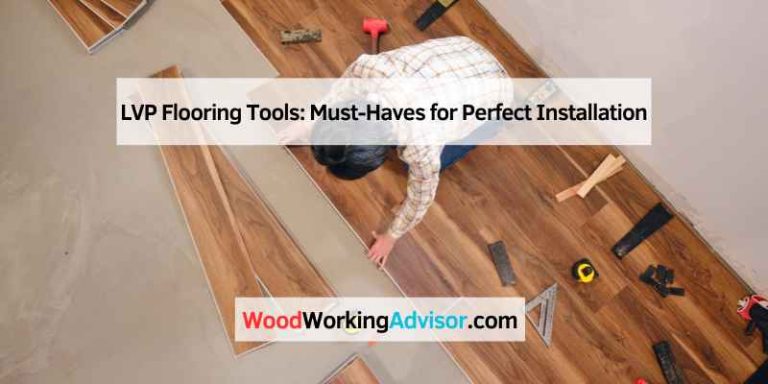
Tools And Materials Needed
You need a measuring tape and a utility knife. Use a straight edge for cutting lines. A rubber mallet helps in fitting planks together. Spacers keep gaps even at the walls. A pull bar helps align the last row of planks.
Pick high-quality LVP flooring for long-lasting results. Check the thickness and durability of the planks. Make sure the color and texture match your room. Look for waterproof features if installing in wet areas. Choose a reliable brand known for quality products.
Preparation Steps
Clean the room and remove all furniture. Make sure the subfloor is flat and dry. Check for any damage on the subfloor. Fix any cracks or holes. Remove any old flooring that might be in the way. Make sure the subfloor is smooth. Sweep and vacuum the area to remove dust and debris. This will help the LVP stick better.
Place the LVP boxes in the room. Let them sit for at least 48 hours. This helps the LVP adjust to the room’s temperature. Keep the boxes flat on the floor. Do not stack them. Make sure the room is at normal living conditions. This means a temperature between 65°F to 85°F. It also means a humidity level between 35% to 65%. This step is important to avoid problems later.
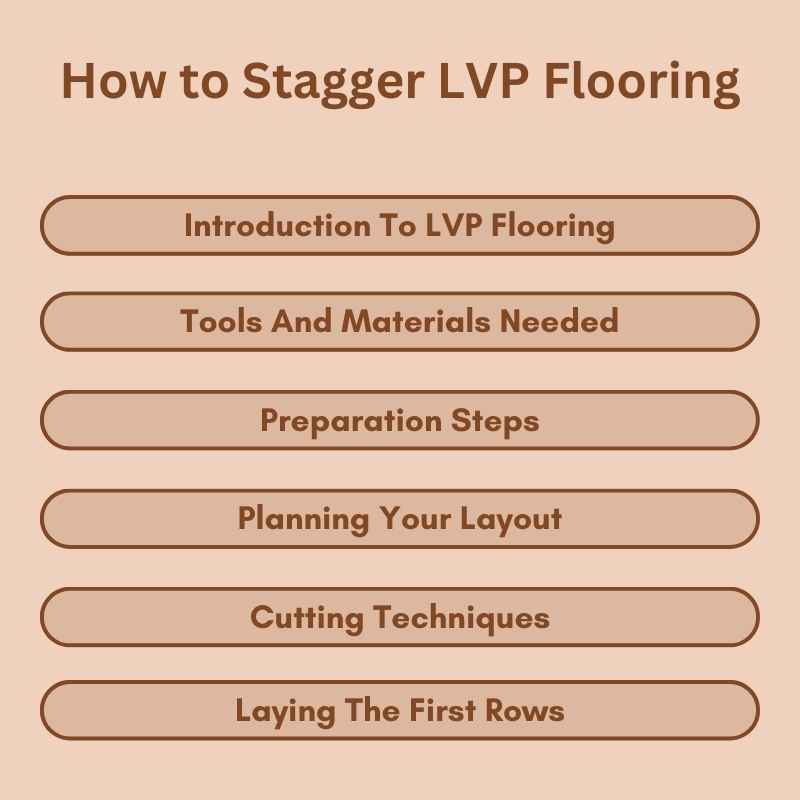
Planning Your Layout
Begin by measuring the room’s length and width. Accurate measurements are key. Use a tape measure for precision. Write down all measurements. This helps in calculating the number of planks needed. Remember to account for waste. Usually, an extra 10% is recommended. This ensures you have enough material.
Plan the stagger pattern before you start. This prevents repeating seams. Staggering planks by at least 6 inches is ideal. This adds to the floor’s strength. Variety in plank lengths makes the floor look natural. Place shorter planks next to longer ones. This helps in achieving a random look. Ensure no seams line up in adjacent rows. This is crucial for a strong floor.
Cutting Techniques
Always wear safety gear like gloves and goggles. This will keep you safe from sharp tools. Use a sharp utility knife for clean cuts. Measure twice before cutting to avoid mistakes. Keep your hands away from the cutting line. Make sure the floor is stable. This prevents slips and errors.
Precision is key for a neat finish. Use a T-square for straight lines. Mark your cuts with a pencil. This ensures accuracy. Cut slowly to avoid jagged edges. Trim small pieces carefully. This keeps the floor looking smooth and professional.
Laying The First Rows
Place the first plank against the wall. Use spacers to leave a gap for expansion.
Make sure the plank is straight and level. Proper alignment is essential for a neat finish.
Secure the plank using a tapping block and mallet. This helps the plank stay in place.
Check the alignment of each plank as you go. Use a straight edge to keep the rows even.
Adjust the planks if they start to shift. This prevents gaps and uneven lines.
Keep a consistent staggered pattern. This makes the floor look balanced and professional.
Staggering Strategies
Staggering LVP flooring ensures a professional look and enhances durability. Maintain a varied pattern by offsetting seams, avoiding repetition. Keep plank joints at least 6 inches apart for stability and aesthetic appeal.
Staggering Patterns Explained
Staggering patterns are important for LVP flooring. They make the floor look natural. One common pattern is the random stagger. This pattern avoids obvious seams. Another option is the step pattern. Each plank starts at a different length. This creates a stair-step effect. Both patterns help hide joints and seams.
Avoiding Common Mistakes
Many make mistakes while staggering LVP flooring. Repeating patterns is a big no-no. This makes the floor look fake. Another mistake is not mixing plank sizes. Always use different lengths. This adds variety and a natural look. Ignoring plank direction is also bad. Make sure all planks point the same way.
Continuing The Process
Consistency is key in laying LVP flooring. Each plank should be staggered properly. This avoids any noticeable patterns. Planks should be cut to different lengths. This helps in creating a natural look. Random staggering is the best method. It keeps the floor looking authentic. Make sure to use spacers between planks. This ensures even gaps. Consistent gaps prevent future issues. Check each row for alignment. Misalignment can cause problems later. A small error can ruin the look. Always measure twice and cut once.
Obstacles and outlets can be tricky. Measure around obstacles carefully. Use a jigsaw for precise cuts. Outlets need special attention. Cut planks to fit around outlets. Make sure the cuts are clean. Clean cuts look professional. Use spacers around obstacles too. This keeps the floor even. Always mark the cuts before cutting. Double-check your measurements. Mistakes can be costly. Take your time with obstacles. Rushing can lead to errors.
Finishing Touches
Achieve a seamless look by varying plank lengths and ensuring joints are staggered. This method enhances visual appeal and stability. Properly staggered LVP flooring prevents alignment issues and promotes longevity.
Installing Baseboards And Moldings
Baseboards and moldings add a polished look to your floor. First, measure the walls. Cut the baseboards to fit. Use a saw for accurate cuts. Next, align the baseboards with the wall. Use a nail gun to attach them. Make sure they are straight. For moldings, measure the length needed. Cut the moldings to size. Attach them where the floor meets the wall. This hides any gaps. A good finish makes your floor look great.
Cleaning And Maintenance Tips
Regular cleaning keeps your floor looking new. Sweep the floor daily. Use a soft broom. Mop the floor weekly. Use a damp mop. Avoid using too much water. Water can damage the floor. Clean spills quickly. Use a soft cloth. Avoid harsh chemicals. They can damage the floor. Place mats at doorways. This reduces dirt. Follow these tips to keep your floor in top shape.
Troubleshooting Common Issues
Gaps between planks can be annoying. Ensure the floor is clean. Use a rubber mallet to tap the planks together. If gaps persist, consider using a floor gap fixer tool. Misalignments might occur during installation. Always check each row before moving to the next. Adjust planks carefully to align them properly. This will make your floor look seamless and neat.
Damaged planks can ruin the look of your floor. Start by identifying the damaged plank. Use a utility knife to cut around the plank. Lift and remove the damaged plank carefully. Replace the plank with a new one of the same design. Make sure it fits perfectly. Lock it in place by pressing down firmly. This will restore the beauty of your floor.
Professional Vs. DIY Installation
Professional installers have the right tools and skills. They can complete the job quickly. This means less mess and disruption for you. If your floor is not even, call a pro. Uneven floors need special treatment. A professional will know what to do.
Complex patterns or designs may need a professional touch. This ensures the final look is perfect. If you have a large area to cover, professionals can save you time. They can handle big projects efficiently.
DIY installation saves money on labor costs. You only need to buy materials and tools. But, mistakes can be costly. Fixing errors can add up. Professional installation costs more upfront. But, it often saves money in the long run. Pros make fewer mistakes.
If you value your time, hiring a pro is a good idea. They work faster and more accurately. This means you can enjoy your new floor sooner.
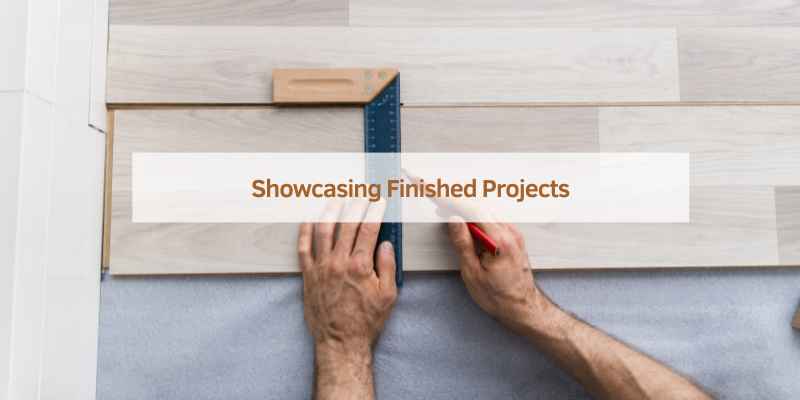
Showcasing Finished Projects
A gallery can show beautiful floors. Staggered LVP floors look amazing. Each photo can show a different room. People love to see before and after photos. Bright rooms make floors pop. Dark rooms give a cozy feel.
Sharing photos can inspire others. It helps people see what is possible. Good photos make a big difference. Clear images show the details. Kids, pets, and furniture can be in the photos. This shows how the floor looks in real life.
Sharing your own work is important. Show your friends and family. Post on social media. Add photos to your website. People like to see real projects. They trust you more if they see your work. Happy customers can leave reviews.
Tell the story of your project. How you chose the floor. The steps you took to install it. Any problems you solved. People love to read success stories. They can learn from your experience. It makes your work more valuable.
Frequently Asked Questions
How Should Lvp Be Staggered?
Stagger LVP by offsetting seams by at least 6 inches. Mix planks from different boxes for a natural look.
What Is The Best Pattern For Vinyl Plank Flooring?
The best pattern for vinyl plank flooring is the staggered pattern. It offers a natural, hardwood look and minimizes seams.
What Is The Pattern For Staggered Flooring?
A staggered flooring pattern involves offsetting rows of tiles or planks. Each row starts at a different point, creating a brick-like effect. This pattern adds visual interest and stability to the floor.
How Much To Stagger Lvp Flooring?
Stagger LVP flooring by at least 6 inches for a natural look. Avoid repeating patterns to enhance visual appeal.
Conclusion
Mastering the technique of staggering LVP flooring enhances the look of any space. Remember to plan your layout carefully. Proper staggering ensures durability and a professional finish. By following these steps, your flooring project will be a success. Enjoy your beautifully installed LVP flooring for years to come.