How to Cut Baseboards With a Miter Saw (60-Tooth Blade Guide)
A 60-tooth carbide blade cuts baseboards cleanest, mitering outside corners at 45 degrees — but coping inside corners instead. Coped joints resist the gaps that mitered corners open up as walls shift and lumber shrinks with the seasons. This guide covers blade and angle setup, the coping-saw technique for inside corners, and how to sand, finish, and install the cut baseboard.
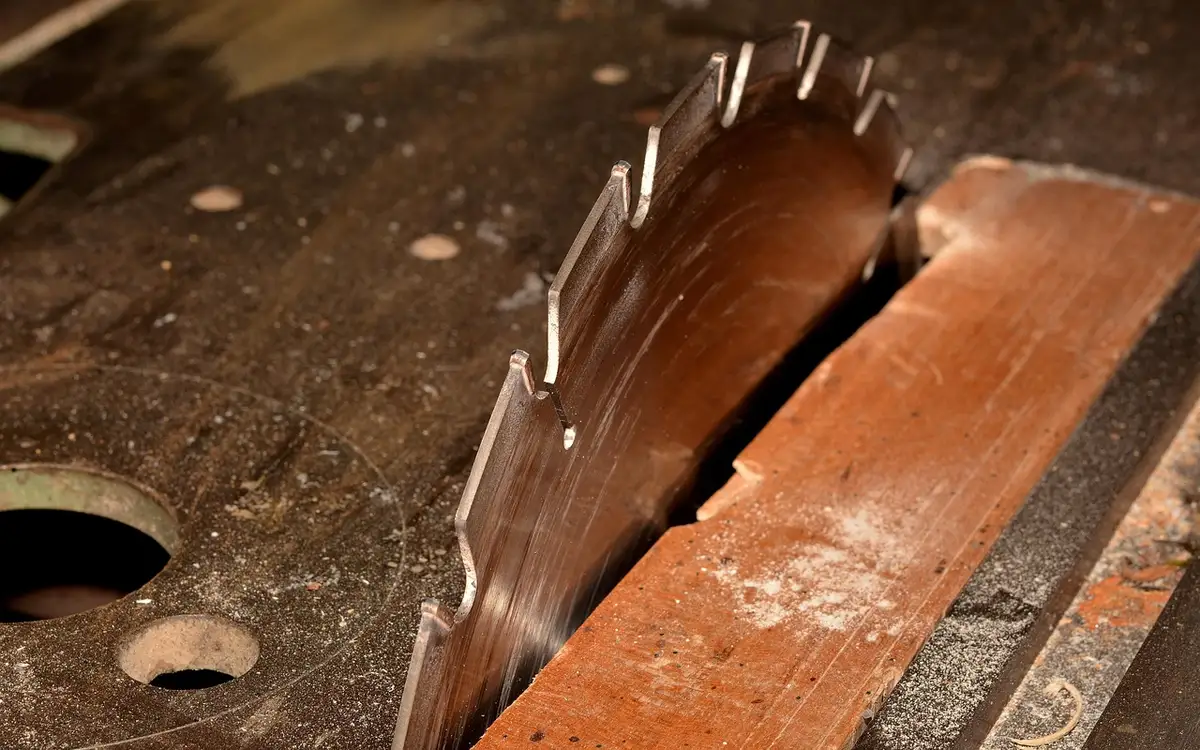
Choosing The Right Miter Saw Blade
Choosing the right miter saw blade is crucial when it comes to cutting baseboards with precision. The blade you select not only affects the quality of your cuts but also determines the overall efficiency of your work. In this section, we will discuss the optimal blade types for cutting baseboards, considerations for blade size and teeth per inch (TPI), and the importance of understanding tooth configurations for different cuts.
Optimal Blade Types For Cutting Baseboards
When it comes to cutting baseboards, it is essential to use the right blade that is specifically designed for this task. The two most commonly used blade types for cutting baseboards are:
- Rip-Cut Blade: This type of blade is ideal for making long, smooth cuts along the length of the baseboard. The blade features fewer teeth with larger gullets, allowing it to remove material quickly.
- Crosscut Blade: If you need to make precise, smooth cuts across the width of the baseboard, a crosscut blade is your best bet. This blade type has more teeth with smaller gullets, resulting in cleaner and finer cuts.
Considerations For Blade Size And Teeth Per Inch (TPI)
When selecting a blade for cutting baseboards, you should also consider the blade size and teeth per inch (TPI). These factors play a significant role in determining the overall performance and versatility of the blade.
| Blade Size | Best Use |
|---|---|
| 10-inch | Recommended for most baseboard cutting tasks. |
| 12-inch | Ideal for cutting larger baseboards over 5 inches in width. |
- Low TPI: Blades with a lower TPI, such as 8 or 10, are suitable for rougher, faster cuts on thicker baseboards.
- Medium TPI: Blades with a medium TPI, around 12 to 14, provide a balance between speed and smoothness, making them versatile for most baseboard cutting tasks.
- High TPI: Blades with a higher TPI, such as 18 or 24, are excellent options for fine, precise cuts on thinner baseboards.
Understanding Tooth Configurations For Different Cuts
To achieve optimal results when cutting baseboards, it is essential to understand tooth configurations and select the right one for the specific type of cut you are making. The two common tooth configurations for miter saw blades include:
- Alternate Top Bevel (ATB): ATB blades are great for making clean crosscuts on baseboards, particularly when you need a smooth finish. These blades have V-shaped teeth with bevel angles on both the left and right sides, which reduce tear-out and splintering.
- Triple-Chip Grind (TCG): TCG blades are more suitable for rip cuts on baseboards, especially if they have a high degree of hardness or grain patterns. These blades feature a combination of flat teeth for ripping and trapezoidal teeth for smoother crosscutting.
By choosing the right tooth configuration, you can ensure cleaner and more precise cuts on your baseboards.
📊 For finish-grade baseboard, a 60-tooth carbide blade is the standard recommendation, with 80-100 tooth blades reserved for MDF and painted trim needing a glass-smooth edge. — Source: Family Handyman, Miter Saw Blades Guide
Measuring And Marking The Baseboards
Accurate measurements and precise marking are crucial steps in cutting baseboards with a miter saw. These initial steps will ensure that your cuts are clean and fit seamlessly into your project. In this section, we will cover how to take accurate measurements and how to mark the baseboards for different angles and lengths.
Accurate Measurements For Precise Cuts
Before cutting baseboards with a miter saw, it is essential to take accurate measurements to avoid any errors or wastage. Follow these steps to ensure precise measurements:
- Use a tape measure to measure the length of the wall where you will install the baseboards. Measure twice to double-check your measurements and write down the exact number.
- Take into account any corners or angles where the baseboards need to join. Measure the angles and lengths carefully, ensuring you account for both horizontal and vertical dimensions.
- When measuring angled corners, use a miter angle finder to determine the correct angle. This tool will help you get the perfect measurement for a seamless fit.
- Remember to add a small amount, usually around 1/16 inch, to your measurements to account for the saw blade width and any adjustments needed during installation.
Marking The Baseboards For Different Angles And Lengths
Once you have accurate measurements, it’s time to mark the baseboards for cutting. Follow these steps for precise marking:
- Using a tape measure, measure the baseboard according to your written measurements. Write down the measurements directly on the baseboard with a pencil.
- For straight cuts, use a square to ensure your lines are perfectly perpendicular. Place the square against the edge of the baseboard and draw a line using a pencil. Repeat this step for all straight cuts.
- For angled cuts, use a protractor or an adjustable bevel square to determine the correct angle. Set the miter saw accordingly, transfer the measurement to the baseboard, and mark the line with a pencil.
- Double-check all markings to ensure they are accurate and correspond to your measurements before proceeding to cut the baseboard.
By measuring accurately and marking your baseboards correctly, you’ll be one step closer to achieving professional-looking results with your miter saw cuts.
Setting Up The Miter Saw
Setting up the miter saw correctly is essential for achieving precise and professional cuts on your baseboards. There are three crucial aspects to consider when it comes to setting up the miter saw: adjusting the miter angle for angled cuts, setting the bevel angle for beveled cuts, and calibrating the miter saw for accurate and consistent cuts. By following these steps, you’ll be well on your way to perfectly cut baseboards that fit seamlessly into your space.
Adjusting The Miter Angle For Angled Cuts
When working with baseboards that need angled cuts, it is important to adjust the miter angle of your saw to match the desired angle. Here’s how to do it:
- Loosen the miter locking knob located on the back of the saw.
- Rotate the miter saw’s base to the desired angle, ensuring that the miter gauge aligns with the angle markings on the saw.
- Tighten the miter locking knob to secure the angle in place.
Setting The Bevel Angle For Beveled Cuts
If you’re looking to make beveled cuts on your baseboards, the bevel angle of your miter saw needs to be adjusted accordingly. Follow these steps to set the bevel angle:
- Find the bevel locking lever on the side or back of the saw and release it.
- Rotate the saw’s arm to the desired bevel angle, ensuring the bevel gauge aligns with the angle markings on the saw.
- Lock the bevel angle in place by tightening the bevel locking lever.
Calibrating The Miter Saw For Accurate And Consistent Cuts
Before making any cuts on your baseboards, it’s vital to calibrate your miter saw for precise and consistent results. Follow these steps to calibrate your miter saw:
- Use a carpenter’s square to check the alignment of the blade and the saw’s fence.
- If the blade and fence are not perfectly aligned, consult your miter saw’s manual for instructions on adjusting the alignment.
- Check the accuracy of the saw’s miter detent stops by making test cuts on scrap pieces of wood.
- If needed, adjust the miter detent stops according to the manufacturer’s instructions to ensure accurate and consistent cutting angles.
- Ensure that the blade is sharp and in good condition to achieve clean and precise cuts.
By setting up your miter saw correctly and taking the time to adjust the miter angle, bevel angle, and calibrate the saw, you’ll be on your way to cutting baseboards like a professional. Remember to always prioritize safety by wearing appropriate protective gear and following the manufacturer’s instructions. Now that your miter saw is set up, it’s time to start cutting those baseboards!
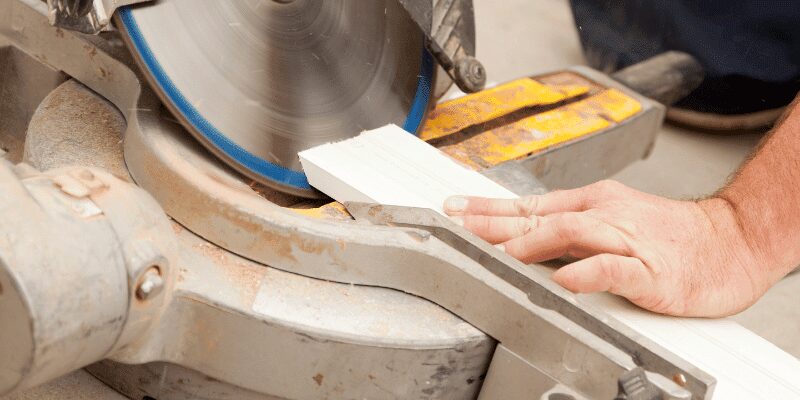
Making The Cuts With A Miter Saw
When it comes to cutting baseboards, a miter saw is a powerful tool that can help you achieve precise cuts with ease. With its rotating blade and adjustable angles, a miter saw allows you to make clean, accurate cuts at various angles. In this section, we will discuss the proper techniques for using a miter saw to cut baseboards, ensuring secure positioning, safe operation, and achieving smooth edges.
Positioning The Baseboards Securely For Cutting
To ensure accurate cuts, it is essential to secure the baseboards properly before using a miter saw. Follow these steps to position the baseboards securely:
- Set up a stable work surface: Before starting, make sure you have a sturdy workbench or table where you can place the baseboards securely.
- Measure and mark the baseboards: Use a measuring tape to determine the desired length of the baseboards, and mark the measurement with a pencil.
- Secure the baseboards: Place the baseboards on the work surface, making sure they are aligned and positioned securely. You can use clamps or a vice to hold the baseboards firmly in place.
Operating The Miter Saw Safely And Effectively
Using a miter saw requires caution and adherence to safety guidelines. Follow these steps to operate the miter saw safely and effectively:
- Wear safety gear: Before using the miter saw, put on safety goggles, ear protection, and a dust mask to protect yourself from flying debris and dust.
- Adjust the miter saw angle: Set the miter saw to the desired cutting angle by loosening the angle adjustment knob and aligning the blade with the marked angle on the saw.
- Position the baseboard: Place the baseboard against the fence of the miter saw, ensuring it is securely positioned and flat against the saw’s base.
- Start the miter saw: With the baseboard in position, turn on the miter saw and allow the blade to reach its full speed before making the cut.
- Make the cut: Gently lower the saw blade onto the baseboard, applying controlled pressure to cut through the material. Maintain a steady pace and avoid rushing the cut.
Techniques For Achieving Precise Cuts With Smooth Edges
To achieve precise cuts with smooth edges, follow these techniques:
- Use a sharp blade: A dull blade can result in uneven cuts and splintered edges. Make sure to use a sharp, fine-toothed blade designed for cutting baseboards.
- Take your time: Rushing through the cuts can lead to mistakes and inaccurate measurements. Take your time, focus on the task at hand, and maintain a steady pace.
- Practice proper technique: Hold the baseboard firmly against both the miter saw’s fence and base to ensure a stable and accurate cut. Keep your hands clear of the blade and use a push stick if needed.
- Check your measurements: After making a cut, measure the baseboard to verify if it is the correct length. This step will help ensure accuracy and precise cuts throughout your project.
Coped Vs. Mitered Inside Corners: Why Professionals Cope
The standard rule among finish carpenters is simple: miter outside corners, cope inside corners. A mitered inside corner is two 45-degree cuts butted together; a coped inside corner has one piece cut square into the corner and the second piece cut (coped) to fit the exact profile of the first, using a coping saw to follow the molding’s face profile.
Coping takes more time than a second miter cut, but it holds up better over the long run. A coped joint resists the visible gaps that a mitered inside corner develops as walls shift and the baseboard expands and contracts with the seasons, and it’s far more forgiving when a corner isn’t a perfect 90 degrees — something covered in more detail in our guide to cutting baseboard inside corners.
| Joint Type | Best For | Gap Resistance | Difficulty |
|---|---|---|---|
| Mitered | Outside corners | Opens gaps as walls move | Easy — one angled cut per side |
| Coped | Inside corners | Stays tight through seasonal movement | Harder — requires coping-saw follow-through |
To cope a joint: cut the first piece square into the corner, then cut the second piece at a 45-degree miter as if for an inside corner, and use a coping saw to cut along the profile line left by the miter cut, following the front face of the molding. For a full walkthrough of profile-following technique on other molding types, see our guide to cutting molding with a miter saw.
Best Blade Pick

WEN BL1060 10-Inch 60-Tooth Blade
Carbide-tipped 60-tooth blade sized for 10-inch miter saws — the standard tooth count finish carpenters use for splinter-free baseboard cuts.
- Best for: clean crosscuts on primed, painted, or stained baseboard
- Why we picked it: ultra-thin kerf reduces tear-out on both mitered and coped edges
- Main drawback: cuts slower than a low-tooth-count rip blade on thick stock
Round out your corner-cutting kit
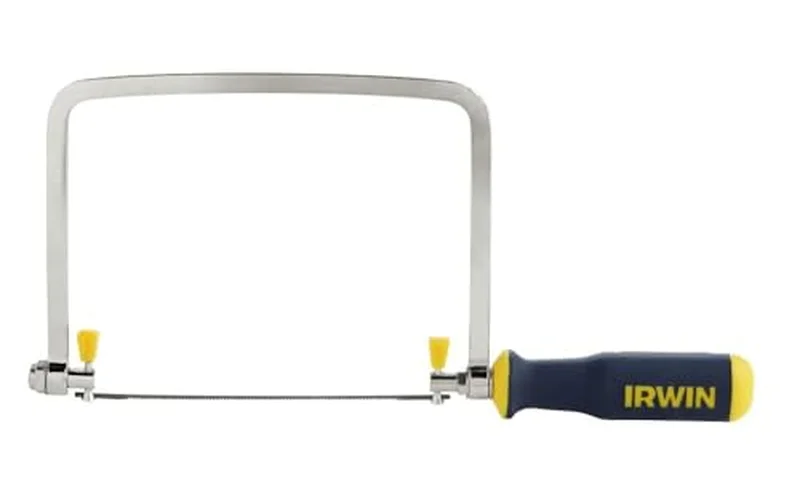 Option 1 IRWIN ProTouch Coping Saw
|
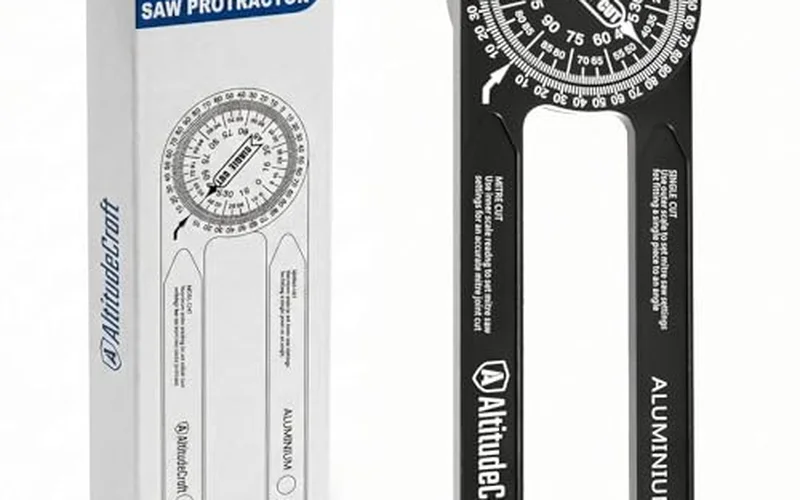 Option 2 Miter Saw Angle Protractor
|
 Option 3 DAP Alex Flex Trim Caulk
|
Finishing And Installing The Baseboards
Once you’ve successfully cut your baseboards using a miter saw, the next step is to focus on finishing and installing them. This crucial phase not only ensures a professional and polished look but also adds the final touches to your room’s décor. In this section, we will cover how to sand and smooth the cut edges of baseboards, apply the appropriate finish to match the baseboard color or style, and install the baseboards securely and neatly.
Sanding And Smoothing The Cut Edges
To achieve a flawless finish, it’s essential to sand and smooth the cut edges of your baseboards. This step will remove any roughness or imperfections left behind after cutting. Start by using a fine-grit sandpaper and gently sand the edges in a back-and-forth motion. Be sure to maintain a consistent pressure to avoid uneven results.
For a smoother finish, you can also use a sanding block, which provides better control and allows you to maintain a uniform surface. Remember to sand down the corners and any intricate details on the baseboards as well.
Once you’ve completed sanding, use a damp cloth to wipe away any dust or debris. This will ensure a clean and smooth surface for the final finishing process.
Applying Finish To Match The Baseboard Color Or Style
To achieve a cohesive look, it’s important to apply a finish that matches the baseboard color or style. Whether your baseboards are stained or painted, choosing the right finish will enhance their overall appearance and protect the wood from everyday wear and tear.
Before applying the finish, ensure the baseboards are completely clean and dry. Begin by applying a thin, even coat of your chosen finish, such as paint or stain, using a brush or roller. Work in small sections, following the grain of the wood for a consistent finish.
Allow the first coat to dry completely before applying additional coats, if needed. Once the desired level of coverage is achieved, inspect the baseboards for any drips or uneven spots. If necessary, lightly sand those areas and reapply the finish until you’re satisfied with the result. Let the baseboards dry thoroughly before moving on to the installation process.
Installing The Baseboards Securely And Neatly
Now that your baseboards have been cut, sanded, and finished, it’s time to install them securely and neatly. This step ensures a professional and long-lasting result.
Start by positioning the baseboards against the wall, ensuring they fit tightly and align with the corners. Use a level to ensure they are straight, adjusting as necessary. Once satisfied with the placement, attach the baseboards to the wall using finishing nails or a nail gun, aiming for the studs for added stability.
Drive the nails into the baseboards at a slight angle, to prevent splitting, and ensure they’re countersunk into the wood. This will allow you to fill the nail holes with wood filler later on for a seamless finish.
Finally, check that all the baseboards are firmly attached and make any necessary adjustments. Fill the nail holes with wood filler or putty, allow it to dry, and sand any excess. Once the baseboards are fully installed, you can apply touch-up paint or stain where needed to complete the project.
Frequently Asked Questions Of How To Cut Baseboards With A Miter Saw
Can You Cut Baseboards With A Miter Saw?
Yes, a miter saw is perfect for cutting baseboards due to its precise cutting angles and adjustable bevels. It ensures clean and accurate cuts, making your baseboard installation a breeze.
What Size Miter Saw Do I Need For Baseboards?
For cutting standard-size baseboards, a 10-inch miter saw is sufficient. However, if you intend to cut larger or thicker baseboards, it is recommended to use a 12-inch miter saw for better performance and versatility.
What Type Of Blade Do I Use To Cut Baseboards With A Miter Saw?
To achieve smooth and clean cuts on baseboards, it is important to use a fine-tooth finish blade with at least 60 teeth. This type of blade is designed to minimize splintering and ensure precise cuts on trim and molding materials.
Should I Cope Or Miter Inside Corners On Baseboard?
Cope inside corners rather than mitering them. A coped joint holds its fit as walls shift and the baseboard moves seasonally, while a mitered inside corner tends to open a visible gap over time. Miter cuts remain the right choice for outside corners.
Conclusion
Cutting baseboards with a miter saw is a straightforward process that can greatly enhance the look of your home. By following these steps, you can achieve clean and precise cuts for seamless baseboard installation. Remember to prioritize safety by wearing protective gear and using the miter saw properly.
With practice, you’ll become more proficient in this skill and enjoy the satisfaction of a job well done. Happy cutting!