How to Strip Stain from a Wood Door (Without Wrecking the Finish)
Stripping stain from a wood door comes down to three stages: apply a chemical stripper and let it work into the old finish, scrape and neutralize the residue, then sand back to clean bare wood before restaining. A citrus- or soy-based stripping gel is the better choice for most DIYers over a methylene-chloride stripper. It’s slower, but far less toxic and safer to use without a full respirator and outdoor ventilation setup.
Hey there, fellow DIYers, Md Meraj here. Take the door off its hinges and lay it flat on sawhorses before you start. Stripper runs and pools unpredictably on a vertical door, wasting product and leaving uneven results, and working flat also makes scraping and sanding dramatically easier and safer.
Prep and Safety First
SAFER THAN A SOLVENT STRIPPER
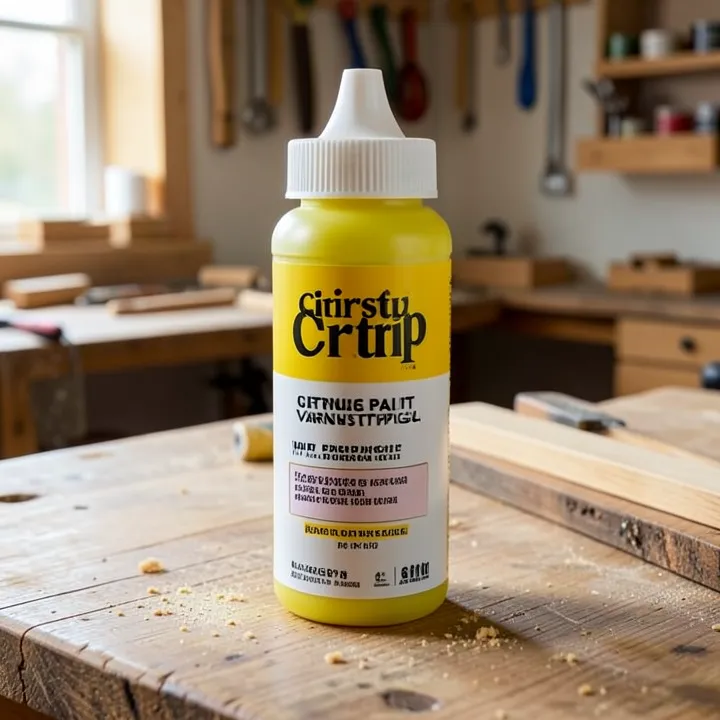 |
Citristrip Paint & Varnish Stripping Gel, 1 Quart – $18.99 Stays wet and active far longer than older solvent strippers, so it can lift multiple old stain/finish layers off a door in one application.
|
- Remove the door from its hinges and take off all hardware (hinges, knob, strike plate) so you’re not stripping around obstacles.
- Work in a well-ventilated space (a garage with the door open, or outdoors) even with a “low-odor” citrus stripper.
- Wear chemical-resistant gloves and eye protection. Even citrus-based strippers can irritate skin with extended contact.
- Lay down a drop cloth. Stripped finish residue is genuinely messy and can damage a floor or driveway finish underneath.
Materials and Tools You’ll Need
- A citrus or soy-based paint and varnish stripping gel
- A plastic or metal putty knife/scraper (plastic is safer for detailed panels and won’t gouge the wood)
- 0000 steel wool or a stiff-bristle brush for panel details and corners
- Mineral spirits or the stripper manufacturer’s recommended neutralizer/cleanup solvent
- Sandpaper in 120, 150, and 220 grit
- Wood conditioner and your chosen new stain
Applying the Chemical Stripper
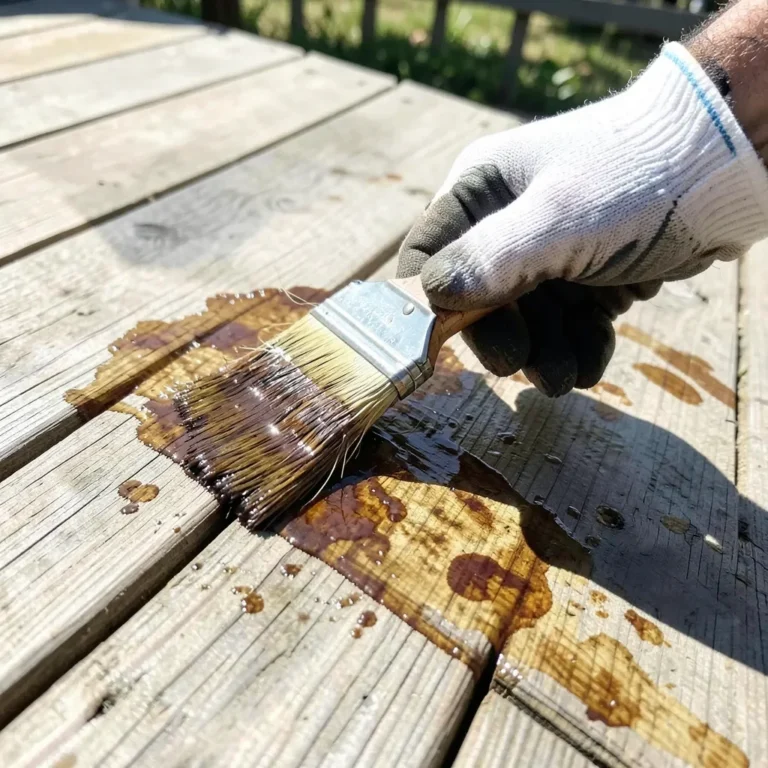
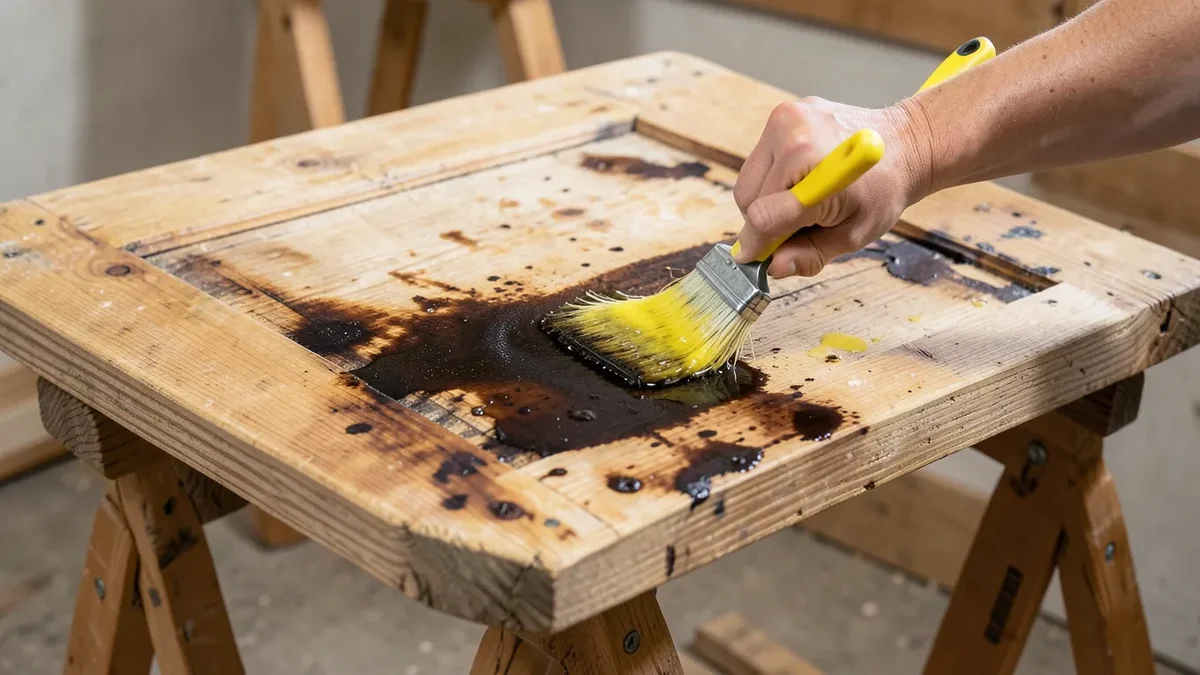
- Apply a thick, even layer of stripping gel with an old brush, working it into panel details and corners. A thin layer dries out before it finishes working.
- Let it sit per the product’s recommended time, often 20 minutes to a few hours for citrus-based gels (they’re formulated to stay wet and active far longer than older solvent strippers, which is exactly why they can lift multiple old finish layers in one application).
- Check a small test area: the finish should look wrinkled, bubbled, or soft. If it’s not there yet, give it more time rather than forcing a scrape.
Scraping and Neutralizing
Scrape with the grain using a plastic putty knife, working the softened finish off in long, controlled strokes. Steel wool handles carved panel details and corners a flat scraper can’t reach. Once the bulk of the finish is off, wipe the entire door down with mineral spirits or the stripper’s specified neutralizer. Skipping this step leaves a chemical residue that can interfere with the new stain absorbing evenly, so treat it as mandatory, not optional.
Sanding Back to Bare Wood
Start with 120-grit to remove any remaining finish residue and level the surface, move to 150, then finish with 220-grit for a smooth surface that takes stain evenly. Always sand with the grain, never across it, and wipe thoroughly with a tack cloth before moving to the next step. Any dust left behind gets trapped under the new stain and shows as texture in the final finish.
Conditioning and Applying New Stain
A pre-stain wood conditioner matters most on softer or tighter-grained woods (pine, birch, maple) where stain can blotch without it. On oak or other open-grained hardwoods it’s less critical but still cheap insurance. Apply your new stain with the grain, working in manageable sections and wiping off excess with a clean cloth for even color, then let it cure fully per the can’s instructions before sealing.
Sealing and Reattaching Hardware
Two to three coats of a durable topcoat (a spar urethane if the door sees any weather exposure, standard polyurethane for an interior door) protects the new finish and stands up to daily handling. Let each coat cure fully and scuff-sand lightly between coats for the best adhesion. Reattach hardware only once the final coat has fully cured, not just dried to the touch, or you risk marring the fresh finish.
Alternative Stripping Methods
A heat gun can lift thick old finish without any chemicals at all, but it takes practice to avoid scorching the wood, and it doesn’t work as well in tight panel details as a gel stripper does. Straight sanding alone works for a thin finish but is genuinely brutal and slow on a door with multiple old coats, and it generates far more dust. For most doors, a chemical stripper followed by light sanding is the more practical middle ground.
Troubleshooting Common Issues
Stubborn dark spots that won’t strip out: these are usually stain that’s soaked into the wood grain itself, not just sitting in the finish. Extra scraping won’t fix it. An oxalic acid wood bleach treatment after stripping can lighten deep, set-in discoloration.
Gouges or dents revealed after stripping: a stainable wood filler handles these before you restain, but expect the filled spot to take stain slightly differently than the surrounding solid wood. Test on a scrap piece if the color match matters.
Frequently Asked Questions
How can I remove stain from a wood door?
Apply a citrus or soy-based chemical stripping gel, let it soften the old finish, scrape it off with the grain, neutralize the residue, then sand to bare wood before applying a new stain.
Is sanding necessary when stripping stain from wood?
Yes. Even after a thorough chemical strip, sanding removes leftover residue and old stain in the grain, and creates the smooth, open surface a new stain needs to absorb evenly.
Can I use chemical strippers on all types of wood doors?
Most solid wood doors handle chemical stripping fine. Be more cautious with veneer doors, since aggressive scraping or oversanding can cut through a thin veneer layer.
How long does it take to strip stain from a wood door?
A single coat of finish might take an afternoon start to finish. Multiple old finish layers, or a door with a lot of carved detail, can take a full day or more including drying and sanding time.
Sponsored / affiliate links. As an Amazon Associate I earn from qualifying purchases. I may earn additional commission from eligible campaigns.