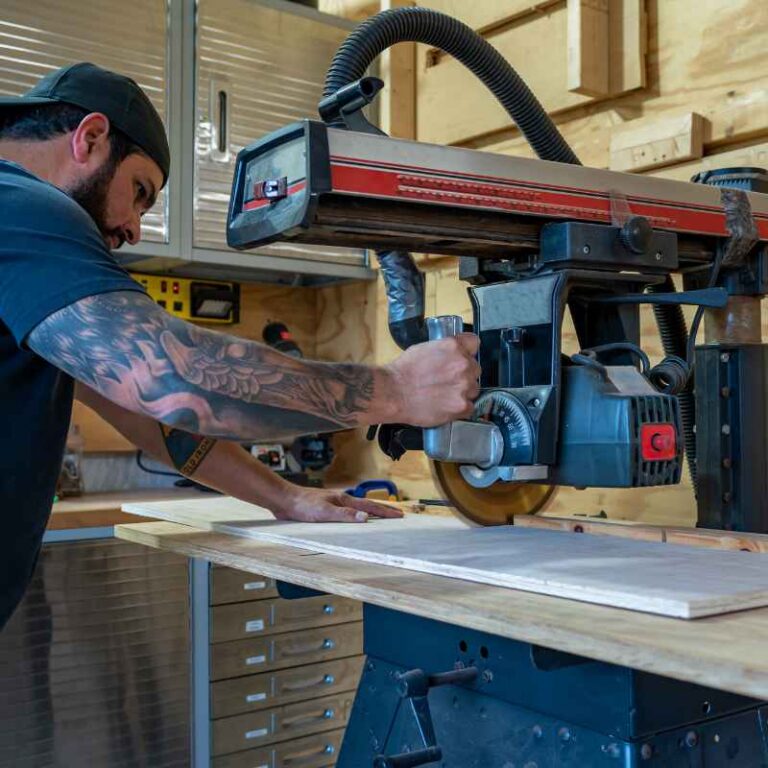
How to Waterproof Wood Seams: Ultimate DIY Guide
To waterproof wood seams, use a waterproof wood glue or epoxy resin to seal the joints effectively. Applying a waterproof sealant or varnish on the wood surface can also help prevent water penetration.
Wooden furniture, outdoor decking, and boat construction often require waterproofing to protect the wood from moisture and extend its lifespan. Water can seep into the seams of wood, causing swelling, warping, and rotting over time. Properly waterproofing wood seams is essential to maintain the structural integrity and appearance of wood-based products.
In this blog, we will explore effective methods for waterproofing wood seams, including the use of sealants, adhesives, and protective coatings. Additionally, we will discuss the importance of regular maintenance to ensure long-term waterproofing effectiveness.
Introduction To Waterproofing Wood Seams
Waterproofing wood seams is essential to protect against moisture damage. Learn how to effectively waterproof wood seams and ensure the longevity of your wooden surfaces.
Wood is a versatile and natural material commonly used in various construction and woodworking projects. While wood is durable, it is susceptible to moisture damage. To protect wooden structures and items from water-related issues, it is crucial to waterproof the seams and joints effectively. In this article, we will explore the importance of waterproofing wood seams, the common challenges associated with it, and practical solutions to ensure long-lasting protection.
Why Waterproofing Is Essential
Wood is prone to rot, warping, and deterioration when exposed to moisture. Waterproofing prevents these issues, extending the lifespan of wood items. Properly sealed wood seams also safeguard against mold and mildew growth, maintaining a healthier environment. Additionally, waterproofing enhances the aesthetic appeal of wood by preserving its natural beauty.
Common Challenges
Weather changes, temperature fluctuations, and exposure to the elements pose challenges to maintaining waterproof wood seams. Inadequate sealing can lead to water infiltration, causing damage over time. Furthermore, wooden items such as outdoor furniture and decks are constantly exposed to moisture, making them vulnerable to decay if not properly waterproofed.
By addressing these challenges, you can ensure that your wood items remain in optimal condition for years to come.
Types Of Wood That Need Waterproofing
The types of wood that need waterproofing can vary depending on their usage and susceptibility to moisture damage. Understanding the specific varieties that are prone to moisture damage and the difference between indoor and outdoor usage is crucial for effectively waterproofing wood seams.
Indoor Vs. Outdoor Usage
When it comes to indoor usage, certain types of wood may not require waterproofing as they are less exposed to direct moisture. However, for outdoor usage, all wood types need to be protected from moisture to prevent damage.
Varieties Prone To Moisture Damage
Wood varieties such as cedar, teak, and redwood are naturally resistant to moisture and decay, making them suitable for outdoor use. On the other hand, pine, fir, and spruce are more prone to moisture damage and require effective waterproofing to prolong their lifespan.
Materials And Tools Required
To waterproof wood seams, you will need materials such as a waterproof sealant, sandpaper, and a paintbrush. Additionally, you will require tools such as a putty knife, a caulking gun, and a heat gun. Follow the instructions provided with the sealant to ensure proper application and drying time.
To effectively waterproof wood seams, you need the right materials and tools. This section will outline the essential items you’ll need to complete the job successfully.
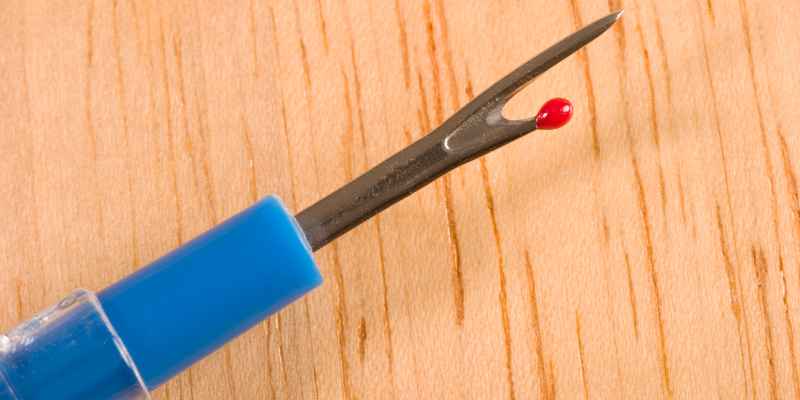
Choosing The Right Sealant
When it comes to choosing the right sealant for waterproofing wood seams, consider using marine-grade sealants.
Essential Tools For The Job
Here are the essential tools you will need to waterproof wood seams:
– Paintbrushes: For applying the sealant.
– Sandpaper: To smooth the surface of the wood.
– Caulking gun: For precise application of sealant.
– Clean cloth: To wipe off excess sealant.
– Protective gloves: To protect your hands.
– Safety goggles: To protect your eyes from splashes.
– Masking tape: For clean edges while sealing.
Ensure you have these tools handy before starting the waterproofing process.
Preparing The Wood Surface
Preparing the wood surface is the first step in waterproofing wood seams. If not done correctly, the waterproofing process will not work efficiently. The aim of this process is to clean and sand the wood to ensure better adhesion of the waterproofing material.
Cleaning The Wood
Cleaning the wood is essential to remove any dirt, dust, or debris that may interfere with the waterproofing process. Here is how to clean the wood:
- Use a soft-bristled brush or a cloth to remove any debris or dirt from the wood surface
- Use a wood cleaner to remove any stains, mildew, or molds on the wood surface
- Rinse the wood surface with water and allow it to dry completely before proceeding to the next step
Sanding For Better Adhesion
Sanding the wood surface is crucial to create a smooth and even surface for better adhesion of the waterproofing material. Here is how to sand the wood:
- Use a sandpaper with grit between 80 to 120 to sand the wood surface
- Sand the wood surface in the direction of the wood grain
- Use a sanding block or an orbital sander to ensure an even sanding
- Clean the wood surface to remove any debris or dust created during sanding
Once the wood surface is cleaned and sanded, it is ready for waterproofing. By preparing the wood surface correctly, you can ensure the waterproofing material adheres well to the wood surface, increasing its durability and lifespan.
Applying The Sealant
When it comes to waterproofing wood seams, applying the sealant is a crucial step. This is where you’ll want to pay close attention to detail to ensure that the sealant is applied evenly and that tight seams are properly sealed.
Techniques For Even Application
One of the most important aspects of applying the sealant is ensuring that it is applied evenly. Here are a few techniques to keep in mind:
- Use a high-quality brush or roller to apply the sealant. This will help ensure that the sealant is evenly distributed.
- Apply the sealant in thin, even layers. This will help prevent the sealant from clumping or running.
- Work in small sections to ensure that the sealant is evenly applied.
Tips For Sealing Tight Seams
When sealing tight seams, it’s important to use a sealant that is designed specifically for this purpose. Here are a few tips to keep in mind:
- Use a sealant that is flexible and can expand and contract with the wood. This will help prevent the sealant from cracking over time.
- Apply the sealant generously to ensure that all of the seams are properly sealed.
- Use a putty knife to press the sealant into the seams and ensure that it is properly sealed.
By following these techniques and tips, you can ensure that the sealant is applied evenly and that tight seams are properly sealed. This will help prevent water damage and ensure that your wood surfaces stay looking great for years to come.
Drying And Curing Time
To waterproof wood seams, it’s important to allow sufficient time for drying and curing. This process can take anywhere from a few days to a few weeks, depending on the type of sealant used. It’s crucial to follow the manufacturer’s instructions for best results.
How Long To Wait
When it comes to waterproofing wood seams, one crucial aspect to consider is the drying and curing time. This is the period during which the waterproofing product needs to dry and harden properly to ensure maximum effectiveness. Waiting for the appropriate amount of time is essential to achieve the desired results. Let’s delve into how long you should wait before considering your wood seams properly dried and cured.
Ensuring Proper Curing
Properly curing the waterproofing product is essential for long-lasting protection against moisture. Here are some key factors to keep in mind to ensure proper curing:
- Follow the manufacturer’s instructions: Different waterproofing products may have varying drying and curing times. Always refer to the manufacturer’s guidelines for specific recommendations.
- Allow sufficient time: Generally, it is recommended to wait at least 24 to 48 hours for the waterproofing product to fully cure. This duration may vary depending on factors such as humidity levels, temperature, and the type of product used.
- Avoid premature exposure: Avoid exposing the wood seams to excessive moisture or harsh weather conditions during the curing process. Premature exposure can compromise the effectiveness of the waterproofing product.
- Test for dryness: Before subjecting the wood seams to any moisture, perform a simple test to ensure the waterproofing product has fully dried and cured. Press a finger lightly on the surface; if it feels tacky or leaves a mark, it needs more time to cure.
By following these guidelines and allowing sufficient time for the waterproofing product to dry and cure, you can ensure the longevity and effectiveness of your wood seams’ waterproofing.
Maintenance And Care
To waterproof wood seams, apply a quality sealant and ensure even coverage for lasting protection. Regularly inspect and reseal seams to prevent water damage and maintain the wood’s integrity over time. Proper maintenance and care will help extend the lifespan of your wooden surfaces.
Routine Checks For Wear
Regularly inspect wood seams for signs of damage.
Look for cracks, gaps, or peeling sealant.
- Use a flashlight for thorough examination.
- Check after heavy rain or extreme weather.
Reapplying Sealant When Necessary
Apply new sealant as soon as wear is spotted.
Remove old sealant before reapplying a fresh coat.
- Clean the seam with a mild detergent solution.
- Dry the area completely before application.
Troubleshooting Common Issues
To troubleshoot common issues with waterproofing wood seams, start by identifying the areas of concern. Clean the seams thoroughly and apply a waterproof sealant, ensuring complete coverage to prevent water damage. Regular maintenance and reapplication of the sealant will help maintain the wood’s integrity over time.
Dealing With Peeling And Flaking
If you notice peeling or flaking after waterproofing, remove the affected area. Apply a primer before resealing to prevent future issues.
Fixing Leaks After Application
Inspect for leaks after waterproofing wood seams. Identify the source and reapply sealant as needed for a lasting solution.

Frequently Asked Questions
How Do You Waterproof Wood Seams?
To waterproof wood seams, start by cleaning the surface thoroughly. Then, apply a waterproof sealant or wood glue to the seams, making sure to cover them completely. Allow the sealant to dry completely before testing the waterproofing. Repeat the process if necessary for maximum protection against water damage.
What Is The Best Sealant For Wood Seams?
The best sealant for wood seams is a silicone-based sealant. Silicone sealants are known for their excellent waterproofing properties and flexibility, making them ideal for sealing wood seams. Look for a high-quality silicone sealant specifically designed for use on wood surfaces to ensure the best results.
Can I Use Caulk To Waterproof Wood Seams?
Yes, caulk can be used to waterproof wood seams. However, it is important to choose a caulk that is specifically designed for use on wood surfaces. Look for a caulk that is waterproof and flexible, as this will provide the best protection against water damage and ensure a long-lasting seal.
How Often Should I Waterproof Wood Seams?
The frequency of waterproofing wood seams depends on various factors such as the type of wood, exposure to moisture, and weather conditions. As a general rule, it is recommended to waterproof wood seams every 1-3 years or as needed. Regular inspections should be conducted to identify any signs of water damage and take necessary precautions accordingly.
Conclusion
Waterproofing wood seams is essential for durability and longevity. By following the right steps and using quality sealants, you can protect your wood surfaces effectively. Remember to choose the appropriate method based on your project needs for optimal results and enjoy the benefits of waterproofed wood.