Outdoor Wood-Fired Pizza Oven Guide: Setup, Safety & Picks
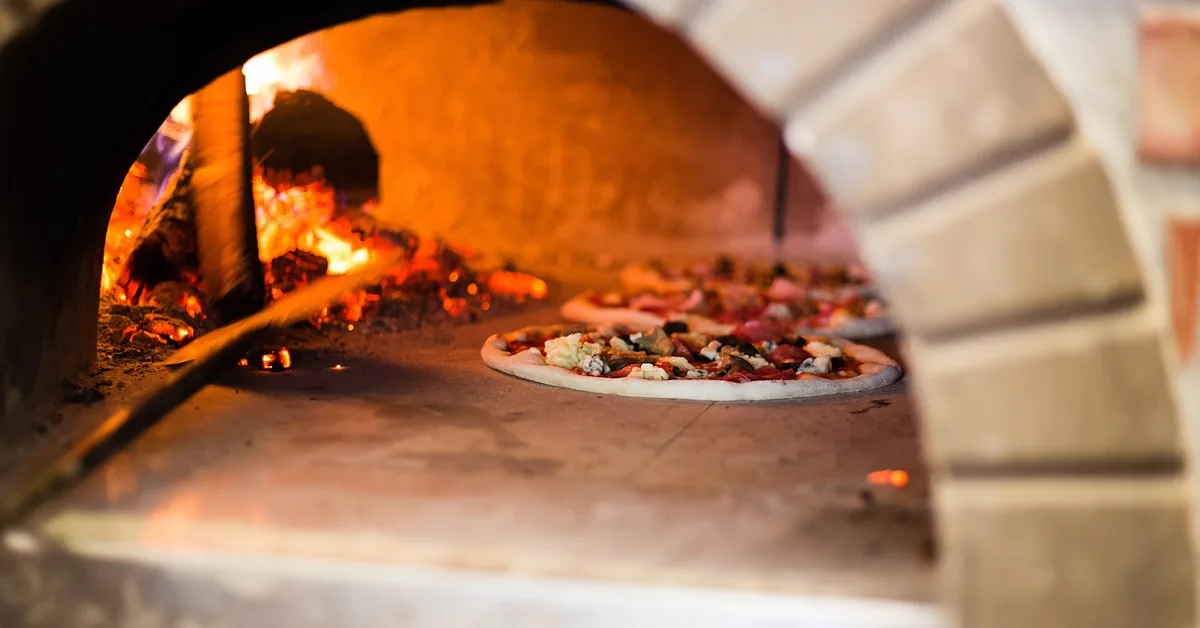
A wood-fired pizza oven reaching 800–950°F can cook a Neapolitan-style pie in about 90 seconds — but placing one too close to your house is the most common setup mistake. Skip proper clearance and you risk scorched siding or a real structure fire. This guide covers picking the right size and fuel type, the actual clearance distances fire-safety standards require, and how to season, cook with, and maintain your oven once it’s running. For more on the category, see our wood-burning solutions hub.
Quick Answer
Pick an oven with at least a 12–13 inch cooking floor for family-size pizzas, keep it a minimum of 10 feet from your house or any wooden structure (36 inches minimum from combustible walls per NFPA 211), and always set it on a non-combustible base — never directly on a wood deck.
Choosing the Right Wood-Fired Pizza Oven
Best Outdoor Wood-Fired Pizza Oven Pick
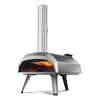
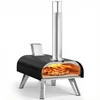
Ooni Karu 12 Multi-Fuel Outdoor Pizza Oven
Burns wood or charcoal and reaches up to 950°F, cooking a 12-inch pizza in about 60–90 seconds once fully heated.
- Best for: Couples or small families who want authentic wood-fired flavor without a masonry build
- Why we picked it: Reaches true pizzeria temperatures fast and stays portable enough to store between uses
- Main drawback: 12-inch floor means cooking one pizza at a time for a crowd
Compare more outdoor wood-fired pizza oven options
 Option 1 PIZZELLO 16″ 2-Layer Wood Fired Oven
|
 Option 2 BIG HORN 12″ Multi-Fuel Oven
|
 Option 3 Ooni Karu 12 Multi-Fuel Outdoor Pizza Oven
|
As an Amazon Associate we earn from qualifying purchases.
Pizza ovens are a fantastic addition to any outdoor space, letting you turn out restaurant-quality pies in your own backyard. Before you buy, weigh three things: fuel type, size and capacity, and how the oven is built. Rather build your own from brick? Our step-by-step wood-burning pizza oven build guide walks through the full masonry project.
Fuel Options
Wood-fired is an oven type that burns hardwood splits or chunks to reach very high stone temperatures. It delivers the traditional smoky, charred-crust flavor purists want, but it takes longer to reach temperature and requires active fire management throughout the cook. Multi-fuel ovens add a gas burner attachment for faster, more consistent heat when you want convenience, while keeping the option to burn wood when you want the flavor — our wood species guide breaks down which hardwoods burn hottest.
Size and Capacity
Match the oven to how you’ll actually use it. A 12-inch cooking floor fits one personal pizza at a time and suits a couple cooking casually. A 16-inch or larger floor lets you rotate two pies back-to-back — the better choice if you’re regularly feeding four or more people or hosting backyard pizza nights.
Material and Construction
Stainless steel bodies with ceramic-fiber insulation heat up fastest (often under 20 minutes) and are the lightest to move. Traditional brick and clay-dome ovens hold heat longer once fully saturated, which matters if you’re cooking bread or roasts after the pizzas are done, but they take an hour or more to preheat and can’t be relocated.
How Far Should a Wood-Fired Pizza Oven Be From Your House?
This is the step most first-time buyers skip, and it’s the one with real fire-safety consequences. The National Fire Protection Association’s NFPA 211 standard — the standard fire departments and inspectors use for solid-fuel-burning appliances — requires a minimum of 36 inches (3 feet) of clearance between an unlisted wood-burning appliance and any combustible wall or structure, measured from the sides and rear of the unit.
📊 36 inches minimum clearance from combustible walls for an unlisted solid-fuel appliance — Source: NFPA 211, Standard for Chimneys, Fireplaces, Vents, and Solid Fuel-Burning Appliances
That 36-inch figure is a legal floor, not a comfortable working distance. In practice, most fire departments and oven manufacturers recommend at least 10 feet of open clearance from your house, a detached garage, a wood fence, or a storage shed — plus a minimum of 3 feet of open overhead clearance above the chimney so smoke and sparks can vent freely. Suburban municipalities frequently require 10–15 feet from property lines for permanent installations, and most require a permit once the oven is a fixed structure rather than a portable countertop unit — check with your local building or fire department before you pour a slab. Keep a Class A fire extinguisher within reach any time the oven is lit.
- Combustible wall or fence (sides/rear): 36 inches minimum (NFPA 211 floor) — 6–10 feet is the safer practical distance
- House, garage, or shed: 10 feet minimum recommended by most fire departments
- Overhead (patio cover, eaves, tree branches): 3 feet minimum open clearance
- Property line (permanent installs): 10–15 feet, confirm with your local code office
Never place a wood-fired oven directly on bare wood decking. Wood begins to char and degrade at temperatures as low as 300°F with prolonged exposure — long before it visibly ignites — and a loaded pizza oven can radiate well past that into the decking beneath it. If a wood deck is your only option, set the oven on a reinforced paver pad or purpose-built heat shield that extends at least 12 inches beyond the oven’s footprint on every side, and check your owner’s manual for the manufacturer’s specific deck clearance rating.
“Kiln-dried oak or hickory splits about the width of two fingers give the most even 800°F+ heat without smothering the fire — thicker splits smolder, choke the flame, and leave a bitter, sooty taste on the crust.”
Preparing the Outdoor Space
Selecting the Location
Pick a spot that meets the clearance distances above, sits on level ground, and is downwind of seating areas, open windows, and patio furniture cushions so smoke drifts away from where people gather.
Building a Base
The oven needs to sit on a solid, level, non-combustible surface rated for its full loaded weight — a reinforced concrete slab, paver patio, or a properly built masonry base are the standard choices, similar to the base you’d use under Class A fire-rated decking. If you’re placing a lighter countertop-style oven on an existing wood deck or table, use a heat-resistant pad rated for direct-flame appliances, not a decorative trivet, and keep it clear of the 12-inch overhang rule above.
Ensuring Proper Ventilation
Keep the chimney’s overhead path clear of patio covers, pergola slats, or low tree branches for at least 3 feet so smoke and embers vent straight up instead of collecting under a roofline.
Using a Wood-Fired Pizza Oven
Preheating the Oven
Build a small fire toward the back or side of the floor and let it climb gradually — a stainless steel oven typically reaches cooking temperature in 15–20 minutes, while a brick or clay dome can take 45–60 minutes to fully saturate. The floor is ready when it looks pale gray rather than blackened with soot.
Preparing the Dough
A high-hydration dough (around 65–70% water to flour by weight) handles the intense, fast heat of a wood-fired oven better than a stiffer dough, producing the airy, leopard-spotted crust these ovens are known for.
Choosing the Right Ingredients
Because a wood-fired pizza cooks in 60–90 seconds, keep toppings light and pre-cooked where needed — raw chicken or dense vegetables won’t cook through in that window, but thin-sliced cured meats, fresh mozzarella, and quick-wilting greens work well.
Mastering the Art of Toppings
Go light on sauce and cheese — an overloaded pie steams instead of crisping in the short cook time, leaving a soggy center.
Cooking and Rotating Pizzas
Turn the pizza a quarter turn every 15–20 seconds with a metal peel so the side facing the fire doesn’t scorch before the rest catches up — wood-fired ovens heat unevenly by design, and rotation is what keeps the crust even.
Wood-Fired vs. Gas vs. Multi-Fuel: Which Should You Buy?
All three reach pizza-cooking temperatures, but they trade off differently on flavor, convenience, and learning curve.
| Fuel Type | Flavor | Learning Curve | Best For |
|---|---|---|---|
| Wood-fired | Authentic smoky char | Steepest — requires active fire tending | Purists who enjoy the process as much as the pizza |
| Gas | Clean, mild | Easiest — dial-in temperature and go | Weeknight use and consistent results with minimal fuss |
| Multi-fuel | Adjustable — wood flavor when you want it | Moderate | Buyers who don’t want to commit to one fuel type |
Maintaining and Cleaning the Oven
Removing Ashes and Debris
Let ashes cool completely (up to 24 hours) before scooping them into a metal, lidded container — never plastic or paper, since embers can smolder for hours under a layer of ash.
Scraping the Oven Surface
Once the floor has cooled, scrape off baked-on flour and char with a stiff brass brush rather than steel wool, which can scratch cordierite or refractory stone.
Cleaning the Chimney
Check the chimney for creosote buildup every few months of regular use — the same buildup that causes chimney fires in wood stoves can accumulate here, especially if you burn unseasoned wood.
Seasoning the Oven
New brick or clay ovens need a slow curing schedule — small fires over several days, gradually increasing heat — to drive out residual moisture without cracking the dome. Stainless steel ovens skip this step and are ready on the first firing.
Troubleshooting Common Issues
Overheating or Underheating
If the floor is scorching the bottom crust before the top melts, the stone is too hot — let it drop 50–75°F between pies. If pizzas take longer than 3 minutes, add more wood and let the fire rebuild before continuing.
Uneven Cooking or Charring
Rotate more frequently (every 10–15 seconds instead of 20) and keep the fire toward one side rather than centered, which creates a more even ambient heat across the floor.
Smoke and Soot Problems
Heavy white smoke usually means the wood is too green or damp — switch to kiln-dried splits with under 20% moisture content, which burn cleaner and hotter.
Dealing with Cracked or Damaged Parts
Hairline cracks in a brick or clay dome are common and usually cosmetic; they typically don’t affect performance unless they extend through the full wall thickness. Have deep or widening cracks inspected before your next firing.
Frequently Asked Questions
What is the best wood for an outdoor pizza oven?
Kiln-dried hardwoods — oak, hickory, maple, and pecan — are the best choice. They burn hotter and longer than softwoods like pine, and kiln-dried splits (under 20% moisture) light faster and produce far less smoke than green or air-dried wood.
Are wood-fired pizza ovens better than gas?
Neither is universally “better” — wood delivers a smokier, more authentic char that gas can’t fully replicate, but gas is faster to light, easier to control, and requires no fuel storage or ash cleanup. Choose wood if the process matters as much as the result; choose gas for weeknight convenience.
Can you put a pizza oven on a wooden deck?
Not directly. Wood decking can char at temperatures as low as 300°F with prolonged heat exposure, well before the wood ignites outright. If you must use a deck, place the oven on a reinforced paver pad or heat shield extending at least 12 inches beyond the oven on all sides, and confirm your model’s specific deck clearance in the owner’s manual.
Are wood-fired pizza ovens safe to use near a house?
Yes, when placed correctly. NFPA 211 sets a 36-inch minimum clearance from combustible walls, but most fire departments and manufacturers recommend at least 10 feet from your house for comfortable, safe operation, plus 3 feet of open overhead clearance for smoke to vent.
Do you need a permit for a wood-fired pizza oven?
Often, yes, for a permanent masonry installation — many municipalities require a building or fire permit once the oven becomes a fixed structure, along with minimum setbacks from property lines. Portable countertop units usually don’t require a permit, but check your local code office to be sure.
How long does a wood-fired pizza oven take to heat up?
A stainless steel oven typically reaches cooking temperature in 15–20 minutes. A brick or clay dome oven takes 45–60 minutes to fully saturate the stone and dome for even, retained heat.
Get the clearance and base right first, then dial in fuel and technique — that order keeps your setup safe and your pizzas consistent from the very first firing.
Sponsored / affiliate links. As an Amazon Associate I earn from qualifying purchases. I may earn additional commission from eligible campaigns.