How to Make Plywood Furniture: Grades, Joinery, and Finishing
Plywood makes strong, stable furniture because its cross-laminated layers resist the warping solid lumber is prone to — but only if you match the plywood grade and thickness to the piece you’re building. A bookshelf shelf sagging under books usually means 1/2-inch was used where 3/4-inch was needed. This guide covers grade and thickness selection, the joinery methods that actually hold on sheet stock, and the edge-finishing step most beginners skip.
Quick Answer
Use 3/4-inch furniture-grade plywood (A or B face) for load-bearing pieces like shelves, tables, and cabinets, and 1/2-inch for drawer sides or lightweight panels. Join panels with pocket screws or dados rather than butt joints and edge nails, then seal every cut edge with iron-on edge banding or wood filler before finishing — raw plywood edges are the first place a build looks unfinished.
Choosing the Right Plywood
Best Pocket-Hole Jig Pick
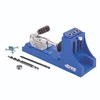
Kreg K4 Pocket Hole Jig
The standard adjustable jig for joining plywood panels with hidden, glue-free-strong pocket screws instead of visible face screws or nails.
- Best for: joining plywood carcasses, shelves, and face frames without visible fasteners
- Why we picked it: adjustable drill guide covers 1/2″ to 1-1/2″ stock, matching every thickness in the table above
- Main drawback: takes up bench space; a benchtop clamp base is worth adding separately
Compare more pocket-hole jig options
 Option 1 Kreg R3 Jr. Pocket-Hole Jig
|
 Option 2 VEVOR 34-Pc Pocket Hole Jig Kit
|
 Option 3 Kreg 720PRO Pocket-Hole Jig
|
As an Amazon Associate we earn from qualifying purchases.
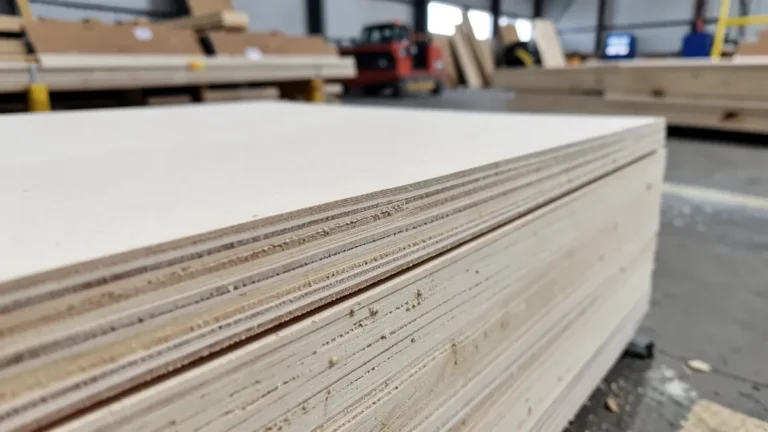
The plywood you buy for furniture is graded by face veneer quality, not just thickness, and mixing up the two is the most common beginner mistake. Two letters stamped on the sheet edge (A/A, B/BB, A/C, etc.) tell you the quality of each face — the first letter is the “good” side you’ll show, the second is the back.
Understanding Plywood Grades
Furniture-grade plywood is hardwood plywood (birch, maple, or oak-faced) graded for a smooth, mostly knot-free show face. It costs more than construction-grade sheathing but takes stain and paint evenly and doesn’t telegraph voids through a thin veneer. For any piece where the surface will be seen — a bookshelf, a tabletop, a cabinet door — furniture-grade is worth the price difference.
- A-grade face: smooth, sanded, virtually no knots or patches — use for visible surfaces
- B-grade face: tight knots and some football-shaped patches allowed — fine for painted pieces
- C/D-grade face: open knots and patches, sanding not guaranteed — back panels and hidden structure only
Baltic birch plywood is worth calling out separately: it has void-free interior plies and a consistent 13+ layer cross-lamination, which makes it the strongest option for joinery-heavy pieces like drawer boxes, even though it’s sold in metric sheet sizes (5×5 ft rather than 4×8 ft) at most lumberyards.
Selecting the Right Plywood Thickness by Project
Thickness is a structural decision, not an aesthetic one. Undersized plywood on a shelf or tabletop sags under real-world load within months. The table below is the reference most beginner guides skip — a direct thickness-to-application match instead of a vague “use thicker for bigger projects.”
| Thickness | Best Use | Unsupported Span Limit |
|---|---|---|
| 1/4″ | Drawer bottoms, cabinet backs, decorative panels | Not load-bearing |
| 1/2″ | Drawer sides, small shelving, jig bases | Up to ~18″ |
| 3/4″ | Bookshelves, tabletops, cabinet carcasses, bed frames | Up to ~32″ with edge support |
| 1″+ | Workbenches, heavy-load shelving, countertops | 36″+ with center support |
As a rule of thumb, any shelf spanning more than about 30 inches unsupported should be 3/4-inch or thicker, or it needs a face-frame or edge-banding strip to stiffen the front edge. This is also where joining two sheets edge to edge comes up for wider pieces than a single 4×8 sheet allows.
Designing Your Plywood Furniture
Exploring Design Inspirations
Plywood’s flat, uniform surface is well suited to clean-lined, mid-century-modern and minimalist furniture styles — simple geometric shelving, slab-sided cabinets, and exposed-edge tables that treat the plywood layers themselves as a design feature rather than something to hide. For specific project plans rather than the techniques covered here, see our 10 DIY plywood furniture plans for step-by-step builds like bookshelves, coffee tables, and storage cubes.
Customizing for Functionality
Before cutting, sketch the piece with its actual use in mind: a bookshelf needs shelf spacing sized to your tallest books, a desk needs clearance for a chair and cable routing, and any storage piece benefits from adjustable shelf pins rather than fixed dado shelves if your needs might change. Small design decisions made on paper are far cheaper to fix than decisions made after the first cut.
Essential Tools and Materials
Gathering the Necessary Tools
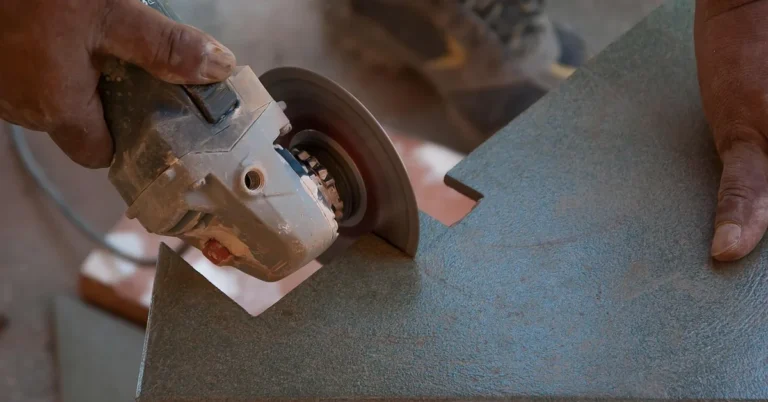
- Circular saw or table saw with a fine-tooth (60+ tooth) plywood blade to prevent splintering
- Straightedge guide or track saw for long, straight rip cuts
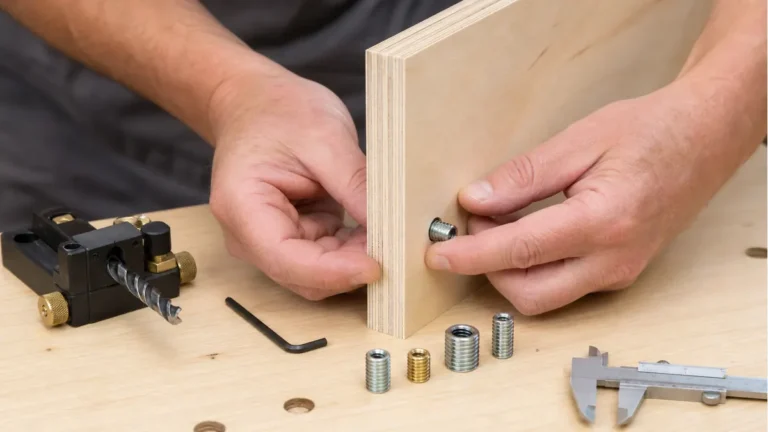
- Drill/driver and a pocket-hole jig for hidden, strong joinery
- Random orbit sander (120-grit, then 220-grit)
- Iron-on edge banding and a household iron, or a router with an edge-banding bit
- Wood glue and clamps
If a project calls for cuts wider than your saw’s capacity, most home centers will make the initial breakdown cuts for a small fee — useful for getting a full 4×8 sheet down to manageable panels before fine-tuning dimensions at home.
Choosing the Right Hardware and Finishing Materials
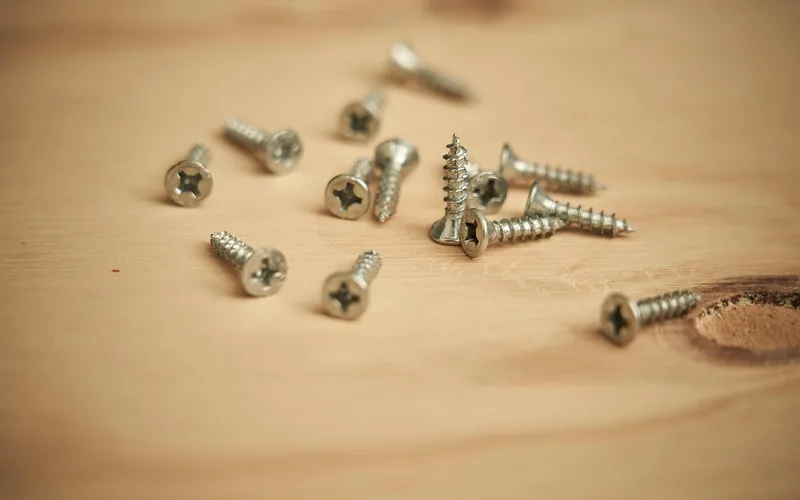
Use coarse-thread wood screws or pocket screws sized to the plywood thickness (1-1/4″ pocket screws for 3/4″ stock is the standard pairing). For finish, sanding sealer followed by two coats of water-based polyurethane protects both the face veneer and the exposed edge banding from moisture without yellowing over time the way oil-based finishes can.
Assembling Your Plywood Furniture
Understanding Joinery Techniques
Plywood’s cross-laminated layers hold screws better than solid wood end grain, but the joint method still determines whether a piece holds up under real use. The comparison below is what most plywood furniture guides skip entirely — picking the wrong joint for the load is the difference between a shelf that lasts years and one that racks loose within months.
| Joint Type | Strength | Best For | Skill Level |
|---|---|---|---|
| Pocket screws | Strong, hidden | Carcasses, face frames, shelves | Beginner |
| Butt joint + glue/screws | Moderate | Non-visible internal supports | Beginner |
| Dado/rabbet joint | Very strong | Shelves into sides, drawer boxes | Intermediate |
| Biscuit joint | Strong, self-aligning | Edge-to-edge panel glue-ups | Intermediate |
| Dovetail (machine-cut) | Strongest, decorative | Drawer boxes, fine furniture | Advanced |
For most furniture builds, pocket screws and dado joints cover nearly every situation: pocket screws for fast, hidden assembly of carcasses and face frames, dados where a shelf needs to be locked into a side panel without relying on fasteners alone.
Tips for Proper Assembly
- Dry-fit first: assemble every joint without glue to confirm square and correct panel order before committing.
- Pre-drill near edges: plywood’s outer veneer can chip out without a pilot hole within about an inch of an edge.
- Clamp before driving screws: this keeps panels flush and prevents the screw from pulling the joint out of alignment.
- Check for square: measure both diagonals of any box frame — equal measurements confirm a true square corner.
- Glue plus mechanical fastener: wood glue alone isn’t enough on plywood edges; pair it with screws or a dado for load-bearing joints.
Finishing Touches and Maintenance
Applying a Durable Finish
Sand progressively from 120-grit to 220-grit, vacuum the dust, then apply a sanding sealer before your topcoat — plywood face veneer is thin, so skipping the sealer can cause blotchy stain absorption. Raw plywood edges must be covered before finishing: iron-on edge banding is the fastest fix for exposed ply layers on shelves and tabletops, and it’s the single detail that separates a finished-looking piece from an obviously DIY one.
In our own shop builds, a water-based polyurethane topcoat on birch plywood shelving has held up for years indoors without yellowing, while an oil-based version on the same material noticeably ambered within the first winter.
Maintaining and Caring for Your Plywood Furniture
Keep finished plywood furniture away from standing moisture — a wiped-up spill is fine, but a wet glass left overnight can delaminate the face veneer at the edge. Wipe with a damp (not wet) cloth and a mild cleaner, and if you’re dealing with white rings from moisture already, our guide on removing water rings from wood covers the fix.
Frequently Asked Questions on Plywood Furniture DIY
What thickness of plywood should I use for furniture?
Use 3/4-inch furniture-grade plywood for load-bearing pieces like shelves, tabletops, and cabinet carcasses, and 1/2-inch for drawer sides or lightweight panels that aren’t spanning unsupported distances. Anything under 1/2-inch should be reserved for drawer bottoms and cabinet backs, not structural parts.
Is plywood or solid wood better for furniture?
Plywood resists warping and cupping better than solid wood because its cross-laminated layers cancel out wood movement, and it’s typically less expensive for large flat panels. Solid wood wins for pieces that need to be shaped, carved, or have exposed edges without banding — for flat panels like shelving and cabinet sides, plywood is usually the more practical, budget-friendly choice.
How do you make plywood furniture look less like plywood?
Cover every exposed edge with iron-on edge banding or hardwood edge strips before finishing — raw ply edges are what immediately signal plywood construction. Beyond that, a quality furniture-grade A-face veneer, careful sanding to 220-grit, and a stain or paint applied evenly across the whole piece go a long way toward a finished, non-DIY look.
Can beginners build plywood furniture without a table saw?
Yes — a circular saw with a straightedge guide and a fine-tooth plywood blade can make clean, accurate cuts, and many home centers will make the initial breakdown cuts on a full sheet for a small fee. A table saw makes repeat cuts faster, but it isn’t required to start.
Conclusion
Plywood furniture comes down to three decisions done right: match the grade and thickness to the load, join panels with pocket screws or dados instead of butt joints alone, and cover every exposed edge before finishing. Get those three right and a plywood build holds up as well as solid lumber, at a fraction of the material cost. Browse the full plywood guide hub for sizing, pricing, and cutting reference before your next build.
Sponsored / affiliate links. As an Amazon Associate I earn from qualifying purchases. I may earn additional commission from eligible campaigns.
 Baltic Birch Plywood Sheets Box of 45 - Laser Engraving Cutting, Scroll Saw Nature Veneer Color, Stronger Than Basswood, A/A Grade,12 x 12 x 1/8”, 3mm Thickness Perfect for Wood Burning
 Baltic Birch Plywood 1/8'' x 12'' x 18'', 6 Pack, B/BB Grade, Void-Free Core, Laser Cutting Ready, Flat Sheets for CNC, Engraving, DIY Crafts, Art Painting, Wood Burning, Staining