Glue Wood Trim to a Wall: Nails, Adhesive, or Both?
Construction adhesive like Loctite PL Premium or Liquid Nails bonds wood trim, baseboard, and paneling to drywall, concrete, or brick — but pros still drive a few finish nails while it sets. Skip the nails and heavy or uneven boards can peel loose before the 24-hour cure finishes, especially below 50°F where cure time roughly doubles. This guide covers which adhesive to use, how the adhesive-and-nail method works, and how to remove trim without damaging drywall.
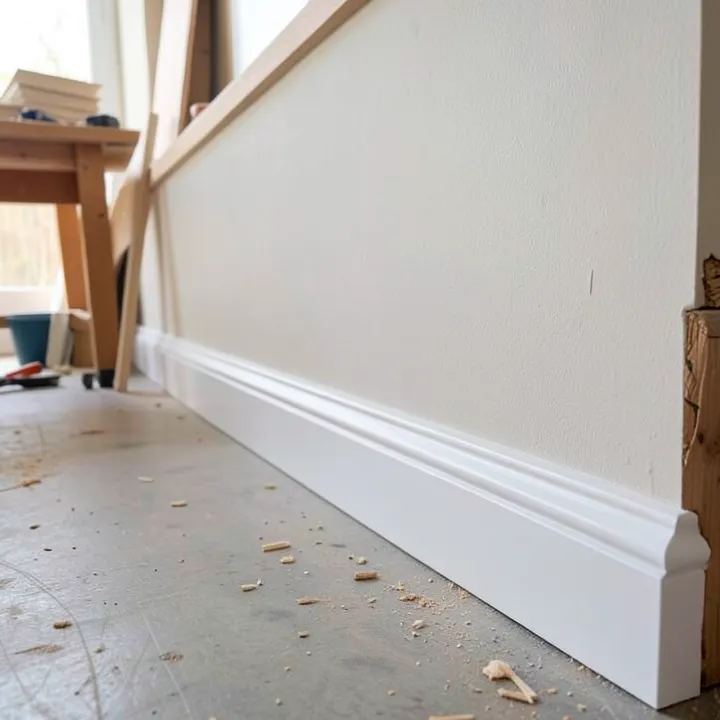
Best Adhesive for Wood Trim, Baseboard & Paneling
Best Wood Trim Adhesive Pick
Loctite PL Premium Construction Adhesive – $6.48
The polyurethane pick from the comparison table above — it’s the one to reach for on uneven trim, masonry substrates, or anywhere a single adhesive needs to handle both drywall and brick in the same project.
- Best for: Heavy or uneven baseboard, and trim that spans drywall into masonry
- Why we picked it: Sets in 30 minutes and cures even in cold garages, matching the temperature caveat covered below
- Main drawback: Not paintable until fully cured, and the tan color shows if squeezed past the trim edge
Compare more trim adhesive options
 Option 1 Liquid Nails Paneling & Molding – $5.99
|
 Option 2 Power Grab Crystal Clear – $12.25
|
 Option 3 Power Grab Express – $6.48
|
As an Amazon Associate we earn from qualifying purchases.
The right adhesive depends on the surface and how visible the glue line will be. For a broader rundown of glue types beyond construction adhesive, see our wood glue buying guide. For trim and molding specifically, the table below compares the four adhesive types that actually hold up.
| Adhesive Type | Best For | Cure Time | Works On |
|---|---|---|---|
| Polyurethane (PL Premium) | Heavy or uneven trim, indoor/outdoor | 30-min initial set, 24-hr full cure | Wood, MDF, drywall, concrete, brick |
| Latex / paneling adhesive (Liquid Nails) | Baseboard & wall paneling, low odor | 24–48 hr | Studs, plywood, drywall, particleboard |
| Crystal-clear grab adhesive | Trim where the glue line must stay invisible | Tack-free fast, 24-hr+ full cure | Painted trim, mirrors, visible edges |
| Fast-grab / express adhesive | Quick tack-up on straightforward jobs | Instant grab, 24–48 hr full cure | Wood, drywall, most porous surfaces |
Glue Alone or Glue-and-Nail? What Pros Actually Do
Glue alone can hold light, flat trim on a smooth wall. But Family Handyman’s trim-carpentry guide recommends running just enough finish nails to hold molding in place while a bead of construction adhesive sets — the adhesive carries the long-term hold, and fewer nails means fewer holes to fill. Here’s the method:
- Dry-fit the trim: Cut and hold each piece in place before any adhesive touches the wall, checking for gaps at corners and seams.
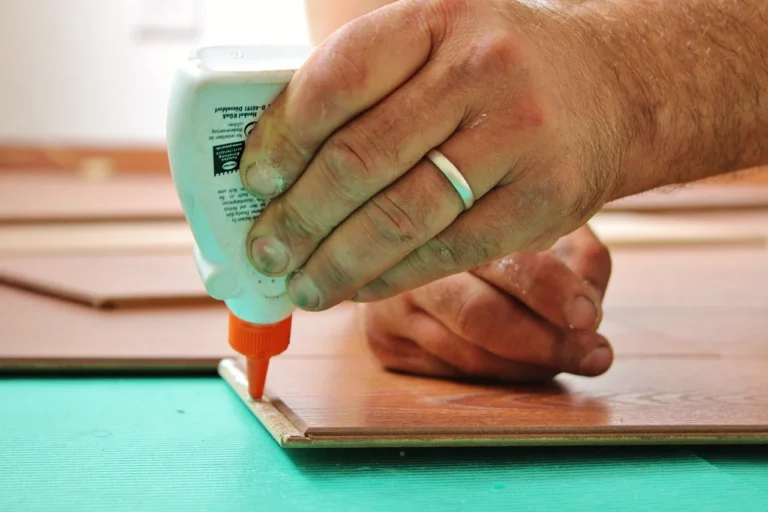
- Apply the adhesive bead: Run a 1/4-inch continuous bead along the back for narrow trim, or a 1/4-inch S-bead about 1 1/2 inches from each edge for trim wider than 2 inches.
- Press and hold: Push the trim firmly against the wall and hold for 5 to 10 seconds to set the initial tack.
- Tack with finish nails: Drive a few finish nails at opposing angles to lock the piece in place while the adhesive cures.
- Brace heavy pieces: Wedge scrap 1x2s against the opposite wall or ceiling to hold long or heavy trim until the bond sets.
- Let it cure fully: Wait at least 24 hours — longer in cold rooms — before caulking gaps or painting over the adhesive line.
“Use just enough nails to hold the trim in place until the adhesive sets — you’ll have fewer nail holes to fill.”
How Long Does Wood Trim Adhesive Take to Dry?
Push the trim into place and hold it for 5 to 10 seconds — that’s enough initial tack to drive a nail into. Full cure is a different number: most construction adhesives need at least 24 hours at 70°F before you caulk or paint the joint, and non-porous surfaces like glossy painted trim can stretch that out to several days.
📊 Construction adhesive cure time roughly doubles at 50°F compared to 70°F — Source: Liquid Nails / PPG dry-time guide, 2026
Gluing Trim to Different Wall Surfaces
Trim goes up on more than just drywall. Match the adhesive to the surface underneath, or the bond fails before the finish nails even get tested.
Drywall
Drywall accepts most construction adhesives well, but avoid gluing over paint less than 30 days old since it can still be releasing moisture. If you’re covering the wall with 4×8 paneling sheets instead of individual trim boards, panel adhesive spreads the load across a wider surface and needs fewer nails per sheet.
Concrete or Masonry
Concrete and masonry need a polyurethane or epoxy-based adhesive that can grip a rough, porous surface — standard latex adhesives often fail here. Pre-drilled masonry anchors add insurance for heavier trim, similar to the anchor methods used when you attach wood to brick without drilling.
Brick
Brick’s uneven, textured face needs an adhesive that can fill gaps rather than one that only bonds flat surfaces — this is where a glue formulated for brick earns its keep over a general-purpose trim adhesive.
Common Mistakes When Gluing Trim to Walls
These are the mistakes that cause glued trim to fail or damage the wall — all avoidable with a five-minute check before you start.
- Using a solvent-based grab adhesive on MDF or veneered trim — it can dissolve the veneer glue layer or the MDF core, so check the label first.
- Skipping surface prep — dust, glossy paint, or wallpaper residue keeps adhesive from grabbing.
- Ignoring cold temperatures — cure time roughly doubles below 50°F, so cold garages and additions need longer bracing time.
- Relying on adhesive alone on long or heavy pieces — without nails or bracing, trim can peel off the wall before the bond fully cures.
- Painting or caulking too soon — the joint isn’t fully cured for 24+ hours, and disturbing it early weakens the bond.
Removing Wood Trim That’s Glued to a Wall
Removing trim that’s been glued down takes more patience than pulling nailed trim, but it’s doable without tearing the drywall paper if you break the adhesive bond in the right order.
Score the Seal First
Run a sharp utility knife along every edge of the trim where paint or caulk meets the wall. Skipping this step is the single biggest cause of torn drywall paper — the paint film pulls a chunk of paper off with it before the adhesive lets go.
Soften and Pry
Warm the glue line with a heat gun on low, working a few inches at a time, then pry gently with a flat bar padded against the wall. Vinegar or a dedicated adhesive remover can help loosen stubborn spots without harsh solvents that might discolor the wall.
Clean Up Residue
Scrape remaining adhesive with a plastic putty knife, then wipe with warm water and a little dish soap. For dried-on residue, a commercial adhesive remover made for walls finishes the job without damaging the paint.
Frequently Asked Questions
Can you glue wood trim to a wall instead of nailing it?
Yes, but most pros still add a few finish nails. Construction adhesive alone can hold light trim on flat drywall, but nails keep the piece from shifting while the adhesive cures and add mechanical strength that adhesive alone doesn’t guarantee on uneven walls.
What adhesive is best for wood trim and molding?
A polyurethane adhesive like Loctite PL Premium bonds wood, drywall, concrete, and masonry and cures even in cold weather. For visible edges, a crystal-clear grab adhesive avoids a dark glue line; for straightforward paneling and baseboard, a latex construction adhesive like Liquid Nails works and cleans up with water.
How long does trim adhesive need to dry before nailing?
Press the trim in place and hold it for 5 to 10 seconds — that’s enough initial tack to nail into. Full cure still takes about 24 hours at 70°F, roughly double that at 50°F, so avoid caulking or painting the joint until then.
Can you remove wood trim that’s glued to a wall without damaging it?
Usually, if you cut through the paint or caulk seal along the edges with a utility knife first, then warm the glue line with a heat gun and pry gently. Skipping the utility-knife step is the most common cause of torn drywall paper during removal.
Does construction adhesive work on painted walls?
Yes, most construction adhesives bond to painted drywall as long as the paint isn’t glossy or peeling — scuff glossy paint lightly first for better grip. Test a small spot, since some solvent-based adhesives can soften certain paint finishes.
Conclusion
Glue alone can hold light, flat trim, but the combination of adhesive and a few finish nails is what actually keeps baseboard, molding, and paneling attached long-term — especially on heavier or uneven pieces. Pick an adhesive rated for your wall surface, give it the full cure time before painting, and score the seal first if you ever need to take it back down.
Sponsored / affiliate links. As an Amazon Associate I earn from qualifying purchases. I may earn additional commission from eligible campaigns.