Your Ultimate Guide to Vinyl Flooring Threshold Strips: Everything You Need to Know
Hey there! If you’re diving into a flooring project or just sprucing up your home, you’ve probably come across vinyl flooring threshold strips. I remember when I first tackled a vinyl flooring project in my own home—it was exciting but also a bit overwhelming. Those little strips that bridge the gap between rooms or flooring types? They’re more important than you might think! Vinyl flooring threshold strips are like the unsung heroes of a seamless, polished floor. They make transitions smooth, safe, and stylish. In this guide, I’m going to walk you through everything I’ve learned about these handy pieces—why they matter, how to choose them, and how to install them like a pro. Let’s get started!
What Are Vinyl Flooring Threshold Strips?
So, what exactly are these threshold strips? Picture this: you’ve got vinyl flooring in your living room, and it meets a tiled kitchen floor. There’s a gap or maybe a height difference between the two. That’s where threshold strips come in. They’re narrow pieces of material—often metal, wood, or vinyl—that cover the space where two flooring types meet. I learned this the hard way when I noticed a rough edge between my vinyl and carpet that kept catching my toes!
These strips do a few key things. They create a smooth transition, so you don’t trip. They protect the edges of your flooring from wear and tear. And let’s be honest—they make the whole setup look clean and professional. Whether it’s vinyl to carpet, vinyl to tile, or even vinyl to vinyl, threshold strips are essential for a polished finish.
Why Do You Need Threshold Strips for Vinyl Flooring?
When I first installed vinyl flooring, I thought, “Do I really need these strips?” Turns out, yes, and here’s why. Vinyl flooring, especially the click-lock or floating types, needs room to expand and contract with temperature changes. Without a threshold strip, you might end up with gaps, buckling, or damaged edges. I once skipped a strip in a low-traffic area, thinking it wouldn’t matter, and within months, the vinyl edge started fraying. Lesson learned!
Threshold strips also make your home safer. Uneven floors or exposed edges can be tripping hazards, especially for kids or older folks. Plus, they keep dirt and moisture from seeping into the gaps, which is a big deal in places like kitchens or bathrooms. And let’s not forget aesthetics—threshold strips give your floors that “wow, this looks professionally done” vibe.
Types of Vinyl Flooring Threshold Strips
Alright, let’s talk about the different types of threshold strips. When I was shopping for my project, I was amazed at how many options there were. Each type serves a specific purpose, so choosing the right one depends on your flooring setup. Here’s a breakdown of the main types I came across:
- T-Molding: This is your go-to for joining two floors of the same height, like vinyl to vinyl or vinyl to laminate. It’s shaped like a “T” and sits neatly in the gap. I used T-molding in my hallway, and it blended perfectly with the vinyl planks.
- Reducer Strips: These are for transitions where one floor is higher than the other, like vinyl to carpet. They have a sloped edge to smooth out the height difference. I found these super helpful when connecting my vinyl kitchen floor to a lower tiled area.
- End Caps (Square Nose): If your vinyl floor ends at a wall, fireplace, or doorway, end caps cover the exposed edge. I used one near my sliding glass door, and it gave the floor a clean, finished look.
- Threshold Strips: These are often used in doorways to transition between rooms or flooring types. They’re wider and can handle slight height differences. I put a threshold strip under my front door, and it made a huge difference in both look and function.
- Carpet Edge Grippers: These are specific for vinyl-to-carpet transitions. They have teeth that grab the carpet edge, keeping it secure. I didn’t need these in my home, but a friend swore by them for her carpeted bedroom.
- Stair Nosing: If you’re installing vinyl on stairs, stair nosing covers the edge of each step. It’s a lifesaver for safety and durability. I added these to my basement stairs, and they’ve held up beautifully.
Here’s a quick table to sum it up:
| Type | Best For | Key Feature |
|---|---|---|
| T-Molding | Same-height floors (vinyl to vinyl) | T-shaped, seamless join |
| Reducer Strips | Different-height floors (vinyl to carpet) | Sloped edge for smooth transition |
| End Caps | Edges against walls or vertical surfaces | Covers exposed flooring edges |
| Threshold Strips | Doorway transitions | Wider, handles slight height gaps |
| Carpet Edge Grippers | Vinyl to carpet | Teeth secure carpet edge |
| Stair Nosing | Vinyl on stairs | Protects step edges, adds safety |
Materials for Vinyl Flooring Threshold Strips
Now, let’s talk materials. Threshold strips come in a bunch of options, and picking the right one can make or break your project’s look. I spent hours comparing materials at the hardware store, so here’s what I found:
- Metal (Aluminum, Brass, Stainless Steel): These are super durable and great for high-traffic areas. Aluminum is lightweight and affordable, while brass adds a touch of luxury. I used a brushed aluminum strip in my kitchen, and it’s held up to years of foot traffic.
- Wood or Wood-Look: These match wood or vinyl floors beautifully. You can stain or paint them to blend in. I went with an oak threshold strip in my living room to match the vinyl’s wood grain, and it looks like they were made for each other.
- Vinyl: Some strips are made from vinyl to match your flooring exactly. These are often flexible and easy to install. I used a vinyl strip in my bathroom because it was waterproof and matched the floor perfectly.
- PVC or Plastic: These are budget-friendly and come in various colors. They’re not as durable as metal but work well in low-traffic areas. I used a PVC strip in a closet, and it’s been fine for light use.
- Rubber: These are less common but great for areas needing extra grip or flexibility, like ramps. I haven’t used rubber strips myself, but I’ve seen them in commercial spaces.
Each material has its pros and cons, so think about your space’s needs—traffic, moisture, and style—before deciding.
How to Choose the Right Threshold Strip
Choosing the right threshold strip can feel overwhelming, but I’ve got you covered with some tips I learned the hard way. First, measure the gap between your floors. I used a tape measure to check the width and height difference between my vinyl and tile floors. This helps you pick the right type and size of strip.
Next, consider the flooring types you’re joining. Vinyl to carpet? Go for a reducer or carpet edge gripper. Vinyl to tile? A T-molding or threshold strip might be best. I made the mistake of buying a T-molding for a height difference once, and it didn’t sit right until I swapped it for a reducer.
Also, think about aesthetics. You want the strip to blend with your flooring. Many vinyl flooring brands sell matching strips, which is what I used for my LifeProof vinyl planks. If you’re mixing materials, choose a color or finish that complements both floors. For example, a silver aluminum strip looks sleek between gray vinyl and white tile.
Finally, check the installation method. Some strips are self-adhesive, which is great for DIYers like me who aren’t pros with a drill. Others need screws or glue. Make sure you’re comfortable with the installation before buying.
How to Install Vinyl Flooring Threshold Strips
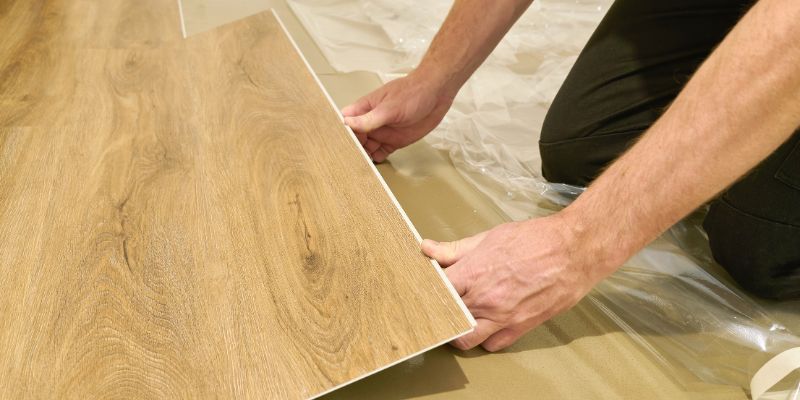
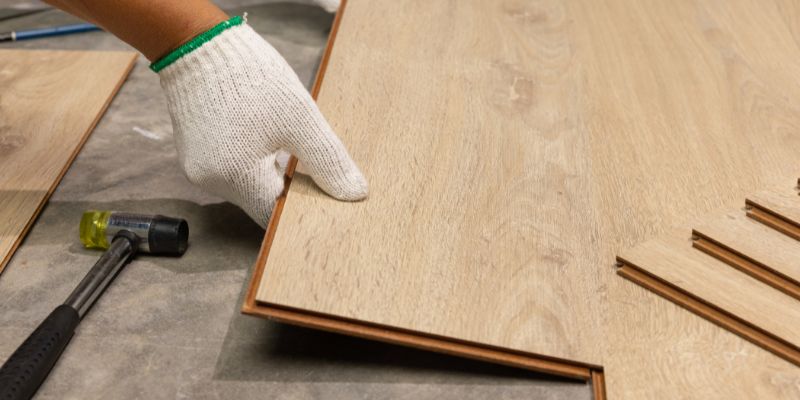
Installing threshold strips is easier than it sounds, especially if you’re handy with basic tools. I’m no contractor, but I managed to install mine with a little patience. Here’s how I did it, step by step:
- Measure and Cut: Measure the gap where the strip will go. I used a tape measure and marked the strip with a pencil. Then, I cut it to size with a hacksaw for metal strips or a miter saw for wood. Make sure the cut is straight for a clean fit.
- Clean the Area: Before installing, clean the floor thoroughly. Dust or debris can mess with adhesion. I vacuumed and wiped down the area with a damp cloth to make sure it was spotless.
- Test the Fit: Place the strip in the gap to check if it fits. I had to trim a bit more on one strip because my doorway wasn’t perfectly straight. Better to double-check than to glue it down wrong!
- Apply Adhesive or Screws: If it’s self-adhesive, peel off the backing and press it firmly into place. For non-adhesive strips, apply construction adhesive or use screws. I used Loctite PL Premium for a wood strip, and it’s rock-solid years later.
- Secure and Finish: Press the strip down to ensure it’s secure. If you used adhesive, let it dry for 24 hours before walking on it. I caulked the edges of one strip to seal out moisture, which was a game-changer in my bathroom.
Pro tip: If you’re installing over concrete, like I did in my basement, use masonry screws and drill carefully to avoid cracking the slab. Also, leave a small expansion gap for vinyl floors—about 5mm—to prevent buckling.
Maintenance Tips for Threshold Strips
Once your strips are installed, keeping them in good shape is easy. I’ve had mine for years, and they still look great with minimal effort. Here are my go-to maintenance tips:
- Regular Cleaning: Sweep or vacuum around the strip to prevent dirt buildup. I use a damp cloth with mild soap for metal and vinyl strips. For wood, I stick to a wood cleaner to avoid damage.
- Check for Loose Strips: Over time, adhesive can weaken, especially in high-traffic areas. I had a strip loosen in my hallway, so I re-glued it with construction adhesive. Check every few months to catch issues early.
- Protect Metal Strips: If you have brass or aluminum, clean spills immediately to prevent corrosion. I use white vinegar and a soft cloth for brass strips, followed by a polishing cloth for shine.
- Seal Gaps: In wet areas like bathrooms, caulk around the strip to keep water out. I did this in my guest bathroom, and it’s saved my vinyl from water damage.
- Avoid Harsh Chemicals: Skip abrasive cleaners, as they can scratch or dull the strip. I learned this after using a harsh cleaner on a PVC strip, which left it looking cloudy.
Common Mistakes to Avoid
I’ve made my fair share of mistakes with threshold strips, so let me save you some trouble. First, don’t skip measuring the height difference. I once bought a flat T-molding for a 5mm height gap, and it looked awful until I replaced it with a reducer. Also, don’t rush the installation—clean the area well and test the fit before securing the strip.
Another big one: don’t ignore expansion gaps. Vinyl needs room to move, so pinning it down tightly can cause buckling. I learned this when my vinyl planks started lifting near a doorway. Finally, match the strip to your flooring’s style and traffic level. A cheap plastic strip in a busy hallway won’t last, as I found out in my entryway.
Where to Buy Vinyl Flooring Threshold Strips
You’ve got plenty of options for buying threshold strips. I’ve shopped at big-box stores like Home Depot and Lowe’s, where you’ll find a wide range of materials and styles. They often carry brands like Schluter Systems and M-D, which are reliable. Online retailers like Amazon or specialty sites like CarpetRunners.co.uk have tons of choices, including custom lengths.
If you want strips that match your vinyl flooring, check with the manufacturer. I got mine from the same brand as my LifeProof flooring, and the color match was spot-on. Local flooring stores are another great option—they often have knowledgeable staff who can guide you. I found a unique brass strip at a local shop that became the highlight of my living room transition.
Cost of Vinyl Flooring Threshold Strips
Cost was a big factor for me when choosing strips. Prices vary depending on material and length. Here’s what I found:
- Metal Strips: $10–$50 for a 3–6-foot strip. Aluminum is cheaper; brass is pricier.
- Wood Strips: $15–$40. Oak or maple can be stained to match your floor.
- Vinyl/PVC Strips: $5–$20. These are the most budget-friendly.
- Rubber Strips: $20–$60, depending on size and brand.
I spent about $25 on a 6-foot aluminum reducer strip for my kitchen, which was a good balance of quality and price. Shop around for deals, especially online, where you might find discounts or free shipping.
My Personal Experience with Vinyl Flooring Threshold Strips
When I redid my home’s flooring, threshold strips were a game-changer. My living room has vinyl planks, the kitchen has tile, and the bedrooms have carpet. Without threshold strips, the transitions looked messy and felt unsafe. I used a mix of T-molding, reducers, and end caps, and the result was a cohesive, professional look. My favorite was a brushed nickel strip between the living room and kitchen—it’s sleek and matches my modern decor. Installing them took some trial and error, but once I got the hang of it, it was straightforward. Now, every time I walk through my home, I’m glad I took the time to get it right.
Conclusion
Vinyl flooring threshold strips might seem like a small detail, but they make a huge difference in any flooring project. They’re practical, keeping your floors safe and durable, while also adding that polished touch that makes your home feel complete. From T-molding to reducers to stair nosing, there’s a strip for every situation, and choosing the right one is all about understanding your flooring’s needs. Whether you’re a DIY newbie like I was or a seasoned pro, installing these strips is doable with a little care and the right tools.
I hope my experience and tips help you make your flooring project a success. Trust me, when you step back and see those seamless transitions, you’ll feel like a home improvement rockstar!
FAQs
What’s the difference between a threshold strip and a reducer strip?
A threshold strip is typically used in doorways to join two flooring types, often with slight height differences. A reducer strip is designed for transitions between floors of different heights, like vinyl to carpet, with a sloped edge for a smooth change. I used a reducer in my kitchen-to-hallway transition because the tile was higher than the vinyl.
Can I install threshold strips myself?
Absolutely! I did it with basic tools like a saw, measuring tape, and adhesive. Self-adhesive strips are the easiest for beginners. Just measure carefully, clean the area, and follow the instructions. It took me about 30 minutes per strip once I got the hang of it.
Do I need threshold strips for every doorway?
Not always. If your vinyl floor runs continuously between rooms with no height difference, you might not need a strip. But for different flooring types or gaps, they’re essential. I skipped a strip in one low-traffic area, and it’s been fine, but doorways usually need them for safety.
How do I clean and maintain threshold strips?
Sweep or vacuum regularly to remove dirt. For metal strips, wipe with a damp cloth and mild soap; for wood, use a wood cleaner. Check for loose strips and re-secure them with adhesive if needed. I clean mine monthly, and they still look brand new.
Can threshold strips prevent water damage?
Yes, especially in wet areas like bathrooms. Sealing the edges with caulk keeps water from seeping under the floor. I did this in my bathroom, and it’s protected my vinyl from spills and splashes.