Vinyl Flooring Transition to Tile: The Height-Gap Guide
Blending vinyl flooring with tile comes down to one core question most guides skip: how tall is the height difference, and does your chosen transition actually cover it? Vinyl plank typically runs about 1/8 to 5/16 inch thick, while ceramic or porcelain tile (plus its mortar bed) commonly lands between 1/2 and 3/4 inch – a gap of anywhere from a hair to over 1/2 inch depending on your materials. That gap is what determines whether a flat T-molding, a sloped reducer, or a full Schluter ramp profile is the right call, and getting it wrong is the single biggest reason a transition looks or feels off.
Why Transitions Matter in Flooring
No-Trim-Needed Metal Transition Strip
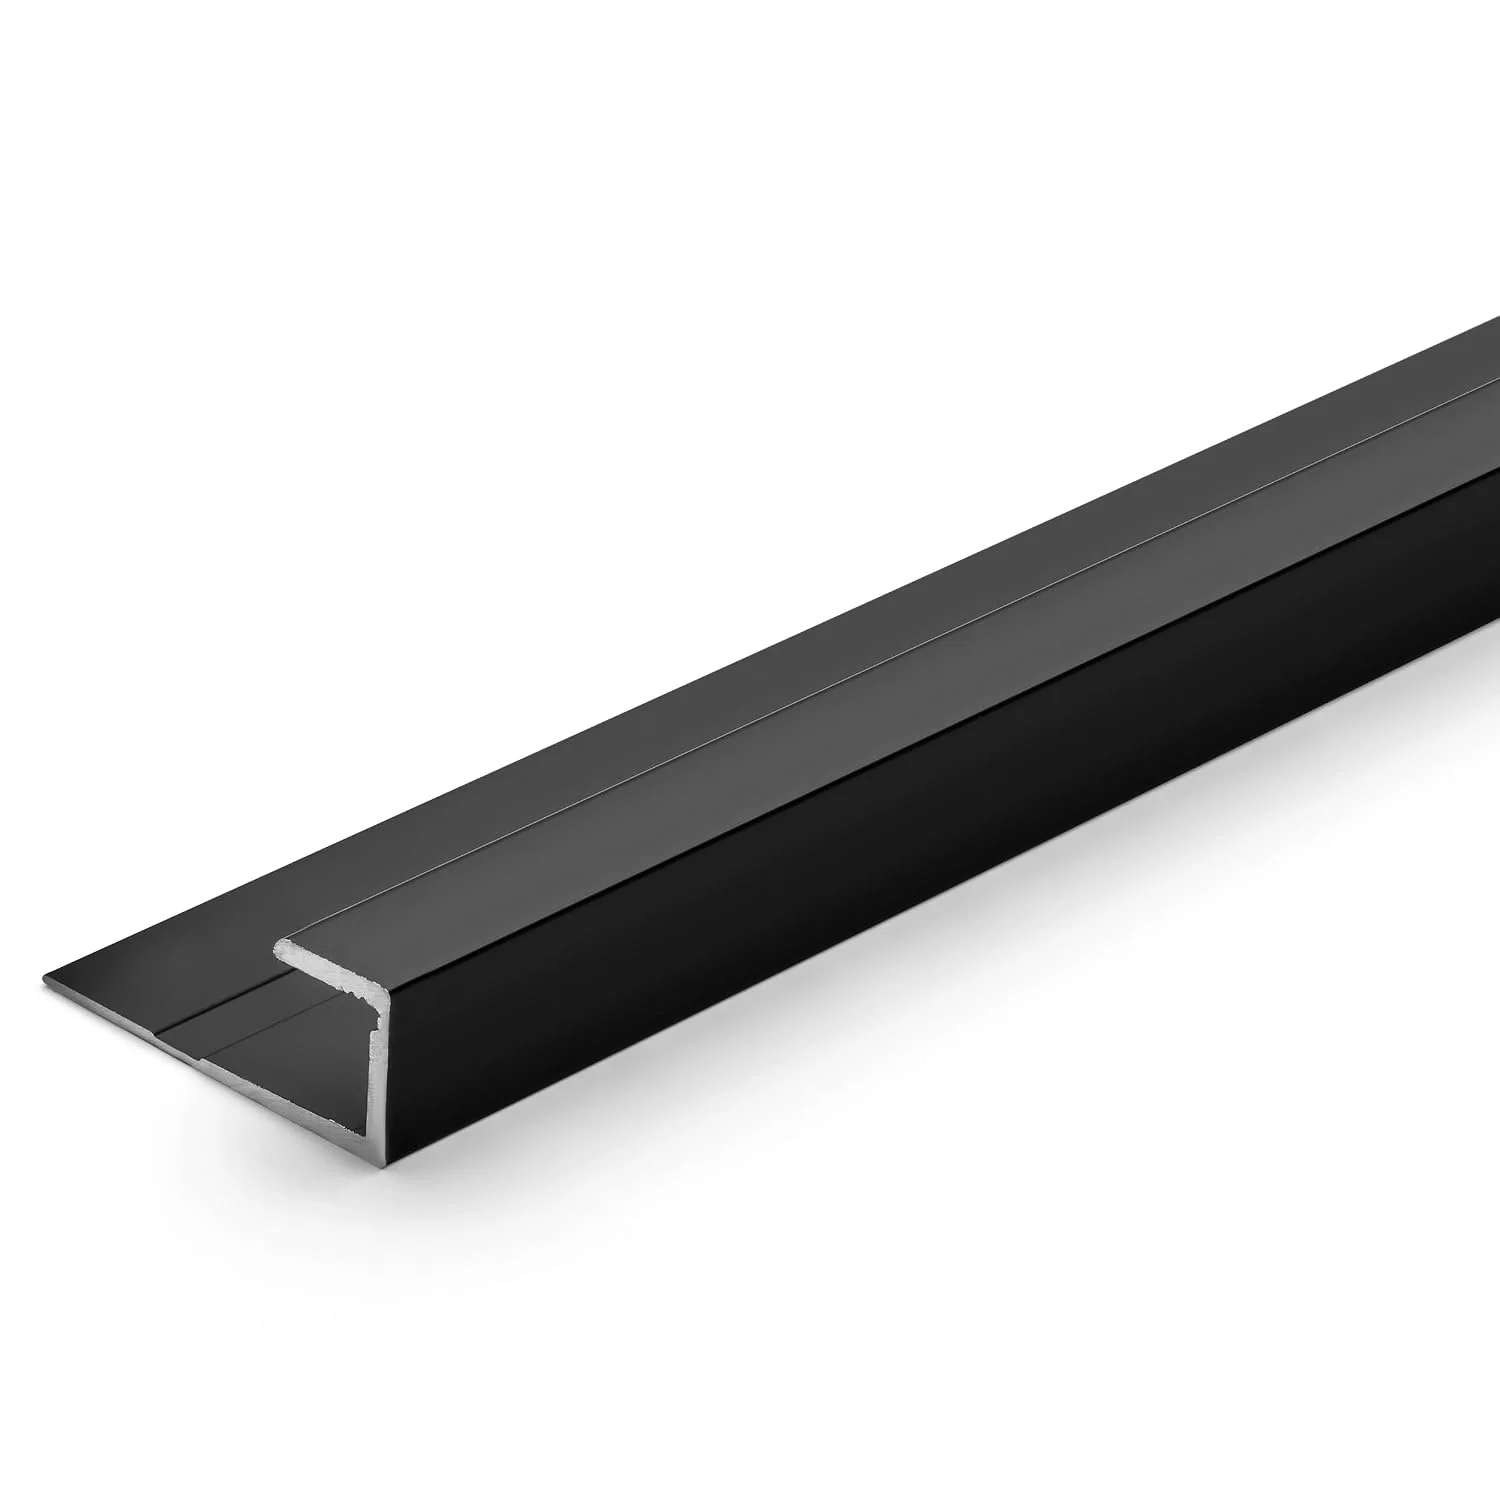 |
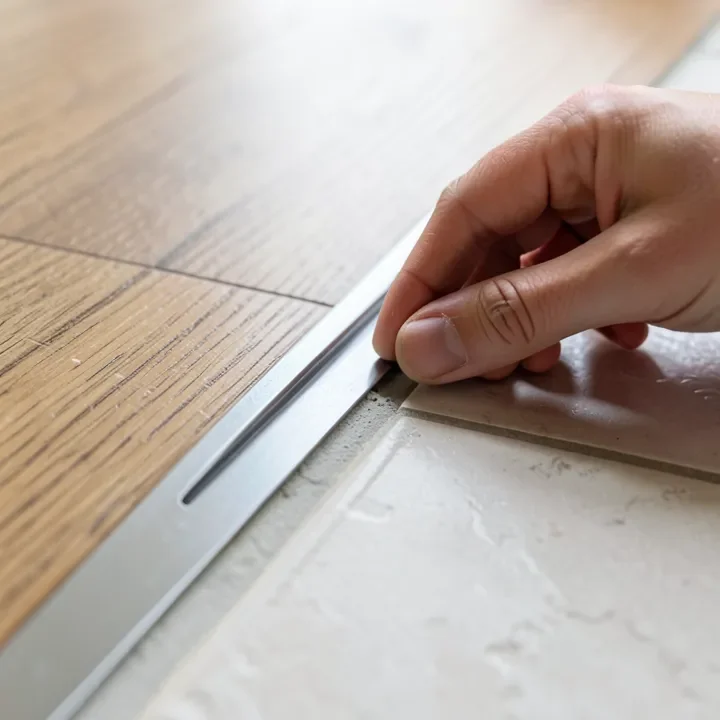
TrimMaster Aluminum Floor Transition Strip (36 in, 10-Pack) – $67.99 This is the simplest fix for a vinyl-to-tile gap when you don’t want a bulky wood threshold – a low-profile aluminum strip that tap-locks down over the seam and handles small height differences between LVP and tile.
|
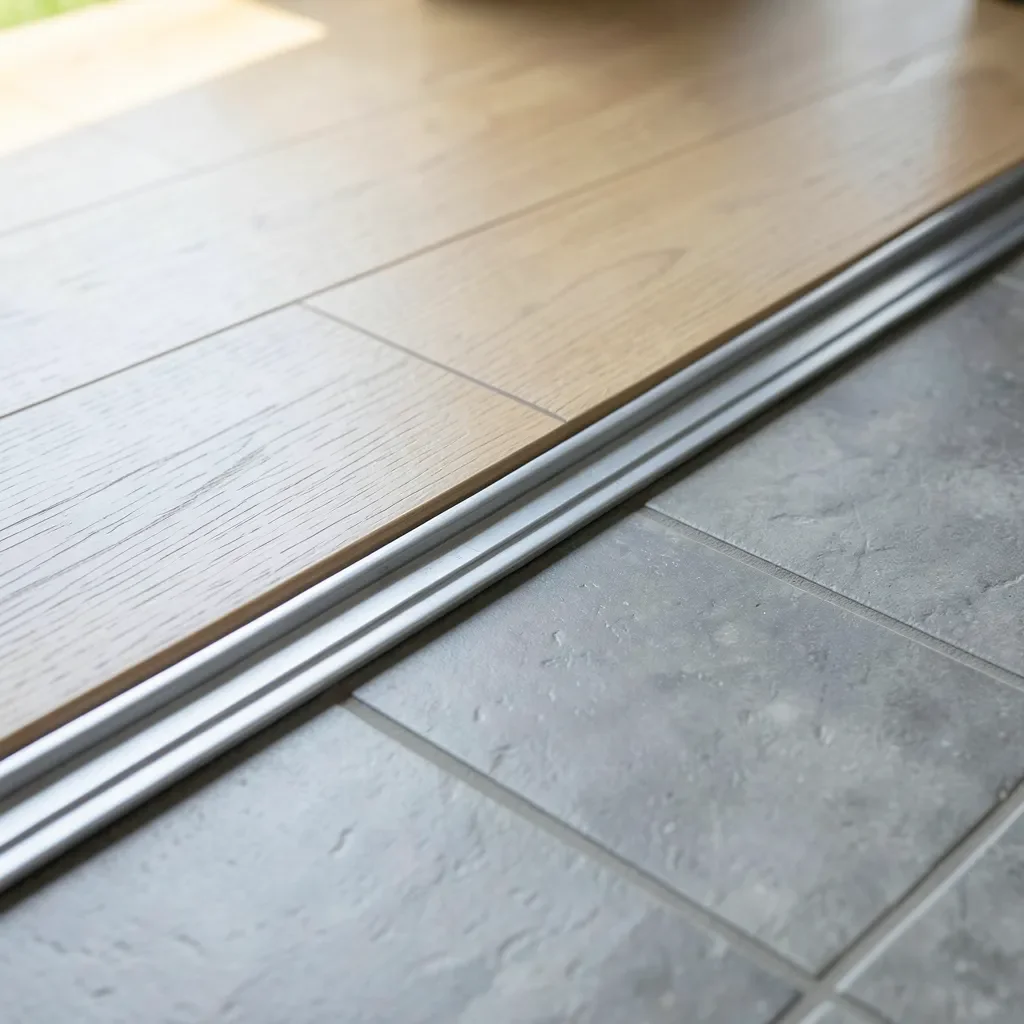
A transition between vinyl and tile does three jobs: it bridges any height difference so nobody trips, it protects both floors’ edges from chipping and lifting, and it gives the eye a clean line where two different materials meet instead of a ragged, mismatched seam. Skipping it – or choosing the wrong type for your height gap – is what makes a mixed-flooring job look unfinished even when both floors individually look great.
Types of Transitions for Vinyl to Tile
There are several ways to transition vinyl flooring to tile, and the right one depends mainly on the height difference between your two floors.
T-Molding
T-molding is the standard choice when vinyl and tile sit at close to the same height – it’s a T-shaped strip that caps the seam and works with wood, metal, or vinyl finishes to match either floor. It installs into a track secured to the subfloor, or directly with adhesive on smaller jobs.
Reducer Strips
When tile sits noticeably higher than vinyl – common since tile plus its mortar bed often adds 1/2 inch or more – a reducer strip slopes down from the tile’s height to the vinyl’s, closing gaps up to roughly 1/2 to 5/8 inch depending on the profile. This is the answer to “how tall should the transition be”: measure the actual height difference first, then buy a reducer rated for that range rather than guessing.
Thresholds
Thresholds (or saddle transitions) suit doorways and larger openings. They’re wider than T-molding, typically made from stone, metal, or wood, and create a more defined, deliberate break between rooms – a good choice when the two flooring types are visually very different and you want the transition to read as a design feature rather than disappear.
Schluter Profiles
Schluter’s metal and PVC profile system covers this transition in more configurations than generic strips do. RENO-T is their same-height T-profile; RENO-U and RENO-TK step up in height for thicker tile; RENO-V and RENO-RAMP handle a sloped transition down to a thinner floor. They’re pricier than a generic aluminum strip, but the profile-for-every-height-gap system is exactly what to search for if you searched “schluter tile to lvp transition” looking for a specific part number rather than a generic strip.
No Trim: Caulk-Filled Butt Joint
If you want a trim-free look, a caulk-filled butt joint is the real technique behind it – not a true “no transition” at all, just no visible strip. Cut both floors to meet with a consistent 1/8 to 3/16 inch gap, then fill that gap with a flexible, paintable/color-matched caulk (not rigid grout) so the seam can flex slightly as the vinyl expands and contracts with temperature. This only works cleanly when both floors sit at nearly the same height and the subfloor underneath is dead level – any height mismatch or subfloor dip will show immediately with no strip to hide it.
Quick comparison:
| Transition Type | Height Gap It Handles | Best For | Cons |
|---|---|---|---|
| T-Molding | Near-equal heights | Same-height floors | Limited to small height differences |
| Reducer Strip | Up to ~1/2-5/8″ | Different-height floors | May not suit wider gaps |
| Threshold | Varies by profile | Doorways, bold designs | Can be bulky |
| Schluter Profile | Matched to specific profile (RENO-T/U/TK/V) | Precise height-matched transitions | Higher cost |
| Caulk-Filled Butt Joint | Near-zero only | Minimalist, no-trim look | Needs a dead-level subfloor and precise cuts |
Preparing Your Space for a Seamless Transition
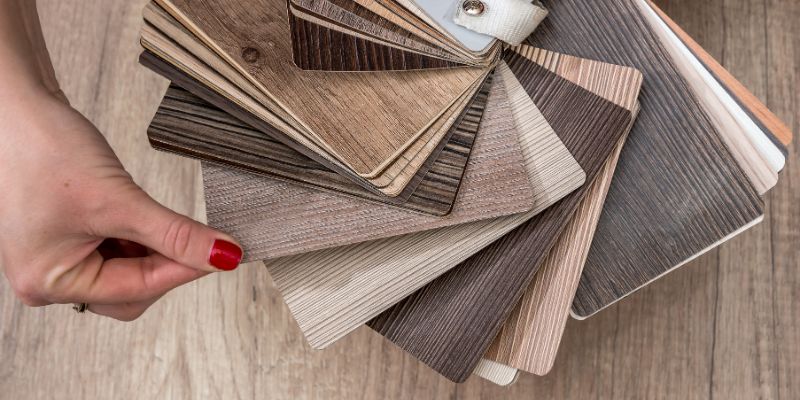
Measure the actual height of both floors before buying anything – vinyl plank runs thinner than tile in almost every case, so know your real gap in fractions of an inch rather than guessing “about the same.” Confirm the subfloor is clean, dry, and level; a leveling compound handles small dips, while a bigger mismatch may call for plywood underlayment under the thinner side instead.
Check the gap width your chosen transition piece needs – most strips are designed for a 1/4 to 1/2 inch gap between the two floors’ cut edges. Mark it with painter’s tape for consistent cuts, and dry-fit the transition before committing to adhesive or fasteners.
Tools and Materials You’ll Need
A basic vinyl-to-tile transition job needs:
- Measuring Tape and Pencil: For precise measurements.
- Level: To check subfloor and flooring heights.
- Saw or Tile Cutter: A miter saw for molding, a wet saw for tile edges, or a dedicated vinyl plank cutter for a cleaner edge on rigid-core planks.
- Adhesive or Nails: Depending on your transition type.
- Spacers: To maintain a consistent gap.
- Safety Gear: Gloves, goggles, and a dust mask.
- Transition Strip: Matched to your measured height gap.
- Cleaning Supplies: To prep the subfloor.
Step-by-Step Installation Guide
Here’s the process for a T-molding install, since it’s the most common transition type:
Step 1: Measure and Plan
Measure the length of the transition area and the exact height difference between the two floors. Plan for the strip to sit centered over the gap, typically at the doorway centerline.
Step 2: Prep the Subfloor
Clean the subfloor thoroughly. Where there’s a height difference, use underlayment or leveling compound to even things out, and let it cure fully before continuing.
Step 3: Cut the Flooring
Trim both floors to leave the gap your transition piece needs – usually about 3/8 inch. A utility knife or miter saw works for vinyl, though a dedicated vinyl plank cutter gives a cleaner edge on rigid-core planks right at the line; use a wet saw for tile edges.
Step 4: Install the Track (If Needed)
Secure any track to the subfloor with construction adhesive or screws, keeping it level and centered over the gap.
Step 5: Fit the Transition Piece
Cut the strip to length with a miter saw, then snap or slide it into the track – or set it with adhesive if there’s no track – and press it down firmly for a snug fit.
Step 6: Test and Secure
Walk across the transition to check for movement. Add adhesive or adjust the track if anything wobbles, then clean up any excess glue.
Design Tips for a Polished Look
- Match or Contrast: A strip that matches one floor reads as subtle; a contrasting finish reads as a deliberate design line.
- Consider the Room: High-traffic areas hold up better with metal or stone; cozy spaces suit wood or vinyl-finish strips.
- Blend with Decor: A sleek metal or Schluter profile fits a modern space; a wood threshold fits a rustic one.
- Keep It Proportional: Wider transitions suit larger openings; narrow strips suit small doorways.
Common Mistakes to Avoid
The most common mistake is skipping the height-difference measurement entirely and grabbing whatever transition strip is on the shelf – that’s what leads to a strip that rocks, doesn’t fully cover the gap, or sits proud enough to catch a foot. Rushing subfloor prep is a close second; any bump under the transition telegraphs straight through. Cheap, thin plastic strips also tend to crack under regular foot traffic within a year or two, and it’s worth spending more for aluminum or a name-brand profile in a high-traffic spot. Finally, don’t skip the expansion gap on the vinyl side – vinyl plank needs room to move with temperature and humidity changes, and a transition installed too tight will eventually buckle.
Maintenance and Longevity
Sweep or vacuum the seam regularly so debris doesn’t build up in the gap. Wipe metal or stone transitions with a damp cloth; avoid soaking wood or vinyl strips, which can warp with excess water. Check periodically for loose spots – a strip that’s come slightly unseated is a quick fix with a dab of adhesive if you catch it early, rather than a full reinstall later.
When to Call a Professional
Uneven subfloors, intricate tile cuts around the transition line, or expensive natural-stone thresholds are where hiring out makes sense – a chipped edge on an expensive stone threshold isn’t a cheap mistake to redo. Look for a flooring contractor with specific experience in mixed-material transitions, not just general tile or vinyl installation, and ask to see photos of a similar job.

Frequently Asked Questions
What is the best transition for vinyl flooring to tile?
It depends on the height difference between your floors: T-molding works for same-height floors, reducer strips handle moderate height gaps, thresholds suit doorways, and Schluter profiles cover a specific height gap most precisely. Measure your actual height difference first, then choose based on that number.
How tall should a vinyl-to-tile transition be?
It should match the actual height difference between your two floors – typically a small fraction of an inch for a same-height T-molding up to around 1/2 to 5/8 inch for a reducer bridging thicker tile down to thinner vinyl. Measure both floors before buying a transition piece rather than estimating.
Can I install a vinyl-to-tile transition myself?
Yes, with the right tools and a level subfloor it’s a manageable DIY project, especially with T-molding or reducer strips. If the tile cutting feels risky, that specific part of the job is worth hiring out even on an otherwise DIY project.
How much does a vinyl-to-tile transition cost?
Basic T-molding or reducer strips typically run $10-$30 for a single doorway. Schluter profiles or stone thresholds run $50-$100 or more. Professional installation labor typically adds $100-$300 depending on complexity.
Do I need a transition strip between vinyl and tile?
Not always – a caulk-filled butt joint can work without a visible strip, but only with a dead-level subfloor and precise cuts. For most projects a strip is easier to install correctly and more forgiving of small imperfections.
How do I maintain my transition strip?
Sweep or vacuum it regularly, wipe metal or stone finishes with a damp cloth, avoid soaking wood or vinyl finishes in water, and check every few months for loose spots that need a dab of adhesive.
Conclusion
A vinyl-to-tile transition comes down to one measurement: the real height difference between your two floors. Get that number first, then match it to a T-molding, reducer, threshold, Schluter profile, or a caulk-filled butt joint if your subfloor is dead level. Prep the subfloor properly, leave room for the vinyl to expand, and the transition will hold up as long as the floors around it.
Sponsored / affiliate links. As an Amazon Associate I earn from qualifying purchases. I may earn additional commission from eligible campaigns.