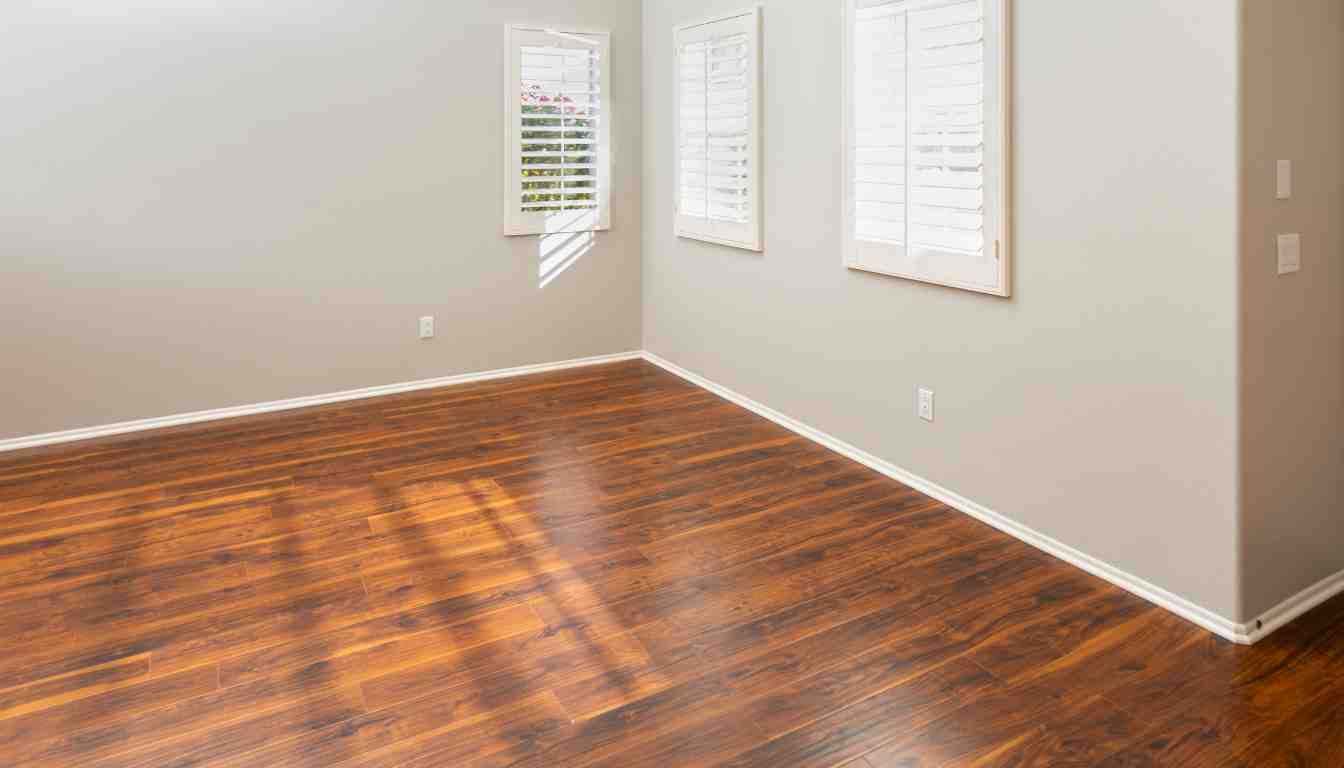
For wood flooring, it is best to install it perpendicular to the floor joists. This ensures stability and prevents bowing and sagging of the planks over time.
Installing wood flooring perpendicular to the joists creates a stronger and more durable floor surface. By following this direction, you can enjoy a long-lasting and visually appealing wood floor that enhances the overall aesthetics of your space. Wood flooring can add warmth and charm to any room, making it a popular choice for homeowners and designers.
Whether you are renovating or building a new space, understanding the proper direction for installing wood flooring is crucial for achieving a professional and polished look.
Considerations For Choosing The Direction
When it comes to installing wood flooring, one important decision to make is which direction to lay the planks. The direction of your wood flooring can significantly impact the overall aesthetic appeal and functionality of the space. To help you make an informed decision, there are a few key considerations to keep in mind. By taking into account the room shape and layout, natural light and sightlines, and any existing flooring, you can ensure a harmonious and visually pleasing outcome for your wood flooring installation.
Room Shape And Layout
The shape and layout of the room play a crucial role in determining the direction of your wood flooring. Consider the main features and focal points of the space, such as doors, windows, and any architectural details. In rectangular or square rooms, it is generally recommended to install the wood flooring parallel to the longest wall. This elongates the room visually and creates a smooth flow from one end to the other. In rooms with irregular shapes, you may choose to align the wood planks with the main entrance or the primary sightline for a harmonious effect.
Natural Light And Sightlines
Natural light is another influential factor to consider when deciding on the direction of your wood flooring. Light coming in from windows can create beautiful patterns and highlight the grain and texture of the wood. To maximize the visual impact of natural light, it’s advisable to install the planks perpendicular to the light source. This allows for the light to bounce off the boards and create an inviting and warm ambiance. Similarly, if there are specific sightlines you want to accentuate or hide, such as a stunning view or an unsightly feature, aligning the wood flooring parallel or perpendicular to those sightlines can help achieve the desired effect.
Existing Flooring
If you have existing flooring in your space, it’s essential to consider how your new wood flooring will integrate with it. The transition between different types of flooring can greatly impact the overall cohesiveness and visual appeal. When choosing the direction of your wood planks, take into account the layout and direction of the existing flooring. Aligning the new wood flooring in the same direction or perpendicular to the existing flooring can create a seamless transition that enhances the overall flow of the space. It’s important to note that in some cases, such as when installing near a fireplace or a prominent architectural feature, you may need to consult a professional to determine the best approach.

Horizontal Installation
Horizontal installation is a popular method of installing wood flooring that adds a touch of timeless elegance to any space. Whether you are renovating your home or working on a new project, horizontal installation can bring a unique look and feel to your floors. In this post, we will explore the pros, cons, and best rooms for horizontal wood flooring installation.
Pros
- Creates a sense of spaciousness: Horizontal wood flooring installation visually expands the room, making it appear wider and more open.
- Enhances natural light: The horizontal orientation allows natural light to flow across the floor, brightening up the space.
- Accentuates the length of the room: By elongating the room visually, horizontal installation can create a more harmonious and well-balanced aesthetic.
- Aligns with architectural elements: Horizontal wood flooring complements horizontal architectural elements such as baseboards, moldings, and windows, creating a cohesive design.
- Easy to install: Horizontal installation typically requires fewer cuts and transitions, making it a relatively straightforward process.
Cons
- Highlights uneven subfloors: If your subfloor has imperfections, horizontal installation may emphasize them, requiring additional preparation or leveling.
- Less versatile pattern options: Unlike diagonal or herringbone patterns, horizontal installation limits your choices to a linear, horizontal look.
- Potential for expansion and contraction: Natural wood flooring expands and contracts with changes in humidity, which can lead to gaps or buckling if not properly acclimated or maintained.
- Difficulty in transitioning between rooms: Achieving a seamless transition between rooms with different flooring directions can be challenging with horizontal installation.
Best Rooms
Horizontal wood flooring installation works well in various rooms, but it is particularly suited for:
- Living rooms: The elongating effect of horizontal flooring creates a spacious and welcoming atmosphere in the heart of your home.
- Dining rooms: Horizontal installation can add a touch of sophistication and elegance to your dining area, creating a stylish backdrop for entertaining guests.
- Hallways: By visually lengthening narrow hallways, horizontal wood flooring can make them feel more open and inviting.
- Bedrooms: The expansive look of horizontal installation can create a serene and calming environment in the bedroom.
Vertical Installation
Vertical installation is a popular choice when it comes to installing wood flooring. This method involves laying the planks vertically, parallel to the longest wall in the room. Let’s explore the pros and cons of vertical installation, as well as the best rooms for this type of flooring.
Pros
-
- Classic and timeless:
Vertical installation creates a traditional and timeless look that can complement any interior style. It adds a sense of elegance and sophistication to a room, making it a preferred choice for many homeowners.
-
- Expands the perception of space:
By laying the planks vertically, you can visually elongate the room, making it appear larger and more spacious than it actually is. This is particularly beneficial for smaller rooms or areas where you want to create an illusion of space.
-
- Easy to install:
Vertical installation is relatively simple, making it a DIY-friendly option. With a few basic tools and some patience, you can achieve professional-looking results without the need for professional installation.
-
- Versatile:
This installation method works well with all types of wood flooring, whether it’s solid hardwood, engineered wood, or laminate. It allows you to showcase the natural beauty of the wood while adding warmth and character to your space.
Cons
-
- Prone to showing imperfections:
One drawback of vertical installation is that it can highlight imperfections in the subfloor or the wood itself. Any unevenness or irregularities may be more noticeable with this installation method, so it’s essential to properly prepare the surface before installation.
-
- Limited design options:
While vertical installation is versatile, it may not be the best choice if you’re looking for intricate patterns or designs. The linear orientation of the planks limits your options for creating unique and imaginative flooring layouts.
-
- Potential for cupping:
If not properly acclimated or installed, wood flooring installed vertically can be prone to cupping, a condition where the edges of the planks curl upward. It’s crucial to follow manufacturer guidelines and ensure the wood is properly acclimated to prevent this issue.
Best Rooms
Vertical installation works particularly well in certain rooms, where its unique characteristics can shine. Consider using this method in:
-
- Living room:
Vertical installation can add a touch of elegance to your living room, creating a captivating focal point that draws attention.
-
- Dining room:
Enhance the sophistication of your dining area by installing wood flooring vertically. The linear pattern adds a formal and refined atmosphere to the space.
-
- Hallway:
Vertical installation can elongate narrow hallways, making them appear more expansive and inviting.
-
- Home office:
Create a professional and stylish environment in your home office with vertical wood flooring. The classic look enhances productivity and elevates the overall aesthetic.
Now that you’re familiar with vertical installation and its pros, cons, and best rooms, you can make an informed decision about whether this installation method is right for your wood flooring project.

Diagonal Installation
When it comes to installing wood flooring, there are several options to consider, and one popular choice is diagonal installation. This method involves laying the flooring at a 45-degree angle to the walls, creating an eye-catching and dynamic look. Diagonal installation can bring a unique and stylish touch to any room, but there are some pros and cons to consider before deciding if it’s the right choice for your space.
1. Pros:
- Enhanced visual appeal: Diagonal installation adds visual interest and can make a smaller room appear larger.
- Unique and stylish: The diagonal pattern gives a distinctive and modern look to your flooring.
- Minimizes the need for transitions: This installation method can eliminate the need for transition strips between different flooring materials in adjoining rooms.
- Opportunity for creative designs: Diagonal installation opens up possibilities for creative patterns and borders.
2. Cons:
- Increased material waste: Diagonal installation requires more material due to the angled cuts, which can result in higher costs.
- Additional installation time: The angled cuts and precise measurements involved in diagonal installation can make the process more time-consuming.
- Challenging for DIYers: Diagonal installation requires advanced skills and experience, and it may be best left to professional installers.
- More complex maintenance: Cleaning and maintaining the diagonal flooring pattern may require extra attention to detail.
3. Best Rooms:
Diagonal installation can work well in different rooms, but it’s particularly suited for these areas:
- Living rooms: Diagonal flooring can create a focal point and add elegance to your living space.
- Dining rooms: The angled pattern can enhance the dining room’s visual appeal and complement the overall design.
- Entryways: Installing wood flooring diagonally can make a lasting impression as soon as guests step inside your home.
- Hallways: Diagonal installation can visually elongate narrow hallways and make them more visually interesting.
Conclusion
Based on the aforementioned factors and considerations, it is crucial to carefully determine the direction in which to install wood flooring. By understanding the layout of the room, natural light sources, and traffic patterns, you can make an informed decision that enhances the overall aesthetics and functionality of the space.
Remember, precise installation plays a significant role in the longevity of your wood flooring. So, take your time, weigh the options, and create a flooring direction that complements your unique style and preferences.


