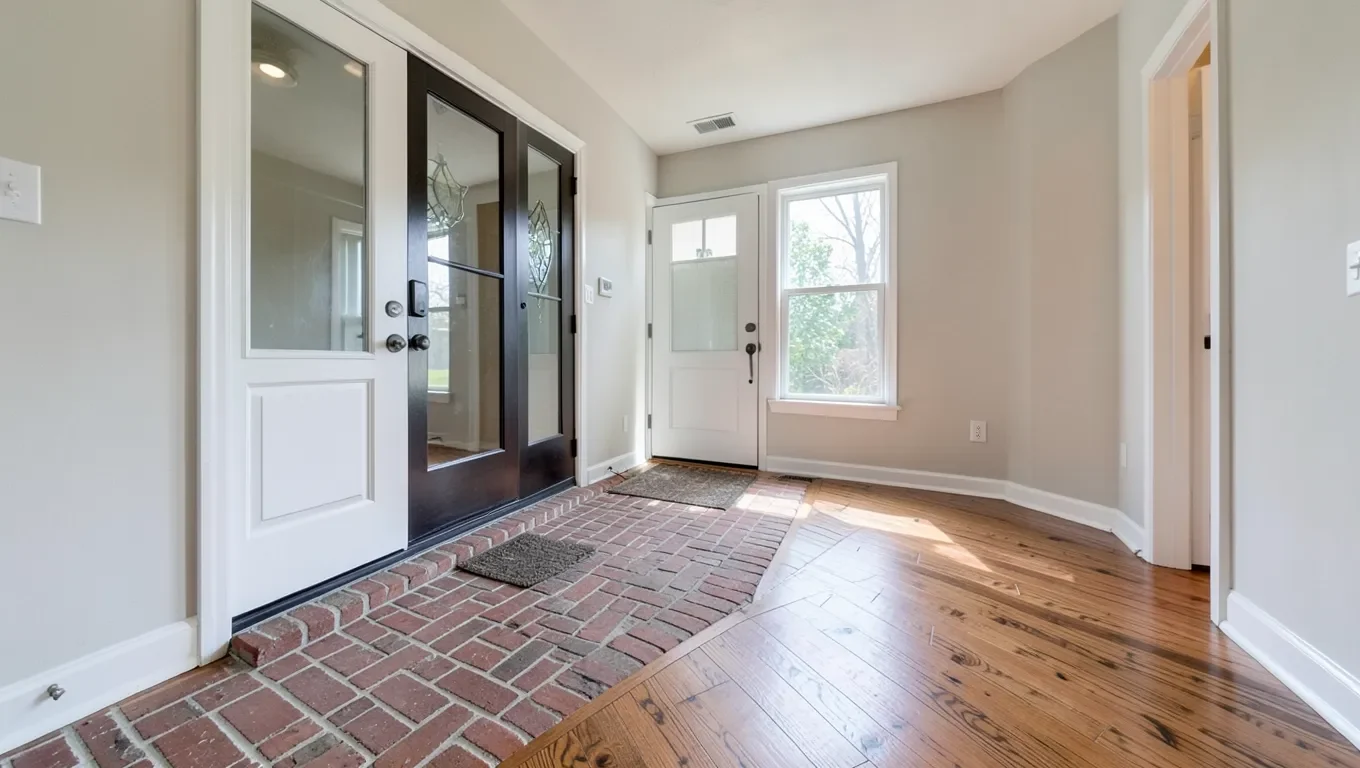
Brick to Wood Floor Transition: Creative Ideas
The right brick-to-wood floor transition depends mainly on the height difference between the two surfaces. If they’re nearly flush (within about 1/4″), a simple seam binder or T-molding works. If brick sits noticeably higher or lower than the wood – common since brick pavers run 2″-2.25″ thick versus 3/4″ hardwood – you need a reducer strip or a threshold, not a flat T-molding, or the transition will be a trip hazard.
Measure the actual height difference before picking a transition method – it determines which of the options below will actually work, more than aesthetic preference does.
Choosing The Right Transition By Height Difference
Best Transition Strip Pick
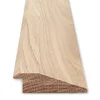
Solid Oak Floor Transition Reducer (3/4″ Overlap) – $49.99
This is the reducer strip type discussed above for the common case where brick pavers sit noticeably higher than hardwood flooring.
- Best for: A 3/4″ height difference between brick and wood floors
- Why we picked it: Solid oak matches hardwood flooring and correctly ramps a moderate-to-significant height change
- Main drawback: Only fits one specific height-difference range – measure first
Compare more transition strip options
 Option 1 Flexible PVC T-Molding Transition Strip – $27.99
|
 Option 2 Solid Oak Threshold Saddle (2″ x 36″) – $28.99
|
 Option 3 Maxiroc Self-Adhesive Transition Strip (Uneven Floors) – $12.99
|
As an Amazon Associate we earn from qualifying purchases.
| Height Difference | Right Transition | Why |
|---|---|---|
| Nearly flush (0-1/4″) | Seam binder or flat T-molding | A flat strip covers the seam without creating a noticeable ramp or lip |
| Moderate difference (1/4″-3/4″) | Reducer strip (angled/beveled) | Ramps smoothly from the lower surface up to the higher one instead of leaving a sharp edge |
| Significant difference (3/4″+) | Threshold/saddle, often at a doorway | Designed specifically to bridge larger height changes, usually where a door already breaks up the sightline |
Using a flat T-molding across a 3/4″+ height difference is a common mistake – it either won’t sit flush on both sides or creates a hidden lip that’s a real trip hazard, especially in a doorway where people aren’t watching their feet.
The Moisture Issue Most Guides Skip
Brick, especially set on a slab, can wick moisture up from the ground far more readily than wood subfloor construction. If wood flooring butts directly against brick without a moisture break, that moisture can migrate into the wood flooring’s edge over time, especially in a below-grade room or a climate with high ground moisture.
A proper transition strip does double duty here: it covers the seam visually and physically separates the wood’s edge from direct brick contact. Skipping the transition strip and butting the materials directly against each other removes that protection – it’s a cosmetic-looking shortcut with a real downside.
Installing Wood Flooring Over An Existing Brick Floor
If you’re covering a brick floor with wood rather than just transitioning between adjacent rooms, the brick surface itself needs preparation first.
Leveling The Brick Surface
Brick floors are rarely perfectly flat – mortar joints create small ridges and individual bricks can settle unevenly over time. Check level across the full floor with a long straightedge before installing anything on top. Use a self-leveling compound for minor variations, or furring strips (thin wood strips shimmed and screwed to the brick) to create a flat plane for larger irregularities.
Moisture Barrier
Since brick over a slab can transmit ground moisture, install a proper vapor/moisture barrier between the brick and any new subfloor or underlayment – this is a standard step for installing wood over masonry generally, not optional just because the brick looks dry.
Plywood Subfloor
A plywood subfloor over the leveled, moisture-protected brick gives the wood flooring a stable, nailable surface. This also raises the finished floor height, which is exactly why door clearance (below) needs checking before you commit to this approach.
Handling Door Height Differences
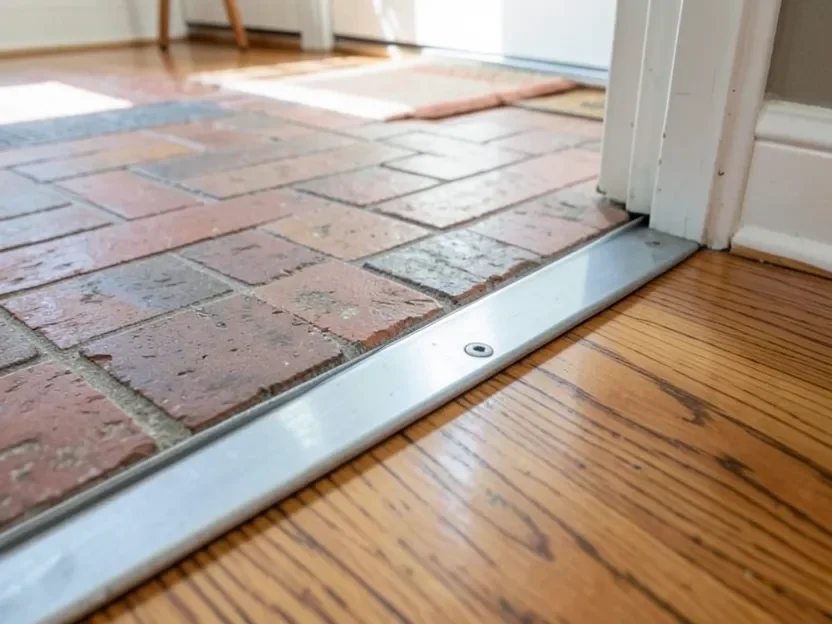
Adding wood flooring – especially with a plywood subfloor over brick – raises the finished floor height, which commonly creates clearance problems with doors that swing across the new transition. Measure the new floor height against the door’s swing clearance before finishing the installation, not after.
Two real fixes: trim the bottom of the door (a job most people should hire a carpenter for, to keep the cut straight and the door properly sealed), or use a beveled threshold specifically sized for the height change so the door still clears it. Don’t discover this problem after the floor is already installed.
Expansion Gap – Don’t Skip It
Wood flooring expands and contracts seasonally with humidity changes, and brick doesn’t move the same way. Leave the manufacturer-specified expansion gap (typically 1/4″-1/2″) between the wood flooring’s edge and the brick, and let the transition strip cover that gap – don’t install the wood flooring tight against the brick with no gap, since that removes the room the wood needs to expand and can cause buckling.
Frequently Asked Questions
What Can You Use Instead Of Transition Strips?
If the two floors are nearly flush, a seam binder works as a lower-profile alternative to a bulkier T-molding. But when there’s a real height difference, skipping a transition strip entirely (butting materials directly together) removes both the trip-hazard protection and the moisture break a proper transition provides – it’s not usually a good tradeoff just for a cleaner look.
Can You Lay Hardwood Floor Over Brick?
Yes, with proper prep: level the brick surface (self-leveling compound or furring strips), install a moisture barrier since brick over a slab can wick ground moisture, then lay a plywood subfloor before the hardwood. Skipping the moisture barrier is the most common mistake in this type of installation.
What Is The Transition Piece Between Flooring Called?
It depends on the height difference: a T-molding for flush or near-flush surfaces, a reducer strip for a moderate height change, and a threshold or saddle for a larger height difference, often at a doorway.
Does Adding Wood Flooring Over Brick Affect Door Clearance?
Yes, often significantly – a plywood subfloor plus wood flooring over brick can add close to an inch of height. Measure door swing clearance against the new floor height before finishing installation; you may need to trim the door bottom or use a beveled threshold to compensate.
Conclusion
A good brick-to-wood floor transition comes down to matching the transition type to the actual height difference, protecting the wood from brick’s moisture-wicking tendency, and leaving room for the wood to expand seasonally. Get those three things right and the transition holds up structurally, not just visually – the aesthetic choice between finishes matters far less than getting the mechanics correct first.
Sponsored / affiliate links. As an Amazon Associate I earn from qualifying purchases. I may earn additional commission from eligible campaigns.