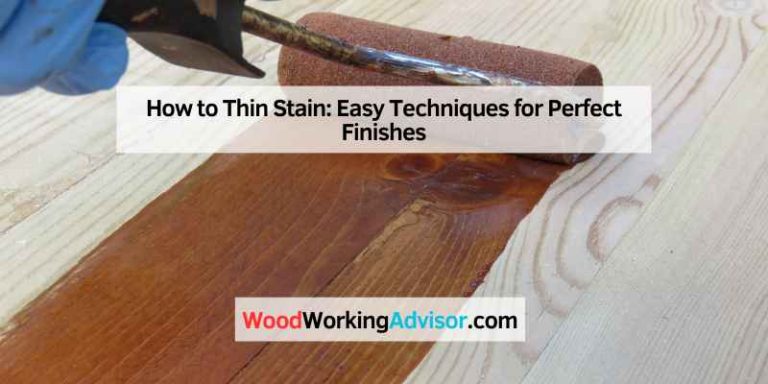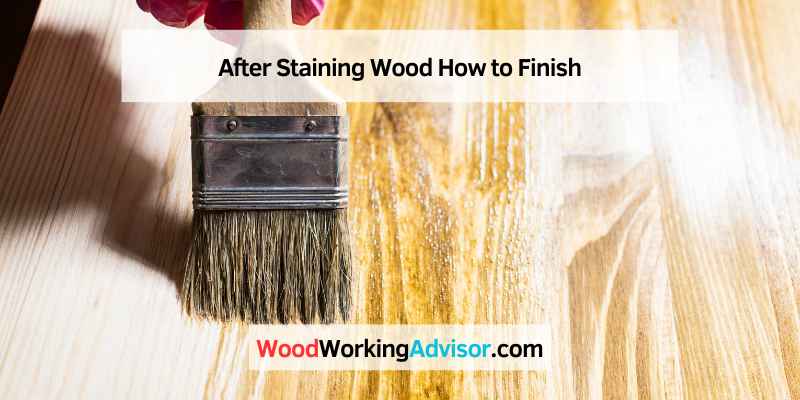
After Staining Wood How to Finish: Clear Coats, Sealers & Polyurethane
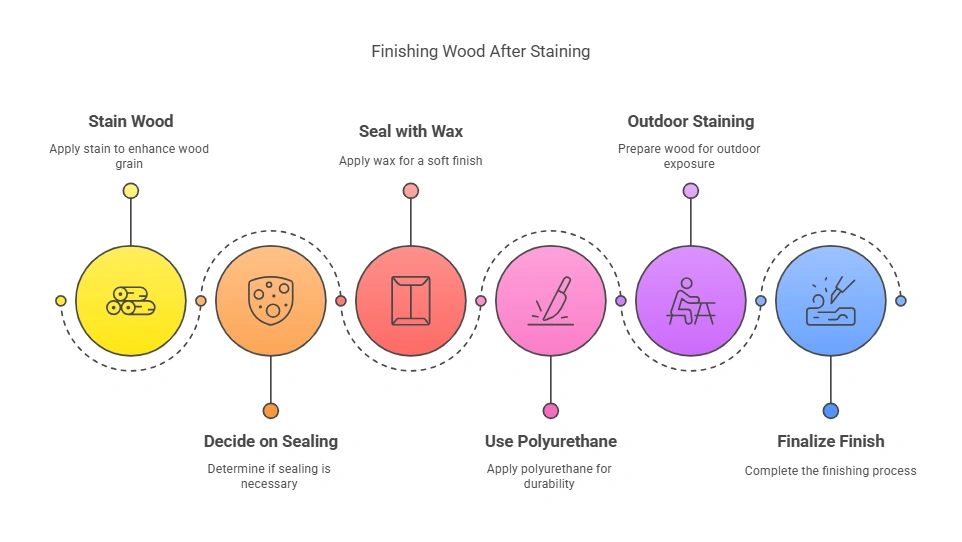
After staining wood, the next step is to apply a clear finish — polyurethane, lacquer, or wax — to protect the stain and add durability. Whether you need a clear coat depends on the project: interior furniture almost always benefits from one, while some exterior applications are complete after stain alone.
The right finish after staining depends on traffic, moisture exposure, and sheen preference. This guide covers the best finishes for stained wood, whether to seal or clear coat, and how to apply each option for a professional result.
Let the stain dry fully (usually 24 hours), then apply polyurethane for high-traffic surfaces, lacquer for a harder film finish, or paste wax for low-traffic decorative pieces. Sand lightly between coats with 220-grit. For outdoor wood, use an exterior-grade clear sealer with UV protection.
Stain & Finish Wood Like A Pro Step By Step + Tips & Tricks…
After staining the wood, you’ll need to finish the job by applying a topcoat. This will protect the stain and give the wood a nice shine. There are a few different types of coats to choose from, so be sure to pick one that’s right for your project.
If you’re not sure which one to use, ask a professional at your local home improvement store.
After Staining Wood, Do You Have to Seal It
After staining wood, you may choose to seal it for protection. Sealing helps prevent fading and damage from water, dirt, and other elements. If you decide to close your stained wood, use a clear sealer that is compatible with the stain.
Applying a sealer is typically a two-step process: first, apply one coat evenly over the entire surface; then, allow it to dry completely before applying a second coat.
How to Prep Wood for Stain After Sanding
If you stain wood, it’s crucial to prep it properly first. This means sanding the wood until it’s smooth and even. Once done, you must remove any dust or debris before applying the stain.
The best way to do this is with a damp cloth. Wipe down the wood and then let it dry completely before staining.
Sealing Stained Wood With Wax
When it comes to sealing stained wood, there are a few different options to choose from. One popular choice is using wax. Wax provides a natural barrier against water and moisture, helping to protect the wood from damage.
It can also help to enhance the color of the stain and give it a more uniform appearance. Applying wax is relatively simple. Start by wiping down the surface of the wood with a clean cloth to remove any dirt or debris.
Then, apply a thin layer of wax evenly across the surface using a lint-free cloth or brush. Allow the polish to dry for at least 30 minutes before buffing it with a clean cloth. Wax can be reapplied to protect against water and moisture damage.
Follow any manufacturer’s instructions when using wax on stained wood surfaces.
Polyurethane Wood Finish
Polyurethane wood finish is one of the most durable and long-lasting finishes available. It is also one of the most expensive. Polyurethane is a synthetic resin applied as a clear coating to wood floors or furniture.
The synthetic resin creates a hard, protective layer resistant to scratches, stains, and water damage. Polyurethane wood finish can be applied by brush, roller, or sprayer. It dries quickly and can be recoated in as little as two hours.
However, it takes 30 days for the finish to cure fully. The finish will continue to harden and become more scratch-resistant during this time. Polyurethane wood finishes are available in gloss, semi-gloss, and matte finishes.
Gloss finishes are the most durable but show fingerprints and dirt more quicker than other finishes. Semi-gloss and matte finishes are less stable but are easier to keep clean. When applying polyurethane wood finish, working in a well-ventilated area is essential because the fumes can be harmful.
Also, wear gloves and a respirator to protect yourself from the fumes.
How to Stain And Seal Wood for Outdoor Use
Staining and sealing your wood furniture is a great way to do so if you’re looking to protect your wood furniture from the elements.
Here’s how to do it:
- St rt by sanding down the surface of the wood to create a smooth finish.
This will also help the stain and sealant adhere better.
2. Ne t, apply a thin layer of stain evenly across the wood. Be sure to work in small sections so the color doesn’t have to dry before you’re done with it.
3. On e the stain has been applied, let it sit for a few minutes before wiping off any excess with a clean cloth.
4. Fi ally, apply a sealant layer over the stained wood’s top. The s will provide extra protection against moisture and other outdoor elements.
Staining Wood for Beginners
Have you ever wanted to give your wood furniture or floors a makeover but weren’t sure how to get started? St inning wood is a great way to update the look of any piece, and it’s not as difficult as you might think!
Here are some tips for staining wood for beginners:
1. Choose the correct type of stain. Different stains are available, so select one appropriate for the type of wood you’re working with. For example, oil-based stains work well on porous woods like oak, while water-based stains are better suited for harder woods like maple.
2. Pr pare the surface. Before you start staining, it’s essential to sand the surface of the wood smoothly. The s will help ensure an even finish.
Start with a coarse grit sandpaper and work your way up to a finer one until the surface is nice and smooth.
3. Ap ly the stain evenly. On e you’ve chosen your color and prepared the surface, it’s time to apply it!
Use a brush or rag to apply the stain in long, even strokes in one direction only. Be sure not to overdo it – too much color can result in an uneven finish.
4. Le dry and enjoy! After applying the stain evenly across the surface, let it dry completely before using or touching the piece again. On e it’s dry, step back and admire your handiwork – a beautifully stained piece of wood furniture or flooring!
How to Finish Wood
Assuming you would like a blog post discussing how to finish wood: “How to Finish Wood” Finishing wood is a process of adding a final layer of protection and decoration to bare or unfinished wood.
There are many different ways to finish wood, each with its unique benefits and drawbacks. The type of finish you choose will depend on the project you’re working on and your personal preferences. In this article, we’ll go over some of the most popular methods for finishing wood so that you can decide which one is suitable for your next project.
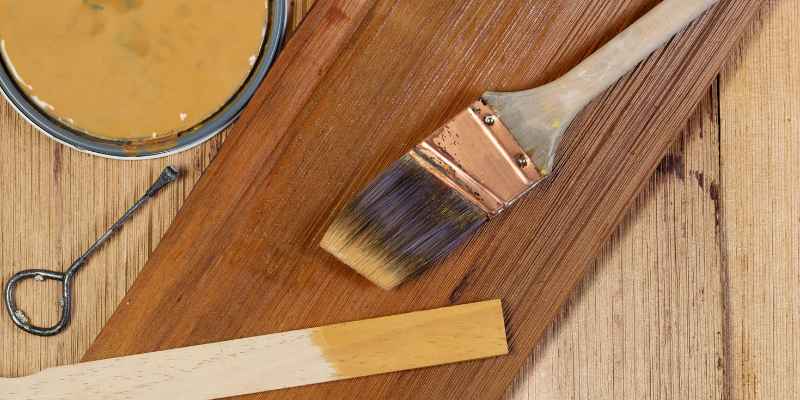
One of the most common methods for finishing wood is staining. St ining allows you to add color to the wood without obscuring the grain pattern. It’s a great way to give new life to an old piece of furniture or add visual interest to a plain piece of lumber.
When applying stain, always work in small sections and wipe away any excess with a clean cloth before it can dry. A more popular option for finishing wood is painting. Panting provides more coverage than staining, making it ideal for projects with heavy use or exposure to elements like moisture or sunlight.
It’s also a good choice if you want to achieve a uniform look for all the pieces in your project. Wh n painting always starts with a primer coat before applying your top color coats. The s will help ensure even coverage and prevent the paint from peeling or chipping over time.
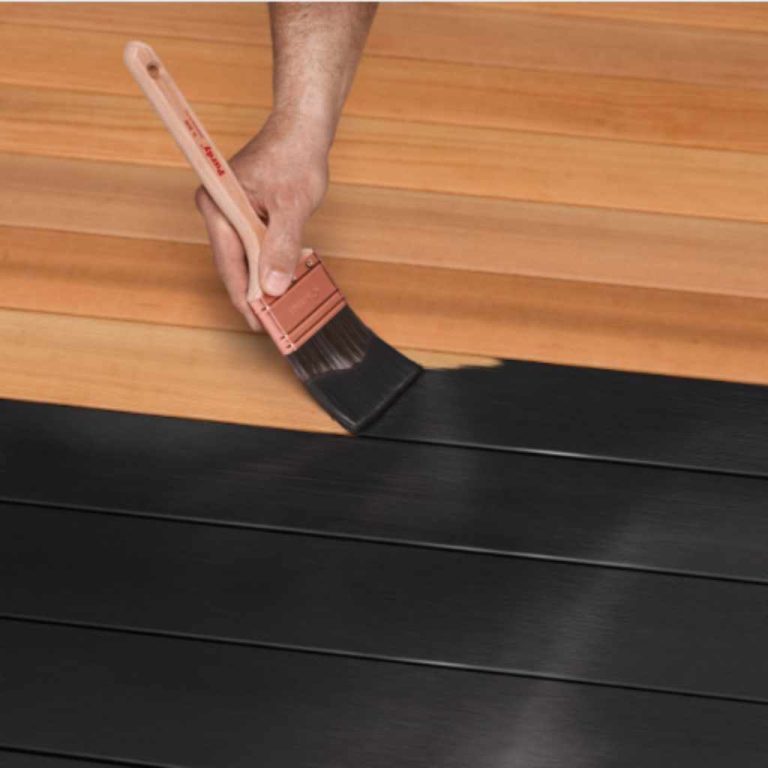
If you’re looking for something more durable than paint or stain, consider using varnish, polyurethane, or lacquer. The finishes provide excellent protection against moisture and wear and tear while still allowing the beauty of the wood grain to show through. Depending on your preference, they can be applied with either brush strokes or sprayed on.
Wood Finish Stain
Most woodworkers would agree that a finish is only as good as the preparation that goes into it. Staining is one of the most critical steps in preparing wood for a finish. A proper stain job will not only make the grain of the wood pop, but it can also help protect against moisture and other damage.
There are two main types of stains: oil-based and water-based. Oil-based colors have been around much longer than water-based stains, but water-based paints are becoming more popular because they are easier to work with and clean up. Water-based colors also tend to be more forgiving if you make a mistake.
When choosing a stain, consider what look you are going for. So e stains will give the wood a natural look, while others will add color or highlight the grain pattern. Even some metallic finishes are available now if you want to get creative!
Once you’ve selected your stain, it’s time to get started. The first step is to sand the wood smoothly so the paint will absorb evenly. Be sure to use progressively finer grits of sandpaper until you reach at least 220 grit.
Next, wipe the wood with a damp cloth to remove dust before applying the stain. Oil-based paints should be used with a rag or brush and then wiped away with another rag after about 15 minutes. Depending on your preference, water-based colors can be sprayed on or brushed on.
Again, let them sit for about 15 minutes before wiping away any excess with a clean cloth. If you find the color too light after one coat, apply additional coats until you achieve the desired darkness. Remember to allow each coat plenty of time to dry before applying the next one!

Credit: www.bybrittanygoldwyn.com
What is the Best Finish After Staining Wood?
After staining wood, the best finish is a clear sealer. This will protect the stain and keep it looking fresh. It s important to apply the sealer evenly and allow it to dry completely before using the furniture.
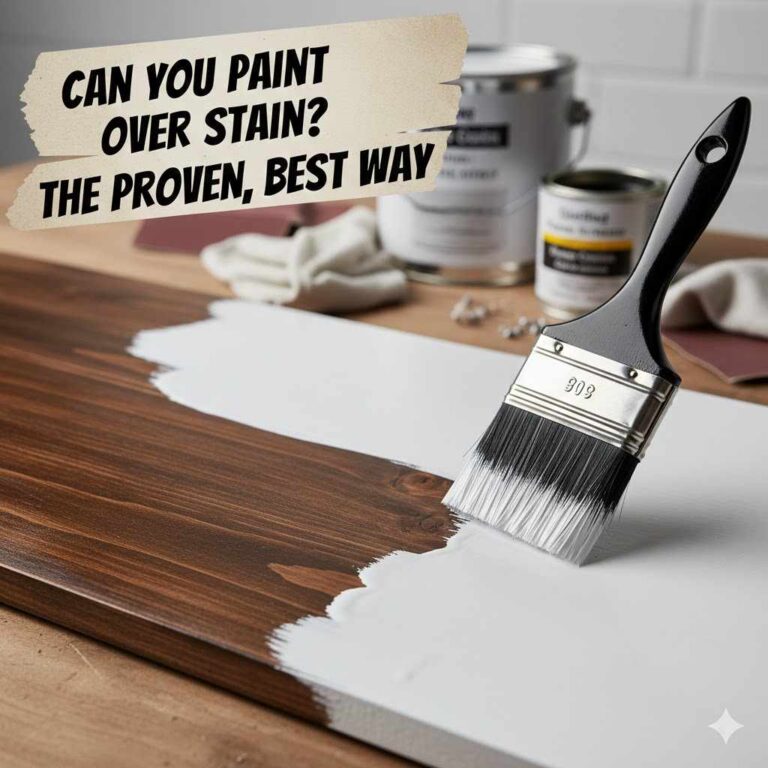
Do You Need to Clear Coat Over Stain?
Whether you need to clear coat over stain depends on the application. For furniture, floors, cabinets, and any surface subject to touch or wear, yes — a clear coat is essential. The stain itself only adds color; it provides no significant protection against scratches, moisture, or UV damage. Without a clear coat, the stain wears off quickly on high-traffic surfaces.
For low-traffic decorative pieces or exterior siding, a clear coat may be optional — a combination stain-sealer product handles both in one application. Use this table to decide:
| Surface | Clear Coat Needed? | Best Option |
|---|---|---|
| Interior furniture / floors | Yes — always | Oil-based polyurethane (2–3 coats) |
| Cabinets / trim | Yes | Water-based poly or lacquer |
| Exterior decking | Recommended | Exterior spar urethane or deck sealer |
| Decorative items (low-traffic) | Optional | Paste wax or clear wax |
| Exterior siding / fences | Optional | Stain-sealer combo |
Always let the stain dry completely before applying any clear coat — minimum 24 hours for oil-based stains, 4–6 hours for water-based. Applying a finish over wet stain traps moisture and causes adhesion failure.
Do You Need to Seal the Wood After Staining?
Sealing the wood after staining is unnecessary, but it can prolong the life of the stain and make the color more vibrant. If you choose to close your stained lumber, be sure to use a clear sealer that will not alter the color of the stain.
How Do You Finish After Staining?
Staining is a great way to add color and protection to your woodworking projects. But how do you know when the stain is dry and ready for a topcoat? Here are a few tips to help you out.
First, choosing the right type of stain for your project is essential. Oil-based paint is a good option if you’re working with bare wood. Wat r-based stains are best for already-finished surfaces.
Once you’ve applied the stain, give it time to soak in according to the mau cturer’sinstruct ions. Aft r that, wipe off any excess with a clean cloth. Now intestine is to wait for the stain to dry.
Depending on your work area’s temperature and humidity levels, this can take anywhere from a few hours to overnight. Once the stain is dry, you can apply a topcoat if desired.
What is the Next Step After Staining Wood?
After staining the wood, the next step is to apply a clear coat. This will protect the stain and help it to last longer.
⭐ Recommended: Minwax Fast-Drying Polyurethane
The most popular clear coat for stained wood — oil-based polyurethane that dries hard, resists abrasion, and comes in matte, satin, and gloss sheens. Works over any oil or water-based stain on furniture, floors, and cabinets.
- Dries in 4–6 hours between coats
- Available in matte, satin, semi-gloss, and gloss
- Apply 2–3 coats, sand with 220-grit between coats
- Works over all oil-based and water-based stains
Conclusion
After you ”ve stained your wood, there are a few different ways you can finish it. You can use a sealer to protect the stain and give the wood a glossy look, or let the blot dry and enjoy the natural look. If you want to paint over the color, you’ll need to use a primer first so that the paint will adhere properly.
Whichever route you choose, ensure you sand the wood smoothly before applying finishes.
How Long Should You Wait to Apply Finish After Staining?
Wait at least 24 hours after applying an oil-based stain before adding a finish coat. For water-based stains, 4–6 hours is usually sufficient. In humid conditions, extend drying time by 25–50%. To test readiness, press a fingernail into an inconspicuous area — if it leaves no mark and the stain feels dry to the touch, it is ready for finishing.
Can You Apply Polyurethane Directly Over Stain?
Yes — you can apply polyurethane directly over stain once the stain is fully dry. For oil-based stain, use oil-based polyurethane. For water-based stain, either water-based or oil-based polyurethane works, but water-based poly dries faster and has less yellowing. Apply thin coats, sand lightly with 220-grit between coats, and wipe off dust before the final coat.