Baseboard Trim For Vinyl Flooring: My Easy Guide To A Polished Look
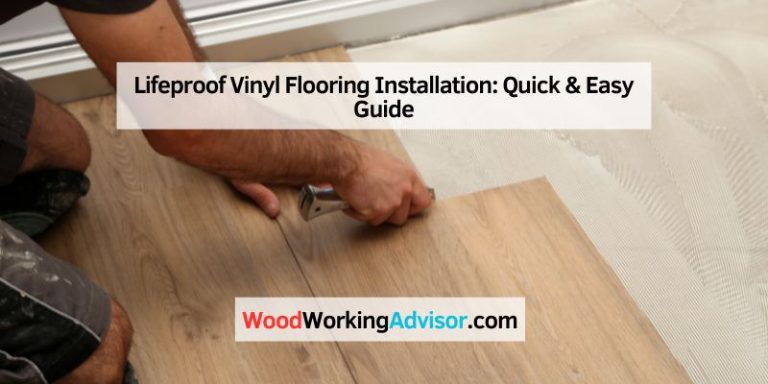
I’ll never forget my first DIY flooring project—a small bathroom redo where I installed vinyl flooring and totally forgot about baseboard trim for vinyl flooring. The gaps between the floor and walls looked messy! That’s when I learned baseboards are the secret to a finished, professional look. In this guide, I’ll share everything you need to know about baseboard trim for vinyl flooring. From what it is to how to install it, I’ve got you covered with simple tips and tricks. Whether you’re a beginner or a pro, you’ll find easy steps, cost-saving ideas, and answers to common questions. Let’s make your floors pop!
What Is Baseboard Trim For Vinyl Flooring?
Baseboard trim for vinyl flooring is a strip of material that covers the gap where your vinyl floor meets the wall. It’s like a frame that makes your room look neat and protects walls from bumps.
Why It Matters
Vinyl flooring is awesome—waterproof, durable, and budget-friendly. But without baseboards, you’ll see ugly gaps where the floor expands or contracts. Baseboards hide these gaps and add style. They also protect walls from kicks, scuffs, or vacuum cleaner dings. I learned this the hard way when my dog scratched the wall during a zoomies session!
Types of Baseboard Trim
Baseboards come in different materials, each with unique perks:
- Vinyl: Waterproof, flexible, and great for bathrooms.
- Rubber: Tough, perfect for high-traffic areas like hallways.
- MDF (Medium-Density Fiberboard): Affordable, easy to paint, but not moisture-resistant.
- Wood: Classic and stylish but pricier and less durable in wet areas.
Visual Idea: A diagram showing how vinyl baseboard trim fits snugly against vinyl flooring and the wall, highlighting the gap it covers.
Why Choose Baseboard Trim For Vinyl Flooring?
Baseboard trim isn’t just about looks—it’s practical too. It hides imperfections, protects walls, and makes cleaning easier. Vinyl and rubber trims are especially great because they’re waterproof, matching vinyl flooring’s vibe.
Benefits of Baseboard Trim
Here’s why I love baseboard trim for vinyl flooring:
- Hides Gaps: Covers expansion spaces needed for vinyl floors.
- Protects Walls: Saves walls from furniture or foot traffic damage.
- Easy to Clean: Vinyl and rubber trims wipe down in seconds.
- Affordable Style: Adds a polished look without breaking the bank.
Drawbacks to Consider
No solution is perfect. Vinyl baseboards can peel if not glued properly, and MDF isn’t great for wet areas like bathrooms. Also, fancy wood trims can get pricey.
How To Install Baseboard Trim For Vinyl Flooring
Installing baseboard trim is easier than you think! My first try was a bit wobbly, but with practice, it’s now a piece of cake. Here’s a simple step-by-step guide.
Tools and Materials You’ll Need
You don’t need a huge toolbox. Here’s what I use:
- Measuring Tape: To measure wall lengths.
- Utility Knife or Miter Saw: For cutting trim (a knife works for vinyl).
- Adhesive or Nails: Glue for vinyl/rubber, nails for wood/MDF.
- Caulk and Caulk Gun: To seal gaps for a clean finish.
- Level: To ensure straight installation.
Table 1: Tool Comparison for Baseboard Installation
| Tool | Cost | Best For | Where to Buy |
|---|---|---|---|
| Utility Knife | $5-10 | Vinyl/Rubber Trim | The Home Depot |
| Miter Saw | $100-200 | Wood/MDF Trim | Lowe’s |
| Caulk Gun | $10-20 | All Trim Types | Amazon |
| Caption: Basic tools for installing baseboard trim, with budget-friendly options for beginners. |
Step-by-Step Installation Guide
- Measure Your Walls: Use a tape measure to find the length of each wall. Add 10% for mistakes.
- Cut the Trim: For vinyl or rubber, a utility knife works great. For wood, use a miter saw for angled corners.
- Test Fit: Lay the trim along the wall to check the fit. Adjust as needed.
- Apply Adhesive: For vinyl trim, spread adhesive on the back with a caulk gun. For wood, nail it into place.
- Press and Secure: Push the trim firmly against the wall. Use a level to keep it straight.
- Caulk the Edges: Add a thin bead of caulk along the top for a seamless look.
- Clean Up: Wipe away excess adhesive or caulk with a damp cloth.
Visual Idea: A step-by-step diagram showing how to measure, cut, and glue vinyl baseboard trim in a bathroom corner.
Common Mistakes to Avoid
- Wrong Measurements: Always double-check your measurements. My first cut was too short, and I had to start over!
- Skipping Caulk: Caulk hides tiny gaps for a pro finish. Don’t skip it.
- Using Wrong Adhesive: Check that your glue works with vinyl or rubber trim.
Comparing Baseboard Trim Materials
Choosing the right material can make or break your project. Here’s a quick comparison to help you decide.
Table 2: Baseboard Trim Material Comparison
| Material | Cost per Foot | Durability | Best Use |
|---|---|---|---|
| Vinyl%BE |
Vinyl | $0.50-1.50 | High | Bathrooms, Kitchens |
| Rubber | $0.70-2.00 | Very High | High-Traffic Areas |
| MDF | $0.30-1.00 | Medium | Dry Rooms |
| Wood | $1.00-3.00 | Medium | Formal Rooms |
Caption: Comparing costs and uses of baseboard trim materials for vinyl flooring projects.
Vinyl vs. Rubber Trim
Vinyl is shiny and budget-friendly, perfect for homes. Rubber is tougher and has a matte finish, ideal for busy spaces like offices. I prefer vinyl for bathrooms because it’s waterproof and easy to cut.
Alternative Options
You can skip baseboards entirely for a modern, gap-free look, but this requires perfect flooring installation. Quarter round or shoe molding is another option to cover small gaps at the baseboard’s bottom.
My Top Tips for a Flawless Baseboard Project
After years of DIY projects, here are my go-to tips for baseboard trim:
- Buy Extra Trim: Get 10-15% more than you think you need for mistakes or future repairs.
- Use a Sample: Order a sample to match colors before buying a whole roll.
- Clean Walls First: Dust-free walls help adhesive stick better.
- Go Slow on Corners: Cut corners at 45-degree angles for a tight fit.
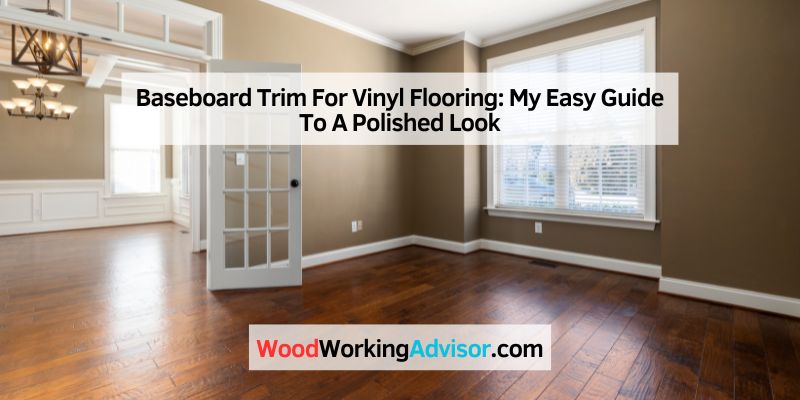
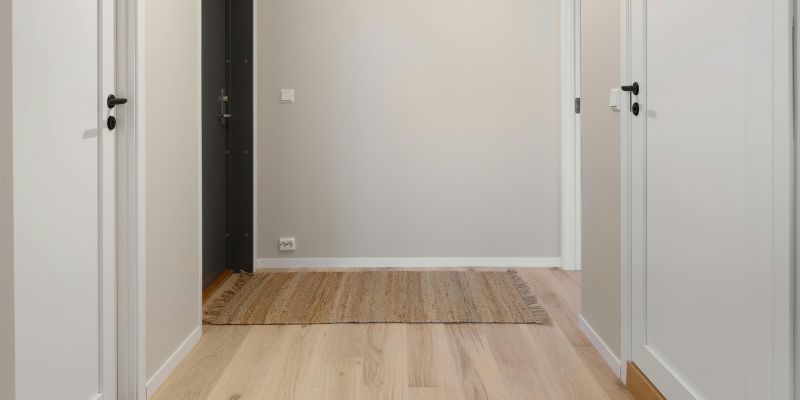
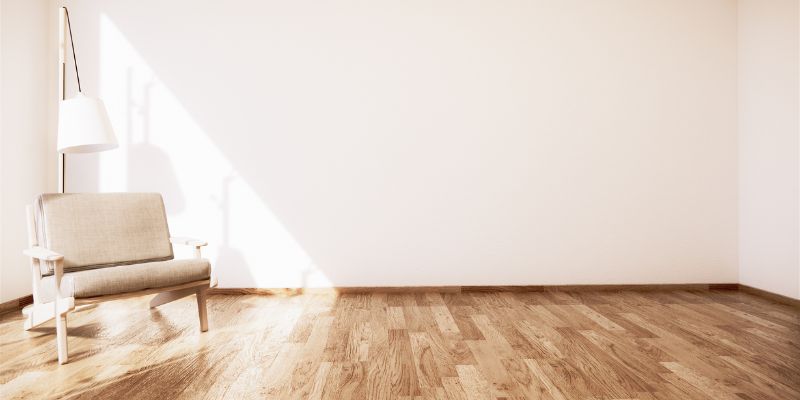
Visual Idea: A photo of a finished vinyl flooring room with sleek baseboard trim, showing how it hides gaps and adds polish.
Cost-Saving Ideas
Baseboard trim doesn’t have to cost a fortune. Shop at discount stores like Floor & Decor for deals on vinyl trim. Buy in bulk for big projects to save more. Also, reuse old trim if it’s in good shape—just repaint it!
Safety Tips for Installation
- Wear gloves when cutting vinyl or rubber trim to avoid nicks.
- Keep your work area clear to avoid tripping.
- Use a mask if cutting MDF or wood to avoid dust.
Frequently Asked Questions
What Is Baseboard Trim For Vinyl Flooring?
It’s a strip of material (like vinyl or rubber) that covers the gap between vinyl flooring and walls, protecting walls and adding style.
Can I Install Baseboard Trim Myself?
Yes, it’s beginner-friendly! Measure, cut, and glue or nail the trim. Use a level for straight lines. It’s no sweat with practice.
Which Material Is Best For Vinyl Flooring Trim?
Vinyl or rubber are top choices. They’re waterproof and durable, perfect for bathrooms or kitchens. MDF works in dry rooms.
How Much Does Baseboard Trim Cost?
Vinyl costs $0.50-1.50 per foot, rubber $0.70-2.00, MDF $0.30-1.00, and wood $1.00-3.00. Prices vary by store and quality.
Do I Need Shoe Molding With Baseboards?
Shoe molding is optional. It covers tiny gaps at the baseboard’s bottom, giving a cleaner look, especially on uneven floors.
How Do I Cut Vinyl Baseboard Trim?
Use a utility knife for straight cuts or a miter saw for angled corners. Score lightly, then cut through for a clean edge.
Can I Reuse Old Baseboard Trim?
Yes, if it’s in good shape! Sand, repaint, or restain it to match your new vinyl flooring for a budget-friendly fix.
Conclusion
Baseboard trim for vinyl flooring is a game-changer for any room. It hides gaps, protects walls, and adds a polished touch. With simple tools and a bit of patience, you can install it yourself and save money. Try starting with a small project, like a bathroom, to build confidence. Share your project ideas or ask questions in the comments—I’d love to hear from you! Let’s make your floors look amazing!