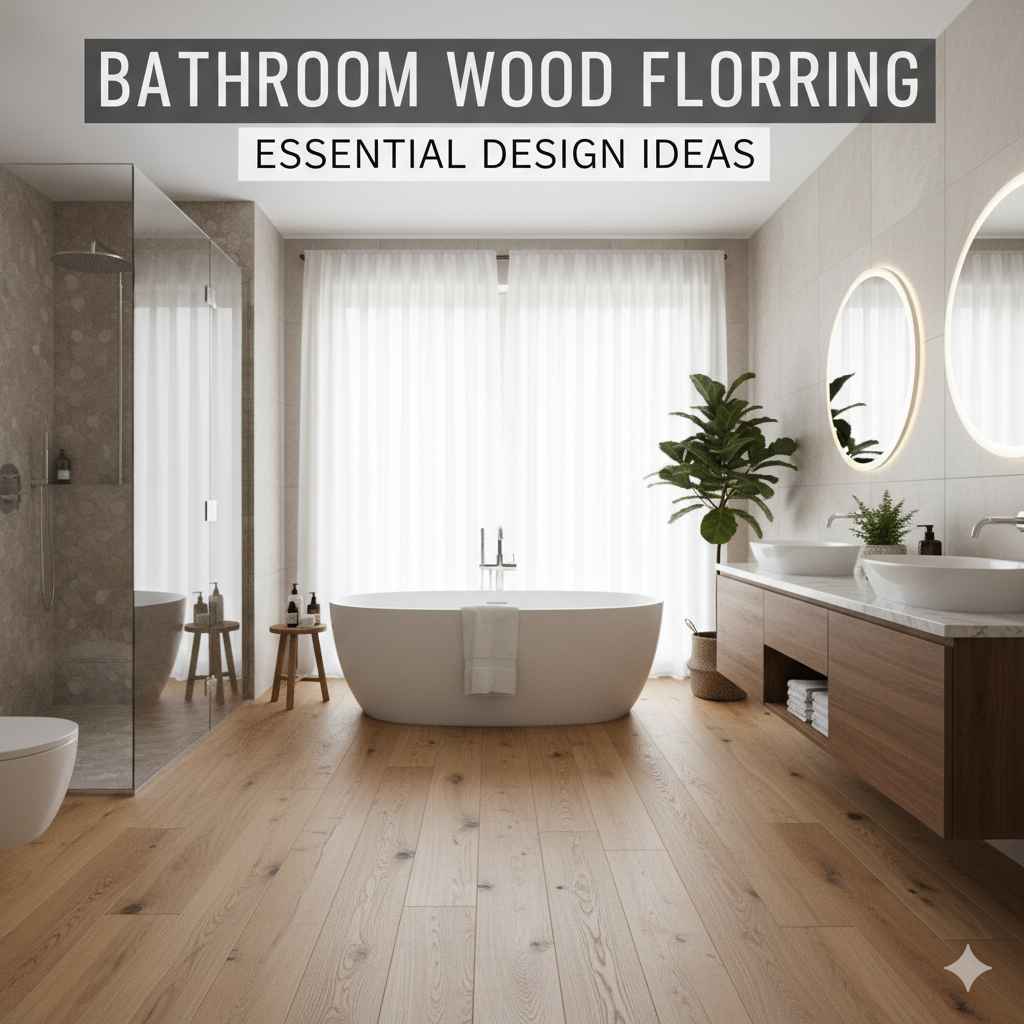
Bathroom Wood Flooring: Essential Design Ideas
Bathroom wood flooring is absolutely achievable and beautiful! With the right wood types, finishes, and installation tips, you can enjoy the warmth and style of wood in your bathroom, making it a durable and elegant space.
Thinking about wood floors for your bathroom? It’s a fantastic idea that can transform a plain bathroom into a cozy, spa-like retreat. Many people worry about moisture and damage, but with smart choices and a little know-how, you can have stunning wood floors that last for years. This guide will walk you through everything you need to know, from choosing the best wood to making sure it stays beautiful. Let’s dive in!
Why Consider Wood Flooring for Your Bathroom?
Wood flooring brings a natural warmth and elegance that other materials just can’t match. It feels great underfoot, especially on chilly mornings, and its natural beauty adds a timeless charm to any home. When used in a bathroom, it can make the space feel more like a luxurious escape.
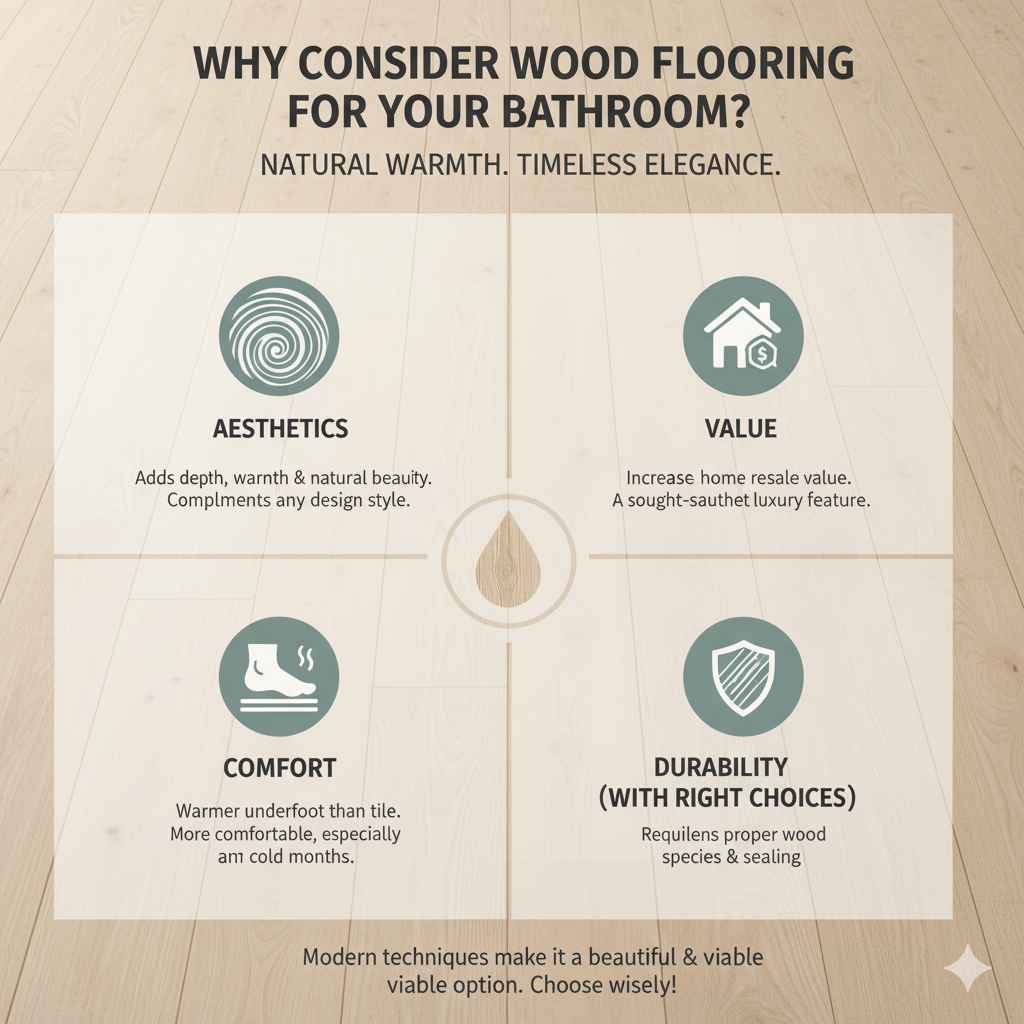
Despite common concerns about moisture, modern advancements in wood flooring and finishing techniques make it a viable and beautiful option for bathrooms. It’s all about making the right choices upfront. Let’s explore the advantages:
- Aesthetics: Natural wood grain and rich colors add depth and warmth that synthetic materials often lack. It can complement a wide range of design styles, from modern minimalist to rustic farmhouse.
- Comfort: Wood floors are warmer underfoot than tile, making your bathroom a more comfortable place, especially during colder months.
- Value: Installing wood floors can increase your home’s resale value, as it’s a sought-after feature for many homeowners.
- Durability (with the right choices): Certain types of wood and proper sealing can make bathroom wood floors surprisingly resilient to daily wear and tear.
Choosing the Right Wood for Your Bathroom
Not all wood is created equal when it comes to bathroom moisture. Hardwood is generally preferred for its durability, but its suitability depends on the species and the finish.
Best Wood Species for Damp Environments
When selecting wood for a bathroom, look for species that are naturally more resistant to moisture and temperature fluctuations. These woods tend to be denser and less prone to warping or expansion.
- Teak: Famous for its high natural oil content, teak is incredibly water-resistant and stable. It’s a top choice for boats and humid environments, making it ideal for bathrooms.
- Bamboo: While technically a grass, bamboo flooring is very hard, durable, and surprisingly water-resistant when properly sealed. Its eco-friendly nature is another bonus.
- Oak (White Oak particularly): White oak is denser and has a closed-grain structure compared to red oak, making it more resistant to moisture. It’s a classic choice that offers great durability.
- Maple: Another hard, dense wood with a fine grain, maple offers good resistance to moisture and is very durable.
- Brazilian Cherry (Jatoba): This exotic hardwood is extremely hard and dense, offering excellent durability and good resistance to moisture.
Engineered vs. Solid Hardwood for Bathrooms
This is a crucial decision. While solid hardwood can work, engineered hardwood often has an edge in bathroom settings due to its construction.
- Solid Hardwood: Made from a single piece of wood. It can be beautiful but is more susceptible to warping and buckling with changes in humidity if not meticulously maintained.
- Engineered Hardwood: Constructed from multiple layers of wood veneer or fiberboard, topped with a thin layer of real hardwood. This cross-grain construction makes it more dimensionally stable, meaning it’s less likely to expand or contract with moisture fluctuations. This stability is key for bathrooms.
For most beginner projects in a bathroom setting, I often recommend engineered hardwood. Its stability makes it a bit more forgiving and easier to work with in a space that naturally experiences more humidity.
Essential Design Ideas for Bathroom Wood Flooring
Once you’ve chosen your wood, it’s time to think about how it will look in your bathroom. Color, finish, and plank size all play a role in the overall design.
Color Palette and Style
The color of your wood floor can dramatically impact the feel of your bathroom.
- Light Woods: Light-colored woods like maple, light oak, or natural bamboo can make a small bathroom feel larger and airier. They pair well with white or neutral color schemes for a clean, spa-like look.
- Medium Woods: Oak, hickory, or walnut in natural or medium tones offer warmth and versatility. They can create a cozy, inviting atmosphere and work with a variety of decor styles.
- Dark Woods: Walnut, espresso-stained oak, or darker bamboo can add a touch of sophistication and drama. They provide a striking contrast and can make the bathroom feel more luxurious, but they may also show dust and water spots more readily.
- Gray Washed/Whitewashed: For a modern or coastal vibe, consider wood with a gray or whitewashed finish. These often combine the natural look of wood with a contemporary aesthetic.
Plank Size and Orientation
The size of your wood planks and how they are laid can influence the perception of space and style.
- Wide Planks: Wide planks (5 inches or more) can make a bathroom feel more spacious and grand. They tend to have a more contemporary or rustic appeal, depending on the wood and finish.
- Narrow Planks: Narrower planks (2-3 inches) can create a more traditional or intricate look. They can also be effective in smaller bathrooms, adding a sense of detail without overwhelming the space.
- Herringbone or Chevron Patterns: These intricate patterns add a high-end, custom feel to any bathroom. While they are more complex to install (especially for beginners), the visual impact can be stunning.
For DIY beginners, laying planks parallel to the longest wall in the room is usually the simplest approach. It maximizes the sense of space and minimizes cuts.
Finishing Touches: Sealing and Protection
The finish is your wood floor’s first line of defense against moisture. This is arguably the most critical step for bathroom wood flooring.
- Polyurethane Finishes: Water-based or oil-based polyurethane finishes are common. For bathrooms, a high-solids polyurethane with multiple coats is recommended. Look for finishes rated for high-traffic areas.
- Water-Based Polyurethane: Generally clearer and dries faster, which is great for less downtime. It’s also less prone to yellowing over time.
- Oil-Based Polyurethane: Offers a warmer tone and is typically more durable, but it has stronger fumes and a longer drying time.
- Moisture-Cure Urethane: The most durable option, often used in commercial settings. It provides excellent water and wear resistance but can be tricky for DIYers due to its quick drying time and strong fumes.
- Wax or penetrating oil finishes: These are generally NOT recommended for bathrooms as they don’t offer enough protection against standing water or high humidity.
Applying at least three coats of a high-quality polyurethane finish is essential. Ensure each coat dries completely and is lightly sanded between coats for optimal adhesion. You can find more detailed finishing guides from resources like the Woodworking Network.
Installation Considerations for Bathroom Wood Floors
Proper installation is as important as choosing the right materials. Here are key points to consider before you begin.
Moisture Barrier and Subfloor Preparation
A good subfloor and moisture barrier are non-negotiable.
- Subfloor: Your subfloor must be clean, dry, level, and structurally sound. Plywood or OSB (oriented strand board) are common choices. Ensure there are no soft spots or signs of rot.
- Moisture Barrier: A polyethylene sheeting (often 6-mil) acts as a vapor retarder to prevent moisture from the ground or concrete slab below from reaching the wood. This is especially critical for basement bathrooms or those directly over concrete.
- Acclimation: Wood flooring needs to acclimate to the room’s humidity levels for several days (usually 72 hours or more) before installation. Store the boxes flat in the room where they will be installed.
Installation Methods
The best method depends on your subfloor type and the flooring product.
- Nail-Down: This involves nailing the planks to a wooden subfloor. It’s a secure method but requires a pneumatic nailer and is not suitable for concrete subfloors.
- Staple-Down: Similar to nail-down, using a staple gun.
- Glue-Down: Applying a specialized wood flooring adhesive to the subfloor. This is a good option for both wood and concrete subfloors and provides a strong bond. It can also offer some sound dampening.
- Floating Floor: In this method, the planks interlock and are not attached to the subfloor. They are often used with engineered wood and may have a built-in underlayment. This allows for expansion and contraction.
For bathrooms, glue-down or a well-installed floating floor engineered wood are often the most recommended methods due to their stability and ability to handle slight subfloor imperfections.
Dealing with Water Puddles and High Humidity
Even with the best wood and finish, standing water is the enemy. Regular maintenance and smart design choices can mitigate this.
- Proper Sealing: Reiterate the importance of multiple coats of high-quality polyurethane.
- Good Ventilation: Ensure your bathroom has an effective exhaust fan that is used during and after showers to reduce humidity.
- Wipe Up Spills Immediately: Make it a habit to wipe up any standing water from splashes or leaks immediately with a soft cloth.
- Mats and Rugs: Use absorbent bath mats and rugs, especially in front of the shower, tub, and sink. Ensure they don’t trap moisture underneath for extended periods.
- Expansion Gaps: Leave a small expansion gap (typically 1/4 to 1/2 inch) around the perimeter of the room, especially where the flooring meets walls, cabinets, and fixtures. This gap is covered by baseboards or trim.
Remember, even the most durable wood floor can be damaged by prolonged exposure to standing water. Think of it like protecting your tools; regular care goes a long way.
Maintenance and Care for Bathroom Wood Floors
Keeping your wood floors looking their best in a bathroom requires diligent, but simple, care.
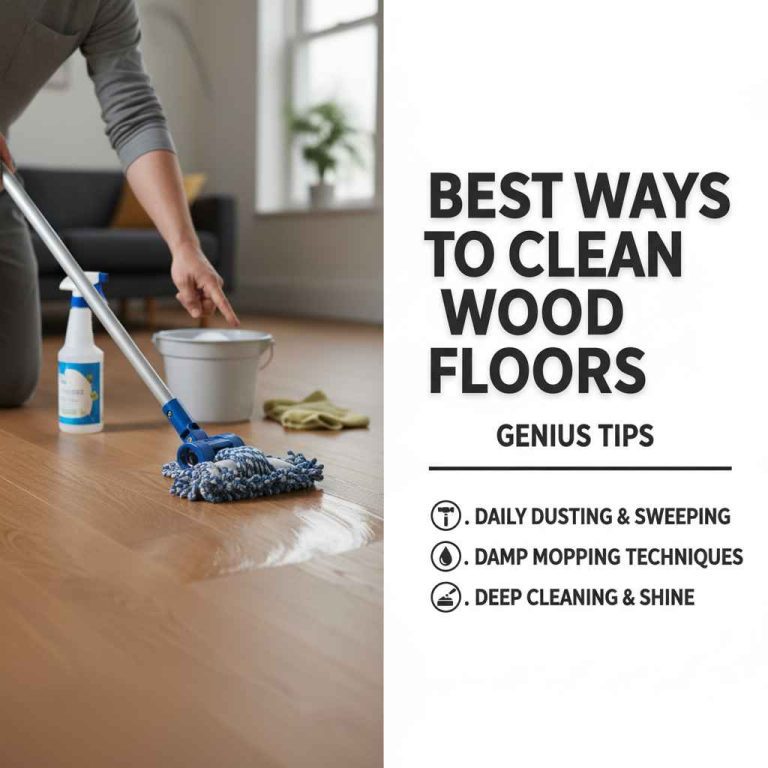
Daily and Weekly Cleaning
Simple cleaning practices are key to longevity.
- Sweep or Vacuum: Regularly sweep or vacuum your floors (using a soft brush attachment on your vacuum) to remove dust, dirt, and grit that can scratch the finish.
- Damp Mopping: Use a well-wrung-out mop (microfiber mops are excellent) with a wood floor cleaner specifically designed for polyurethane finishes. Avoid excessive water; the mop should feel barely damp.
- Avoid Harsh Cleaners: Never use abrasive cleaners, ammonia-based products, or steam mops, as they can damage the wood and its finish.
Long-Term Protection
How to protect your floor over time.
- Re-coating: Depending on wear and tear and the quality of the finish, you might need to re-coat the floor with polyurethane every 5-10 years. This involves a light sanding and application of new coats.
- Furniture Pads: Place felt pads under all furniture legs to prevent scratches.
- Entryway Mats: Use doormats at all exterior entrances to catch dirt and moisture before it reaches the bathroom floor.
Addressing Scratches and Dents
Even with care, accidents happen.
- Minor Scratches: For very light surface scratches in the finish, you can often use a wood floor repair kit or a furniture polish designed for wood.
- Deeper Scratches/Dents: Deeper damage may require touching up with matching stain and a clear topcoat, or in severe cases, plank replacement.
- Professional Refinishing: If the floor becomes significantly worn or damaged, a professional can often sand down and refinish the entire floor to restore its original beauty.
A great resource for understanding wood care is the National Wood Flooring Association (NWFA), which offers consumer guides and best practices.
Comparing Wood Flooring to Other Bathroom Options
It’s helpful to see how wood floors stack up against more traditional bathroom materials.
| Flooring Material | Pros | Cons | Bathroom Suitability |
|---|---|---|---|
| Wood Flooring (Properly sealed) | Warm underfoot, elegant aesthetic, natural beauty, increases home value. | Requires specific species/finishes, vulnerable to standing water, higher maintenance than tile, can be more expensive. | Good to Excellent (with careful selection & installation) |
| Ceramic/Porcelain Tile | Highly water-resistant, durable, wide range of styles, low maintenance, affordable options. | Cold underfoot, grout can stain/crack, can be slippery when wet, installation can be labor-intensive. | Excellent |
| Luxury Vinyl Tile (LVT) | 100% waterproof, durable, mimics wood/stone well, affordable, easy to install/maintain. | Lacks the natural feel/warmth of real wood, can scratch or dent, environmental concerns with some products. | Excellent |
| Natural Stone Tile | Luxurious aesthetic, durable, unique patterns, can be very water-resistant (depending on stone). | Expensive, can be cold and hard, some stones require sealing (e.g., travertine, marble), can chip or stain. | Good to Very Good |
As you can see, wood flooring offers a unique blend of comfort and style. While tile and LVT might be more forgiving in terms of water resistance, a well-chosen and maintained wood floor can provide a warmth and beauty that’s unmatched.
Common Beginner Mistakes to Avoid
Even with the best intentions, beginners can make mistakes. Being aware of these can help you steer clear of trouble.
| Common Mistake | Why it’s a Problem | How to Avoid It |
|---|---|---|
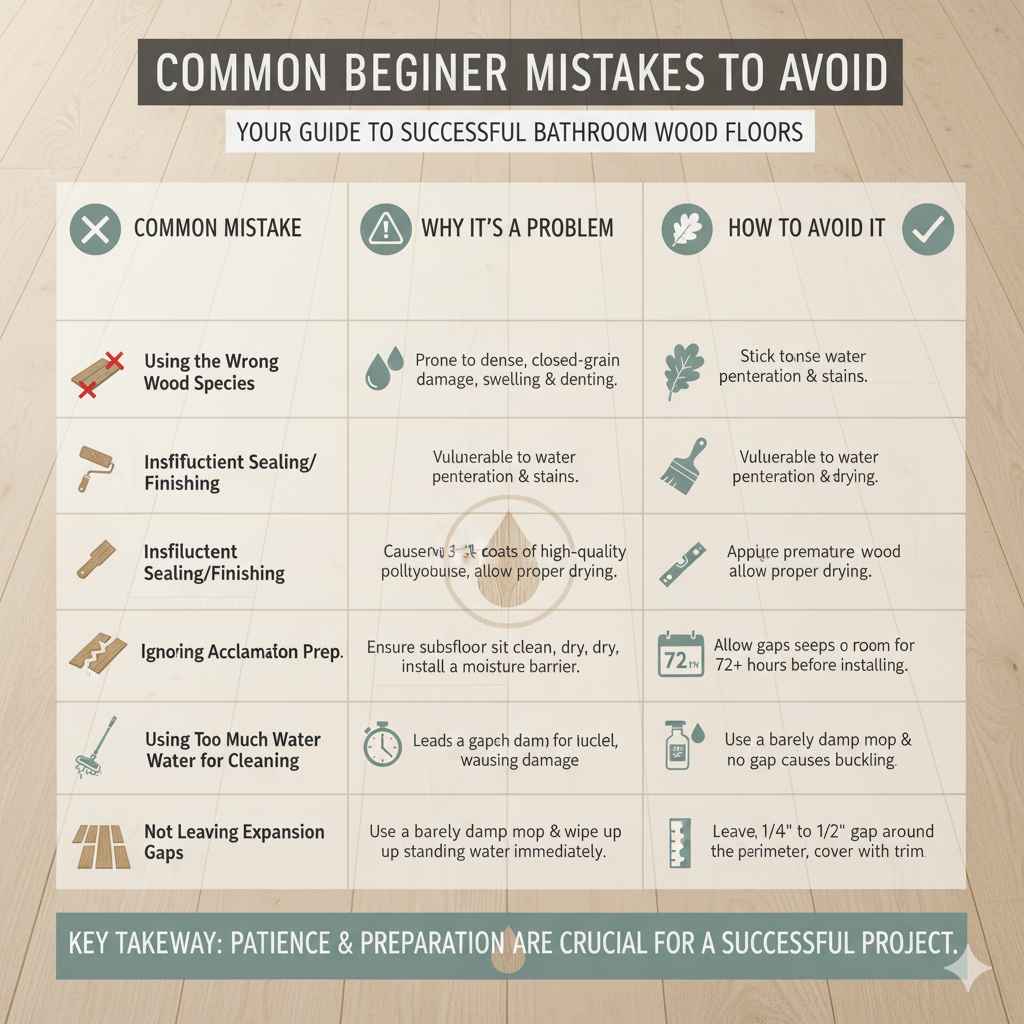
| Using the Wrong Wood Species | Softwoods like pine or less dense hardwoods are too prone to moisture damage, swelling, and denting. | Stick to dense, closed-grain hardwoods like white oak, maple, or engineered options specifically recommended for kitchens/baths. |
| Insufficient Sealing/Finishing | Not enough coats or the wrong type of finish leaves the wood vulnerable to water penetration and stains. | Apply at least 3-4 coats of high-quality polyurethane, allowing proper drying time between coats. |
| Ignoring Subfloor Prep | A warped, wet, or uneven subfloor will cause your new floor to fail prematurely. | Ensure your subfloor is perfectly clean, dry, level, and always install a proper moisture barrier. |
| Skipping Acclimation | Wood needs to adjust its moisture content to the room’s environment before installation. If not, it will expand or contract significantly after installation, leading to gaps or buckling. | Let the wood sit in the room for at least 72 hours (or as manufacturer recommends) before installing. |
| Using Too Much Water for Cleaning | “Wet mopping” is the enemy of wood floors. Excess water can seep into seams and cause damage. | Always use a barely damp mop and wipe up any standing water immediately. |
| Not Leaving Expansion Gaps | Wood needs space to expand and contract naturally. Without gaps around the perimeter, it can buckle. | Ensure you leave a consistent gap (usually 1/4″ to 1/2″) around the entire room and cover it with trim. |
The key takeaway here is patience and preparation. Rushing through any of these steps significantly increases the risk of a failed project.
Frequently Asked Questions (FAQ)
Q1: Is wood flooring really suitable for bathrooms?
A: Yes, with the right types of wood (like teak, sealed oak, or durable engineered wood), a proper moisture-resistant finish, and careful installation, wood flooring can be a beautiful and durable choice for bathrooms. Always ensure good ventilation and wipe up spills promptly.