Beeswax On Hardwood Floors Pros Cons
Wondering if beeswax is the right choice for your wooden floors? It’s a common question, and sometimes figuring out the Beeswax on Hardwood Floors: Pros & Cons can feel a bit tricky, especially if you’re new to floor care. Don’t worry, we’re here to make it simple.
We’ll walk through everything you need to know, step by step, so you can make the best decision for your beautiful floors. Get ready to learn the good and the not-so-good about using beeswax.
Exploring Beeswax On Hardwood Floors Pros Cons
This section is all about getting a clear picture of what beeswax brings to your hardwood floors. We’ll look at why people choose it and what challenges might come up. Understanding these points helps you decide if it’s a good fit for your home and your floors.
We will break down the benefits you can enjoy and the potential downsides to be aware of.
The Good Side Beeswax Benefits
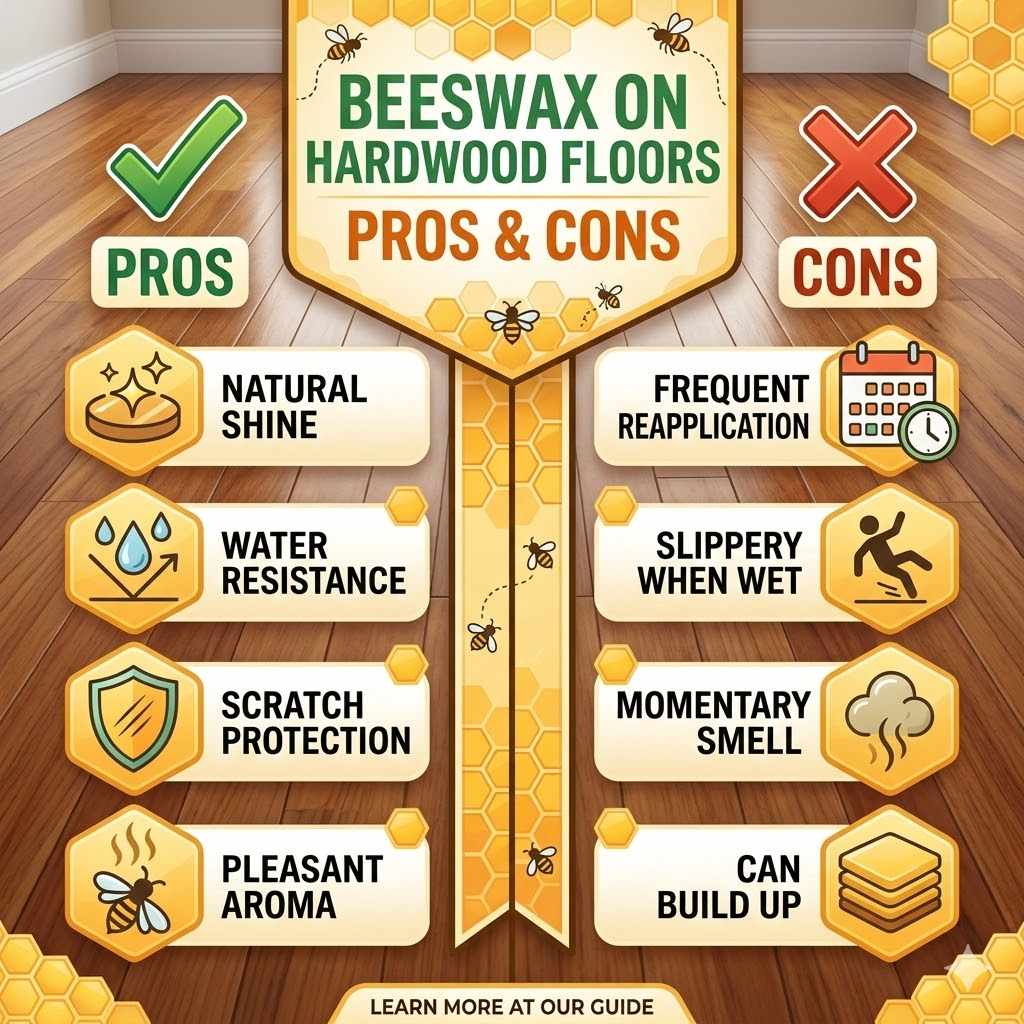
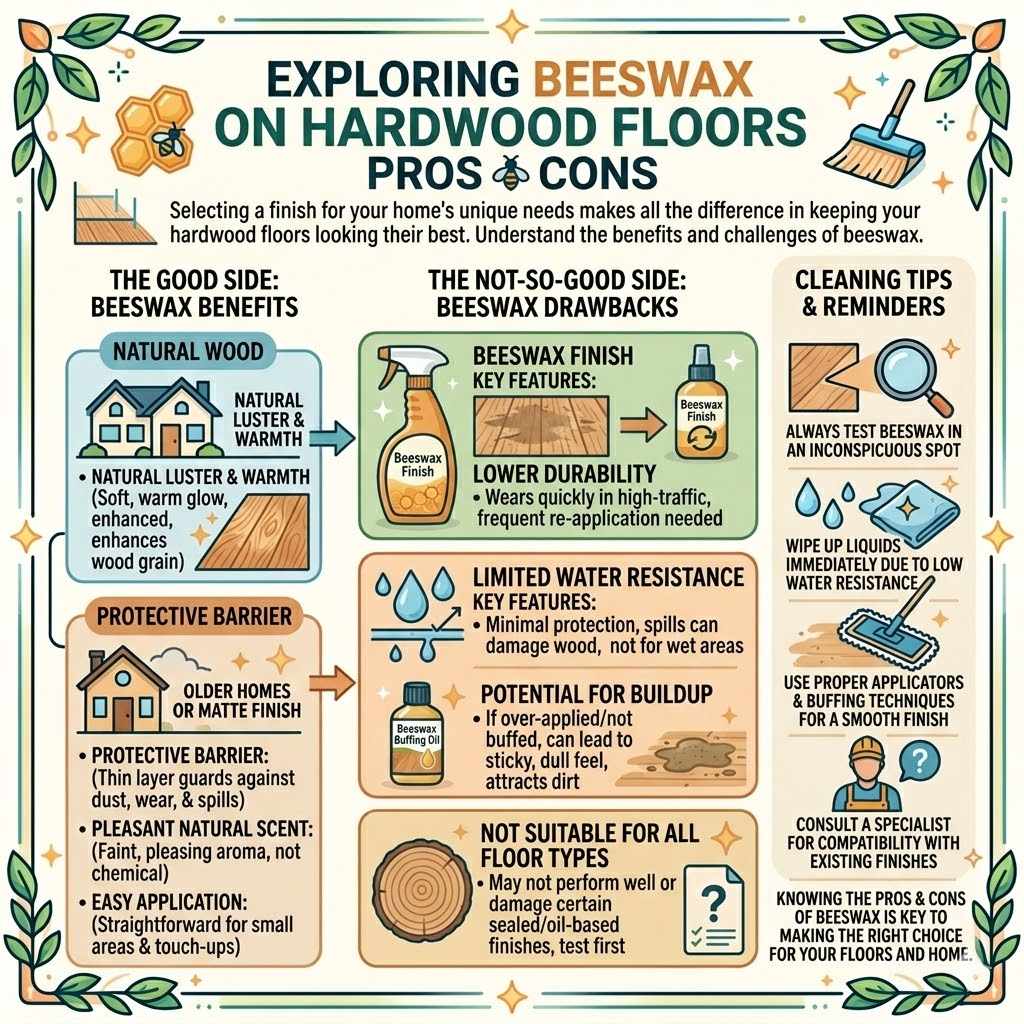
Beeswax offers some lovely advantages when used on hardwood floors. It creates a natural protective layer that can add a soft sheen. This can make your floors look warmer and more inviting.
It’s a way to bring a touch of nature into your home care routine.
Natural Luster and Warmth
One of the biggest pluses of beeswax is the beautiful, natural shine it imparts. Unlike synthetic finishes that can look plasticky, beeswax gives floors a soft, warm glow. This enhances the natural grain and color of the wood, making your floors look richer and more inviting.
It’s a subtle beauty that many homeowners appreciate, offering a classic look that never goes out of style. Many find this natural look far superior to the sometimes harsh gleam of chemical polishes.
Protective Barrier
Beeswax creates a thin, yet effective, protective layer on your hardwood floors. This layer helps to guard against minor spills, dust, and everyday wear and tear. While it’s not as heavy-duty as some modern sealants, it offers a good level of protection for general household use.
This barrier can help prevent water from soaking into the wood too quickly and can make cleaning up small messes easier. It acts as a gentle shield for your floor’s surface.
Pleasant Natural Scent
Many beeswax products come with a faint, pleasant, natural scent. This is a welcome change from the strong chemical odors often associated with floor cleaners and polishes. The mild aroma can add to the overall ambiance of your home, creating a more natural and comforting environment.
It’s a small detail, but one that contributes to a more pleasant experience when caring for your floors.
Easy Application for Small Areas
For small areas or touch-ups, applying beeswax can be quite straightforward. You can often rub it in with a soft cloth, working it into the wood. This makes it a convenient option for maintaining specific spots that might show a little extra wear.
It doesn’t require complicated tools or extensive preparation for minor tasks, making it accessible for quick fixes.
The Not-So-Good Side Beeswax Drawbacks
While beeswax has its charms, it’s important to be aware of its limitations. It doesn’t offer the same level of durability or water resistance as many commercial floor finishes. This means floors treated with beeswax might need more frequent care and attention.
Understanding these challenges helps you manage your expectations and plan your floor maintenance effectively.
Lower Durability
Compared to polyurethane or other modern sealants, beeswax is not as durable. It can wear away more quickly, especially in high-traffic areas of your home. This means you might need to reapply it more often to maintain the protective layer and shine.
For busy households with lots of foot traffic, this can become a regular chore. The protective qualities are less robust, meaning scratches and wear can appear sooner.
Limited Water Resistance
Beeswax offers minimal protection against water. Spills that sit for too long can still penetrate the wood, potentially causing damage. It’s not recommended for areas that are prone to moisture, like bathrooms or kitchens with a high risk of spills.
You’ll need to be diligent about wiping up any liquids immediately to prevent water spots or warping.
Potential for Buildup
If too much beeswax is applied, or if it’s not buffed out properly, it can lead to a sticky or dull buildup over time. This can make the floor feel tacky underfoot and can even attract more dirt and dust. Achieving a smooth, even finish requires a light hand and proper buffing techniques.
This buildup can be difficult to remove and may require a specific cleaning process.
Not Suitable for All Floor Types
Beeswax is best suited for certain types of wood finishes. It may not perform well or could even damage floors that have been previously sealed with certain synthetic or oil-based finishes. It’s always a good idea to test beeswax in an inconspicuous area first to ensure compatibility with your existing floor treatment.
How Beeswax Works On Floors
Understanding how beeswax interacts with hardwood is key to using it effectively. It acts as a surface treatment, forming a protective film. This film isn’t a deep penetration seal like some varnishes.
Instead, it sits on top, offering a gentle barrier. It fills tiny pores and adds a bit of gloss, but its strength lies in its natural composition.
The Composition Of Beeswax Polish
Beeswax polishes are typically a blend of natural beeswax and a carrier oil, like mineral oil or linseed oil. The beeswax is the solid component, providing the structure and protection. The oil helps to make the wax pliable and easier to spread.
It also aids in the absorption of the wax into the wood’s surface. This combination creates a paste that can be buffed into a shine.
The ratio of wax to oil can vary, affecting the product’s consistency and performance. Some polishes are softer and easier to apply, while others are firmer. This blend is designed to be natural and biodegradable, appealing to those who want to avoid harsh chemicals.
It’s important to check the ingredients if you have specific allergies or concerns about the oils used.
The Application Process
Applying beeswax polish involves a few simple steps. First, ensure your floors are clean and dry. Then, apply a small amount of polish to a soft cloth.
Work it into the wood in small sections, following the grain. After applying, let it sit for a short period, then buff with a clean, dry cloth to bring out the shine.
Preparation is Key
Before you start applying any polish, proper preparation is essential for good results. Sweep or vacuum your floors thoroughly to remove any loose dirt, dust, or debris. If your floors are particularly dirty or have old wax buildup, you might need to clean them with a mild wood floor cleaner.
Ensure the floors are completely dry before you proceed. This step ensures the beeswax can properly adhere to the wood surface and create an even finish.
Applying Thin Coats
The most common mistake when using beeswax is applying too much at once. It’s far better to apply several thin coats than one thick one. Use a clean, lint-free cloth to apply a small amount of polish.
Work it into the wood in the direction of the grain, covering a small area at a time. This technique ensures even coverage and prevents the waxy buildup that can make floors feel sticky.
Buffing for Shine
After applying the polish and letting it haze over slightly, it’s time to buff. Use a clean, dry cloth or a soft-bristle buffing brush. Buff the surface in circular motions or follow the grain of the wood.
This process not only brings out a beautiful sheen but also helps to remove any excess wax and create a smooth finish. The more you buff, the more the shine will develop.
Beeswax Versus Other Floor Finishes
When considering Beeswax on Hardwood Floors: Pros & Cons, it’s helpful to compare it to other common floor finishes. Polyurethane is a popular choice known for its durability and water resistance. It forms a tough, protective layer that stands up well to heavy foot traffic and spills.
However, it can sometimes look more artificial and may require professional application.
Oil finishes, like tung oil or Danish oil, penetrate the wood to enhance its natural beauty and provide a matte finish. They are easier to repair than polyurethane, as you can reapply oil to damaged areas. However, they generally offer less protection against scratches and spills than polyurethane.
Here’s a quick comparison table:
| Feature | Beeswax | Polyurethane | Oil Finish |
|---|---|---|---|
| Appearance | Natural, soft sheen | Varies, can be matte to high gloss, sometimes looks synthetic | Natural, matte to satin finish, enhances wood grain |
| Durability | Low | High | Medium |
| Water Resistance | Very Low | High | Low to Medium |
| Ease of Application | Easy for small areas, can be challenging for large floors | Can be challenging, often requires professional application | Relatively easy, can be DIY |
| Maintenance | Frequent reapplication needed | Low, but can be difficult to repair | Periodic reapplication needed |
| Chemicals | Natural | Synthetic, strong fumes | Natural to synthetic options available, less fumes than polyurethane |
Real-Life Examples And Scenarios
Imagine Sarah, who loves a natural look for her antique oak floors. She opts for beeswax polish. For the first few months, her floors have a beautiful, soft sheen.
She enjoys the faint, natural scent. However, after a year, she notices wear patterns in the living room where the family walks most. She decides to reapply beeswax to those areas, a process that takes her an afternoon.
In contrast, consider Mark and Emily. They have two young children and a dog, and their floors see a lot of action. They choose a water-based polyurethane finish for their maple floors.
While it doesn’t have the same warm glow as beeswax, it holds up incredibly well against spills from sippy cups and muddy paw prints. They only need to clean their floors, without worrying about frequent touch-ups.
Another scenario involves an older home with original pine floors. The owners want to preserve the vintage feel. They opt for a beeswax finish because it’s reversible and won’t permanently alter the wood.
They understand it requires regular care, but they believe the historical integrity is worth it. They set a schedule for a light reapplication every six months.
Maintaining Floors With Beeswax
Keeping floors that are treated with beeswax looking their best requires a bit of consistent effort. Because it’s a natural product with less robust protection, regular care is more important. This involves gentle cleaning and periodic reapplication.
Proper maintenance ensures your floors remain beautiful and protected for as long as possible.
Daily And Weekly Care
For daily upkeep, simply sweep or vacuum your floors to remove dust and debris. This prevents grit from scratching the beeswax surface. For weekly cleaning, use a dry mop or a slightly damp mop.
Ensure the mop is wrung out very well; you don’t want to saturate the wood.
Avoid using harsh chemical cleaners or abrasive pads, as these can strip away the beeswax finish. If you encounter a spot that needs more attention, use a cleaner specifically designed for wood floors or a very mild solution of water and a tiny bit of pH-neutral soap. Always wipe up spills immediately.
Gentle Cleaning Practices
When it comes to cleaning floors treated with beeswax, gentleness is paramount. Harsh chemicals can break down the wax and even damage the wood. Always opt for the mildest cleaning solution possible.
A simple sweep or vacuum is often sufficient for daily dirt. For more thorough cleaning, a dry mop is ideal. If you must use a damp mop, ensure it’s barely moist and follow the wood grain.
This prevents water from sitting on the surface and dulling the finish.
Addressing Spills Promptly
Spills are the enemy of any wood floor, and this is especially true for those treated with beeswax. Because the water resistance is low, liquids can soak in quickly and cause staining or damage. Make it a habit to wipe up any spills, no matter how small, as soon as they happen.
Keep a soft cloth handy for this purpose. This simple act of promptness can save your floors from a lot of potential trouble.
Regular Dusting And Sweeping
Regular dusting and sweeping are not just about keeping your home tidy; they are crucial for maintaining the beeswax finish. Tiny particles of dirt and grit can act like sandpaper underfoot, slowly wearing away the protective layer of wax. By regularly removing these particles, you help to preserve the integrity and shine of your beeswaxed floors.
This practice is a low-effort, high-reward task for floor longevity.
Reapplying Beeswax Polish
The frequency of reapplication depends on how much traffic your floors get. In high-traffic areas, you might need to reapply every few months. In less used areas, once or twice a year might be enough.
When reapplying, you don’t necessarily need to strip the old wax unless there’s a significant buildup or an uneven finish.
Just clean the floors thoroughly, let them dry, and apply a new thin layer of polish. Buffing it well is key to achieving a uniform sheen. Over time, you can build up a nice, protective layer.
This process helps to refresh the finish and continue protecting your wood.
Determining Reapplication Needs
You’ll know it’s time to reapply beeswax when the shine starts to fade, especially in high-traffic areas. You might notice dull patches or that the wood looks drier than before. Another sign is if water or spills no longer bead up on the surface but instead seem to soak in more readily.
Don’t wait until the wood looks completely dry or worn to reapply; a proactive approach is best.
The Reapplication Process
When reapplying, start by cleaning your floors thoroughly. Remove all dust and debris. Then, take a small amount of beeswax polish on a clean cloth and apply it evenly in thin coats, following the wood grain.
Allow the polish to haze over for a few minutes, then buff it vigorously with a clean, dry cloth or a floor buffer. A good buffing is what brings out the beautiful shine and ensures an even finish.
Dealing With Buildup
If you notice a sticky or dull buildup from too much wax or from years of reapplication without proper buffing, you might need to address it. Sometimes, a thorough buffing with a fine steel wool pad (use with caution and follow the grain) can help remove excess. For more significant buildup, you may need to use a dedicated wax stripper, but always test this in an inconspicuous area first.
Proper light application and buffing are the best ways to prevent this issue.
When To Avoid Beeswax
There are certain situations where beeswax might not be the best choice for your hardwood floors. If your floors are in a very wet environment, like a bathroom or a frequently used kitchen, a more water-resistant finish is essential. Also, if your floors experience extremely heavy foot traffic, like in a commercial setting, beeswax might not offer enough protection.
If you prefer a very low-maintenance floor that can withstand a lot of abuse without frequent touch-ups, beeswax is likely not for you. It is best suited for areas where a beautiful, natural look is prioritized over extreme durability and water resistance. Always consider your lifestyle and the specific conditions of your home before choosing a floor finish.
Pros And Cons Summary For Beeswax
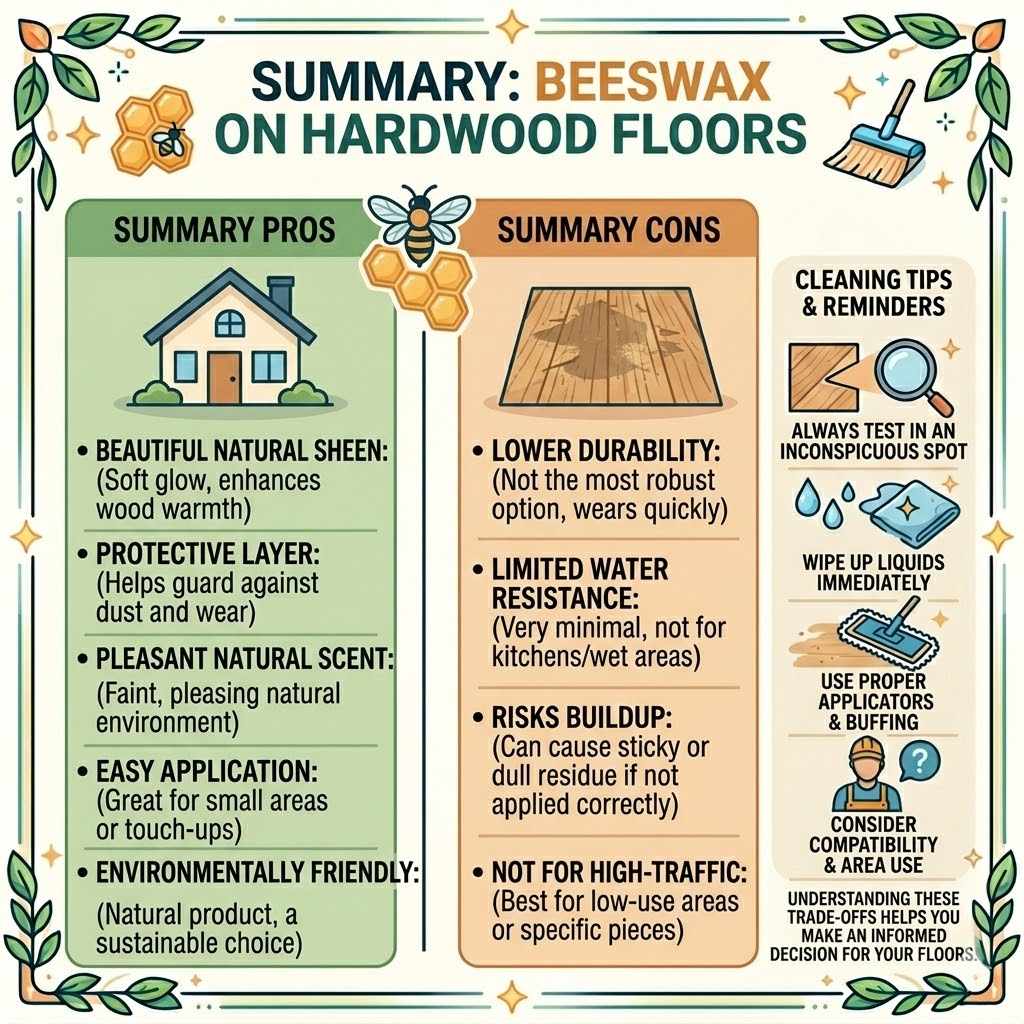
To wrap up our discussion on Beeswax on Hardwood Floors: Pros & Cons, let’s look at the key points. Beeswax offers a beautiful, natural sheen that enhances the warmth of wood. It provides a protective layer and has a pleasant natural scent.
It’s also relatively easy to apply for small touch-ups and is environmentally friendly.
However, it’s not the most durable option and offers very limited water resistance. It can also lead to buildup if not applied correctly. For high-traffic or wet areas, more robust finishes are usually a better choice.
Understanding these trade-offs helps you make an informed decision.
Frequently Asked Questions
Question: Is beeswax suitable for all hardwood floor types
Answer: Beeswax is best suited for certain types of wood finishes. It may not perform well or could even damage floors that have been previously sealed with certain synthetic or oil-based finishes. It’s always a good idea to test beeswax in an inconspicuous area first to ensure compatibility with your existing floor treatment.
Question: How often do I need to reapply beeswax
Answer: The frequency of reapplication depends on how much traffic your floors get. In high-traffic areas, you might need to reapply every few months. In less used areas, once or twice a year might be enough.
Question: Can beeswax protect my floors from water damage
Answer: Beeswax offers minimal protection against water. Spills that sit for too long can still penetrate the wood, potentially causing damage. It’s not recommended for areas that are prone to moisture.
Question: What is the main benefit of using beeswax on floors
Answer: One of the biggest pluses of beeswax is the beautiful, natural shine it imparts. This enhances the natural grain and color of the wood, making your floors look richer and more inviting, offering a classic look.
Question: What happens if I apply too much beeswax
Answer: If too much beeswax is applied, or if it’s not buffed out properly, it can lead to a sticky or dull buildup over time. This can make the floor feel tacky underfoot and can even attract more dirt and dust.
Conclusion
Beeswax on hardwood floors offers a natural glow and simple protection but needs regular care. It’s a great choice for a warm, inviting look in lower-traffic areas. For busy homes or wet spots, consider other options.
Proper application and gentle cleaning will keep your beeswaxed floors looking their best.