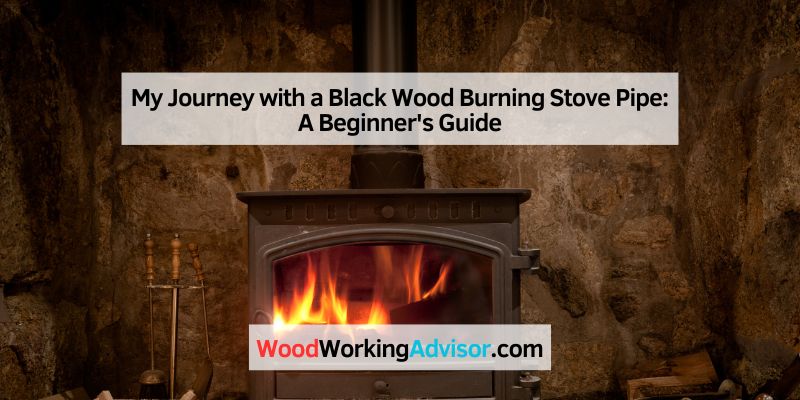
My Journey with a Black Wood Burning Stove Pipe: A Beginner’s Guide
I’ll never forget the first time I fired up my wood stove. The cozy crackle, the warm glow—it was like magic! But then I noticed smoke sneaking out where it shouldn’t. That’s when I learned the hard way about the importance of a black wood burning stove pipe. This article is your go-to guide for understanding, installing, and maintaining this key piece of your wood stove setup. Whether you’re new to wood stoves or a seasoned pro, I’ll share simple tips, fun examples, and practical advice to make your experience a breeze. Let’s dive in and make your home warm and safe!
What Is a Black Wood Burning Stove Pipe?
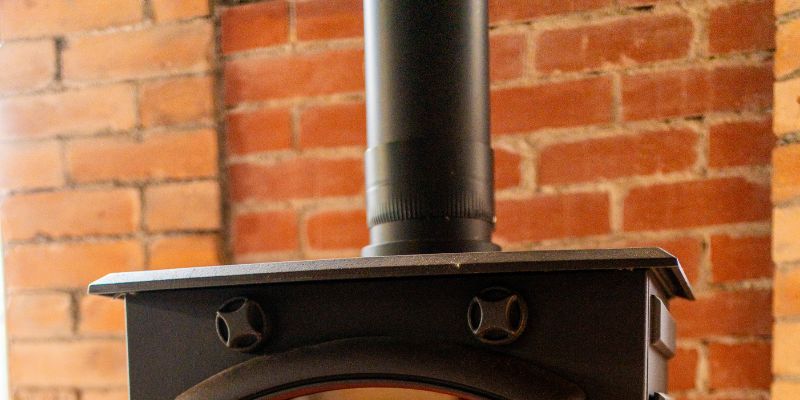
A black wood burning stove pipe connects your wood stove to the chimney, carrying smoke and gases safely outside. It’s made of sturdy steel, painted with high-heat black paint to look sleek and resist rust. Think of it as the highway for your stove’s exhaust—it needs to be strong, secure, and properly installed to keep your home safe and warm.
Why does it matter? A good stove pipe ensures your fire burns efficiently, prevents smoke leaks, and reduces creosote buildup (that sticky, flammable stuff that can cause chimney fires). I learned this when my first pipe wasn’t sealed right, and my living room smelled like a campfire gone wrong!
Why Choose a Black Wood Burning Stove Pipe?
Black stove pipes are popular for good reasons. They’re tough, affordable, and blend well with most wood stoves. Here’s why they’re a great pick:
- Looks Great: The black finish gives a classic, rustic vibe that matches cozy home decor.
- Heat Resistant: Made to handle high temperatures (up to 600°F), they’re built to last.
- Easy to Find: Available at most hardware stores or online at places like Rockford Chimney Supply.
But there’s a catch. They’re not insulated, so you need at least 18 inches of clearance from walls or furniture to avoid fire risks. My first setup was too close to a wooden shelf—yikes, lesson learned!
How to Install a Black Wood Burning Stove Pipe: A Simple Guide
Installing a black wood burning stove pipe is easier than it sounds, but it’s not a “wing it” job. Here’s a step-by-step guide I wish I had when I started:
- Measure Your Space: Check the distance from your stove’s flue collar to the chimney. Add a few inches for overlaps. I used a tape measure and sketched a quick diagram.
- Gather Tools and Materials: You’ll need a stove pipe kit, high-temp sealant, screws, a screwdriver, and heat-resistant gloves. I got my kit from Northline Express.
- Connect the Pipe: Slide the pipe’s female end over the stove’s flue collar. The male end should point down to catch creosote drips. Secure with screws.
- Seal the Joints: Apply high-temp silicone sealant (like Silicone Depot’s Hi-Temp Red) to prevent leaks. I skipped this once and regretted it!
- Test the Setup: Light a small fire and check for smoke leaks. Walk around and sniff—trust me, you’ll know if something’s off.
Visual Idea: A simple diagram showing the stove pipe connecting the stove to the chimney, with arrows for airflow and labels for male/female ends.
Common Mistakes to Avoid
- Wrong Direction: The male end must point down. I got this wrong once, and creosote dripped onto my floor!
- Mixing Brands: Stick to one brand (like DuraBlack) for a tight fit. Mixing brands can cause leaks.
- Skipping Maintenance: Clean your pipe yearly to avoid creosote buildup. A chimney sweep saved me from a potential fire hazard.
Tools and Materials You’ll Need
Here’s a quick table to help you gather what you need:
| Item | Purpose | Where to Buy | Cost (Approx.) |
|---|---|---|---|
| Black Stove Pipe Kit | Connects stove to chimney | Hardware stores, Northline Express | $50-$100 |
| High-Temp Silicone Sealant | Seals joints to prevent leaks | Silicone Depot, Amazon | $10-$20 |
| Heat-Resistant Gloves | Protects hands when handling pipes | Local hardware store | $15-$30 |
| Screwdriver and Screws | Secures pipe connections | Any hardware store | $5-$10 |
Caption: Basic tools and materials for installing a black wood burning stove pipe. Prices vary by region.
Benefits and Drawbacks of Black Wood Burning Stove Pipes
Benefits
- Affordable: Cheaper than double-wall pipes, perfect for budget-conscious folks like me.
- Easy to Install: Telescoping sections make fitting a snap—no cutting needed.
- Durable: High-quality pipes last years with proper care.
Drawbacks
- Not Insulated: Needs more clearance to avoid fire risks.
- Rust Risk: If exposed to moisture, the steel can rust over time.
- Not for Chimneys: Only use it indoors to connect to a proper chimney.
Visual Idea: A side-by-side comparison diagram of single-wall vs. double-wall stove pipes, showing clearance needs and heat flow.
My Top Tips for Using a Black Wood Burning Stove Pipe
After years of tinkering, here are my go-to tips:
- Use a Stove Pipe Thermometer: It shows if your fire is too hot or too cool (aim for 284-464°F). I got mine from Charnwood Stoves and it’s a game-changer.
- Burn Seasoned Wood: Wet wood creates more creosote, clogging your pipe. I learned this after a smoky mess!
- Check Joints Monthly: A quick look ensures no leaks or loose screws. It takes two minutes and saves headaches.
Here’s a cost-saving idea: Buy seasoned wood in bulk from local suppliers. I saved $50 last winter by splitting a cord with a neighbor!
Comparing Single-Wall vs. Double-Wall Stove Pipes
Not sure if a black wood burning stove pipe is right for you? Here’s a table comparing it to double-wall pipes:
| Feature | Single-Wall Black Pipe | Double-Wall Pipe |
|---|---|---|
| Cost | $50-$100 | $100-$200 |
| Clearance Needed | 18 inches | 6-9 inches |
| Heat Efficiency | Good | Better (insulated) |
| Installation | Easy, telescoping sections | Slightly harder |
| Best For | Budget setups, indoor use | Tight spaces, high efficiency |
Caption: Single-wall vs. double-wall stove pipes—choose based on your space and budget.
Fun Example: My Cozy Winter Setup
Last winter, I set up my stove pipe in a tiny cabin. I used a 6-inch black stove pipe, sealed it with red silicone, and added a thermometer. The setup took an hour, and soon my cabin was toasty warm. I even boiled water on the stove for hot cocoa—talk about a win! Kids in my family loved gathering around, roasting marshmallows. It’s amazing how a simple pipe makes such a big difference.
Visual Idea: A sketch of a cozy cabin with a wood stove, pipe leading to the chimney, and a thermometer showing the ideal temperature.
Frequently Asked Questions
What Is a Black Wood Burning Stove Pipe Used For?
It carries smoke and gases from your wood stove to the chimney, keeping your home safe and warm. It’s a key part of the stove system, ensuring proper airflow and preventing leaks.
Can I Use a Black Stove Pipe Outdoors?
No, it’s for indoor use only. Black stove pipes rust outside and aren’t insulated for chimney use. Use a Class-A chimney pipe for outdoor venting.
How Do I Clean a Black Wood Burning Stove Pipe?
Use a chimney brush to scrub out creosote yearly. Wear a mask, open the pipe sections, and sweep gently. Hire a pro if you’re unsure—it’s worth it!
Is a Black Stove Pipe Safe?
Yes, if installed correctly with proper clearance. Seal joints, use a thermometer, and check for leaks regularly to avoid fire risks.
How Long Does a Black Stove Pipe Last?
About 5-10 years with good care. Clean it yearly, avoid wet wood, and check for rust to make it last longer.
Can I Paint a Black Stove Pipe?
Only use high-temp paint made for stove pipes. Regular paint won’t handle the heat and could release toxic fumes. I tried it once—big mistake!
What’s the Best Brand for Black Stove Pipes?
DuraBlack and Rock-Vent are top picks. They’re durable, easy to install, and widely available. Check reviews before buying.
Conclusion
A black wood burning stove pipe is your ticket to a warm, cozy home without the hassle of smoke leaks or fire risks. From picking the right pipe to sealing joints and checking temperatures, these simple steps make all the difference. Try setting up your own stove pipe—it’s easier than you think! Share your setup ideas or ask questions in the comments. Let’s keep the fire burning safely!