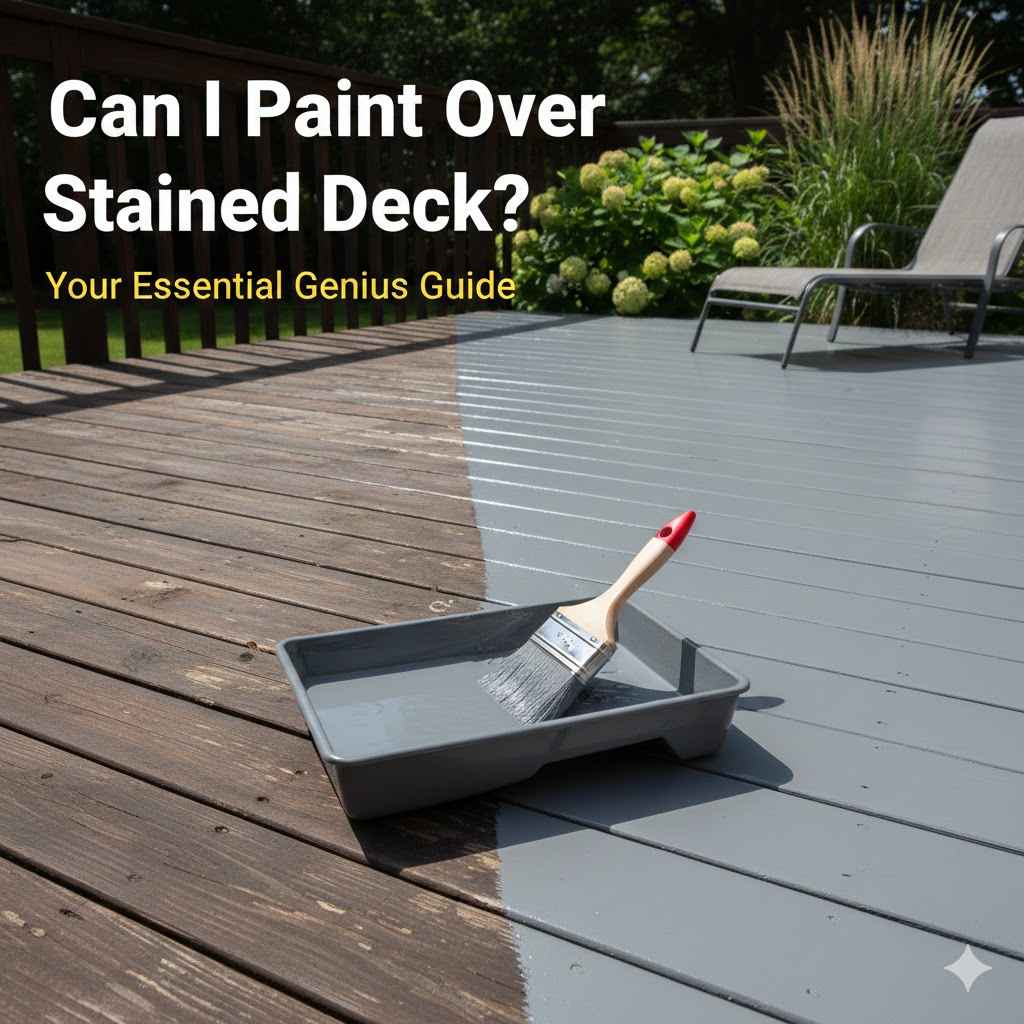
Can I Paint Over Stained Deck: Your Essential Genius Guide
Yes, you can absolutely paint over a stained deck, but proper preparation is the key to a beautiful, long-lasting finish. To prevent peeling, you must thoroughly clean the deck, assess the type of stain (oil or water-based), and then properly sand and prime the surface before applying high-quality exterior paint.
Hello, friends! I’m Md Meraj, and today we’re tackling a question I hear all the time in the workshop: “Can I paint over my stained deck?” Maybe your old stain is faded and patchy, or maybe you’re just ready for a bold new color. Whatever the reason, you’re in the right place.
Seeing an old, worn-out deck can be frustrating. You want your outdoor space to be beautiful and welcoming. The good news is that you don’t need to be a professional to give it a stunning makeover. Painting over stain is a fantastic project that can completely transform your backyard. In this guide, I’ll walk you through every step with simple, clear instructions. We’ll make this easy and rewarding. Let’s build your confidence and get this done together!
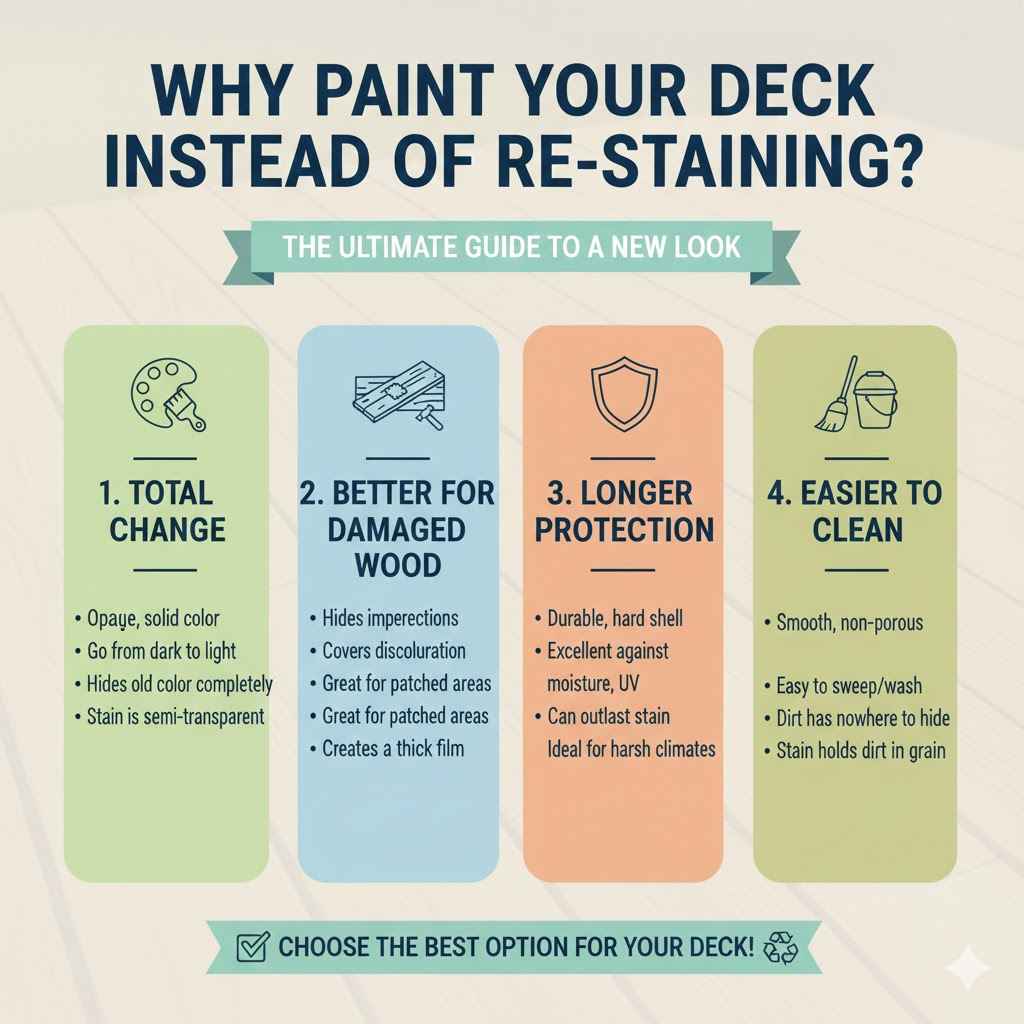
Why Paint Your Deck Instead of Re-staining?
You might be wondering, “Why not just add another coat of stain?” That’s a great question. While re-staining is a classic choice, painting offers some unique benefits that might be perfect for your situation.
- Total Color Change: Paint provides an opaque, solid color. This is your best option if you want to go from a dark wood tone to a bright, modern gray or a classic white. Stain is semi-transparent and will always let some of the wood grain show through.
- Better for Damaged Wood: If your deck has seen better days—filled with imperfections, discoloration, or lots of wood filler from repairs—paint is your best friend. It creates a thick film that hides flaws much more effectively than stain can.
- Potentially Longer Protection: A high-quality porch and floor paint can create a very durable, hard shell over your deck boards. This offers excellent protection from moisture and UV rays. Some homeowners find that a properly applied paint job can outlast stain, especially in harsh climates.
- Easier to Clean: The smooth, non-porous surface of a painted deck is often easier to sweep and wash clean compared to a stained surface, which can sometimes hold onto dirt in the wood grain.
Deciding between paint and stain really comes down to the look you want and the condition of your wood. If you love the natural grain of your deck, stick with stain. If you want maximum protection and a whole new color, let’s get ready to paint!
Paint vs. Stain: A Quick Head-to-Head Comparison
Before you commit, let’s quickly break down the key differences between paint and stain. Understanding these points will help you feel confident in your decision.
| Feature | Deck Paint | Deck Stain |
|---|---|---|
| Appearance | Opaque, solid color. Hides wood grain completely. Wide range of color choices. | Transparent to semi-solid. Enhances and shows the natural wood grain. Colors are typically earth tones. |
| Protection | Forms a thick, protective film on the surface. Excellent UV and moisture barrier. | Penetrates the wood fibers. Protects from within against moisture and UV rays. |
| Durability & Maintenance | Can chip or peel if not prepped correctly. Requires scraping and priming for touch-ups. | Fades over time rather than peeling. Maintenance often involves a simple cleaning and re-coating. |
| Best For | Older, damaged wood; hiding imperfections; complete color changes. | New or well-maintained wood; showcasing natural wood beauty. |
| Preparation | Requires intensive prep: cleaning, sanding, and priming are essential for adhesion. | Requires thorough cleaning and sometimes light sanding or stripping for a new coat. |
First, Identify Your Existing Deck Stain: Oil or Water-Based?
Okay, this is the most important step before you do anything else. Trying to paint over an oil-based stain without the right prep is a recipe for a peeling disaster. Paint needs a clean, compatible surface to grab onto. We need to figure out what you’re working with.
The Simple Water Test
Don’t worry, you don’t need a science lab for this. Here’s a super easy test:
- Find a small, out-of-the-way spot on your deck.
- Pour a spoonful of water onto the stained wood.
- Watch what it does for a few minutes.
- If the water beads up and sits on the surface, you likely have an oil-based (alkyd) stain. Oil repels water.
- If the water soaks into the wood quickly, you likely have a water-based (acrylic) stain. The wood is more absorbent.
Another Quick Check: The Rag Test
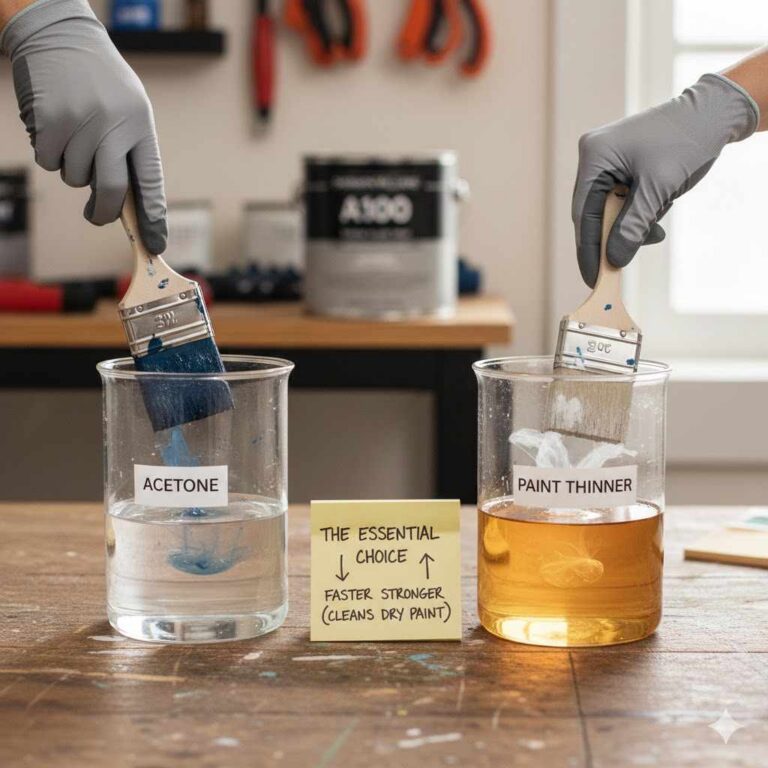
If you’re still not sure, try this. Dampen a white rag with a bit of rubbing alcohol or acetone (nail polish remover works!). Rub it on a small section of the deck.
- If stain color comes off onto the rag, it’s likely water-based.
- If very little or no color comes off, it’s probably oil-based.
Why Does It Matter?
Oil and water don’t mix! You can’t apply a water-based (latex or acrylic) paint or primer directly over an oil-based stain. The paint won’t stick properly and will peel off in sheets. If you have an oil-based stain, you have two choices: use an oil-based primer first, or thoroughly sand the surface to remove the oily film before using a high-adhesion acrylic primer.
Your Essential Toolkit & Materials
Having the right tools makes any job easier and safer. Let’s gather everything you’ll need before we start. You can find most of these items at your local hardware store.
For Cleaning & Prep:
- Stiff-bristled brush or push broom
- Deck cleaner or a solution of oxygen bleach
- Garden hose with a high-pressure nozzle (or a pressure washer on a low setting)
- Scraper or 5-in-1 tool
- Sandpaper (60-80 grit)
- Palm sander or pole sander (optional, but a huge time-saver)
- Shop vacuum or leaf blower
- Painter’s tape
- Drop cloths or plastic sheeting
For Painting:
- High-quality exterior primer (use a bonding primer for best results)
- High-quality exterior porch and floor paint (choose a paint specifically made for decks)
- Paint roller with an extension pole
- Roller cover (1/2-inch nap is good for decks)
- 2-3 inch angled paintbrush for cutting in
- Paint tray and liners
For Safety:
- Safety goggles or glasses
- Gloves
- Dust mask (especially for sanding)
- Knee pads (your knees will thank you!)
The 6-Step Genius Guide to Painting Your Stained Deck
Alright, you’ve done your homework and gathered your tools. Now it’s time for the fun part! Follow these steps carefully, and you’ll get a professional-looking result that lasts for years. Don’t rush—good prep work is 90% of the job.
Step 1: Inspect and Repair
Before you clean, take a walk around your deck. Look for any loose or popped nails or screws and fix them. Hammer nails back down or replace them with deck screws, which hold better. Check for any rotting or splintered boards. According to the U.S. Forest Service Wood Handbook, replacing severely damaged wood is crucial for both safety and the longevity of your finish. Use a quality wood filler or epoxy for any small cracks or gouges, and sand it smooth once it’s dry.
Step 2: Clean Like You Mean It
You cannot paint over dirt, mildew, or grime. The paint simply won’t stick. You need a perfectly clean surface.
- Sweep the Deck: Start by sweeping away all leaves, dirt, and loose debris. Get into the cracks between the boards.
- Apply Deck Cleaner: Mix your deck cleaner according to the manufacturer’s instructions. Apply it liberally to the entire deck surface. Let it sit for the recommended time (usually 10-15 minutes) but don’t let it dry.
- Scrub: Use a stiff brush on a long pole to scrub the entire surface. This will lift the ground-in dirt and any mildew.
- Rinse Thoroughly: Rinse the deck completely with a garden hose or a pressure washer on its lowest setting (below 1500 PSI). Be careful with a pressure washer—holding it too close can damage the wood fibers. Start at one end and work your way to the other, ensuring all the cleaner is washed away.
- Let It Dry Completely: This is critical. You must wait for the deck to be bone dry before moving on. This could take 24-48 hours, depending on the weather.
Step 3: Sand the Surface Smooth
Sanding is the step everyone wants to skip, but it’s what ensures the primer and paint have something to grip onto. This step roughs up the old stain and removes any remaining glossy finish, especially important for oil-based stains.
Use 60- to 80-grit sandpaper. You can sand by hand, but an electric palm sander or a pole sander will make the job much faster and more consistent. Your goal isn’t to remove all the old stain down to bare wood. You just need to scuff up the entire surface, removing the old sealant and creating a “tooth” for the new coating. Pay extra attention to high-traffic areas. Once you’re done, use a shop vacuum or leaf blower to remove every bit of sanding dust.
Step 4: Prime for Success
Priming is your insurance policy against peeling paint. It creates a perfect base layer that blocks stains and helps the topcoat of paint adhere tenaciously.
- If you have a water-based stain: Use a high-quality acrylic exterior primer.
- If you have an oil-based stain: The safest bet is to use an oil-based exterior primer. Alternatively, if you have sanded thoroughly, you may be able to use a high-adhesion “bonding” acrylic primer. Check the primer can’s label to ensure it is suitable for this use.
Apply one even coat of primer to the entire deck using a roller for the main surfaces and a brush for railings and gaps between boards. Follow the drying times on the can before moving to the next step.
Step 5: Let’s Get Painting!
This is where your vision comes to life! Choose a high-quality paint specifically labeled as “Porch & Floor” or “Deck” paint. These are formulated to withstand foot traffic and the elements.
Here’s the best way to tackle it:
- Check the Weather: Don’t paint in direct, hot sunlight or if rain is in the forecast. An overcast, mild day is perfect.
- Start with the Details: Use your angled brush to “cut in”—paint the railings, posts, and the edges of the deck boards first. Also, paint the gaps between the boards with your brush.
- Roll the Main Surface: Now, use your roller on an extension pole to paint the flat surfaces. Work in small sections, always maintaining a “wet edge” to avoid lap marks. Apply a thin, even coat. Don’t glob it on! It’s better to apply two thin coats than one thick one.
- Let It Dry and Recoat: Allow the first coat to dry completely according to the paint can’s instructions (usually 4-6 hours). Then, apply your second coat for a durable, uniform finish.
Step 6: Cure and Protect
Patience is key here. Your deck might feel dry to the touch in a few hours, but the paint needs to fully “cure,” or harden. This process can take anywhere from 24 to 72 hours, or even longer depending on humidity and temperature. For best results, keep foot traffic to a minimum for at least 48 hours and wait about a week before placing heavy furniture back on the deck. Putting furniture back too early can cause the paint to peel right off.
Md’s Pro Tips for a Flawless Finish
Here are a few extra pointers from my years in the workshop to help you get the best possible results:
- Always Test First: Before you commit to painting the whole deck, apply primer and paint to a small, hidden test area. Let it dry to make sure you like the color and that it’s adhering properly.
- Paint from the Inside Out: When painting railings, start with the inside balusters and work your way out. When painting the deck floor, start at the part closest to the house and work your way toward the stairs so you don’t paint yourself into a corner!
- Mind the Gaps: Use your brush to push a little paint into the cracks between boards. This seals the wood on all sides and prevents moisture from getting underneath.
- Don’t Be a Hero with the Pressure Washer: A pressure washer is a powerful tool. Using too much pressure can splinter the wood, leaving you with a fuzzy, damaged surface that’s hard to paint. A gentle wash is all you need. The cleaner and the scrub brush do the real work. The Environmental Protection Agency (EPA) also advises caution when pressure washing older homes built before 1978, as old paint may contain lead.

Frequently Asked Questions (FAQ)
Can I paint over a deck without sanding?
I strongly advise against it. Sanding is the most reliable way to guarantee the paint will stick, especially over an old or slick stained surface. It scuffs up the wood and removes any remaining sealant, creating a gritty surface for the primer to grab onto. Skipping this step is the number one cause of peeling paint.
What is the best paint to use on a previously stained deck?
Always choose a high-quality acrylic latex paint specifically formulated for porches, floors, or decks. These paints are designed with special resins that make them durable enough to withstand foot traffic, weather changes, and UV exposure. Look for products that mention durability and flexibility.
How long will a painted deck last?
With excellent preparation and two coats of high-quality deck paint, you can expect the finish to last anywhere from 3 to 5 years before needing a touch-up or a new coat. High-traffic areas, like stairs, may show wear sooner. Regular cleaning will help extend its life.
Do I have to use a primer before painting my deck?
Yes, absolutely. A primer is non-negotiable. It does three crucial things: 1) It blocks any tannins from the wood or leftover color from the stain from bleeding through. 2) It ensures the paint sticks to the surface for maximum durability. 3) It helps you use less of the more expensive topcoat paint. Always use an exterior-grade primer.
What if my deck starts peeling after I paint it?
Peeling is almost always caused by moisture getting under the paint or improper surface prep. If you notice peeling, you’ll need to scrape and sand the affected area until you reach a solid surface. Then, clean the spot, prime it, and apply two new coats of paint, feathering the edges to blend it in with the surrounding area.
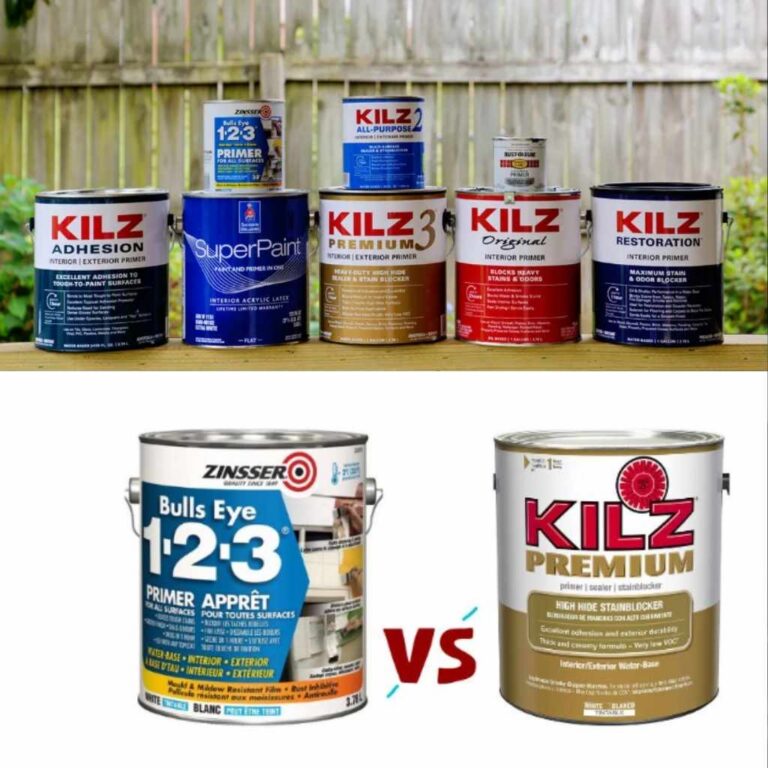
Can I use a ‘paint and primer in one’ product?
While those products are great for many projects, I recommend using a separate, dedicated primer for a high-stakes job like a deck. A deck faces extreme conditions—direct sun, rain, snow, and foot traffic. A standalone bonding primer will provide a much stronger and more reliable foundation for your paint than an all-in-one product.
What’s better for an old deck, paint or stain?
For an old deck with a lot of imperfections, stains, or repairs, paint is generally the better option. Its thick, opaque film does an amazing job of hiding flaws and creating a fresh, uniform surface. A solid-color stain can also be a good compromise, as it offers a painted look but may be less prone to chipping.
Your Beautiful New Deck Awaits!
And there you have it! Transforming your old, stained deck with a fresh coat of paint is a project you can truly be proud of. It might seem like a lot of steps, but none of them are difficult. The secret is simply taking your time with the preparation—cleaning, sanding, and priming are your keys to success.
By following this guide, you’re not just painting a deck; you’re creating a durable, beautiful outdoor living space for you and your family to enjoy for years to come. You are building skills and confidence with every step. So roll up your sleeves, put on some music, and get started. I know you can do it, and the results will be well worth the effort. Happy woodworking, and enjoy your stunning new deck!