Polycrylic Spray vs. Brush: Which Gives a Smoother Finish?
Both spray and brush-on Polycrylic can give you a smooth, professional-looking finish – they just get there differently. Spray lays down a thin, even coat that’s hard to beat on large flat surfaces and vertical panels, while a quality synthetic-bristle brush gives you more control on edges and detail work with almost no wasted product. Neither one is “better” across the board. Here’s the real difference between the two, and how to get a smooth result with whichever one you pick.
What Polycrylic Actually Is (and Why the Applicator Matters)
Our Pick For Spray Application
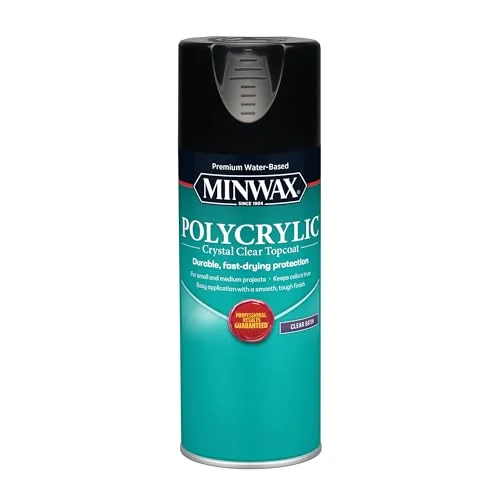 |
Minwax Polycrylic Protective Finish Spray, Clear Satin – $14.97 The exact water-based spray version of the finish covered in this comparison – ready to use straight from the can, no thinning or brush cleanup needed.
|
Polycrylic is a water-based protective clear finish, not a stain – it doesn’t add color, it protects whatever color or bare wood is already underneath it. That water-based formula is the reason application method matters as much as it does. Because Polycrylic thins and cleans up with plain soap and water instead of mineral spirits, it behaves differently in a sprayer or on a brush than an oil-based polyurethane does, and it dries fast enough that mistakes in either method show up quickly.
One genuine quirk of a water-based finish like this: the first coat can slightly raise the wood grain, leaving the surface a little rougher than it was before you started. That’s not a defect in the product or a sign you did something wrong – it’s just water reacting with wood fiber. A light scuff-sand after that first coat handles it, and it won’t happen again on later coats.
Spray Application: What You Gain and What You Lose
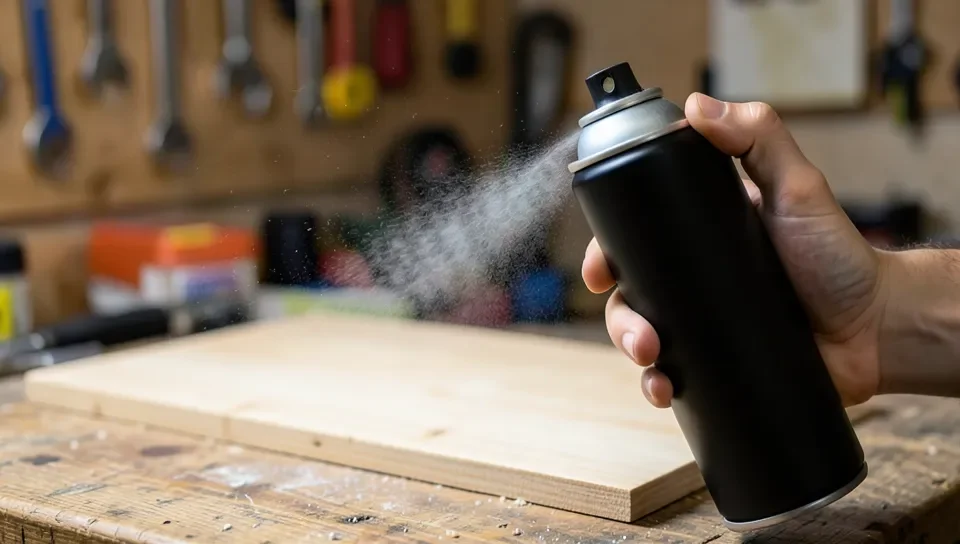
An aerosol or HVLP sprayer atomizes Polycrylic into a fine mist, which is what makes it so good at even coverage. On a large tabletop, a cabinet door, or anything with a vertical face, spraying lays down a thin layer with no brush marks and very little risk of a drip running down the side – something that’s genuinely hard to avoid brushing on a vertical surface. It’s also faster: a wide flat surface that would take several minutes of careful brush strokes can be covered in one or two overlapping passes (see our full guide to spraying Polycrylic for aerosol-can and HVLP technique, thinning ratios, and ventilation setup).
The tradeoff is waste and ventilation. Spraying puts a lot of product into the air around your project, not just on it – overspray lands on the floor, the workbench, and anything nearby that isn’t masked off. You need a spray booth, a well-ventilated garage, or an outdoor space with no wind, plus a respirator rated for fine particulates. If you’re working in a small enclosed space, brushing is the more practical choice regardless of finish quality.
Brush Application: What You Gain and What You Lose
A brush wastes almost nothing – the finish goes exactly where you put it, which matters if you’re working with a smaller can or a detailed piece with carved edges, moldings, or tight corners a spray pattern can’t reach cleanly. It also doesn’t require ventilation gear the way spraying does, though a well-ventilated room is still a good idea with any wet finish.
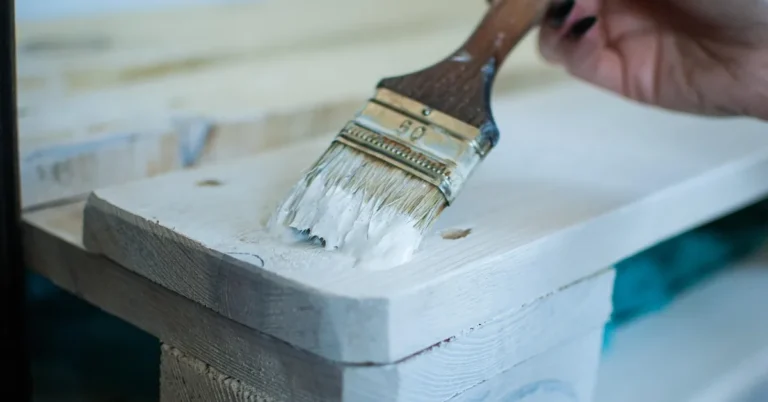
The real risk with brushing is visible strokes. A cheap bristle brush, a brush that’s too thick with product, or coats applied too heavy will all leave streaks that are obvious once the finish dries and levels. A good synthetic-bristle brush (natural bristle brushes don’t hold up well with water-based finishes) loaded with a thin, even coat and worked in long strokes with the grain minimizes this. Brushing is also simply slower on a large flat surface – there’s no way around that trade for the extra control it gives you.
Getting a Smooth Finish With Either Method
Regardless of which applicator you choose, the same fundamentals apply:
- Sand between coats. Once each coat is fully dry, a light pass with 220-grit (or finer) sandpaper knocks down any raised grain, dust nibs, or minor texture before the next coat goes on. Wipe away the dust with a tack cloth or lint-free cloth before recoating.
- Keep coats thin. This is true for both spray and brush – a thick single coat dries unevenly and is far more likely to show texture or take longer to cure properly. Two or three thin coats beat one thick one every time.
- Watch the first coat for raised grain. As noted above, this is normal with a water-based finish and a light sand handles it – don’t mistake it for a bad batch or a mistake in your technique.
- Let each coat dry fully before sanding or recoating. Sanding a coat that’s still soft will gum up your sandpaper and tear the finish instead of smoothing it.
Cleanup and Cost: The Part Most Guides Skip
One real advantage Polycrylic has over an oil-based polyurethane, regardless of whether you spray or brush it, is cleanup – since it’s water-based, brushes, sprayer parts, and drips clean up with plain soap and water instead of mineral spirits or paint thinner. That’s a genuine time and cost savings over an oil-based finish, and it’s one of the main reasons Polycrylic is a popular choice for a first protective topcoat.
Where spray and brush actually differ is product waste, which affects cost more than most people expect. A brush puts almost all of the can’s contents onto the wood – very little is lost. A spray can or sprayer, by design, sends a portion of every pass into the air as overspray that never lands on your project. On a small project that difference barely matters, but on a large tabletop or multiple cabinet doors, spraying can mean going through noticeably more product to get the same number of coats. If you’re finishing a large piece on a budget, factor that extra can or two into the cost comparison before assuming spray is the cheaper or faster option overall.
Ventilation gear is a real cost too. Brushing needs nothing beyond the brush and a drop cloth. Spraying safely means a respirator rated for fine particulates and, ideally, a space where overspray isn’t landing on anything you care about – a detached garage, a spray booth, or an outdoor spot on a calm day. If you don’t already have that setup, it’s worth pricing into the decision alongside the extra product waste.
Which One Should You Use?
If you’re finishing a large flat surface like a tabletop, a set of cabinet doors, or anything with vertical faces, and you have a space where you can safely deal with overspray, spraying will generally get you a smoother, more even result in less time. If you’re working on a smaller project, something with carved or detailed edges, or you don’t have anywhere to safely spray, a synthetic-bristle brush with thin, patient coats will get you there just as well – it just takes longer and rewards a steady hand.
Frequently Asked Questions
Is Polycrylic spray easier to use than brushing for a beginner?
In terms of avoiding visible strokes, yes – spraying removes the technique of brush control from the equation. But it adds a different skill: keeping the can moving at a consistent distance and speed to avoid drips or a rough, dry-textured mist. Neither method is foolproof for a first attempt; both reward practicing on scrap wood first.
Can I use a foam brush with Polycrylic instead of a bristle brush?
A foam brush can work for small touch-ups, but it tends to leave more visible texture and small bubbles than a quality synthetic-bristle brush, especially on a larger surface. For a smooth result on anything bigger than a small trim piece, a synthetic-bristle brush is the better tool.
How many coats of Polycrylic do I actually need?
Two to three thin coats is standard for most furniture and woodworking projects. High-wear surfaces like tabletops or floors can benefit from an additional coat, but more coats only help if each one is thin and fully dry before the next – piling on coats doesn’t compensate for applying them too thick.
Do I need to sand between every coat?
Yes, a light pass with 220-grit or finer sandpaper between coats is what keeps the final result smooth, especially after the first coat where grain raising is most noticeable. Skipping this step is one of the most common reasons a Polycrylic finish ends up feeling rough instead of smooth.
Which method gives a more durable finish, spray or brush?
The durability comes from the product itself, not the applicator – a properly applied spray coat and a properly applied brush coat cure to the same protective film. The difference between spray and brush is evenness and control during application, not how tough the dried finish ends up being.
Final Thoughts
Spray and brush-on Polycrylic are the same water-based finish delivered two different ways, and the “smoother” choice depends more on your project and workspace than on the applicator itself. Spray wins on large, flat, or vertical surfaces where you have room to deal with overspray. A synthetic-bristle brush wins on detail work, smaller projects, and anywhere ventilation is limited. Either way, thin coats and a 220-grit sand between them are what actually make the finish smooth – not which tool you pick.
Sponsored / affiliate links. As an Amazon Associate I earn from qualifying purchases. I may earn additional commission from eligible campaigns.