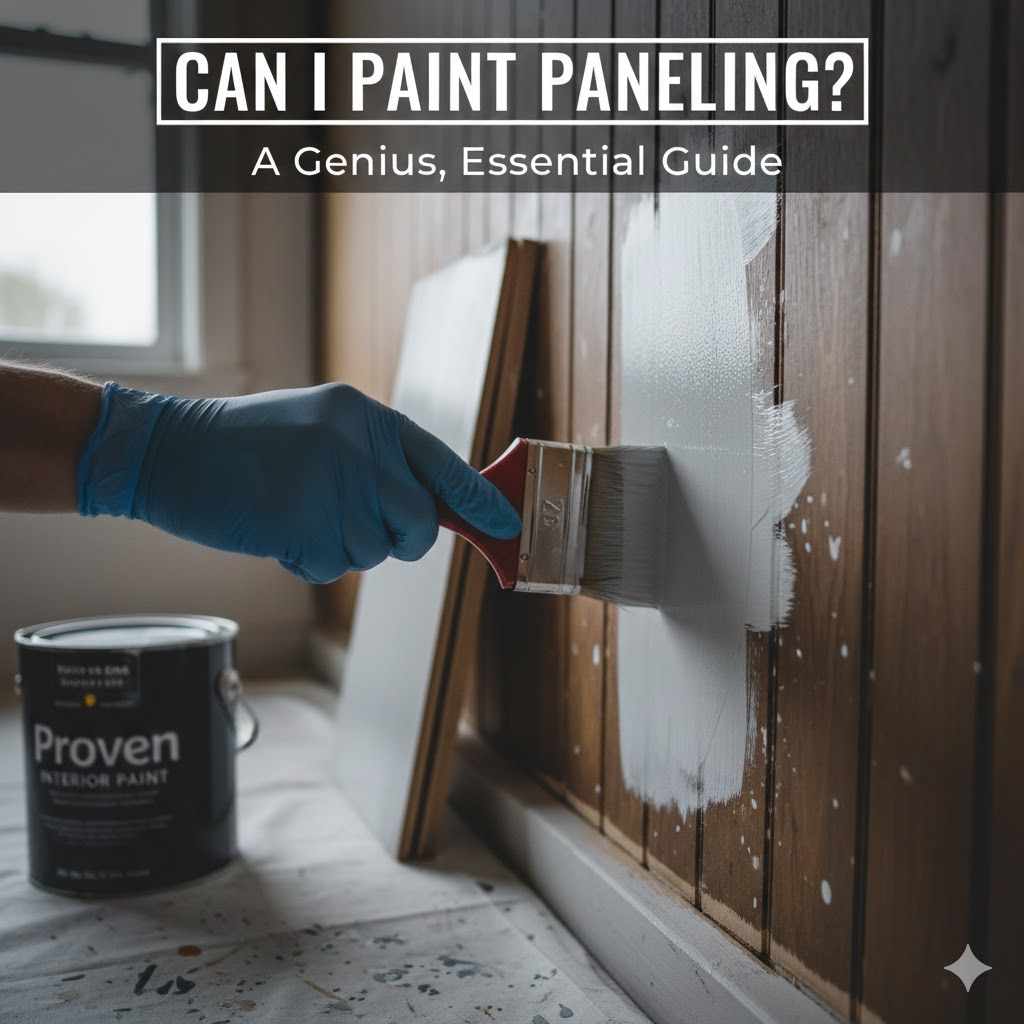
Can I Paint Paneling: A Genius, Essential Guide
Yes, you can absolutely paint paneling! With proper preparation—cleaning, sanding, and using a high-quality bonding primer—you can successfully cover old, dark wood paneling. This affordable DIY project will completely transform your space, making it look bright, modern, and refreshed without the cost or hassle of removing the panels.
Does that dark, dated wood paneling make your room feel like a time capsule? You’re not alone. Many homeowners stare at those walls, wondering if they’re stuck with a look from decades ago. You might think your only option is to tear it all down, which sounds expensive and messy.
But I have great news for you! You can give that paneling a stunning new life with a fresh coat of paint. It’s one of the most budget-friendly ways to modernize a room. In this guide, I’ll walk you through every step, from prep to the final coat, in a way that’s simple and foolproof. Let’s get started!
Why Painting Paneling Is a Smart DIY Project
Before we grab our rollers, let’s talk about why this is such a fantastic project. It’s more than just changing a color; it’s about transforming your home with your own two hands. You might be surprised by how rewarding it is.
1. Instantly Brighten and Modernize Your Space
Dark wood paneling, especially the kind popular in the ’60s and ’70s, can absorb a lot of light. This can make even a large room feel small, dim, and dated. A coat of light-colored paint—like a classic white, a soft gray, or a warm beige—can instantly bounce light around the room. The effect is dramatic. Your space will feel bigger, brighter, and far more modern.
2. A Budget-Friendly Alternative to Removal
Let’s talk numbers. Tearing out old paneling involves more than just pulling it off the walls. You might have to deal with drywall repair, plastering, sanding, and then priming and painting the new surface. This process costs time and money, often requiring a professional. Painting, on the other hand, is incredibly cost-effective. Your main expenses are primer, paint, and some basic supplies. It’s a high-impact upgrade on a low budget.
3. Increase Your Home’s Value
Updated aesthetics can have a real impact on your home’s appeal and value. Potential buyers often see dark paneling as a project they’ll have to tackle. By painting it with a neutral, modern color, you’re presenting a move-in-ready space that looks clean and well-maintained. It’s a small investment of effort for a significant return in visual appeal.
4. The Perfect Beginner DIY Project
If you’re new to home improvement, painting paneling is a perfect place to start. The steps are straightforward and forgiving. There’s no complex cutting or measuring involved. It teaches you the fundamentals of any good paint job: preparation is key. Mastering this project will give you the confidence to take on other DIY tasks around your home.

Understanding Your Paneling: Not All Panels Are Created Equal
The first step to a successful paint job is knowing what you’re working with. Paneling comes in a few different types, and your approach will change slightly depending on the material.
Real Solid Wood Paneling
This is the high-quality stuff—think knotty pine, cedar, or oak planks. It’s durable and has a beautiful, natural grain. The biggest challenge with real wood is “tannin bleed.” Tannins are natural oils in the wood that can seep through latex paint, leaving ugly yellow or brown stains. This is why a stain-blocking primer is absolutely non-negotiable for real wood.
Veneer Paneling (Plywood or MDF Core)
This is the most common type of paneling found in older homes. It consists of a thin layer of real wood (the veneer) glued over a core of plywood or Medium-Density Fiberboard (MDF). It looks like real wood but is lighter and less expensive. It still requires a good cleaning and a light sanding to help the primer stick, and a stain-blocking primer is often a good idea here, too.
Faux Wood or Laminate Paneling
This type isn’t wood at all. It’s usually a printed photograph of wood grain on paper or vinyl, sealed with a clear, glossy topcoat and glued to a hardboard backing. This surface is non-porous and slick, making it the trickiest to paint. The key here is an aggressive sanding to scuff up the glossy finish and a super-adherent, bonding primer designed specifically for glossy surfaces.
| Paneling Type | Key Characteristic | Biggest Painting Challenge | Best Primer Type |
|---|---|---|---|
| Solid Wood | Real wood planks with natural grain | Tannin bleed-through causing stains | Stain-blocking (Oil or Shellac-based) |
| Wood Veneer | Thin wood layer over plywood/MDF | Can have some bleed-through; needs good adhesion | Stain-blocking or high-adhesion primer |
| Laminate/Faux Wood | Glossy, non-porous plastic surface | Paint adhesion; paint can easily peel or chip | Extreme-bonding, shellac-based primer |
Your Essential Tools and Materials Checklist
Gathering everything you need before you start makes the whole process smoother. Think of it as setting up your workshop for success. Here’s your shopping list:
- Cleaning Supplies: A good degreasing cleaner is essential. I recommend a TSP (Trisodium Phosphate) substitute, which is less harsh but very effective. You’ll also need buckets, sponges, clean cloths, and rubber gloves.
- Drop Cloths: Use canvas or plastic drop cloths to protect your floors and furniture. Don’t rely on old bedsheets, as paint can seep through them.
- Painter’s Tape: High-quality painter’s tape will give you clean, crisp lines along ceilings, baseboards, and trim.
- Wood Filler or Spackling: To fill in any nail holes, dents, or deep scratches. Get a putty knife to apply it smoothly.
- Sandpaper or Sanding Sponge: A medium grit (around 120-150) is perfect for scuffing the surface. You don’t need to remove the old finish, just rough it up.
- Tack Cloth or Microfiber Cloth: To wipe away all the sanding dust before you prime. This step is critical!
- High-Quality Primer: This is the most important part of your project. Choose the right one for your paneling type (see the table above). I almost always recommend a shellac-based or oil-based stain-blocking primer for wood. For slick laminate, a bonding primer is a must.
- Paint: A high-quality interior latex paint is perfect. The finish is up to you, but an eggshell or satin finish is a great choice—it’s durable, washable, and has a slight sheen that looks great on walls.
- Painting Tools:
- A 2-inch angled brush for cutting in edges and painting the grooves.
- A 9-inch paint roller with a 3/8-inch nap for the flat surfaces.
- A paint tray and liners for easy cleanup.
- Safety Gear: Safety glasses and, if you’re using oil or shellac-based primers, a respirator mask for good ventilation. Check the manufacturer’s safety recommendations. The National Institute for Occupational Safety and Health (NIOSH) has great information on choosing the right respirator.
The Step-by-Step Guide to Painting Your Paneling
Alright, you’ve got your supplies, and you’re ready to go. Follow these steps carefully, and I promise you’ll get a professional-looking finish. Don’t rush the prep work—it’s 90% of the job!
Step 1: Prepare Your Room
First things first, clear the space. Move all furniture to the center of the room and cover it with a drop cloth, or move it out of the room entirely if you can. Lay drop cloths on the floor, covering it completely from wall to wall. Use painter’s tape to protect trim, baseboards, window frames, and the ceiling edge. Finally, remove all outlet and light switch covers and tape over the openings.
Step 2: Clean the Paneling Like a Pro
Over the years, walls accumulate a surprising amount of dust, grease, and grime. Paint won’t stick to a dirty surface. Mix your TSP substitute or other degreasing cleaner according to the package directions. Wearing gloves, use a sponge to scrub the walls from the bottom up to avoid streaks. After scrubbing, rinse the walls thoroughly with a sponge and clean water. Let the paneling dry completely, which might take a few hours.
Step 3: Fill and Repair Imperfections
Now, inspect your walls closely. Use your wood filler or spackling and a putty knife to fill any nail holes, gouges, or deep scratches. Overfill the hole slightly, as the filler will shrink a little as it dries. Once it’s fully dry (check the product label for times), sand the filled spots smooth with your 120-grit sandpaper so they are flush with the paneling surface.
Step 4: Sand for Success (Don’t Skip This!)
Sanding is not about removing the old finish. It’s about “scuffing” the surface to create thousands of microscopic grooves that the primer can grab onto. This is what ensures your paint job will last for years without peeling. Using your 120- or 150-grit sandpaper, lightly sand all the paneling surfaces. You’re just looking to dull the shine. When you’re done, the walls will look a bit chalky. Now, use a vacuum with a brush attachment to remove most of the dust. Follow up with a tack cloth or a damp microfiber cloth to get every last bit. The surface must be perfectly clean and dust-free before priming.
Step 5: Prime, Prime, and Prime Again!
Primer is your secret weapon. It does three critical things: it blocks stains, seals the surface, and gives the paint a uniform base to adhere to. Make sure your room is well-ventilated, especially if using an oil or shellac-based primer. Use your angled brush to “cut in” the primer around the edges and in the paneling grooves first. Then, use your roller to apply a thin, even coat to the flat surfaces. Don’t try to get complete coverage with one coat. Your goal is a consistent base. Let the primer dry completely according to the can’s instructions. If you’re covering very dark paneling or see any stains bleeding through, apply a second coat of primer.
| Primer Type | Best For | Pros | Cons |
|---|---|---|---|
| Water-Based (Latex) | Veneer paneling with no risk of stains. | Low odor, easy cleanup with soap and water. | May not block heavy stains or wood tannins. |
| Oil-Based | Real wood and veneer with risk of tannin bleed. | Excellent stain blocker, very durable. | Strong smell, requires mineral spirits for cleanup. |
| Shellac-Based | Glossy laminate and heavy stain-blocking. | Best adhesion for slick surfaces, blocks all stains. | Very strong smell, requires denatured alcohol for cleanup. |
Step 6: Handle the Grooves (Optional but Recommended)
You have a choice to make with the vertical grooves in the paneling. You can paint them for a classic, textured look, or you can fill them for a completely smooth, modern wall that looks like drywall.
- To keep the grooves: Make sure they are thoroughly cleaned, sanded, and primed. Your brushwork in the next step will be important.
- To fill the grooves: For a flat-wall look, you can use a paintable caulk for shallow grooves. For deeper grooves, you may need to apply multiple thin layers of drywall joint compound, sanding between each layer. This is more time-consuming but creates a seamless finish.
Step 7: Apply Your First Coat of Paint
The fun part! Just like with the primer, start by using your angled brush to cut in around the edges and paint inside the grooves. Be careful not to load the brush with too much paint to avoid drips. Once the grooves are done, use your roller to apply paint to the flat surfaces. Work in small sections, rolling in a “W” pattern to distribute the paint evenly, then go back over it with straight vertical strokes for a smooth finish. Don’t press too hard. Let the roller do the work.
Step 8: Apply the Second Coat
Let the first coat of paint dry completely—check the can for recoat times. One coat of paint rarely provides a flawless finish. A second coat will deepen the color, cover any light spots, and give you that professional, uniform look you’re aiming for. Repeat the same process: cut in with the brush first, then roll the flat surfaces.
Step 9: Curing and Cleanup
Once your second coat is on, carefully remove the painter’s tape while the paint is still slightly wet. Pull it off at a 45-degree angle to get a sharp line. Now, be patient. Your paint may be dry to the touch in a few hours, but it takes much longer to “cure,” or harden completely. This can take anywhere from a few days to a few weeks. Be gentle with the walls during this time to avoid scuffs. Clean your brushes and rollers thoroughly. For information on how to dispose of leftover paint safely, check with your local municipality or visit the Environmental Protection Agency (EPA) website for guidance.
Common Mistakes to Avoid When Painting Paneling
Even seasoned DIYers can make mistakes. Here are a few common pitfalls to watch out for to ensure your project is a success from the start.
- Skipping the Cleaning Step: It’s tempting to jump right to the fun part, but painting over dust, cobwebs, or greasy fingerprints is a recipe for peeling paint. Cleaning is non-negotiable.
- Not Sanding Properly: If you don’t scuff the surface, especially a glossy one, the primer and paint have nothing to hold onto. You’ll face chipping and peeling down the road.
- Using the Wrong Primer: Using a basic latex primer on knotty pine will almost certainly result in yellow tannin stains bleeding through your beautiful new paint color. Match your primer to your paneling type.
- Applying Paint Too Thickly: Slathering on a thick coat of paint to try and finish faster often leads to drips, runs, and a bumpy, uneven texture. Two thin coats are always better than one thick coat.
- Rushing Between Coats: Patience is a virtue in painting. If you apply a second coat before the first one is properly dry, you can actually pull the first layer of paint off with your roller, creating a mess. Always follow the recoat times on the can.

Frequently Asked Questions (FAQ)
1. Do I absolutely have to sand wood paneling before painting?
Yes, I strongly recommend it. Sanding isn’t about removing the old finish; it’s about “scuffing” the surface to give the primer something to grip. It’s the single most important step for ensuring your paint job lasts for years without chipping or peeling, especially on glossy or semi-gloss surfaces.
2. What is the best primer for old wood paneling?
For most old wood or wood veneer paneling, a shellac-based or oil-based stain-blocking primer is your best choice. These primers are excellent at preventing natural wood oils (tannins) from bleeding through and staining your new paint job. For slick laminate paneling, use a shellac-based “bonding” primer for maximum adhesion.
3. Can I paint dark wood paneling white?
Absolutely! This is one of the most popular transformations. The key is using a high-quality stain-blocking primer first. You will likely need two coats of primer to completely hide the dark wood. Then, plan on applying at least two coats of your white paint for a solid, opaque finish.
4. How long does it take to paint a paneled room?
Plan for a full weekend. Day one is typically for prep: cleaning, repairing, sanding, and applying the first coat of primer. Day two would be for a second coat of primer (if needed) and your two coats of paint. Remember to account for drying time between each coat.
5. Can I use a paint sprayer on paneling?
You can, but it requires more prep. You’ll need to meticulously cover everything you don’t want painted (windows, floors, furniture, etc.) with plastic and tape. While a sprayer can be faster for applying paint to the flat surfaces, you may still need a brush for the grooves. For most beginners, the classic brush and roller combination is simpler and more controlled.
6. What kind of paint should I use on wood paneling?
A good quality interior acrylic-latex paint is the best choice. For the finish, an eggshell or satin sheen is highly recommended. These finishes offer a soft, low-sheen look that is also durable and much easier to clean than a flat or matte finish, making them ideal for walls.
7. Do I need to fill the grooves in the paneling?
No, you don’t have to. It’s a style choice. Painting over the grooves creates a classic, charming look with texture and shadow lines. Filling the grooves with caulk or joint compound is more work, but it results in a smooth, modern wall that looks like standard drywall. Both options look great!
Your Room, Transformed
And there you have it! What once was a dark, dated room is now bright, fresh, and feels like a brand-new space. Painting your wood paneling is more than just a home improvement project; it’s a way to reclaim a room and make it truly yours. By taking the time to prepare the surface correctly—by cleaning, sanding, and priming—you’ve ensured a beautiful, durable finish that will last for years.
You’ve not only saved money but you’ve also gained valuable DIY skills and the immense satisfaction that comes from transforming your own home. So stand back, admire your hard work, and enjoy your beautifully updated room. You earned it!